How Often Should I Clean My Weed Grinder? 🌿 Your Complete Maintenance Guide

Why Cleaning Your Grinder Actually Matters 🧐
Look, I get it. Cleaning your grinder probably isn't at the top of your priority list. But here's the thing – a dirty grinder isn't just gross, it's actually costing you money and ruining your experience.
When residue builds up on those precious teeth and threads, you're dealing with more than just a sticky mess. That buildup reduces your grinder's efficiency, makes it harder to twist open, and can even contaminate your fresh material with old, oxidized particles. Nobody wants that musty flavor mixing with their premium herb, right?
Plus, a clean grinder produces a better, more consistent grind. Think about it – when those teeth are clogged with resin and plant matter, they can't do their job properly. You end up with uneven chunks instead of that perfect, fluffy consistency that rolls smoothly and burns evenly.
The kicker? Regular cleaning actually extends your grinder's lifespan by years. Those threads wear down faster when they're grinding against sticky residue instead of moving smoothly. A $50 grinder that lasts five years with proper maintenance is way better than buying a new $20 grinder every six months because the old one seized up.
How Often Should You Clean? The Real Answer 🕐
Alright, let's get to the question you actually came here for. The truth is, there's no one-size-fits-all answer – it depends on how often you use your grinder and what kind of material you're grinding. But I've got you covered with specific guidelines for every type of user.
For Daily Users 💚
If you're grinding every single day (hey, no judgment here), you should be giving your grinder a deep clean every 1-2 weeks. Daily use means daily buildup, and that residue accumulates faster than you might think.
Here's what that schedule looks like in practice: Every day after you grind, give it a quick brush-off – literally takes 30 seconds. Then, every weekend or every other weekend, dedicate 20 minutes to a proper deep clean. This rhythm keeps your grinder in peak condition without feeling like a chore.
Some daily users prefer to clean weekly if they're grinding particularly sticky or resinous material. If you notice your grinder getting tough to turn before that two-week mark, just clean it. Your future self will thank you when you're not wrestling with seized threads at 11 PM on a Saturday.
For Weekly Users 🌟
Using your grinder a few times a week? You've got more breathing room. A thorough cleaning every 3-4 weeks should keep you golden, with quick maintenance after each session.
The key here is consistency with those quick cleanings. After each use, just tap out the loose particles and give the teeth a quick brush. This prevents compacted buildup that makes deep cleaning way harder later. Think of it like dishes – easier to rinse them right away than to scrub dried food off three days later.
Once a month, set aside time for a complete breakdown and clean. Mark it on your calendar if you need to – "grinder spa day" sounds way better than "ugh, I need to clean that thing."
For Occasional Users 🎯
Only breaking out your grinder once or twice a month? Lucky you – you can stretch that cleaning schedule to every 2-3 months. But here's the catch: you still need to maintain it between uses.
Before you put your grinder away after each use, brush it out completely and make sure it's bone dry. Residue left sitting for weeks can oxidize and create a nasty, hard-to-remove film. Store it in a cool, dry place – not in your car where temperature swings can cause moisture issues.
Even if your grinder looks clean on the outside, those threads and teeth collect microscopic particles. Every few months, give it a full cleaning just to reset everything. You'll be amazed at what comes out even from "occasional" use.
5 Warning Signs Your Grinder Needs Cleaning NOW ⚠️
Sometimes your grinder doesn't care about schedules – it needs help immediately. Watch out for these red flags:
1. Sticky, Difficult Threads 😤
If you're struggling to twist your grinder open or closed, that's resin buildup on the threads. This is your grinder literally screaming for a cleaning. Forcing it will only make things worse and could strip the threads permanently.
2. Visible Cake-On Buildup 👀
When you can actually see layers of residue caked around the teeth or stuck in the corners, you've waited too long. This isn't just unsightly – it's actively contaminating your fresh material and reducing grinding efficiency.
3. Reduced Grinding Performance 💪
Your grinder should slice through material like butter. If you're finding yourself having to twist harder, or the consistency is coming out chunky and uneven, those dulled, clogged teeth need attention stat.
4. Kief Collection Slowing Down 📉
If you have a multi-chamber grinder with a kief catcher, pay attention to your collection rate. When that screen gets clogged, you'll notice way less kief accumulating. A clogged screen means you're losing out on all those precious trichomes.
5. Funky Smell 👃
Fresh herb should smell fresh. If your grinder has a musty, sour, or just generally "off" smell, that's old oxidized residue talking. No amount of premium material can overcome the flavor contamination from a dirty grinder.
Step-by-Step Cleaning Methods 🧼
Now that you know when to clean, let's talk about how. I'm giving you three different methods depending on how much time you have and how dirty your grinder is.
The Quick Clean (5 Minutes) ⚡
What You Need:
- Small brush (old toothbrush works great)
- Toothpick or paper clip
- Paper towel
The Process:
Step 1: Disassemble all chambers and tap out loose particles over a tray or paper (save that kief!).
Step 2: Brush each piece thoroughly, paying special attention to teeth and threads. Use circular motions and don't be shy – really get in there.
Step 3: Use a toothpick to dig out stubborn bits stuck between teeth or in corners. This is oddly satisfying.
Step 4: Wipe everything down with a dry paper towel. Reassemble and you're good to go.
This quick clean is perfect for maintenance between deep cleans. It won't get every microscopic particle, but it'll keep things running smooth.
The Deep Clean (20 Minutes) 🛁
What You Need:
- Isopropyl alcohol (90% or higher)
- Small container or ziplock bag
- Brush and toothpick
- Clean towels
- Cotton swabs
The Process:
Step 1: Completely disassemble your grinder. Remove the screen if possible (but be gentle – those screens tear easily).
Step 2: Place all metal pieces in a container or ziplock bag. Cover with isopropyl alcohol. For wooden grinders, skip the soaking and use cotton swabs dampened with alcohol instead.
Step 3: Let metal pieces soak for 10-15 minutes. Give the bag a shake every few minutes to help loosen stubborn residue.
Step 4: Remove pieces and scrub with your brush while they're still wet. The alcohol loosens everything up, making scrubbing way easier.
Step 5: Use toothpicks and cotton swabs to get into those tiny crevices. The threads especially need attention here.
Step 6: Rinse with warm water (if it's a metal grinder) and dry thoroughly with a clean towel. Let air dry completely before reassembling – moisture is your enemy.
The Pro Method (30 Minutes) 🏆
This is my favorite method when a grinder needs serious rehab. It combines the deep clean with some extra steps that make your grinder feel brand new.
What You Need:
- Everything from the deep clean
- Coarse salt (like sea salt or kosher salt)
- Small bowl
- Soft cloth
- Food-grade lubricant (optional, for threads)
The Process:
Step 1-3: Follow the deep clean steps for disassembly and initial soaking.
Step 4: Here's where it gets interesting. Put each piece in a ziplock with isopropyl alcohol and a tablespoon of coarse salt. Shake vigorously for 2-3 minutes. The salt acts as an abrasive that scrubs away residue without scratching metal. It's like a spa treatment for your grinder.
Step 5: Scrub with your brush, focusing on problem areas. You'll notice way less effort needed after the salt shake.
Step 6: For the screen, place it flat in a bowl with alcohol and let it soak an extra 5 minutes. Use a soft brush to gently clean both sides. Never scrub aggressively – screens are delicate.
Step 7: Rinse everything thoroughly with warm water, then dry completely. I mean COMPLETELY. Use a hairdryer on low if you're impatient.
Step 8: (Optional but recommended) Apply a tiny amount of food-grade lubricant to the threads. This keeps things twisting smoothly and prevents future buildup. Just a tiny drop – we're not making salad here.
Step 9: Polish the outside with a soft cloth. This step is purely cosmetic but makes your grinder look impressive.
Video Tutorials 🎥
Sometimes you need to see it to believe it. Here are some killer video tutorials that show different cleaning methods in action:
Quick Daily Maintenance (3:24)
What's Special: This video shows the brushing technique that takes literally 30 seconds but makes a huge difference. The creator demonstrates the exact angle to hold your brush for maximum particle removal and shows close-ups of the teeth before and after. Perfect for visual learners who want to master the quick-clean routine.
Deep Cleaning with Isopropyl Alcohol (8:17)
What's Special: This tutorial breaks down the soaking method step-by-step and shows you exactly how to handle delicate screens without tearing them. The host also demonstrates the before-and-after difference with a seriously gunked-up grinder, so you can see the transformation is real. Bonus: they share a hack for collecting the dissolved residue if you're into reclaiming.
The Salt Shake Method (5:42)
What's Special: Watch this method in action and you'll never go back. The creator uses a clear container so you can actually see the residue being scrubbed away by the salt. They also test different types of salt to show which works best (spoiler: coarse kosher salt wins). Great tips on shaking technique and timing.
Common Cleaning Mistakes (And How to Avoid Them) 🚫
Using Hot Water During Soaking
I know hot water seems like it would clean better, but it can actually cause resin to become stickier and harder to remove. Stick with room temperature or warm (not hot) water for rinsing. Save the boiling water method for your glassware.
Forgetting to Dry Completely
This is probably the most common mistake. Any moisture left in your grinder will cause rust (on lower-quality metals) or create gross bacterial growth. After washing, dry with a towel and then let it air dry for at least an hour before reassembling. Seriously, patience pays off here.
Scrubbing the Screen Too Hard
Those kief screens are thin and delicate. One aggressive scrubbing session with a stiff brush can tear them or stretch out the mesh, rendering them useless. Always use a soft brush and gentle circular motions. If something's really stuck, let it soak longer rather than scrubbing harder.
Using Dish Soap
Dish soap leaves a residue that's tough to rinse completely. That soap film can affect the taste of your material and make the grinder feel weirdly slippery. Stick with isopropyl alcohol – it evaporates completely and doesn't leave anything behind.
Cleaning Too Infrequently, Then Over-Scrubbing
When people wait too long between cleans, they end up having to scrub way too hard to remove compacted buildup. This can damage teeth, strip threads, or wear down the anodized coating. Regular maintenance means gentle cleaning. Neglect means aggressive scrubbing that shortens your grinder's life.
Not Checking for Loose Pieces
Before you start shaking bags of alcohol or running pieces under water, make sure everything is secure. Loose magnets, screens that aren't properly seated, or grinding pins that are barely hanging on can get lost in the chaos. Do a quick inspection first.
Daily Maintenance Tips to Keep Your Grinder Fresh ✨
The secret to never having to do an intense cleaning session? Smart daily habits that take minimal effort but make a massive difference. Here's your maintenance playbook:
The 30-Second After-Use Routine 👌
After every grinding session, hold your grinder over a tray and tap it firmly on all sides. This knocks loose any particles clinging to the teeth or walls. Then, give it a quick brush with a soft-bristle brush. Keep this brush with your grinder so it's always handy. This 30-second habit prevents 90% of buildup.
The Parchment Paper Trick 📄
Here's a hack that changed my life: cut a small circle of parchment paper or wax paper to fit the bottom chamber of your grinder. Replace it every few uses. This catches fine particles before they can cement themselves to the chamber floor. It's like a drip tray for your grinder.
Proper Material Prep 🌿
Make sure your material is properly dried before grinding. Wet or overly sticky material creates way more buildup and can gum up your grinder in a single session. If your stuff is too moist, let it dry out a bit first. Your grinder will thank you.
The Quarter Trick for Kief Collection 🪙
Drop a clean nickel or quarter in your main grinding chamber (the one above the screen). When you grind, give the grinder a few shakes. The coin helps knock trichomes through the screen into your kief catcher. Bonus: this also prevents residue from building up on the screen as quickly.
Storage Matters 📦
Don't leave your grinder sitting out in humid environments. Store it in a cool, dry place – ideally in a small case or bag to keep dust out. If you live in a particularly humid climate, consider keeping a small silica gel packet near your grinder. Moisture is the enemy of clean threading.
Don't Overload 🚫
I know it's tempting to stuff your grinder full to save time, but overloading creates way more mess and residue. Fill it about halfway, give it good twists, and then reload if needed. This creates a better grind and keeps the chamber cleaner.
Material-Specific Cleaning Schedules 🔧
Not all grinders are created equal, and different materials need different care approaches. Let's break it down by grinder type:
Aluminum Grinders 🥈
The most popular option for a reason – aluminum is durable and easy to clean. These bad boys can handle aggressive cleaning methods, including the salt-shake technique and full alcohol soaks. Clean every 1-2 weeks for daily use. They're resistant to rust, but watch out for cheap aluminum that can leave a metallic residue.
Titanium Grinders 💎
The luxury option. Titanium is nearly indestructible and naturally antimicrobial. You can be pretty aggressive with cleaning – these grinders can take it. Same cleaning schedule as aluminum (1-2 weeks for daily use), but they're more forgiving if you occasionally skip a cleaning. The smooth titanium surface doesn't hold onto residue as much as other materials.
Stainless Steel Grinders 🔩
Heavy-duty and rust-resistant. Stainless steel grinders are workhorses that handle frequent cleaning well. Follow the same 1-2 week schedule for daily use. The extra weight means more thorough grinding but also means residue can compact more firmly – don't slack on maintenance.
Acrylic/Plastic Grinders 🎨
Budget-friendly but higher maintenance. These grinders attract static, which means residue sticks more easily. Clean more frequently – every week for daily use. Be gentle with cleaning – no aggressive scrubbing or harsh chemicals that can cloud or crack the plastic. Use alcohol sparingly and never soak for extended periods. Honestly, these are better as temporary grinders rather than long-term investments.
Wood Grinders 🌳
The artisan option. Wood grinders need special care because you absolutely cannot soak them in alcohol or water – they'll warp, crack, and develop mold. Clean these weekly with a dry brush only. Occasionally use a barely-damp cotton swab with alcohol for stubborn spots, but dry immediately. The upside? Wood naturally absorbs some oils, which can actually help maintain smooth threading. The downside? No deep cleaning option exists.
Ceramic Grinders 🏺
Super smooth grinding but somewhat fragile. Ceramic can handle alcohol soaks like metal, but be careful during handling – drops can crack or chip the material. Clean every 2 weeks for daily use. The non-porous surface means less residue sticks, but the teeth can still get gummed up like any other grinder.
When to Upgrade Your Grinder 🆙
Sometimes, no amount of cleaning can save a grinder that's past its prime. Here are signs it's time to invest in a new one:
- Stripped threads: If the threads are worn down so much that the grinder won't stay closed or spins without catching, it's done. No fix exists for this.
- Bent or broken teeth: Missing or bent teeth create uneven grinding and can't be repaired. Time to upgrade.
- Torn screen: While you can sometimes replace just the screen, if your grinder uses a non-replaceable screen that's ripped, you're out of luck.
- Rust or corrosion: Surface rust might be cleanable, but deep corrosion that pits the metal means you're grinding off metal particles into your material. Not good.
- Permanent smell: If you've deep cleaned multiple times and there's still a funky smell, that odor has permeated the material. This is especially common with porous materials like wood or cheap plastics.
Upgrade to a Premium Weed Grinder 🌟
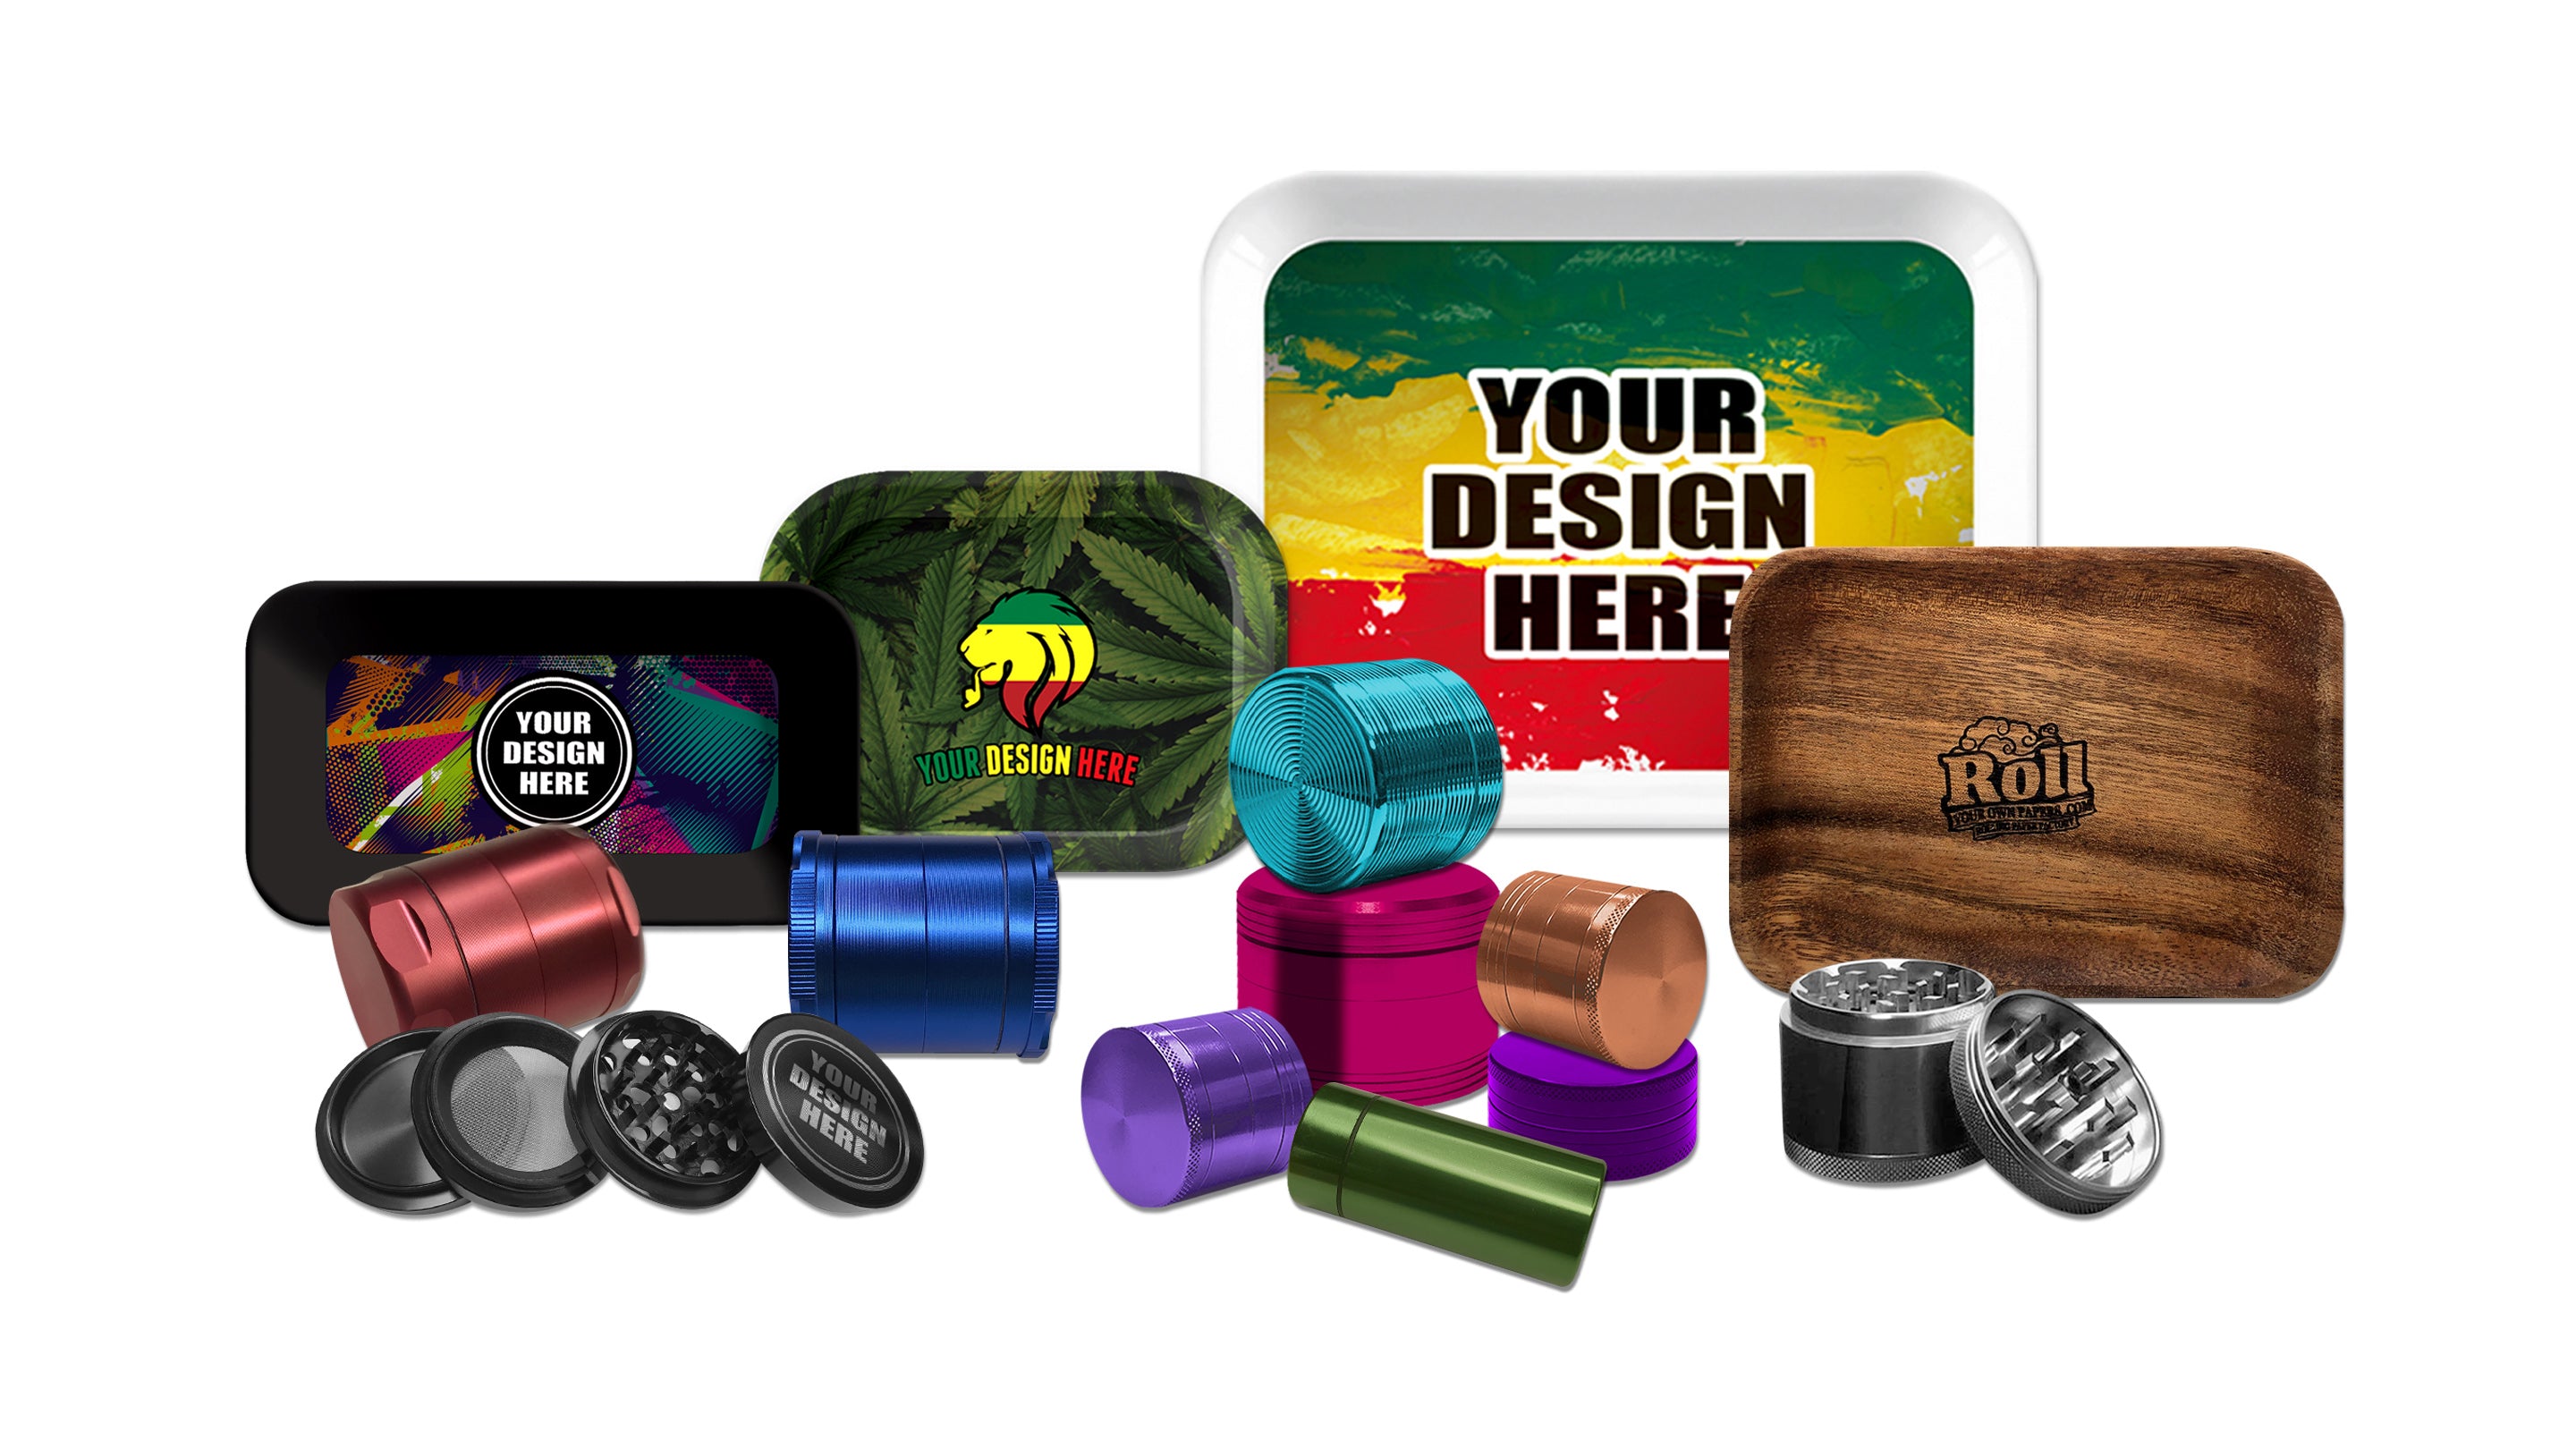
If you're reading this article, chances are you care about quality. A premium grinder isn't just a purchase – it's an investment in better sessions, easier maintenance, and years of reliable performance. Our Weed Grinder collection features aircraft-grade aluminum construction, diamond-shaped teeth for the perfect consistency, and ultra-smooth threading that makes cleaning a breeze.
What makes our grinders special? Every unit includes a removable screen for easy cleaning, a deep kief catcher with a scraper tool, and a unique tooth design that prevents material from sticking. The anodized finish resists scratches and residue buildup, meaning you'll spend less time scrubbing and more time enjoying perfectly ground material. Plus, they come in multiple sizes and colors to match your style.
A quality grinder pays for itself within months through better material efficiency, reduced waste, and the sheer convenience of equipment that actually works the way it should. Check out our Weed Grinder collection to see why thousands of enthusiasts have made the upgrade and never looked back.
Frequently Asked Questions 💭
How often should I clean my weed grinder if I use it daily?
If you're grinding every single day, you should deep clean your grinder every 1-2 weeks. Daily users accumulate residue quickly, which can gum up the teeth and threads. A quick brush-off after each session and a thorough cleaning every week or two will keep everything running smoothly.
What are the signs my grinder needs cleaning right now?
Watch for sticky threads that won't twist smoothly, buildup caking around the teeth, difficulty grinding through material, reduced kief collection in the bottom chamber, and a noticeably musty or off smell. These are all red flags that your grinder is overdue for a deep clean.
Can I clean my grinder too often?
Honestly, not really. While you don't need to scrub it after every single use, frequent cleaning actually extends your grinder's life. Just avoid super harsh chemicals or abrasive scrubbing that could damage the teeth or finish. Gentle, regular maintenance beats sporadic intense cleaning sessions.
What's the fastest way to clean a grinder between deep cleans?
Keep a small brush handy and give your grinder a quick sweep after each use. A soft toothbrush or dedicated grinder brush takes literally 30 seconds. Knock out loose particles, brush the teeth, and wipe the threads. This simple habit prevents major buildup and means you can go longer between deep cleaning sessions.
Does the type of grinder material affect cleaning frequency?
Absolutely. Metal grinders, especially aluminum or titanium, are way easier to maintain and can handle more aggressive cleaning methods. Acrylic or plastic grinders attract more residue and scratch easier, so they need gentler care but potentially more frequent attention. Wood grinders are trickier since you can't soak them – they need careful, dry cleaning more often.
Will cleaning my grinder make me lose kief?
Not if you're smart about it. Before cleaning, tap out all your kief from the collection chamber and save it. When you clean the screen and other parts, any residue you collect is just old, oxidized material that's lost potency anyway. Fresh kief from clean equipment is actually more pure and flavorful.
How do I maintain my grinder to reduce cleaning frequency?
Simple daily habits make a huge difference. Don't overload your grinder, make sure your material is properly dried before grinding, brush out particles after each use, and occasionally put a small piece of paper or parchment between uses to catch residue. Store your grinder in a cool, dry place and avoid cross-contaminating with sticky hands. These small steps can double the time between deep cleans.
Final Thoughts: Clean Grinder, Better Sessions 🎯
At the end of the day, the question "how often should I clean my weed grinder?" has a simple answer: more often than you think, but less often than you fear. For most people, that sweet spot is every 1-2 weeks with quick maintenance after each use.
Think of your grinder like you think about your favorite kitchen knife. You wouldn't let it sit dirty for weeks, and you definitely wouldn't keep using it when it's dull and covered in old food residue. The same logic applies here – a clean grinder is a happy grinder, and a happy grinder means better, more consistent results.
The real secret? Don't let it become a dreaded chore. Build those quick 30-second maintenance habits into your routine, and deep cleaning becomes way less intimidating. Keep a brush handy, tap out your grinder after each use, and you'll find yourself saying "wow, this really isn't that dirty" when cleaning day rolls around.
Your grinder is an investment in quality sessions. Treat it right with regular cleaning and maintenance, and it'll serve you faithfully for years. Neglect it, and you'll be fighting with sticky threads and dealing with contaminated material until you finally give up and buy a new one.
Now you've got all the knowledge you need – cleaning schedules for every usage level, multiple cleaning methods to choose from, maintenance tips to prevent buildup, and warning signs to watch for. No more guessing, no more excuses. Your grinder is waiting for some TLC, and honestly, it'll take less time than scrolling through social media. So grab that brush and show your grinder some love – your future self will thank you during the next session when everything twists smoothly and grinds perfectly. ✨







Leave a comment