✨ How to Clean a Rolling Tray: The Ultimate Guide to a Spotless Tray

Rolling trays are a must-have for anyone who likes to roll their own. They keep your space neat by catching stray bits and providing a stable surface. Over time, though, even the nicest tray can get a bit grimy with crumbs and sticky residue. The good news is that bringing your tray back to its fresh, shiny glory is easy with just a few household items and a little effort. In this ultimate guide on how to clean a rolling tray, we’ll walk you through everything from quick daily tips to deep cleaning different types of trays. Let’s dive in!
Keeping your rolling tray clean is easier with the right tools. A soft brush can reach into corners and scrub away residue, while a bit of gentle dish soap works wonders to lift grime. Whether your tray is wood, metal, or plastic, a simple cleaning routine can make it look brand new without much hassle. Below is a table of contents for this guide, so you can jump to any section you need:
Table of Contents:
📚 Step-by-Step: Cleaning Any Rolling Tray
In this section, we’ll go over a general cleaning method that works for most types of rolling trays. Whether your tray is metal, plastic, or something else, these basic steps will get the job done in most cases. (If you have a wooden tray or another special material, don’t worry – we have specific tips for those in the next section.) First, gather your cleaning supplies, then follow the easy steps below.
👨🏫 What You’ll Need
- Mild dish soap (a few drops of gentle dishwashing liquid)
- Warm water
- Soft sponge or cloth
- Soft-bristled brush (an old toothbrush or small paintbrush works great)
- Paper towels or a clean dry cloth
- Optional: White vinegar or isopropyl alcohol (for stubborn sticky spots)
- Optional: Baking soda and lemon juice (for deodorizing)
📝 Cleaning Steps
- Clear the tray: Take everything off your rolling tray. Dump out any loose bits by gently tipping the tray over a trash can. You want an empty surface to work with. (If there are any tools or accessories in the tray, set them aside in a safe place.)
- Wipe out debris: Use a paper towel or dry cloth to wipe up any remaining crumbs, ash, or loose particles. This dry wipe removes the loose stuff so it doesn’t turn into sludge when we add water. If you encounter a really sticky glob, you can gently scrape it with a plastic card or spoon – just be careful not to scratch your tray.
- Soak or apply soapy water: If your tray is made of a material that can handle water (like metal, plastic, ceramic, etc.), fill the tray with warm water and add a few drops of dish soap. Let it sit for a minute or two. The warm, soapy water will start to loosen up any caked-on residue. (Note: If your tray is wooden or has parts that shouldn’t get too wet, skip the soaking and just dampen a cloth with soapy water to wipe it down instead.)
- Scrub gently: Dip your soft-bristled brush or sponge into the soapy water and start scrubbing the tray. Use small circular motions and make sure to get into the corners and edges. The soft brush will lift off residue without scratching the surface. If you encounter stubborn sticky spots, add a little white vinegar or isopropyl alcohol onto the brush and scrub that area – this helps dissolve tough grime.
- Rinse thoroughly: Once you’ve scrubbed every inch and things are looking cleaner, pour out the dirty water. Rinse the tray by either running warm water over it in the sink or refilling it with clean water and swirling it around. Make sure all soap and loosened gunk are washed away. (For wooden trays, instead of a full rinse, use a cloth dampened with clean water to wipe off any soapy residue.)
- Dry completely: Use a clean towel or paper towels to dry your rolling tray thoroughly. Wipe off all moisture, then let the tray air-dry for 15–20 minutes to ensure no water is hiding in any crevices. Prop it upright or upside-down on a rack so it can drip dry. It’s important that the tray is 100% dry before you use it again – this prevents any potential mold or material damage. Don’t forget to dry corners and any seams where water could linger.
- Deodorize (optional): If your tray still has a bit of a smell or you just want it extra fresh, try this trick: sprinkle a tablespoon or two of baking soda evenly across the tray’s surface. Baking soda is great at absorbing odors. You can also squeeze a few drops of lemon juice on the tray for a natural fresh scent. Let it sit for 10–15 minutes, then wipe or rinse the tray again and dry it. Now your tray should look and smell as good as new! ✨
🔥 Stubborn Residue? Try This:
Usually, the steps above will get your rolling tray clean. But what if you’ve got some super-stuck gunk that just won’t budge? Don’t worry, here's one extra trick:
Oil method: For really sticky, tar-like residue (the kind that feels glued on), try rubbing a few drops of cooking oil (vegetable or coconut oil) onto that spot. The oil helps dissolve the stubborn gunk. After letting the oil sit on the residue for about a minute, wipe it up with a paper towel. Then clean the tray again with warm soapy water to remove the oily film. The sticky spot should come off much easier!
With this trick, even the most caked-on bits don’t stand a chance. Just remember to be gentle and patient – let the cleaner do the work, rather than scraping aggressively. Your tray will get clean without any damage.
🔄 Cleaning by Tray Material
Not all trays are the same. Cleaning methods that work for one material might not be ideal for another. Below, we break down tips for specific tray types: wooden, metal, plastic (including acrylic or melamine), and a note on other materials like glass or silicone. Use these pointers along with the general steps above to give your particular tray the TLC it deserves, without harming it.
🌳 Wooden Rolling Trays
Wooden trays look great and often have a nice natural feel, but they need a bit of extra care when cleaning. The number one rule: avoid soaking wood in water. Wood is porous and can absorb water, which might lead to warping, cracking, or even mold. So instead of dunking your wooden tray in the sink, stick to a light touch:
- Skip the soak: Never submerge a wooden tray or rinse it under running water. Instead, dampen a cloth or sponge with soapy water and wipe the tray’s surface. This will clean it without the wood absorbing too much moisture.
- No harsh chemicals: Avoid strong cleaners or solvents on wood. The wood can soak those up, leaving behind bad smells or even affecting the flavor of anything you later place on the tray. A mixture of equal parts white vinegar and water works as a gentle cleaner that won’t ruin the wood. (You can also use a specialized wood cleaner, as long as it’s food-safe.)
- Dry immediately: After wiping your wooden tray, go over it with a dry towel right away. Make sure all moisture is gone. It’s a good idea to let it air out in a dry spot for a bit before using it again, just to be sure the wood is completely dry.
- Condition the wood (optional): If your tray is unfinished wood or looking a bit dry, rub a small amount of food-grade mineral oil or cutting board oil into the wood after cleaning. This keeps the wood hydrated and less prone to cracking. Just apply a thin layer, then wipe off any excess. You don’t need to do this every time, but occasional oiling will keep a wooden tray in top shape.
Follow these tips and your wooden tray will stay smooth, unwarped, and ready for many sessions to come. Wooden trays can develop a nice patina over time, but only if you treat them gently and avoid water damage.
🥇 Metal Rolling Trays
Metal trays (often made of stainless steel or tin) are durable and popular because they’re hard to break. However, they can scratch or rust if not cared for properly. Here’s how to clean metal rolling trays without a hitch:
- No steel wool or knives: Metal is tough, but using steel wool pads or metal scrapers (like knife blades) to clean a metal tray is a bad idea. You’ll end up scratching the surface or scraping off any painted design. Scratches not only look bad, but they can also trap more residue later. Stick to using soft sponges or cloths for scrubbing metal trays.
- Stubborn spots? Use heat or alcohol: For really sticky residue on metal, warm it up first (for example, use a hairdryer on the spot for a minute) to soften the gunk. Then wipe it away with isopropyl alcohol or vinegar on a cloth. This combo will lift off even tough, stuck-on bits of resin.
- Dry thoroughly: After washing a metal tray, make sure to dry it completely. Water sitting on metal can lead to rust or water spots. Use a towel to dry it off, and then let it air dry the rest of the way. Pay attention to any rolled edges or seams where water might hide.
Metal trays are pretty forgiving, and with these methods you won’t damage the finish or design. You’ll just be left with a shiny, clean tray that’s ready for duty.
🛡️ Plastic or Acrylic Rolling Trays
Plastic trays (including acrylic and melamine trays) are very common and usually the easiest to clean. They won’t rust and they’re generally fine with water. But you still want to be careful with very hot water or harsh chemicals, as some plastics could warp or cloud. Here’s how to keep plastic or acrylic trays in top shape:
- Dishwasher (if sturdy): Many plastic trays, especially thicker ones like melamine, can handle a quick run in the dishwasher. If the manufacturer says it’s dishwasher-safe, you can pop it on the top rack for a short cycle. This is super convenient for regular cleaning. (For example, our own custom trays are melamine and dishwasher friendly, making cleaning a breeze. 🤩)
- Soak in soapy water: For manual cleaning, fill the tray with warm water and a bit of dish soap, and let it sit for 5–10 minutes. Then gently scrub with a non-abrasive sponge or cloth to loosen the grime. Plastic doesn’t mind a brief soak since it won’t absorb water like wood does.
- Isopropyl alcohol for sticky spots: If soap isn’t cutting through a sticky patch, a bit of rubbing alcohol can save the day. Pour or spray a little isopropyl alcohol on the spot, let it sit for a minute, then wipe. It should dissolve the gunk. You can also add a spoonful of salt or use a plastic scraper along with the alcohol as a mild abrasive to help scrub off any residue.
Just be sure to rinse off any soap and dry the tray after washing. With regular care, plastic and acrylic trays will stay clean and won’t hold onto stains or odors. Easy peasy! 😎
🔮 Other Materials (Glass, Silicone, etc.)
For glass or ceramic trays, treat them like regular dishes: soak in warm soapy water, scrub gently, and rinse clean (you can use a bit of isopropyl alcohol for any extra-sticky spots). Silicone trays or mats are non-stick, so most residue washes off with soap and water. If there’s stubborn waxy buildup, try freezing the silicone tray for a while, then flex it – often the residue will pop or peel off. If you have a novelty tray made of epoxy resin, be gentle – just wipe it with mild soap and water (avoid using alcohol on resin, since it can damage that material).
No matter the material, the key is to use the gentlest effective cleaning method. Usually, warm water and mild soap plus a bit of patience will do the job for any type of tray out there.
✨ Tips to Keep Your Tray Clean Longer
Now that your rolling tray is clean, let’s keep it that way! Here are some simple tips to maintain your tray and reduce how often you need major cleanings:
- Wipe after each use: It might sound tedious, but giving your tray a quick wipe with a dry cloth (or a small soft brush) after each rolling session prevents residue buildup. When you don’t let bits of herb or ashes sit and accumulate, the tray stays cleaner by default. Tiny effort, big payoff!
- Use a tray liner or paper: If you’re doing something particularly messy (like using oils or very crumbly herbs), consider laying down a piece of parchment paper on the tray first. It catches the mess and you can just toss the paper after. Some people use a thin silicone mat as a liner for the same reason. This way, your tray itself barely gets dirty at all.
- Don’t ash on the tray: Try not to use your rolling tray as an ashtray if you can help it. Hot ash can stain and even burn the tray’s surface (plus it adds odor). If you do tap out anything burnt on the tray, be sure to clean that up soon after. It’s best to use a dedicated ashtray for anything burning. 😉
- Store it covered: Keep your tray in a drawer, cabinet, or cover it with a cloth when it’s not in use. This prevents dust or pet hair from settling on it. It also avoids accidental spills onto your tray. Out of sight, out of dirt!
By following these tips, you’ll keep your rolling tray almost effortlessly clean over the long term. A little care here and there means you won’t have to do heavy scrubbing as often, and every session will be on a nice, clean surface. 🙌
🔥 Upgrade Your Rolling Tray (Low Minimum Custom Trays)
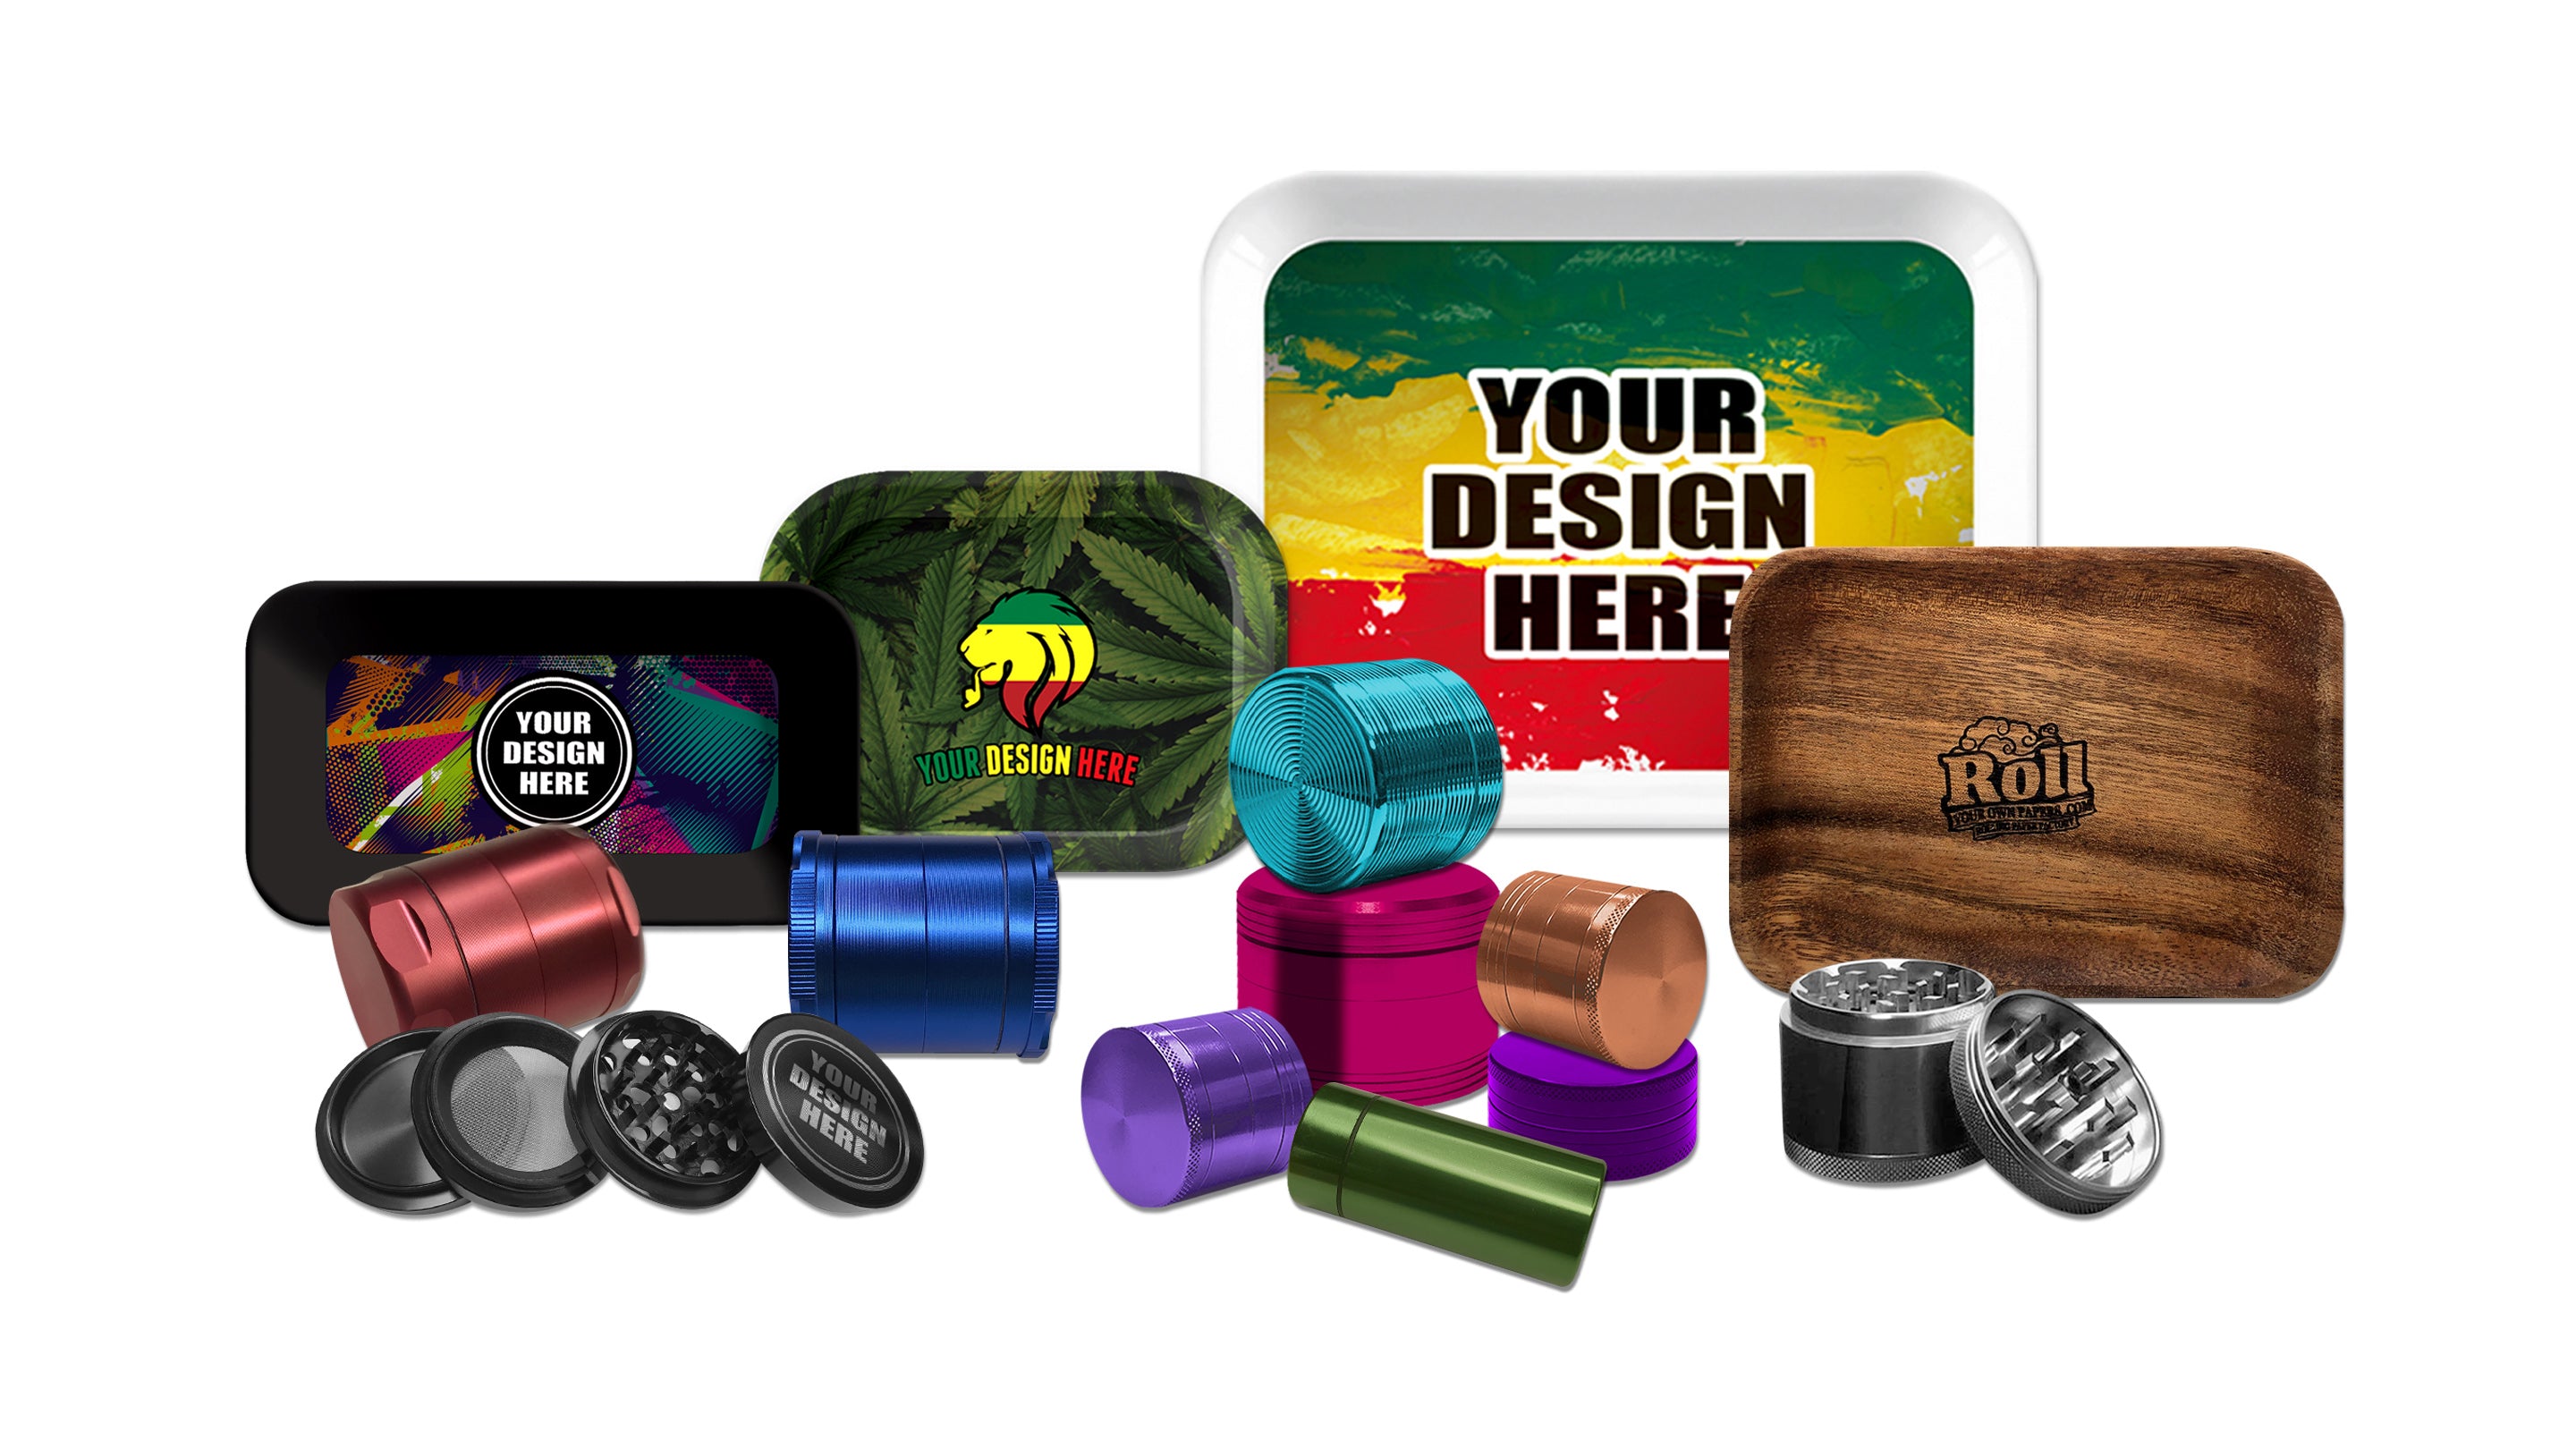
If your current tray has seen better days or you’re just ready for an upgrade, why not treat yourself to a custom rolling tray? At ROLLYOUROWNPAPERS.COM, we offer custom-designed rolling trays with a low minimum order. In fact, you can get your own design printed on a durable melamine tray with an order of just 5 trays (yes, only five!). It’s perfect for personal use, gifting to friends, or promoting your brand.

Our custom trays are made of high-quality melamine, which means they’re super sturdy and even dishwasher-friendly for easy cleaning. 🙌 The printing is full-color and edge-to-edge, so you can create a tray that’s truly yours – whether it’s featuring your artwork, a company logo, or a fun graphic. Plus, melamine trays last practically forever and won’t warp or fade easily.
Ready to level up your rolling game? Check out ROLLYOUROWNPAPERS.COM for an awesome new tray that combines style with practicality. It’s never been easier to get a fresh tray that’s clean, cool, and uniquely you. 😎
❓ Frequently Asked Questions (FAQs)
How often should I clean my rolling tray?
Ideally, give it a quick wipe after each use to prevent buildup. You don’t have to do a full deep clean every time, but try to do a thorough cleaning at least once a month (or whenever you notice a lot of residue). Regular light cleaning makes those occasional deep cleans much easier!
Can I put my rolling tray in the dishwasher?
It depends on the tray’s material. Many metal and plastic trays (like melamine) are top-rack dishwasher safe on a gentle cycle. However, wooden trays should never go in a dishwasher, as the water and heat will damage them. Trays with electronic parts (like LED trays) or special decals should also be hand washed to be safe. When in doubt, a quick hand wash is the safer choice.
What’s the best cleaner for a rolling tray?
Warm water and mild dish soap are the go-to cleaners for any rolling tray. They’re gentle, non-toxic, and effective on most grime. For tougher sticky spots, use a bit of isopropyl alcohol or white vinegar to help dissolve the residue. You generally won’t need any harsh chemical cleaners – those can be overkill and might leave strong odors or even damage certain tray materials.
How do I remove sticky residue from my tray?
Isopropyl alcohol is a hero here – dampen a cloth or cotton ball with rubbing alcohol and rub the sticky spot; it should dissolve and lift off the residue. If it’s really stubborn, let the alcohol sit on it for a minute or two, or sprinkle a bit of coarse salt on the area and then scrub (the salt helps scrub off the gunk). Another trick is to use a drop of cooking oil on the sticky spot to loosen it, then wipe off the oil and clean the tray with soap and water to remove any oil residue.
Will water ruin a wooden rolling tray?
Excess water can harm a wooden tray. You should never soak a wooden rolling tray or leave it wet for long – it can warp or crack as it dries. However, wiping a wooden tray with a damp cloth is perfectly fine as long as you dry it thoroughly right after cleaning. The key is to avoid long exposure to water. Quick washes and immediate drying will keep a wooden tray safe.
How can I prevent my rolling tray from smelling?
The best way is to keep it clean and empty when you’re not using it. Dump out any crumbs or debris after each session so they don’t sit and cause odors. If you do notice a smell, wash the tray with soap and water and let it air out. You can also wipe it with a bit of white vinegar or lemon juice to neutralize odors (the vinegar/lemon smell will fade quickly). Sprinkling baking soda on a dry tray for a few hours (then cleaning it off) is another great way to absorb stubborn odors. Regular cleaning and these tricks will keep funky smells away.
Will cleaning my tray remove or damage the design?
As long as you clean it gently, your tray’s artwork or printed design should be fine. Most trays have a protective coating over the graphics. Use soft sponges or cloths and avoid abrasive scrubbers or extremely harsh chemicals that could scratch or strip the design. The methods in this guide (warm water, mild soap, soft brushes, alcohol, etc.) are design-safe. In fact, regular cleaning prevents residue from building up on the design, so your tray will actually stay vibrant. Just don’t use steel wool or sharp tools on it, and your design will stay intact.
😄 Ready for a Cleaner, Cooler Rolling Tray?
Keeping your rolling space clean doesn’t have to be boring — why not upgrade to a tray that’s easy to wipe, built to last, and totally your vibe? Whether you’re into bold graphics, sleek logos, or chill designs, you can create a custom rolling tray that’s as fresh as your herb. 👌
🎨 Design Your Custom Tray NowLow minimums – just 5 trays to start. Dishwasher-safe. Made to impress. 😎





Leave a comment