How to Clean Weed Grinder (Fast, Safe & Like-New) ✨

If you’re wondering how to clean weed grinder without ruining the finish (or the taste), you’re in the right place. This friendly guide gives you three clear paths—quick wipe-down, kief-saving clean, and deep reset—plus material-specific steps for metal, acrylic, and wood. We’ll stick to safe, household methods and a 30-minute sprint so your weed grinder turns like new again. Let’s make those threads glide and your screen breathe. ❄️
Why Weed Grinder Cleaning Matters
Over time, sticky buildup glues threads, clogs screens, and makes every twist feel like arm day. A clean weed grinder turns smoothly, produces a consistent fluffy grind, and keeps flavor bright. Plus, a clean screen actually collects kief instead of trapping it. Win-win. ✨
How Often Should You Clean? ⏱️
- Daily users: light brush after sessions + deep clean every ~4 weeks.
- Casual users: weekly brush + deep clean every 6–10 weeks.
- Anytime: if twisting feels sticky, squeaky, or the screen looks “solid,” it’s time.
Micro-maintenance beats mega cleanups.
Your Cleaning Kit (Simple)
What you need
- Isopropyl alcohol (90%+ for metal parts)
- Warm water + mild dish soap (great for acrylic; final rinse for all)
- Zip bag or glass jar (for soaking)
- Soft brush (old toothbrush / paintbrush) + cotton swabs + toothpicks
- Paper towels / microfiber cloth
- Freezer for the pre-clean trick ❄️
- Coarse salt (optional gentle abrasive)
Pick Your Method 🔀
Quick Clean (2–3 minutes) ⚡
Tap parts over paper ➜ brush teeth & screen ➜ wipe threads ➜ done.
Save-the-Kief Clean (10–15 minutes) ✨
Freeze 20–30 minutes ➜ tap & brush to collect kief ➜ light wipe ➜ air-dry.
Deep Clean (20–40 minutes) 🛁
Full disassembly ➜ freeze ➜ brush ➜ soak (material-specific) ➜ rinse ➜ thorough dry ➜ re-assemble.
Deep Clean: Step-by-Step
1) Disassemble
Separate lid, grind chamber, catch, and kief chamber. Tap out crumbs onto clean paper to save the good stuff.
2) Freeze to Unstick ❄️
Place parts in the freezer for 20–30 minutes. Cold makes residue brittle. Tap over paper—debris will fall right out.
3) Brush, Tap, Scrape
Use a soft brush across teeth, corners, and the back of the screen to lift clogs. Toothpicks help on edges. Avoid metal tools on the mesh.
4) Soak & Shake (use the right path)
Path A — Metal grinders (most 2-pc/4-pc)
- Put parts in a zip bag or glass jar; add enough 90%+ isopropyl to submerge.
- Optional: add a spoon of coarse salt as a mild scrub.
- Seal and gently shake for 30–60 seconds.
- Soak 20–30 minutes (heavy buildup = longer).
- Rinse with warm water, brush stubborn spots, rinse again.
Path B — Acrylic/Plastic grinders
- Skip alcohol. Use hot (not boiling) water + mild dish soap.
- Soak 1–2 minutes, then brush gently.
- Rinse thoroughly and dry. Avoid heat that can warp parts.
Path C — Wooden grinders
- No soaking. Lightly dampen a cloth or swab with a bit of alcohol; spot-clean only.
- Wipe again with clean water to remove any residue.
- Dry fast. Optional: a tiny dab of food-safe mineral oil on the threads only, then wipe off excess.
5) Rinse, Dry, Reassemble ✨
Rinse your weed grinder with warm water until squeaky clean. Pat dry, then air-dry parts 10–15 minutes—no moisture hiding in threads or under the magnet. Reassemble and enjoy that smooth turn.
Quick Clean Between Sessions ⚡
- Two light taps + quick brush sweep = no compaction later.
- Screen nudge: brush the back of the mesh to lift clogs out.
- Don’t overfill: smaller loads grind better and stay cleaner.
- Dry herb only: extra-moist material causes extra mess.
Weed Grinder Cleaning Pro Tips, Pitfalls & Smart Extras 🧠
- Ultrasonic cleaner (metal only): short cycles help shake loose grime. Avoid if parts have glued magnets or painted logos that could lift.
- Thread care: if it feels sandy after cleaning, use a tiny dab of food-grade mineral oil on threads, then wipe dry.
- Avoid dishwashers: heat + detergent + resin = mess (and taste issues).
- Baking soda paste: gentle deodorizer for light cleanup (not a heavy resin buster).
- Keep a “clean coin” in the middle chamber to help kief fall—clean the coin first and shake gently.
30-Minute Clean Sprint ⏱️ (Set a timer!)
What you’ll do
- 2 min — disassemble & tap over paper to save kief.
- 25 min — freeze (hands-free) ➜ while it chills, mix your cleaning setup.
- 3 min — brush, soak per material, final rinse & dry.
Fast. Repeatable. Effective. 🙌
Care Schedule & Storage 🗓️
Weekly (1–2 min)
- Brush teeth & screen, wipe threads.
Monthly (20–40 min)
- Deep clean (freeze ➜ brush ➜ soak ➜ rinse ➜ dry).
Storage
- Cool, dry drawer or pouch > steamy bathroom shelf.
Upgrade Pick: Our Weed Grinder 💚
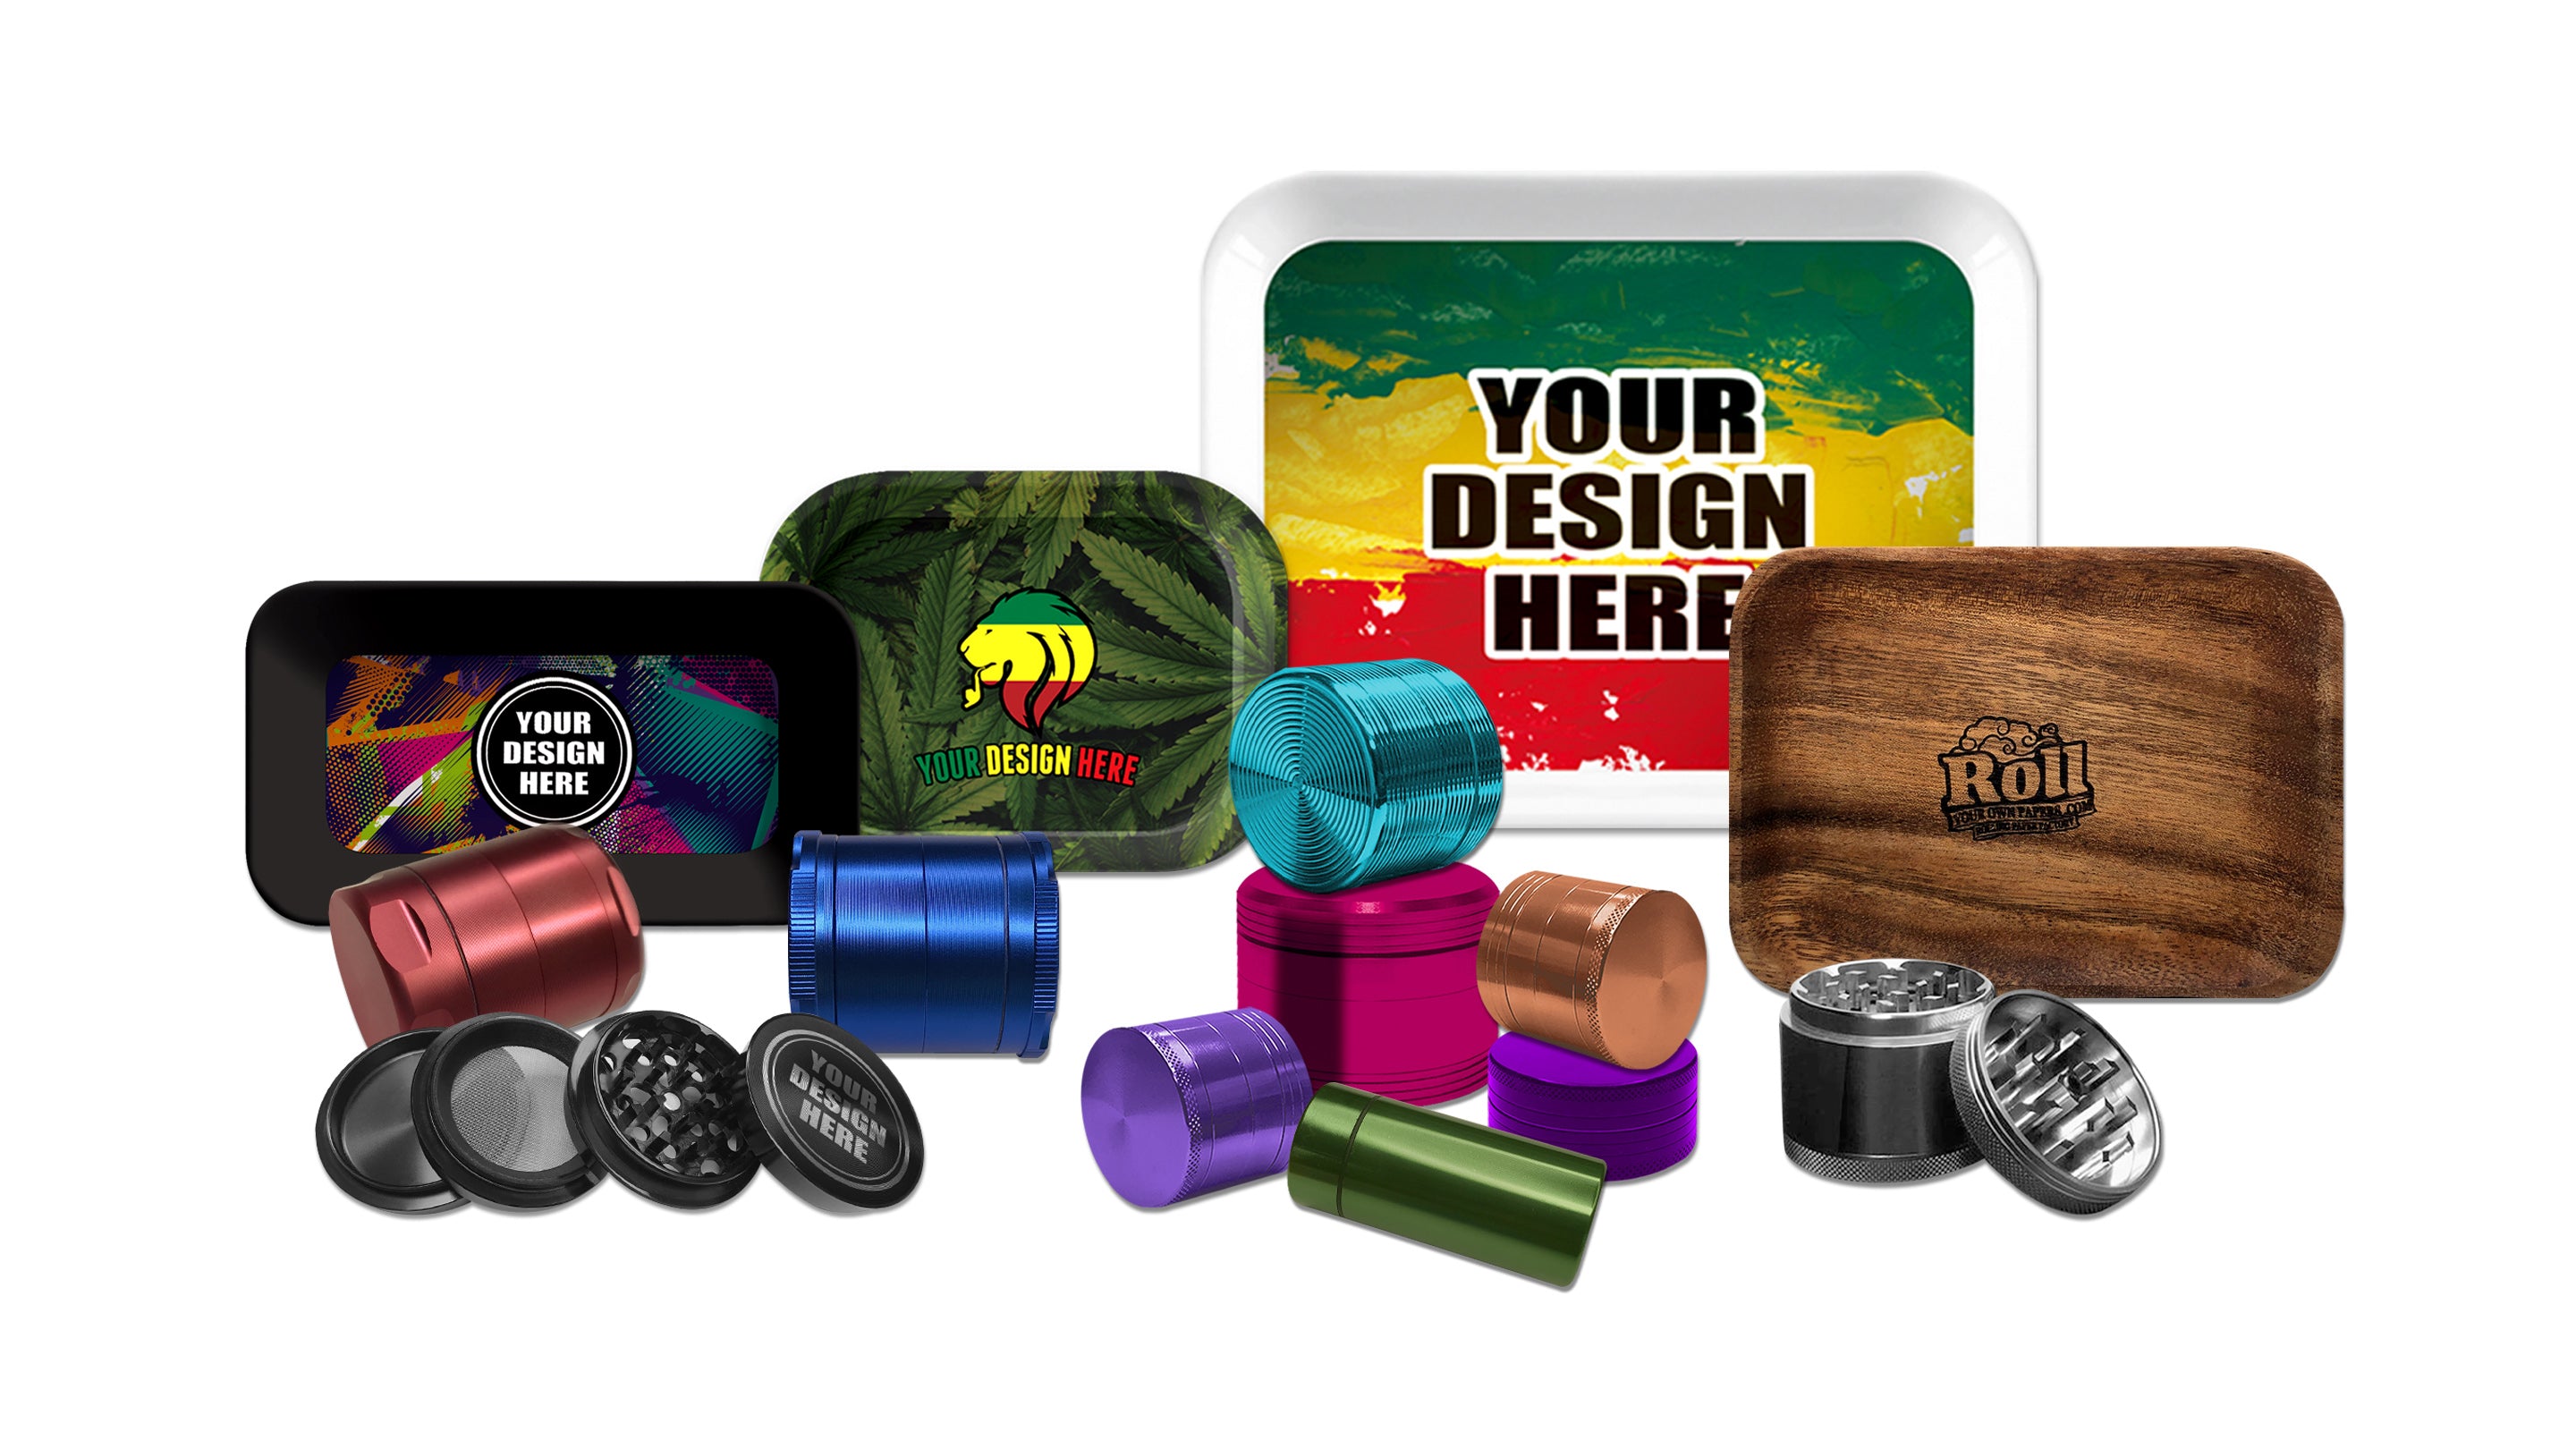
If cleaning reveals it’s time for a fresh start, treat yourself to smooth threads, sharp teeth, and easy-clean design. Check our Weed Grinder collection — premium build, comfy grip, and customization that matches your vibe. Low MOQs, fast turnarounds, and it looks ridiculously good on the shelf. 😎
FAQs ❓
1) What’s the fastest way to clean a metal weed grinder?
Freeze 20–30 minutes, brush, then soak parts in 90%+ isopropyl for 20–30 minutes. Rinse and dry fully.
2) Can I use alcohol on acrylic?
No—use hot (not boiling) soapy water, brief soak, then brush. Alcohol can haze or crack plastic.
3) Do I really need to freeze first?
It’s optional, but freezing makes residue brittle so more falls off before soaking. Saves time and preserves kief.
4) My screen looks “sealed.” How do I unclog it?
Brush from the back of the mesh to lift debris out instead of mashing it in.
5) Why does my grinder squeak after cleaning?
There’s likely moisture or fine grit in the threads. Dry longer and consider a micro-dab of food-safe mineral oil on threads only.
6) Is a dishwasher OK?
Skip it. Heat and detergent aren’t great for residue removal and can affect finish or taste.
7) Any way to prevent buildup?
Don’t overfill, use dry herb, quick-brush after sessions, and schedule a monthly deep clean.
Safety Notes ⚠️
- Use isopropyl alcohol away from flames; ventilate well.
- Rinse your weed grinder until there’s zero smell of cleaner left.
- Acrylic can warp with heat—keep water hot, not boiling.





Leave a comment