How to Fill Pre Roll Cones (2025 Guide) 😎

Filling cones should feel easy, repeatable, and drama-free. If your cones burn wonky, run on one side, or feel hard to draw from, this guide will fix that. Below you’ll learn exactly how to fill pre roll cones step-by-step, the right grind size, ideal moisture ranges, how firmly to pack, and simple checks to make sure every cone lights evenly and stays that way. Let’s get you rolling like a pro. 🚀
Why Cones Are Awesome 🤩
Cones eliminate the hardest parts of hand-rolling. You get a built-in filter tip, a uniform shape, and a quick fill-and-pack routine that anyone can master. Properly filled cones offer:
- Even burn from start to finish
- Predictable draw (no super-tight or super-loose surprises)
- Speed: batches are easy for events or sharing
Tools & Prep
What You’ll Need
- Pre-roll cones
- Grinder
Prep Checklist ✅
- Hands and tools clean (resin/oils can glue material where you don’t want it)
- Herb is fresh but not wet; not crispy-dry either
- Clear workspace with decent light
Cone Sizes & Fill Weights (Quick Reference) 📏
Use this chart as a starting point. Your exact fill weight depends on grind, density, and preference.
| Cone Size | Typical Length | Suggested Fill (g) | Best For | Notes |
|---|---|---|---|---|
| Mini | ~70 mm | 0.3 – 0.5 | Quick solo sessions | Great for testing new blends |
| 1 1/4 | ~84 mm | 0.7 – 1.0 | Everyday use | Most popular size |
| Slim/98 Special | ~98 mm | 0.9 – 1.2 | Longer solo or small group | Stays cooler longer |
| King | ~109 mm | 1.2 – 1.5 | Sharing | Leave a little spring for airflow |
How to Fill Pre Roll Cones: Step-by-Step 😎
Overview
We’ll go from grind to twist in about 10 minutes. The magic is layered filling with light, even packing between each layer.
Step 1: Grind
Use a medium grind—think fluffy grains, not dust, not chunky. This balances airflow and burn.
Step 2: Stage the Cone
Hold the cone over the tray or stand it upright in a holder. Keep the filter tip flat to avoid compressing it.
Step 3: First Fill (Base Layer)
Spoon a small amount (about a third of your total). Tap the filter end on the tray 2–3 times to settle. Lightly tamp with the poker—just enough to remove big air pockets.
Step 4: Middle Fill
Add another third. Tap the side of the cone gently with your finger as you go; this helps material settle evenly along the walls. Light tamp again.
Step 5: Top Fill
Add the final third, leaving 2–3 mm of paper at the top. Very light tamp—avoid crushing the air channel.
Step 6: Set the Filter Channel
Pinch the cone gently near the filter and roll it between your fingers. You should feel a tiny bit of give—this is the airflow lane. If it feels like a rock, it’s over-packed.
Step 7: Neck Shape
Use the poker to sculpt the “shoulders” so the cone transitions smoothly from the packed core to the tip. Smooth shoulders help prevent runs.
Step 8: Twist
Twist the tip just enough to hold the contents—not a tight knot. A tiny “flag” is fine.
Step 9: Dry-Run Tap
Tap the filter end on the tray once more. If the twist sinks too much, you packed too loosely; add a pinch, re-tamp lightly.
Step 10: Rest
Let the cone sit for a minute to equalize. This small pause helps stabilize density before you light it. ✨
Packing Pressure: The Sweet Spot 🎯
Think “firm pillow,” not “hard eraser.” Press just enough that the poker doesn’t leave dents. Signs you nailed it:
- Gentle spring-back when squeezed lightly
- Consistent firmness from tip to filter
- Clean draw when you do a test inhale (unlit)
Grind Size & Moisture 🌿💧
Grind
Medium is the goldilocks—too fine can choke airflow; too coarse can tunnel. If material clumps, loosen it with your fingers before loading.
Moisture
Material that’s slightly springy (not brittle, not wet) fills evenly and keeps a steady burn. If it’s too dry, expect hot, fast burns; too damp, expect runs. Aim for a comfortable middle ground and store your blend in an airtight jar.
Quality Checks Before You Light ✅
- Roll Test: Place the cone on a flat surface—does it roll smoothly without bulging in the middle? Bulge = uneven packing.
- Pinch Test: Lightly pinch along the body; feel for soft pockets. Add a sprinkle and re-tamp if you find any.
- Draw Test (Unlit): Take a couple of unlit inhales. If it feels blocked, unpack the top 5–8 mm, fluff, and repack gently.
Troubleshooting 🛠️
Canoeing (one side runs)
- Check shoulder shape—round it with the poker
- Lightly lick your fingertip and dab the fast side before lighting to slow it (tiny moisture, not wet)
- Angle the cone so the faster side faces down for a moment as it burns
Tunneling (burns down the center)
- Pack a bit more near the tip and shoulders next time
- Grind slightly finer (still medium—not powder)
Tight Draw (hard to pull)
- Material likely too fine or over-tamped—unpack the top a little, fluff, and repack lightly
- Make sure the filter tip isn’t crushed
Loose Draw (too airy, flakes falling out)
- Add a small top-off pinch and re-tamp gently
- Twist the tip a bit tighter
Pro-Level Tips for Ultra-Consistent Cones 🧪
- Weigh it: Keep a small scale handy. Note your favorite weight per size (e.g., 1 1/4 at 0.85 g) and repeat.
- Batch filling: Set up cones in a stand and fill each in layers, tamping between passes—batch work = uniform results.
- Stir the grind: Give your ground material a quick stir every few cones so fine and coarse bits stay evenly distributed.
- Room matters: Draft-free room, normal humidity, clean tray—small details make a big difference.
- Label jars: If you blend strains/terpenes, label jars with date and notes so you can replicate your perfect cone later.
Upgrade Your Setup: Custom Pre-Roll Cones 💚
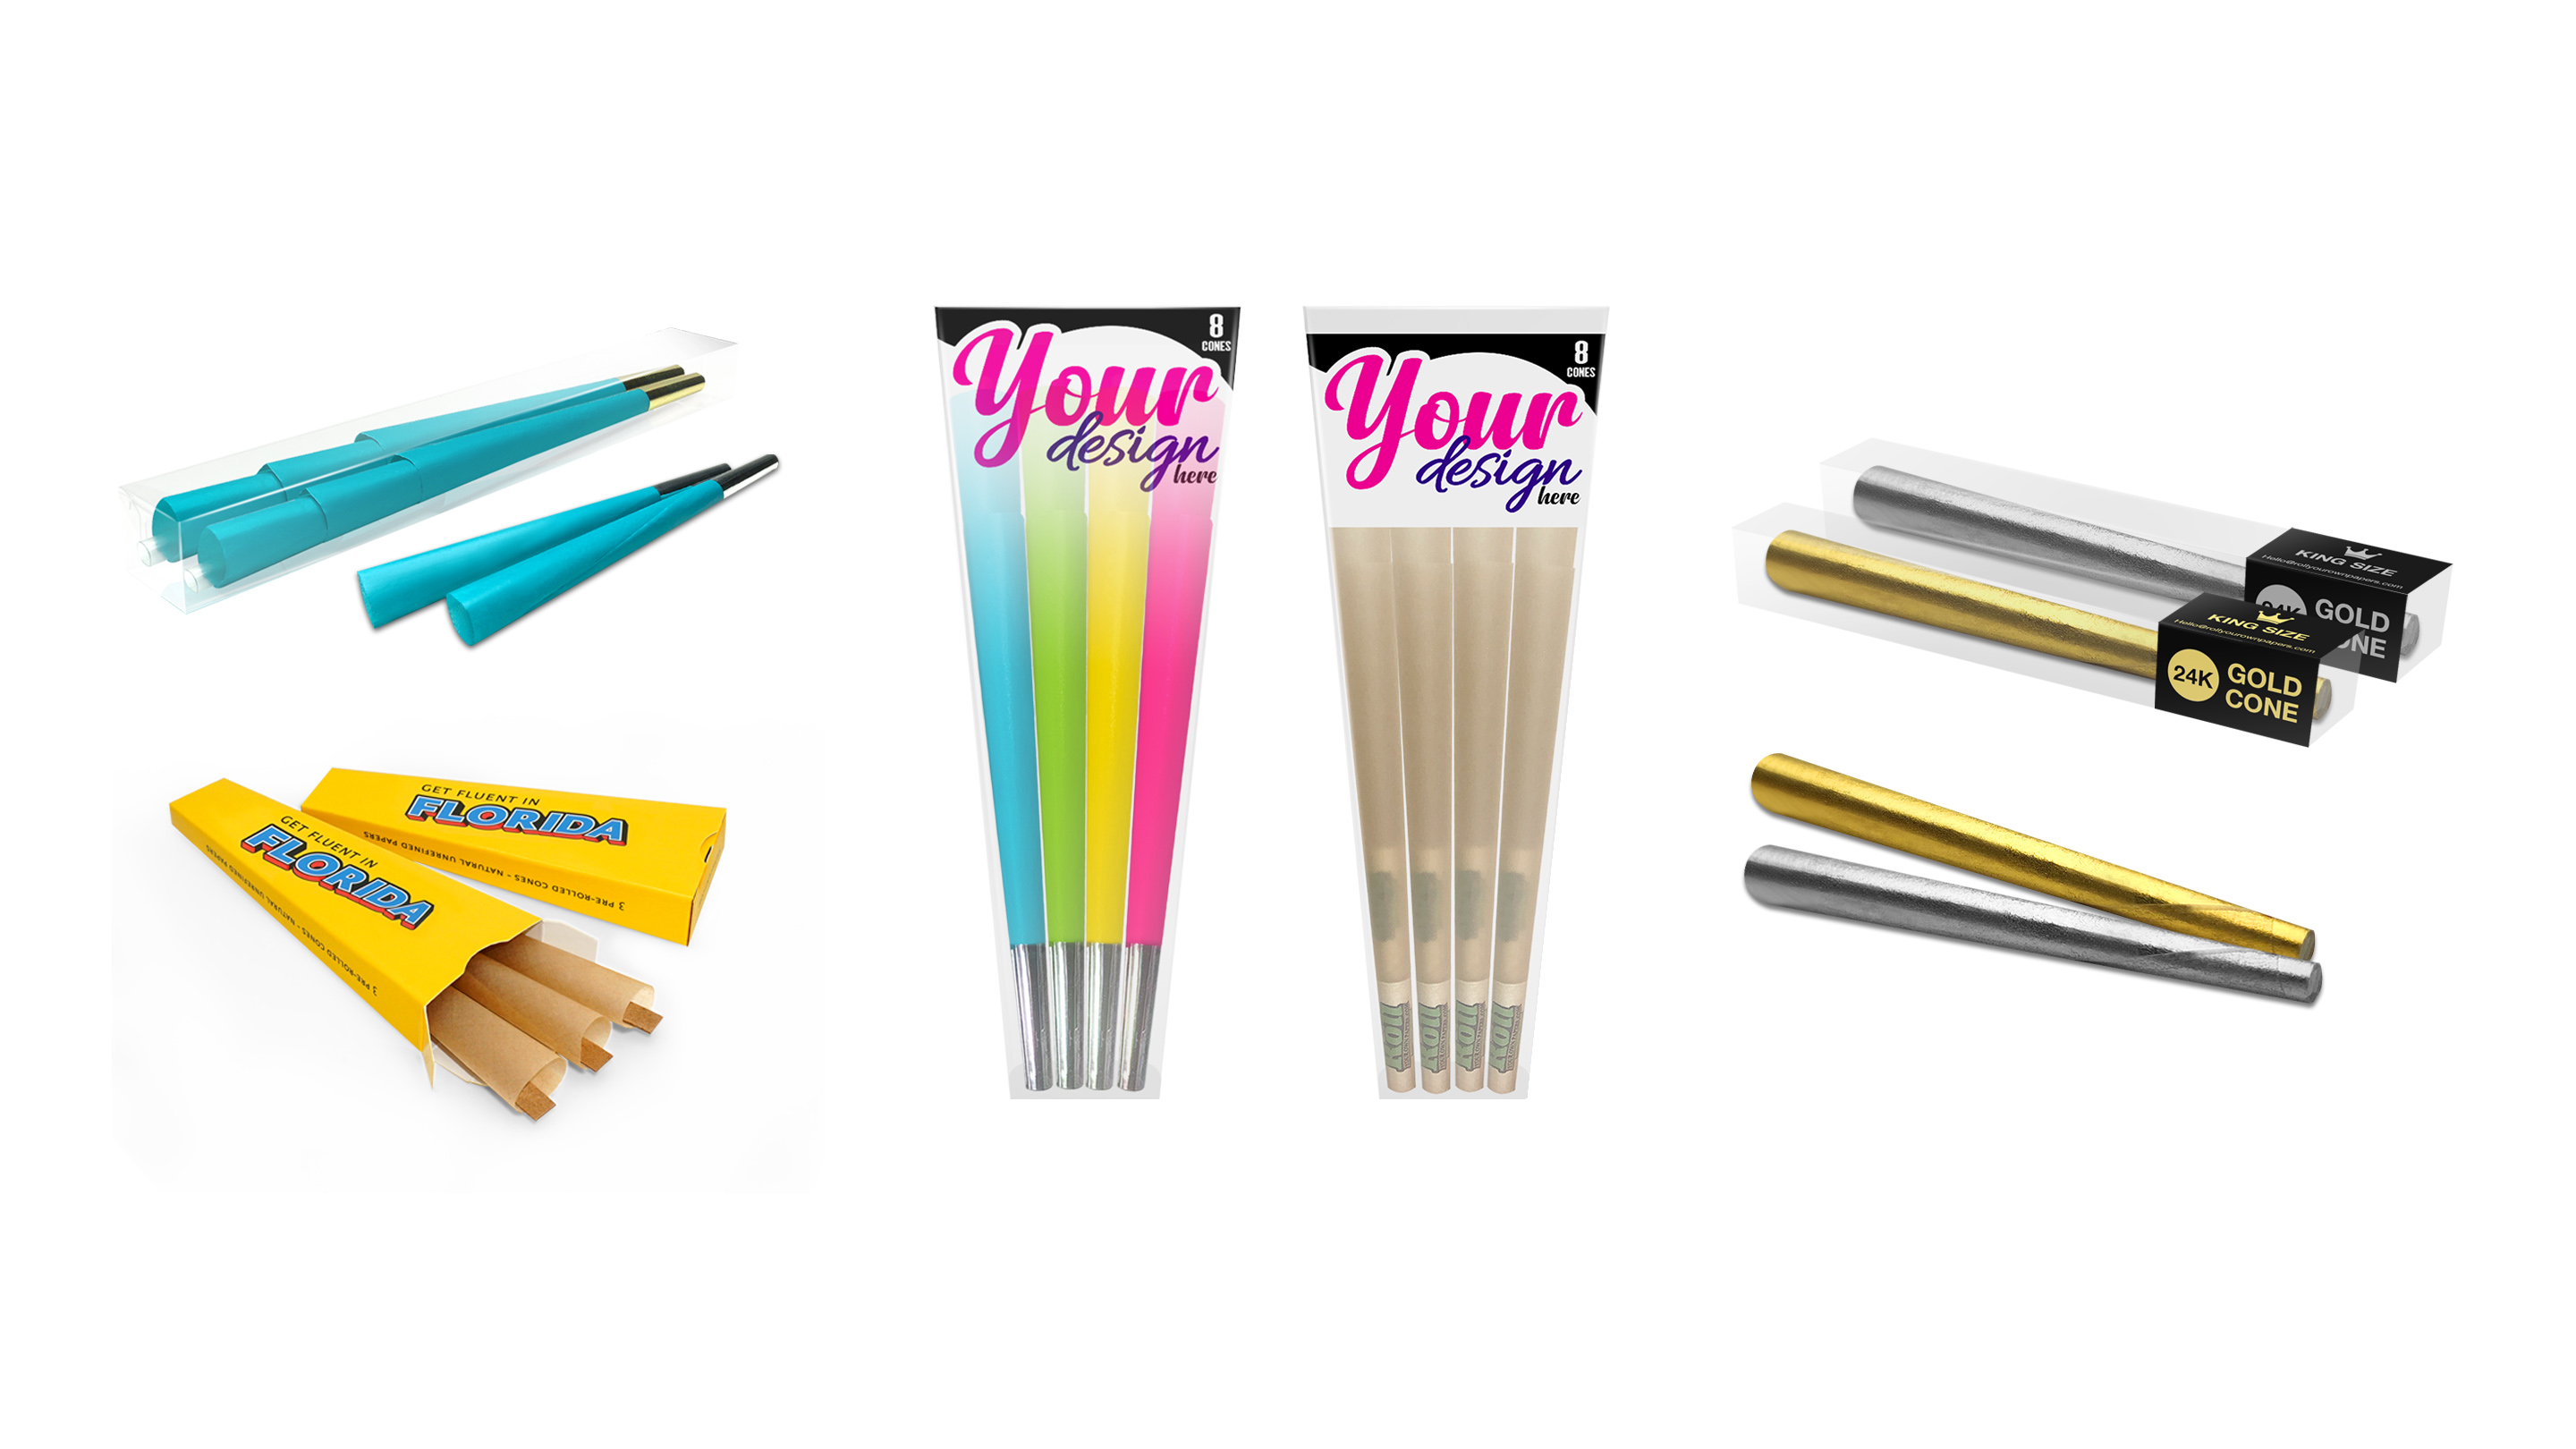
Want cones that fill beautifully and rep your brand? Check out our custom pre-rolled cones. Dial in sizes, filter tips, and branding so your cones look premium on the shelf and perform consistently in the wild. Your audience notices quality—give them a cone that feels pro every time. ✨
FAQs ❓
1) What’s the best grind size for cones?
Medium. Fine can clog; coarse can tunnel. Aim for fluffy grains that still hold shape.
2) How tightly should I pack?
Firm but springy. If the cone feels like a rock, it’s too tight. If it sags or caves, add a pinch.
3) Why do cones run on one side?
Usually uneven shoulders or moisture imbalance. Sculpt shoulders with your poker and avoid over-tamping one side.
4) How much should I fill a 1 1/4 cone?
About 0.7–1.0 g is common. Find your sweet spot and repeat it.
5) Do I need a special packing tool?
No, but a consistent poker helps. The included sticks work; some prefer a bamboo skewer.
6) Should I twist the tip tight?
Just enough to hold contents. Over-twisting can restrict airflow.
7) How do I prep cones for a party or event?
Batch fill on a tray, weigh randomly for QC, and store finished cones upright in a clean, dry container.






Leave a comment