💡 How to Grind Weed Without a Grinder 🌿 – 10 Clever DIY Methods 🧐

No weed grinder? No problem! We’ve all been there: you’re ready to enjoy your herb, but your grinder is nowhere in sight 😅. Using unground weed isn’t ideal – a whole nug in a joint or bowl will burn unevenly and waste precious bud. The good news is that you can improvise with many household items to break up your weed for a smooth, even burn.
This guide covers 10 easy ways to grind weed without a grinder, plus pro tips to get the most out of your stash. We’ve even included some videos 📹 and an FAQ at the end. By the time you finish reading, you’ll be a master of grinder-free grinding 😉. Let’s get started!
🤲 Method 1: Use Your Hands (Classic Way)
Your hands are the original grinder! This is the simplest way to break up weed when you have nothing else. Start by washing your hands thoroughly (sticky fingers incoming). Pick apart the bud using your fingers, removing any stem as you go. Pinch and gently rub the flower between your fingertips to crumble it into smaller pieces. Work over a clean tray or paper so you don’t lose any bits.
You won’t get a super-fine grind with just your hands, but you can get a fluffy consistency good enough for a bowl or joint. Many old-school herb enthusiasts actually enjoy this hands-on method – it lets you feel the bud’s stickiness and aroma. Just be aware that resin will build up on your fingers (often called “finger hash”). It’s potent stuff, so you can rub it off and add that to your bowl or joint rather than washing it away.
💡 Pro Tip:
Tearing by hand works best with drier weed. If your bud is very fresh and sticky, it’ll gum up your fingers. In that case, consider the quick freeze trick (see the FAQ on sticky weed) or use a pair of scissors to assist. Also, use a clean surface under you – it makes it easy to gather every crumb of herb when you’re done.
✂️ Method 2: Scissors and a Shot Glass
One of the most popular DIY grinder hacks is the scissors-in-a-shot-glass trick. It’s simple and surprisingly effective. Grab a pair of clean, sharp scissors and a shot glass (or any small sturdy cup). Place your buds in the shot glass. Then insert the tips of the scissors and start snipping away at the weed inside the glass.
By trimming the buds in the confined space, you prevent pieces from flying all over. Cut in a slow, steady motion ✂️, rotating the glass as needed so you chop everything evenly. After a minute or two of cutting, you’ll have a nicely ground pile of herb at the bottom of the glass. The size of the grind depends on how long you snip – you can stop when it’s coarse or continue until it’s pretty fine.
💡 Pro Tip:
Use small scissors (like nail scissors) if available; they give you more control. Make sure to clean the scissors beforehand with a bit of rubbing alcohol (and rinse well) to avoid any unwanted residues. Cut gently to avoid weed spilling out of the glass. When you’re done, use the blade or a small card to scrape out any sticky bits clinging to the glass walls.
☕ Method 3: Coffee Grinder (Electric)
Your coffee bean grinder can double as a weed grinder in a pinch. This method is great when you need to break down a larger quantity of weed quickly. Important: Start with a thoroughly clean coffee grinder – unless you want your weed tasting like coffee, and your coffee tasting like weed 😅. Use a dedicated grinder or be prepared to wash it well.
Add your buds into the grinder, but don’t overfill it; leave room for them to move around. Use short pulses instead of running it continuously. Give it a quick burst for a second or two, then check the consistency. Pulse again as needed. This prevents you from grinding the herb into powder (or worse, into a sticky paste). After a few pulses, you should have a fluffy, evenly shredded pile of weed.
💡 Pro Tip:
To avoid over-grinding, pulse in short bursts and shake the grinder a little between pulses to redistribute the buds. Stop as soon as the pieces look evenly broken up. Immediately empty the grinder – don’t let the weed sit under the motor, as the heat from the grinder can dry it out or degrade some potency. And of course, clean the grinder afterward so your next cup of coffee doesn’t have a special flavor. (If you plan to do this often, consider getting a second cheap coffee grinder just for your herb.)
🧀 Method 4: Cheese Grater
If you’ve got a box grater or microplane in the kitchen, you can grate your weed similar to a block of cheese. It sounds odd, but it works! Choose the side with the small holed grating surface. First, make sure the grater is clean (no old cheese bits, please) and completely dry. Hold the grater over a plate or tray to catch the falling herb. Take a bud and carefully rub it along the grater’s holes, applying gentle pressure.
The bud will shred into tiny pieces and drop below. Continue grating until you’ve broken down all your weed. Be extra cautious near the end of each bud – you don’t want to grate your fingertips 😬. A few small un-gratable pieces might remain; you can finish those off by hand. This method yields a nice fluffy grind, though it can be a little messy if you’re not careful.
💡 Pro Tip:
For safety, watch your fingers and consider wearing clean kitchen gloves to avoid knicks and sticky residue on your hands. Cannabis resin can gum up the grater, especially if the bud is moist. If you find it sticking, try letting the weed dry out a bit before grating (or toss the bud in the freezer for a few minutes to firm it up). After grating, check the grater’s teeth – a lot of potent kief (tiny crystals) may be stuck. Use a clean pastry brush or toothbrush to scrub that goodness onto your plate so you don’t waste it!
⛏️ Method 5: Mortar & Pestle (Old-School)
Time to go old-school apothecary on your herb. A mortar and pestle – the kind used for grinding spices or making pesto – can grind weed fairly well. It’s best for dry, less sticky bud. Place a small amount of cannabis in the mortar (the bowl). Using the pestle (the club-shaped grinder), press down on the buds and twist in a circular motion, as if you’re grinding pepper or crushing herbs.
Go slowly and gently. The goal is to crush and grind the weed, not smear it. After a few twists, check your progress. The bud should break into finer pieces. You can tilt the mortar and use the pestle to scoop and reposition the herb, ensuring an even grind. Repeat the press-and-twist until you reach the desired consistency.
💡 Pro Tip:
Make sure your mortar and pestle are squeaky clean before use – any leftover spice or garlic flavors are the last thing you want in your joint! 👀 If the bud is very sticky, let it sit out for an hour to dry a bit, or pop it (briefly) in the freezer to avoid resin smearing. Also, avoid grinding too hard or fast; excessive force can mash the weed and embed resin into the mortar’s pores. When you’re done, scrape out the mortar with a card to gather every bit of herb. Clean the set with alcohol after to remove resin buildup.
💊 Method 6: Pill Bottle & Coin Trick
This classic stoner trick is like making a mini DIY grinder. You need a clean empty pill bottle (or similar small jar with a lid) and a clean coin. A quarter or nickel works well due to their size and weight. First, sanitize the coin with rubbing alcohol or soap and hot water – coins are dirty, and you don’t want that on your bud. Let it dry completely.
Place a few small nugs into the pill bottle (don’t overpack it; leave some shaking room). Drop the coin in, then screw the lid on tight. Now, shake it like you mean it! 🤝💥 Shake the bottle vigorously for about 20 seconds, then check your progress. The coin will have bashed the buds into smaller pieces. If it’s still chunky, shake again for another 10-20 seconds. In no time, you’ll have a nicely ground stash at the bottom of the bottle.
💡 Pro Tip:
For best results, use a couple of small buds rather than one big nug – they’ll break up easier. Always double-check that the lid is closed (we don’t want a coin-and-weed explosion across the room). After shaking, open the container carefully; a few bits might cling to the lid. Tap those out, and use the coin to scrape out any weed stuck to the sides. And remember, clean that coin and bottle before each use to keep things hygienic!
🔪 Method 7: Kitchen Knife & Cutting Board
You don’t need fancy tools to chop herb – a basic kitchen knife will do the job. Think of it like chopping up an herb (well, it is herb). Grab a clean cutting board (preferably non-porous) and a sharp knife. A large, sharp chef’s knife or santoku is ideal; avoid serrated blades which tend to mash the weed.
Place your bud on the board and start mincing it like you would parsley. Use a rocking motion with the knife: place your free hand on top of the blade to steady it (fingers well clear of the edge!) and chop the weed into small pieces. Gather the pile back into a mound and chop again, repeating until the pieces are as fine as you want. It’s a bit labor-intensive, but you have full control over the grind size.
💡 Pro Tip:
Make sure the board and knife are clean and dry. Resin will stick to the blade; keep a paper towel nearby to periodically wipe the knife. You can also dab the blade with a little cooking oil beforehand to reduce sticking (just a tiny bit!). When you’ve finished chopping, use the knife’s edge or a card to scrape up all the bits from the board. A plastic cutting board with a slight lip is perfect to contain everything. Chop slowly and watch those fingers – we want to slice bud, not skin! 😅
💳 Method 8: Credit Card & Flat Surface
Your wallet might hold an impromptu grinder: a credit card or ID card. This method is basically using a card as a tiny spatula or knife to break up the buds. It works best on a smooth, hard surface. A glossy magazine, a glass tray, a ceramic plate, or even a clean countertop will do.
Start by placing your weed on the surface. Take a sturdy card (a credit/debit card, gift card, etc. – not one you mind getting sticky). Hold the card at a slight angle and use the edge to chop and scrape at the bud. You can press down and roll the card over the nug, then drag it toward you, effectively tearing the bud apart. Keep gathering the weed into a pile and chopping through it with the card’s edge. After a minute or two, your bud will be broken down into small pieces.
This method mimics what some official “grinder cards” do (those look like miniature cheese graters). It’s not the most precise technique, but it can get the job done in a pinch, especially if you have no other tools around.
💡 Pro Tip:
Cards can get gunked up with resin quickly. If you notice build-up, wipe the edge of the card with a bit of alcohol to clean it off (then dry it) mid-job. Also, make sure to use a clean card – you don’t want dirt from your wallet in your weed. Use a smooth surface like glass or ceramic so you can easily scrape together the grind afterward. When you’re done, you can use the card like a scoop to pick up your freshly-ground herb and funnel it into your bowl or paper 🚬 (no actual smoke emoji here, just a metaphorical one!).
🍾 Method 9: Rolling Pin or Bottle
If you have a rolling pin handy – or even a wine bottle – you can crush your weed by rolling it out. This method works a bit like using a steamroller 😂. To avoid a mess, it’s best to put your buds inside something first. Place the weed in a zip-top plastic bag (squeeze out the air and seal it) or between two clean sheets of parchment paper. This containment keeps sticky pieces from spreading everywhere.
Lay the bag flat on a cutting board or table. Now take your rolling pin (or a wine bottle, vodka bottle, etc. – anything cylindrical and sturdy) and press it down on the bag. Roll it back and forth over the buds, applying firm pressure. You should feel the buds crunching and flattening out. Open the bag, reposition the now-flatter buds into a pile, and roll again. Do this a few times.
Gradually, the buds break up into smaller and smaller pieces under the rolling force. It won’t be as even as a grinder’s results, but you can definitely get a usable grind. This method is actually great if you need to process a larger amount at once without a grinder.
💡 Pro Tip:
Double-bag the weed if you’re worried about the plastic tearing. And make sure that bottle is clean (no one wants a Pinot Noir flavored joint). You can also slightly dry your weed before rolling it – overly moist buds might just flatten instead of crumbling. If you only have a glass bottle, you can fill it with hot water and cap it tightly to create a DIY warm roller; the slight heat can help make the herb a tad more brittle (just don’t melt the bag!). Be careful not to crack the bottle by pressing too hard. Once done, let things sit for a minute before opening the bag, as very finely crushed weed can poof out in a “green cloud” if you’re too eager.
⚡ Method 10: Use a Blender (Big Batches)
In a truly grinder-less situation and dealing with a LOT of weed, you might consider the kitchen blender or a food processor. This is a bit of a last resort, but it can work for large batches of dry herb. Keep in mind, blenders are usually overkill and can make a mess of smaller quantities – so only do this if you have several grams to grind and nothing else on hand.
First, as always, ensure the blender is clean (and dry) to avoid contaminating your weed (or your next smoothie 😬). Break your buds into somewhat even pieces and toss them into the blender cup. Secure the lid. Use the pulse setting in very short bursts. Pulse for a second, then stop and shake the blender to redistribute the buds. Repeat this a few times. You should see the buds flying around and gradually getting shredded by the blades.
After a few pulses, check the consistency. Be careful not to over-blend – too much and you’ll end up with herbal powder or, worse, start warming the weed (heat can degrade its quality). Once it looks good (coarse to medium grind), immediately dump out the contents onto a tray. You don’t want fine kief sticking to the blender walls and blades more than necessary.
💡 Pro Tip:
Use a blender only for dry, dry bud. Sticky or moist weed will coat the sides and blades and could be a pain to scrape off (you’d lose a lot of resin). If the blender’s blades are very high off the base (some are designed for liquid levels), this might not work well unless you have enough weed to reach the blades – so again, only sizeable batches. Be ready to scrape the blender’s bottom and sides, as some good stuff will cling to it. And obviously, give your blender a thorough cleaning afterward with hot soapy water (or you might have some explaining to do next time someone makes a pesto in it!).
📝 Pro Tips for Grinding Without a Grinder
Grinding weed without a proper grinder can get the job done, but it does have a few pitfalls. You’re more likely to lose those valuable trichomes (the tiny crystals full of THC and goodies) and make a sticky mess. Follow these extra tips to make the most of your DIY grinding experience and keep your herb potent and debris-free:
1. Work Over a Clean Surface or Container
Always grind your weed over a tray, plate, piece of paper, or some container. This way, any bits that fall off are easily recovered. Those tiny crumbs and kief specks are like gold – you don’t want to lose them in the carpet or on your lap. Using a clean sheet of parchment paper is a great hack: do your breaking up on the paper, then simply fold it and pour the crumbles neatly into your bowl or joint.
2. Use Gentle Pressure
Whether you’re using a knife, scissors, or your hands, don’t grind with brute force. Crushing or mashing the herb can squeeze out the oils and damage the trichomes, making the weed less potent (and stickier). Instead, use a **light touch** and let your tool do the work – slice, snip, or twist rather than pulverize. You’ll get a fluffier end product that burns smoothly, rather than a compressed lump that might burn unevenly.
3. Deal with Sticky Buds Smartly
Super sticky, resinous buds are delicious 😋, but they’re tougher to grind without tools. One trick: freeze your buds for 10-15 minutes before grinding them by hand or with a mortar/pestle. The cold makes the trichomes more brittle and the bud easier to break apart (bonus: more kief will fall off, which you can collect). Alternatively, if you have time, leave the buds out to air-dry a bit if they’re overly moist. Drier weed grinds more easily. Just don’t forget about them – you don’t want your herb to get too dry or stale.
4. Keep Everything Clean
Clean tools make a difference. Residue from previous sessions (or from whatever the tool’s normal use is) can contaminate the flavor of your weed. Plus, starting with a clean surface means less precious trichome loss (they won’t stick to a dusty, dirty tray as much as a clean glass one). After you finish grinding, clean knives, scissors, and coins with isopropyl alcohol to dissolve the resin, then wash with soap and water. If you notice a lot of sticky build-up on your fingers or tools mid-grind, take a moment to wipe them off – it will actually make your grinding more efficient.
5. Save That Kief!
All those DIY methods tend to knock loose a lot of kief (the fine, powdery crystals). Don’t let it go to waste. Make sure to collect the kief from your surface – tap out that grinder, brush off that grater, scrape the scissors, whatever it takes. You can sprinkle kief on top of a bowl or inside a joint for an extra kick 🔥. Some tricks: use a small paintbrush to dust out grinders and mortars, or a credit card edge to scrape kief together on a table. This way, even without a fancy grinder with a kief catcher, you still get the benefits of those potent little particles.
🎥 Watch & Learn: DIY Grinding Methods (No Weed Grinder Needed)
Sometimes seeing it done is the best way to learn. Here are some handy video demonstrations that show some of these grinder-free techniques. They cover several methods discussed above, so you can watch the process and pick up a few extra tricks:
Video 1 — Mortar & Pestle Mastery (Jamie Oliver team) · Short, crystal-clear demo of correct crushing & circular motion for an even, fluffy grind—perfect for Method #5 in the guide. Great hand posture and pressure cues help avoid “mashing.”
Video 2 — Grind Every Spice (Epicurious) · Shows when to choose coffee mill vs. mortar vs. microplane and how pulsing prevents over-grinding—maps directly to Methods #3–#4 with practical visuals
Video 3 — Whole Spice Grinding 101 · Quick overview of electric mill + mortar workflow; clear view of desired grind sizes (coarse vs. fine) so readers can match consistency for joints/bowls.
Video 4 — Mini-Blender for Dry Herbs · Useful visual for Method #10 (large batches). Emphasizes short pulses and immediate emptying to avoid powdering or sticking.
After watching these, you’ll practically be an expert in makeshift weed grinding. Feel free to experiment with different methods – you might discover a preference for one technique over another depending on your situation. And remember, part of the cannabis culture is all about improvisation and creativity 😉.
❓ FAQ: Grinding Weed Without a Weed Grinder
Q1: Do I really need to grind my weed?
A: It’s highly recommended. Grinding (or at least breaking up) your weed allows it to burn or vaporize evenly. If you don’t grind it, you might end up with a lumpy joint that canoe (burns on one side), or a bowl that cherried on top but still green inside. Unground nuggets also make it harder for air to flow, meaning you’re likely to waste herb – the outside burns to ash while the inside is barely touched. So, while you can use unground weed in a pinch, you won’t get the best experience or efficiency from it. Even a rough hand-break is better than nothing. In short, grinding your weed will lead to a smoother, more even burn and stronger, more consistent hits from your pipe or joint 😊.
Q2: Can I use a blender or food processor to grind weed?
A: Technically, yes – especially if you have a lot of weed to process – but it’s not the go-to method for small amounts. A blender’s powerful blades will chop up cannabis, but you need to be careful. Pulse it in very short bursts and don’t overdo it, or you’ll pulverize your weed into dust (which isn’t ideal for smoking, though fine for cooking). Also, much of the good stuff (kief) can end up stuck to the blender’s sides and blades. If you try this, aim for at least a few grams of dried bud in the blender so there’s enough volume to grind. And be prepared to scrape out the sticky residue. Make sure the blender is perfectly clean beforehand and give it a thorough wash after. Overall, a blender can work in a pinch for big batches, but for day-to-day use, it’s overkill (and a pain to clean). Use it sparingly, and with caution.
Q3: What’s the easiest way to grind weed without a grinder?
A: The “easiest” way often comes down to what tools you have on hand. Many people find the scissors and shot glass method to be the easiest and least messy – it contains the herb nicely and requires minimal effort beyond cutting. Using your hands is the most straightforward (no tools needed at all), though it can be sticky. The pill bottle & coin trick is also super easy – just some shaking – but you need a pill bottle and coin available. If we’re talking pure ease and no special items, breaking it up by hand wins (just wash your hands first and maybe use a tray). But if you have a pair of scissors, that little extra help goes a long way. So, in summary: for most, scissors in a container is the easiest clean method. For zero tools, hands will do the job with a bit of patience.
Q4: How do I grind sticky weed without a grinder?
A: Ah, sticky icky weed – great for potency, tricky for grinding. If you have super sticky buds and no grinder, here are a few tips: (1) **Freeze the buds for a few minutes**. Cold temperatures make the resin glands more brittle, so the weed will break apart more easily instead of smearing. Don’t leave it too long – 10 to 15 minutes is usually enough. (2) Use a pair of **scissors**. Sticky weed will gum up your fingers fast, so scissors can help keep the stickiness under control (just wipe the blades as needed). (3) If you’re using a knife or mortar, **mix in a bit of dry leaf** (if you have any dry shake or older, drier weed) – it can absorb some of the moisture. And (4) accept that you’ll need to **scrape**. Sticky herb will leave residue on whatever you’re using; be ready to collect that with a knife blade or card and add it to your bowl (it’s basically concentrated goodness). In any case, take it slow – sticky bud can clump instead of break, but a little patience (and the freezer trick) will win the day.
Q5: Does grinding weed make it less potent?
A: By itself, grinding weed doesn’t make the bud itself less potent – all the THC, CBD, and other compounds are still there. However, you can lose potency if you’re not careful, because grinding can dislodge a lot of trichomes (the tiny frost-like crystals rich in THC). In a regular grinder, many of those trichomes end up as kief in a separate chamber (which you can use later). But when grinding without a proper grinder, those trichomes might stick to your fingers, tools, or get scattered. That’s why we stress doing it over a surface and scraping up every bit (see Pro Tips above). Also, excessive grinding (especially with electric methods) can generate heat or static – which theoretically might degrade a tiny bit of the cannabinoids or cause resin to stick to surfaces. Realistically, the potency loss is small if you collect your kief. Some connoisseurs actually prefer hand-breaking bud because they feel grinders knock off too much kief. Our advice: whichever method you use, try to capture that “fairy dust” (kief) and use it, so you’re not losing potency. If you do that, grinding will **not significantly reduce** the overall strength of your weed.
Q6: Can I use a pepper grinder to break up weed?
A: Using a pepper mill or salt grinder for weed is an idea that pops up occasionally. In theory, if the weed is very dry and you have a clean pepper grinder, it might crush the bud when you twist it, similar to grinding peppercorns. In practice, it’s usually not great. Cannabis buds are much larger and fluffier than peppercorns, so they don’t really “feed” well through the grinder’s mechanism. You’d likely have to break the bud into small bits first to even fit it in. Also, most spice grinders will get gummed up by the sticky resin pretty quickly, potentially jamming the mill. And unless it’s brand new, you’ll probably end up with some pepper or salt residue on your weed (yuck). So while it’s not impossible to mill weed in a pepper grinder, it’s more hassle than it’s worth, to be honest. You’re better off using one of the other methods we’ve listed. Save the pepper grinder for your kitchen spices 😉.
Q7: Is it worth buying a proper weed grinder?
A: If you consume weed regularly, absolutely yes 🙌. All these DIY methods work in a pinch, but a real grinder is more efficient and convenient. A good grinder gives you a consistent grind size, which leads to an even burn and makes rolling much easier. It also typically has a compartment to catch kief, so over time you collect extra goodness that you can use later. Grinders aren’t very expensive either – you can get a basic one for the cost of a few cups of coffee. They’re a one-time investment that can last for years. Plus, it saves time; grinding a nug takes seconds with a grinder, versus a couple minutes with scissors or fingers. If you enjoy the ritual of breaking up weed, you might still do it occasionally by hand. But most people who buy a decent grinder say it’s a game-changer for their daily sessions. In short: while it’s great to know hacks for when you’re caught without one, in the long run you’ll be happier with a proper grinder in your toolkit.
🚀 Upgrade Your Experience: Get a Custom Herb Grinder
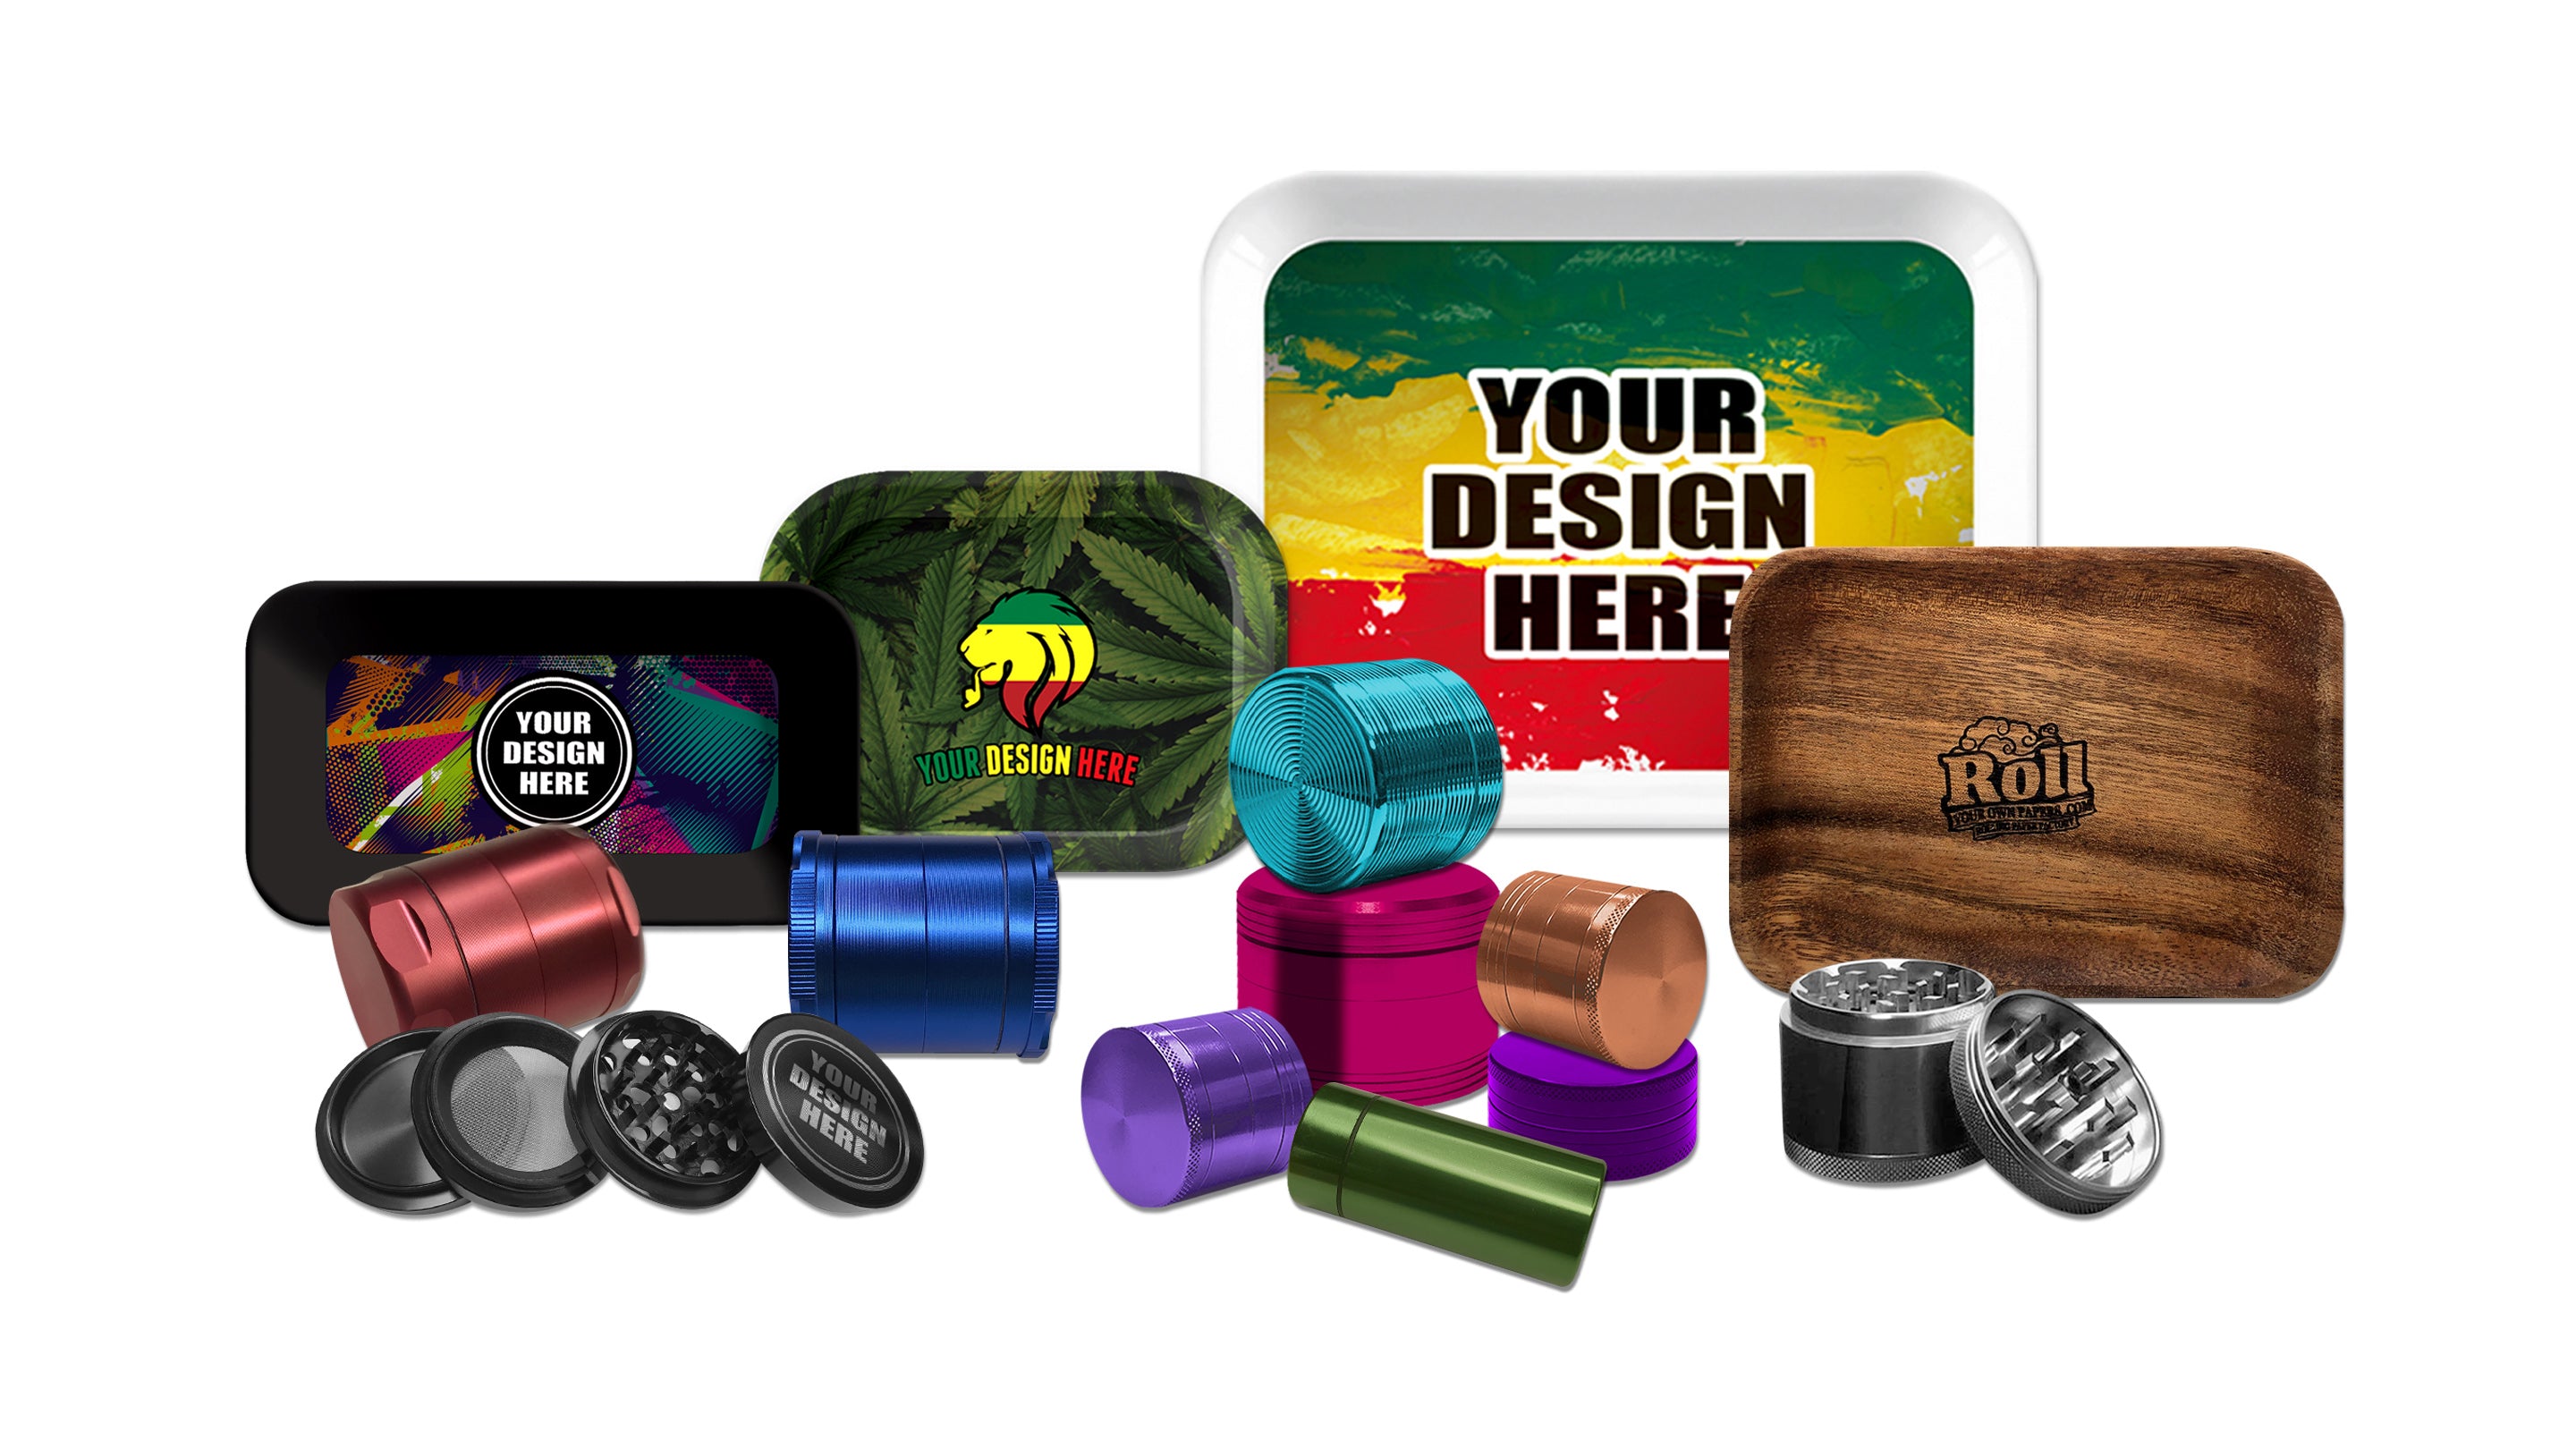
After trying all these hacks, you might be thinking, “Wow, life would be easier with a real grinder.” You’re right! For regular herb lovers, investing in a quality grinder is totally worth it. Why not make it a grinder that’s uniquely yours? At RollYourOwnPapers, we offer Custom Herb Grinders that can level up your grinding game in style 😎.
Our custom weed grinders are made from durable high-grade aluminum and feature razor-sharp teeth that effortlessly shred your bud to the perfect consistency. No more scissor workouts or sticky fingers. Plus, you can personalize them with your own design, logo, or artwork – making your grinder one of a kind! It’s not just a tool, it’s a statement piece. They also come with kief catchers (hello bonus pollen!) and a smooth action that will make grinding feel like butter.
Even if you’ve mastered the art of grinder-free grinding, having a proper grinder on hand is a serious quality-of-life improvement. It’s faster, cleaner, and maximizes the potential of your herb. So treat yourself to a custom grinder from our collection. It’ll save you time and trouble, and you’ll wonder how you ever managed without it. Consider it an investment in many future enjoyable sessions 😉. Happy grinding, and stay lifted!





Leave a comment