How to Maintain Your Resin Rolling Tray FAQ: Complete Care Guide 2025 ✨

📋 Table of Contents
- Introduction: Why Proper Maintenance Matters
- Understanding Your Resin Rolling Tray 🔍
- Daily Care Routines That Make a Difference
- Deep Cleaning Your Resin Tray: Step-by-Step Guide 🧼
- What Never to Use on Resin Trays ⚠️
- Troubleshooting: Removing Tough Stains and Residue
- Preventing Scratches, Cracks, and Damage 🛡️
- Proper Storage Solutions for Longevity
- Restoring Shine and Luster to Your Tray ✨
- Seasonal Maintenance Tips 🌦️
- Frequently Asked Questions 💬
- Monthly Maintenance Checklist
- Upgrade Your Rolling Experience 🎯
- Final Thoughts
Introduction: Why Proper Maintenance Matters 🎨
Your resin rolling tray isn't just a functional accessory – it's a statement piece that reflects your personal style. Whether you've invested in a stunning handcrafted design with swirling colors or a minimalist clear tray, keeping it in pristine condition ensures it remains the centerpiece of your collection for years to come.
Here's the truth: most resin rolling trays deteriorate not because of poor quality, but because of improper care. The good news? With the right maintenance routine, your tray can look as stunning as the day you unboxed it, even after years of regular use.
In this comprehensive guide, we'll answer every question you've ever had about maintaining your resin rolling tray, share expert tips that actually work, and give you actionable advice you can implement today. Let's dive in!
Understanding Your Resin Rolling Tray 🔍
What Makes Resin Special?
Resin rolling trays are crafted from epoxy resin, a durable polymer that hardens into a glass-like finish. This material is prized for several reasons:
The beauty of resin lies in its versatility and durability. Unlike wood or metal trays, resin can be molded into any shape and infused with vibrant colors, glitter, dried flowers, or other artistic elements. The smooth, non-porous surface makes it naturally resistant to moisture and easy to clean when you know the proper techniques.
Different Types of Resin Finishes
Not all resin trays are created equal. Understanding your tray's finish helps you care for it properly:
Glossy Finish
High-shine glossy trays require regular polishing to maintain their mirror-like appearance. They show fingerprints and smudges more easily but are incredibly striking when clean.
Matte Finish
Matte resin trays have a softer, more subtle appearance. They hide minor imperfections better but can be more challenging to restore if damaged.
Textured or Embedded Designs
Trays with embedded elements like flowers, glitter, or geometric shapes need extra care to prevent moisture or debris from getting trapped in crevices.
Daily Care Routines That Make a Difference 🌟
The secret to a perpetually beautiful resin tray? Consistency. A quick daily routine takes less than 2 minutes and prevents the need for intensive cleaning sessions.
After Each Use
Immediately after using your tray, take a dry, soft microfiber cloth and wipe down the entire surface. This simple action removes loose particles and prevents them from sticking to the resin. Think of it as a reset button that keeps your tray ready for next time.
The Quick Wipe-Down Method
For regular users (2-3 times per week or more), perform a quick wipe-down with a slightly damp cloth. Use room temperature water – nothing hot – and a tiny drop of mild dish soap if needed. The key word here is "damp," not wet. Excess water isn't necessary and can leave water spots if not dried properly.
Drying is Critical
Never let your resin tray air dry. Always finish with a dry microfiber cloth to prevent water spots and maintain that pristine finish. This extra 30 seconds makes a massive difference in the long-term appearance of your tray.
Deep Cleaning Your Resin Tray: Step-by-Step Guide 🧼
Every week or two (depending on usage frequency), your resin rolling tray deserves a thorough deep clean. This process removes built-up residue, restores shine, and keeps your tray looking gallery-worthy.
What You'll Need
- Soft microfiber cloths (at least 2-3)
- Mild dish soap (like Dawn or Seventh Generation)
- White vinegar (optional, for tough spots)
- Isopropyl alcohol 70% (optional, for sticky residue)
- Warm water (never hot!)
- Small bowl for mixing solution
- Soft-bristled toothbrush (for textured areas)
The Cleaning Process
Step 1: Pre-Clean Wipe
Start with a dry cloth to remove any loose particles. This prevents scratching when you introduce moisture to the surface.
Step 2: Prepare Your Cleaning Solution
Mix warm (not hot) water with 2-3 drops of mild dish soap in a small bowl. For tougher jobs, create a 1:1 solution of white vinegar and water instead. Never mix vinegar and soap together – choose one approach.
Step 3: Gentle Cleaning
Dampen your microfiber cloth with the solution (wring it out well – it should be damp, not dripping). Wipe the entire tray surface using gentle circular motions. Pay extra attention to corners and edges where residue tends to accumulate.
Step 4: Detail Work
For textured areas or embedded designs, use a soft-bristled toothbrush dipped in your cleaning solution. Gently brush in the direction of any patterns or textures. Never scrub aggressively – let the solution do the work.
Step 5: Rinse and Dry
Wipe away any soap or vinegar residue with a clean, damp cloth using plain water. Follow immediately with a dry microfiber cloth, buffing the surface until it's completely dry and streak-free.
Step 6: Optional Conditioning
For extra shine and protection, apply a tiny amount of food-safe mineral oil to a clean cloth and buff it into the surface. This step is optional but highly recommended for maintaining that showroom finish.
What Never to Use on Resin Trays ⚠️
This section could save your tray from permanent damage. Many well-intentioned cleaning methods can actually ruin resin, so let's clear up the confusion right now.
Forbidden Cleaning Products
Acetone and Nail Polish Remover
This is enemy number one for resin. Acetone dissolves resin, causing cloudiness, discoloration, and even melting. Never, ever use nail polish remover or acetone-based products on your tray.
Harsh Chemical Cleaners
Bleach, ammonia, chlorine-based cleaners, and other harsh chemicals can permanently damage the resin surface, causing discoloration and weakening the structural integrity.
Abrasive Scrubbers
Steel wool, scouring pads, Magic Erasers, and rough sponges will scratch your resin tray. The scratches might seem minor at first, but they accumulate over time and ruin the smooth finish.
High-Concentration Alcohol
While 70% isopropyl alcohol is generally safe for spot cleaning, anything higher (like 90% or 99%) can damage the resin surface over time. Stick to lower concentrations and use sparingly.
Practices to Avoid
Dishwasher Cleaning
The combination of high heat, harsh detergents, and aggressive water jets in dishwashers is a recipe for disaster. Hand washing is the only safe method for resin trays.
Hot Water Cleaning
Hot water can cause resin to soften temporarily, making it more susceptible to warping and damage. Always use warm or cool water.
Leaving It in Direct Sunlight
UV exposure causes yellowing and can weaken resin over time. We'll cover proper storage solutions later in this guide.
Troubleshooting: Removing Tough Stains and Residue 🔧
Even with perfect maintenance, sometimes stubborn stains happen. Here's how to tackle them without damaging your tray.
Sticky Residue Solutions
For sticky buildup that won't come off with soap and water, try this method: Apply a small amount of 70% isopropyl alcohol to a microfiber cloth and gently rub the affected area. The alcohol breaks down sticky substances without harming the resin. Follow up with a soap and water wash to remove any alcohol residue.
Discoloration and Staining
Create a paste using baking soda and just enough water to form a thick consistency. Apply this paste to the stained area and let it sit for 5-10 minutes. Gently work it in with circular motions using a soft cloth, then rinse thoroughly. This method works wonders for surface stains without scratching.
Water Spots and Streaks
Ironically, water itself can leave unsightly marks on resin. To remove water spots, buff the area with a dry microfiber cloth. For stubborn spots, use a 1:1 white vinegar and water solution, then dry immediately and thoroughly.
Cloudy or Hazy Appearance
If your tray develops a cloudy film, it's often from product buildup. Deep clean using the method described earlier, then apply a thin coat of mineral oil to restore clarity. Buff thoroughly with a clean, dry cloth.
Preventing Scratches, Cracks, and Damage 🛡️
Prevention is always easier than repair. These strategies will keep your resin tray looking flawless.
Surface Protection Strategies
Use Appropriate Tools
When working with your tray, stick to wooden, silicone, or plastic tools. Metal grinders, scissors, or other sharp objects should never come in direct contact with the resin surface. The investment in silicone or wooden accessories is minimal compared to replacing a scratched tray.
Create a Protective Barrier
Consider using a thin, soft cloth or silicone mat on your tray during use. This adds a protective layer between your tools and the resin surface without compromising functionality.
Handling and Transportation
When moving your tray, hold it by the edges and keep it flat. Avoid flexing or bending, as resin can crack under stress. If you're traveling with your tray, wrap it in a soft cloth or bubble wrap and store it flat in a protective case.
Temperature Considerations
Extreme temperature changes can cause resin to crack. Never expose your tray to sudden temperature shifts. Don't leave it in a cold car and then bring it into a warm house, or vice versa. Let temperature changes happen gradually.
Proper Storage Solutions for Longevity 📦
How you store your resin tray when it's not in use has a huge impact on its lifespan and appearance.
Ideal Storage Conditions
Location, Location, Location
Store your tray in a cool, dry place away from windows and heat sources. Ideal storage temperature is between 60-75°F (15-24°C). Avoid basements (too humid), attics (too hot), and windowsills (too much UV exposure).
Position Matters
Always store resin trays flat, never on edge or at an angle. Gravity can cause warping over time if the tray isn't properly supported.
Short-Term vs. Long-Term Storage
Daily Storage
For trays you use regularly, a drawer or cabinet works perfectly. Make sure there's nothing heavy stacked on top that could scratch or crack the surface.
Long-Term Storage
If you're storing a tray for an extended period (moving, seasonal rotation, etc.), wrap it in a soft, breathable cloth or microfiber towel. Avoid plastic wrap or sealed containers, which can trap moisture and cause clouding.
Display Storage
Many collectors love displaying their beautiful resin trays. If you're going this route, use a shadow box or display case with UV-protective glass. Position it away from direct sunlight and heat sources like radiators or heating vents.
Restoring Shine and Luster to Your Tray ✨
Even well-maintained trays can lose their shine over time. Here's how to bring back that showroom sparkle.
The Mineral Oil Method
This is the gold standard for maintaining resin shine. After thoroughly cleaning and drying your tray, apply a few drops of food-safe mineral oil to a clean microfiber cloth. Work it into the surface using small circular motions, covering the entire tray.
Let the oil sit for 10-15 minutes to penetrate and nourish the resin. Then, using a clean, dry microfiber cloth, buff the surface until it gleams. You should see a dramatic improvement in shine and depth of color.
Frequency of Shine Restoration
For daily users, apply mineral oil once a month. Light users can extend this to every 2-3 months. Over-application isn't harmful, but it's unnecessary and can attract dust.
Dealing with Deeper Issues
If your tray has fine scratches that affect its appearance, a resin polish kit specifically designed for epoxy resin can help. Apply according to manufacturer instructions, always testing on a small, inconspicuous area first.
Seasonal Maintenance Tips 🌦️
Different seasons bring different challenges for resin care. Adapt your maintenance routine throughout the year for optimal results.
Summer Care ☀️
Summer heat and UV exposure are resin's biggest enemies. Keep your tray away from windows and air conditioning vents (extreme cold is also problematic). Check monthly for any signs of yellowing or warping. If you notice any UV damage starting, relocate your storage immediately.
Winter Care ❄️
Dry winter air can cause static buildup, attracting more dust to your tray. Combat this by increasing cleaning frequency slightly and ensuring proper humidity levels (40-50%) in your storage area. Avoid storing near heating vents or radiators.
Spring and Fall Transitions 🍂
Seasonal changes bring humidity fluctuations. During these transitional periods, inspect your tray more frequently for any signs of clouding or moisture damage. Adjust storage locations if you notice consistent condensation or temperature extremes.
Frequently Asked Questions 💬
How often should I clean my resin rolling tray?
For regular users, clean your resin rolling tray after every 2-3 uses with a quick wipe-down. Perform a deep clean weekly to remove any buildup. Light users can clean every 1-2 weeks. The key is consistency – regular maintenance prevents stubborn buildup and keeps your tray looking fresh.
What cleaning products are safe for resin rolling trays?
Safe cleaning products include mild dish soap, white vinegar solution (1:1 ratio with water), isopropyl alcohol (70% or lower), baking soda paste, and food-safe mineral oil for conditioning. Always use soft microfiber cloths or non-abrasive sponges. Avoid harsh chemicals, acetone, bleach, abrasive scrubbers, and ammonia-based cleaners.
Can heat damage my resin rolling tray?
Yes, excessive heat can seriously damage resin trays. Avoid temperatures above 150°F (65°C), direct sunlight exposure for extended periods, leaving trays in hot cars, placing near heaters or radiators, and using hot water during cleaning. Heat can cause warping, discoloration, clouding, and cracking of the resin surface.
How do I remove stubborn stains from my resin tray?
Create a paste with baking soda and water, apply to the stain, let sit for 5-10 minutes, then gently scrub with a soft cloth in circular motions. For tougher stains, use a diluted vinegar solution or 70% isopropyl alcohol. Always rinse thoroughly with clean water and dry immediately. Never use abrasive scrubbers or harsh chemicals.
What should I avoid using on my resin rolling tray?
Never use acetone or nail polish remover, bleach or chlorine-based cleaners, abrasive scrubbing pads, steel wool, harsh solvents, high-concentration alcohol (above 90%), dishwasher detergents, or sharp metal tools. These can permanently damage, scratch, cloud, or discolor your resin tray.
How should I store my resin rolling tray when not in use?
Store your resin tray in a cool, dry place away from direct sunlight and heat sources. Keep it flat to prevent warping, use a soft cloth or protective sleeve for scratch prevention, avoid stacking heavy items on top, and maintain room temperature storage (60-75°F). Consider a display case or drawer for long-term storage.
Can I restore the shine to my dull resin rolling tray?
Yes! After thorough cleaning, apply a thin layer of food-safe mineral oil using a soft cloth in circular motions. Let it sit for 10-15 minutes, then buff with a clean, dry microfiber cloth. This restores shine and creates a protective barrier. Repeat monthly for best results. For heavily scratched trays, consider using resin-safe polish or consulting with resin restoration experts.
Monthly Maintenance Checklist ✅
Stay on top of your resin tray care with this simple monthly routine:
- Perform a thorough deep clean using the step-by-step method outlined above
- Inspect for any scratches, cracks, or damage that need addressing
- Apply mineral oil conditioning treatment to restore shine
- Check storage conditions (temperature, humidity, UV exposure)
- Evaluate your cleaning supplies – replace worn microfiber cloths
- Assess whether your current care routine needs adjustment
- Take a photo to track your tray's condition over time
This checklist takes about 15 minutes once a month and ensures your tray stays in pristine condition year after year.
Upgrade Your Rolling Experience 🎯
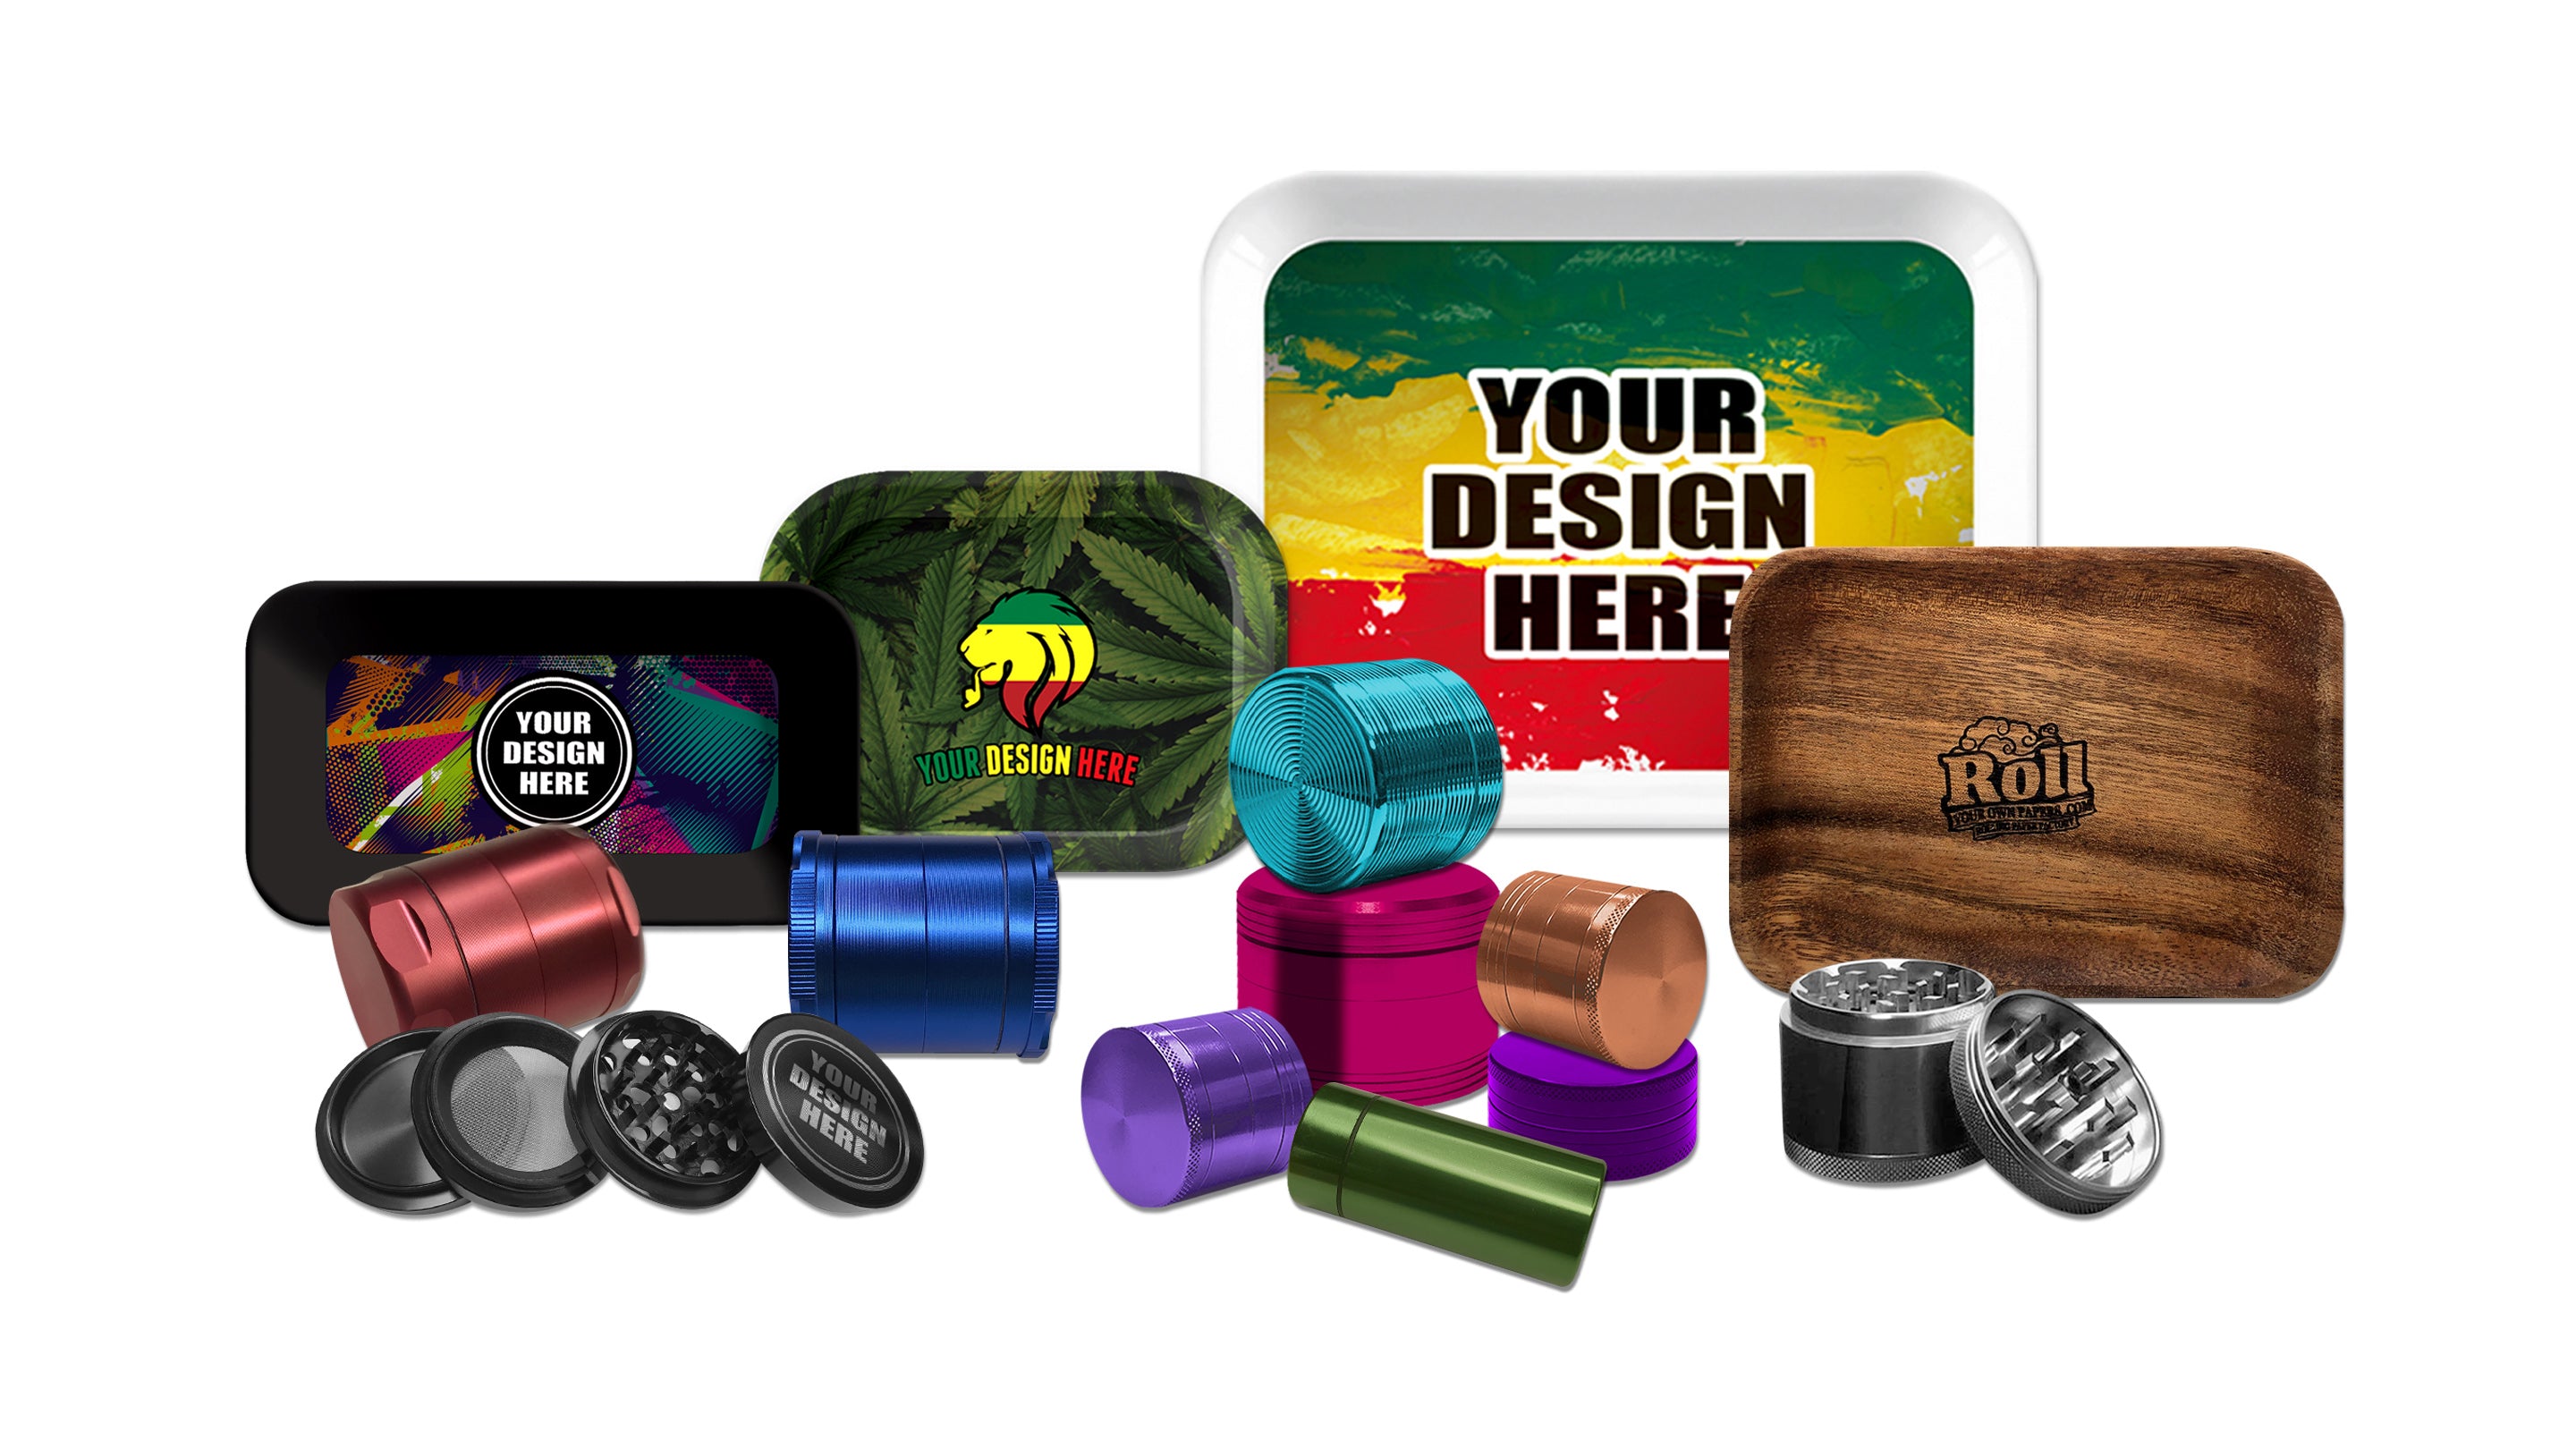
Speaking of keeping things pristine – if you've been thinking about expanding your collection or upgrading to a premium tray, now's the perfect time to check out our handcrafted Rolling Trays at rollyourownpapers.com.
Our collection features stunning designs that are not only functional but true works of art. Each tray is crafted with the highest quality epoxy resin, ensuring durability and that gorgeous, long-lasting shine you're looking for. Whether you prefer bold, vibrant colors or elegant, understated designs, we've got something that matches your style perfectly.
Plus, when you know how to properly maintain your resin tray using the techniques in this guide, your investment will look brand new for years to come. Our customers frequently tell us their trays become conversation pieces and cherished accessories in their collections.
Visit our Rolling Tray collection today and find your perfect match. With proper care and maintenance, it'll be a centerpiece you'll treasure for years.
Final Thoughts 🌟
Maintaining your resin rolling tray doesn't have to be complicated or time-consuming. With the right knowledge, proper products, and consistent care routine, your tray will remain as beautiful and functional as the day you got it.
Remember the key principles: gentle cleaning with appropriate products, immediate drying to prevent water spots, protection from heat and UV exposure, proper storage, and regular conditioning with mineral oil. These simple practices make all the difference between a tray that lasts a few months and one that becomes a long-term part of your collection.
The beauty of resin is its resilience when treated right. By avoiding harsh chemicals, abrasive materials, and extreme conditions, you're ensuring that your investment pays dividends in both aesthetics and functionality for years to come.
Now that you're armed with this comprehensive maintenance guide, you can confidently care for your resin rolling tray like a pro. Your tray will thank you by continuing to look absolutely stunning, session after session.
Happy rolling, and here's to keeping your gear in perfect condition! ✨






Leave a comment