🎯 How to Make a Dice Rolling Tray 🎲 (2025 DIY Guide)

Quick Answer ✅
If you’re asking how to make a dice rolling tray fast, cut a base (8–12″ inside), add a soft liner (felt/neoprene/cork+felt), and surround it with 1–1.5″ walls. Glue, clamp, and you’re rolling in under an hour. For travel, use a leatherette rectangle with corner snaps—packs flat and pops up at the table. 👍
Why a Dice Tray Helps 🎯
Table Protection
Soft liners reduce dings and dampen sound so late-night rolls don’t echo. Your group (and neighbors) will thank you. 🙌
Control & Clarity
Walls keep dice contained; contrasting liner colors make results easy to read at a glance.
Vibe Check
Wood grains, faux leather, or themed fabric turn your tray into part of the story. ✨
Choose Your Size & Shape 📐
Pick inner dimensions first; walls add ~0.75–1″ per side. Use these quick rules of thumb:
Rule-of-Thumb Formula
Inner width = max die size × 8 (solo) or × 10 (party). For a chunky d20 at ~0.85″, solo ≈ 6.8″ (round up to 8″); party ≈ 8.5″ (round up to 10–12″).
Popular Sizes
- Solo: 8″ × 8″ (compact, easy to stash).
- Party: 10–12″ square or 10×14″ rectangle.
- Hex/Octagon: Fun profile; target flat-to-flat 10–12″.
Materials & Tools (With Cost Table)
Here’s a quick comparison of common choices for the base, walls, and liner.
| Component | Option | Pros | Considerations | Approx. Cost |
|---|---|---|---|---|
| Base | Birch plywood (1/4–3/8″) | Stable, clean edges, easy to finish | Needs sanding & sealing | $5–$12 |
| Base | EVA foam sheet (5–10mm) | Great noise control, light | Can compress over years | $4–$10 |
| Walls | Poplar/Pine strips (1×2, 3/4″ actual) | Affordable, easy to cut | Soft wood dents easier | $6–$12 |
| Walls | Hardwood (oak, walnut) | Premium look, durable | Heavier, pricier | $12–$30 |
| Liner | Felt (craft or wool) | Classic look, smooth glide | Thin craft felt wears faster | $3–$15 |
| Liner | Neoprene/Mouse-pad mat | Ultra-quiet, grippy | Sporty vibe | $6–$15 |
| Liner | Cork + Felt combo | Great acoustic stack | Slightly thicker assembly | $8–$18 |
Tools You’ll Use 🔧
Hand saw or miter saw Utility knife Wood glue Clamps Sandpaper (120→220) Ruler & square Contact cement or spray adhesive
Build #1: 20-Minute Starter (No Power Tools) ⏱️
Parts
- 8–12″ shadow-box frame (wood or MDF)
- Neoprene or felt liner (cut to inner size)
- Contact cement or strong spray adhesive
- Optional: thin cork sheet under the liner
Steps
- Remove backing and glass. Keep the backing board.
- Cut cork (optional) and liner to match the backing board.
- Adhere cork → then liner to the board. Press flat.
- Re-insert backing upside-down so the liner faces the interior.
- Close the tabs; you now have a soft-bottomed tray with walls.
Result
Clean, quiet, and done—perfect for first-timers or travel night. 🎒
Build #2: Premium Wood Tray (Weekend Project) 🪵
Cut List (10″ inner square example)
- Base: 12″ × 12″ birch ply (1/4–3/8″ thick)
- Walls: four 1×2 poplar strips cut to 12″ (miter corners at 45°)
- Liner: 10″ × 10″ felt (or 9.75″ × 9.75″ if wrapping under molding)
Step-by-Step
- Prep boards. Sand to 220 grit. Dry-fit the frame around the base.
- Glue frame. Apply wood glue to mitered ends; clamp square. Wipe squeeze-out.
- Attach to base. Glue the frame onto the base (or use brads from below). Ensure inner opening is a full 10″.
- Finish. Apply wipe-on poly or oil. Let cure as directed.
- Line the floor. Use contact cement to set felt/neoprene. Roll with a bottle for full adhesion.
- Edge option. Add a thin inner molding (lips up) to stop dice climbing the wall.
Design Variants
- Octagon walls: Cut eight equal segments for a premium table piece.
- Inlaid corners: 1/4″ splines across miters add strength and style.
- Dice pocket: Router a small pocket on one side for storage.
Build #3: Snap-Corner Travel Tray ✈️
Parts
- Leatherette or thick vinyl rectangle (11×14″ for a 9×12″ floor)
- 8× metal snaps (4 corners)
- Snap-setting tool & mallet
- Optional: 2mm EVA foam panel glued to the center (underside) for quietness
Steps
- Round the four corners with a cup as a template and a sharp utility knife.
- Mark snap placements ~1″ from each corner edge.
- Install snaps (male/female) so corners fold up and fasten.
- Glue EVA foam centrally on the underside if you want extra hush.
Why It’s Great
Folds flat, weighs little, opens to a roomy rectangle—ideal for conventions or backpack play. 🎒
Pro Tuning: Noise, Bounce & Edges 🔧
Noise-Dampening “Stacks”
- Quietest: EVA foam (5–10mm) + wool felt top.
- Balanced: Cork (2–3mm) + felt.
- Sporty: Neoprene single layer (3–5mm).
Controlled Bounce
Bounce depends on surface elasticity and wall height. Start with 1.25″ walls and a medium-soft liner. If dice leap out, add a thin inner “lip” (1/4″) or step up liner thickness.
Edge Profiles
- Square: Most containment; modern look.
- Round-over (1/4″): Hand-friendly, classic.
- Chamfered: Clean angles, easy to sand.
Finishing, Care & Upgrades 🧼
Finishes
- Oil (Danish/Tung): Warm, natural, easy to refresh.
- Wipe-on poly: Durable, subtle sheen.
- Paint + clear: Theme colors; seal for durability.
Maintenance
- Lint-roll felt; spot-clean with a barely damp cloth.
- Refresh oil yearly; inspect joints each season.
Fun Upgrades
- Inlay a contrasting stripe or sigil with veneer.
- Add magnetic lid rails for a travel cover.
- Swap liners seasonally (velcro-backed felt squares).
Troubleshooting & Fixes 🧟♂️
Dice Keep Escaping
Increase wall height to 1.5″ or add a 1/4″ inner lip. Try a softer liner stack.
Liner Wrinkles or Bubbles
Use contact cement on both surfaces; wait until tacky; press with a bottle from center outward.
Frame Won’t Stay Square
Use a carpenter’s square and diagonal clamp. Check your miters—tiny gaps multiply.
Finish Feels Sticky
Allow proper cure time; light sand (320 grit) and apply a thin final coat.
Our Rolling Tray (Also Great for Dice) ✨
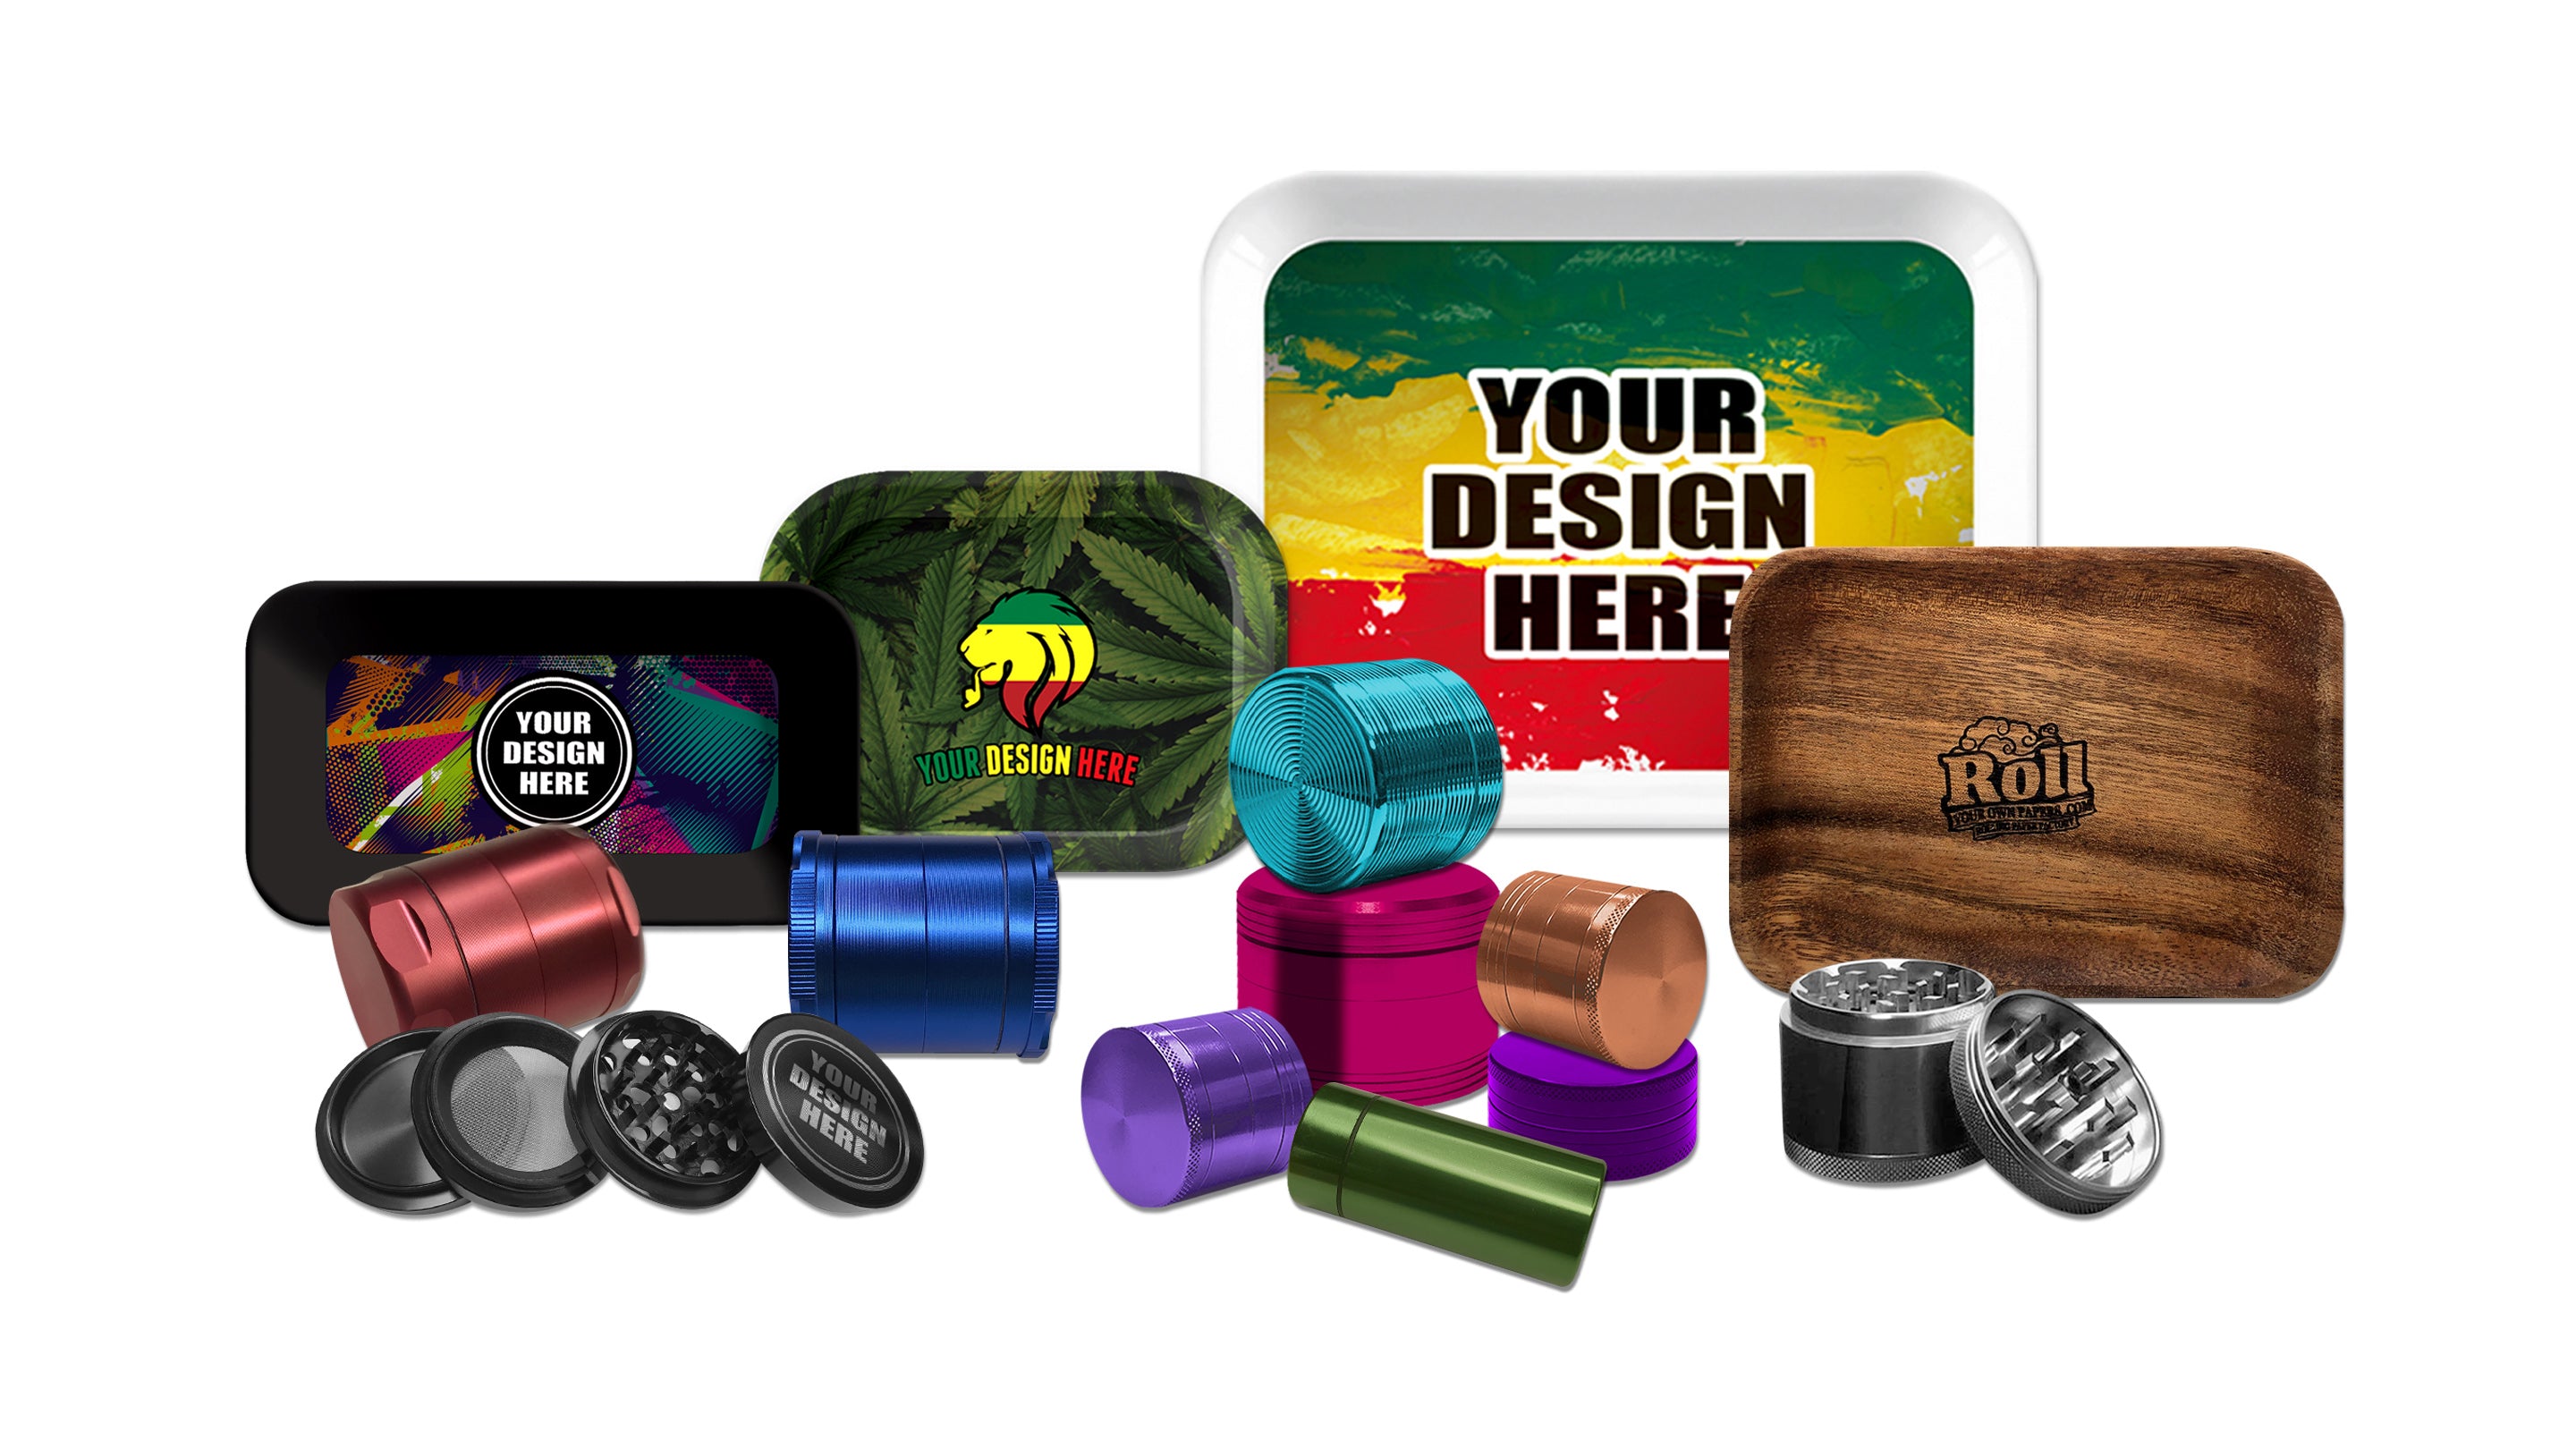
Want a zero-build option that looks sharp on any table? Our Rolling Tray doubles beautifully as a dice tray—smooth edges, durable base, and a liner that keeps things pleasantly quiet. It’s compact, sturdy, and easy to store between sessions. 💚
Ready to level up game night? 🎲
Choose a size that fits your setup—solo friendly or party-sized—and focus on the fun.
Shop Rolling TrayFAQs 🙋♀️
1) Can You Use Dice Rolling Tray for Weed Rolling Tray?
✅ Yes —especially in a pinch. Dice trays already have a flat workspace and raised edges that keep everything tidy, making them great substitutes for a weed rolling tray. For best results, swap any porous liner (felt/fabric) for a non-porous insert (silicone mat, metal, acrylic, or glass), keep separate liners for gaming vs. prep, clean after each use (isopropyl + lint-free cloth; mild soap/quick dry for sealed wood), avoid soaking wood, watch out for tall/soft walls that make scraping awkward, and keep dice away to prevent residue transfer.
2) Which liner is quietest?
EVA foam with felt on top is ultra-quiet without feeling mushy.
3) Can I make one without power tools?
Yes—convert a shadow-box frame or build the snap-corner travel tray.
4) Are octagon trays harder to build?
They require more precise angles but look fantastic. Use a miter gauge and cut a test piece first.
5) How tall should the walls be?
1–1.5″ is the sweet spot for containment without chaotic rebounds.
6) What finish should I use?
Oil for warmth and easy refresh, or wipe-on poly for durability.
7) How do I keep the liner perfectly flat?
Use contact cement on both surfaces, let it go tacky, then roll it down from center to edges.









Leave a comment