How to Roll a Blunt with Rolling Paper (2025 Guide) 🎯

Want the cleanest, comfiest roll possible—without wrestling the paper or wasting your blend? This is your friendly, no-jargon walkthrough for how to roll a blunt with rolling paper. We’ll cover tools, sizing, filters, hand placement, sealing, and troubleshooting—plus pro upgrades (hemp gum, humidification, cross-filter tricks) and a quick video library you can follow in real time. No gatekeeping. Just practical steps you can use today. ✌️
Table of Contents 📚
Tools You’ll Need
Minimal kit, maximum results. Here’s a compact checklist:
- Rolling papers (size and thickness that match your preferred fill)
- Grinder (for a fluffy, even consistency)
- Filter tip (paper or glass—paper is great for beginners)
- Packing tool (a paper clip, pen cap, or dedicated packer)
- Optional: plant-based rolling gum, humidification packet, rolling tray
Choosing the Right Rolling Paper
Your paper choice shapes the experience—draw, flavor neutrality, and burn consistency.
Paper Size Matters 📏
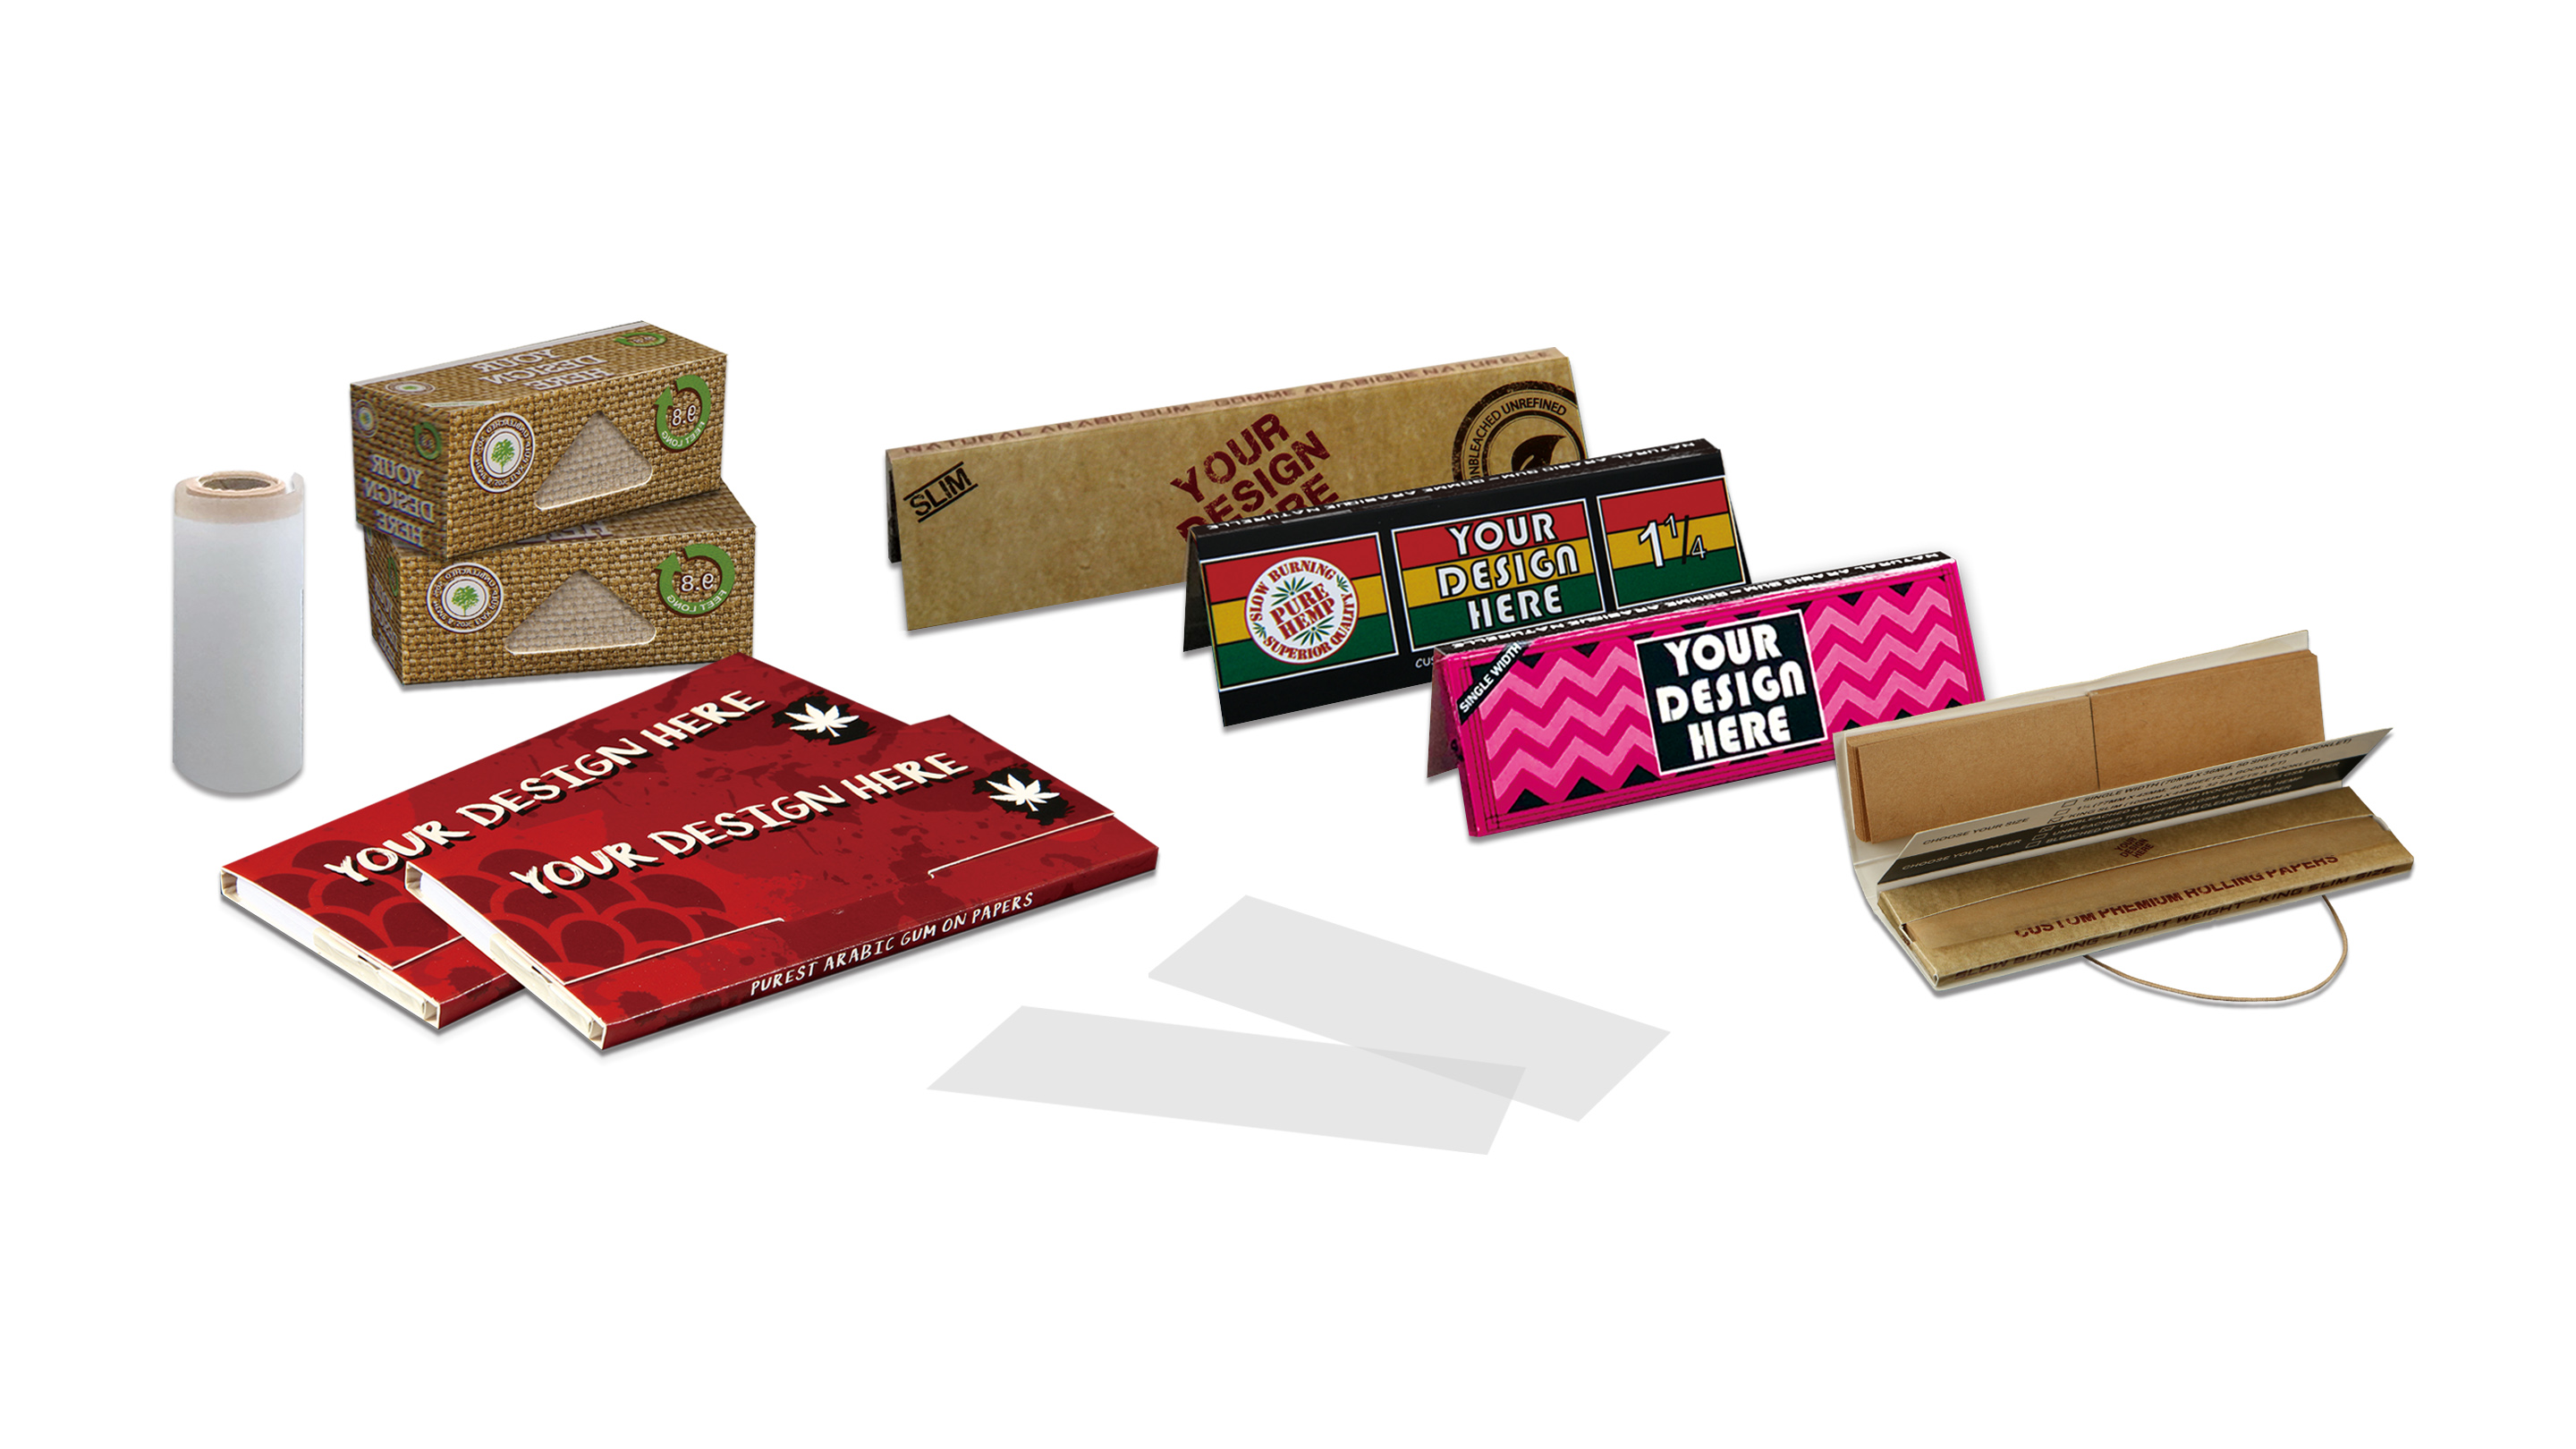
- 1¼ (a.k.a. 1.25): Versatile everyday size, perfect for personal sessions.
- King Size: Longer roll; great when sharing or when you want a longer burn.
- Wide / Ultra-wide: Extra room for beginners to tuck and seal confidently.
Thickness & Material 🧪
Thinner papers usually mean a lighter taste and slower burn; thicker papers are easy to handle when you’re learning. Start with a mid-thin sheet—easier to control than ultra-thin while still delivering a clean experience.
Gum Line & Burn Consistency 🔗
Look for a reliable gum line (often plant-based). It should activate easily, seal quickly, and dry cleanly. If you roll in humid climates, a slightly tackier gum can save the day.
Filters & Tips: Why They Matter 🎯
A good filter tip = better airflow, cleaner draw, and a sturdy mouth-end that won’t collapse.
How to Make a Quick Paper Tip (H-Fold) ✂️
- Cut a strip ~20–25 mm wide (or grab a pre-cut tip).
- Make 2–3 tiny accordion folds (the “H” or “M” shape inside).
- Wrap the rest around the folds to form a cylinder the width you want.
Glass Tip Option
Glass tips deliver a cool, consistent draw and are reusable. They also help train a straight roll because they offer a firm starting anchor.
Step-by-Step: How to Roll a Blunt with Rolling Paper ✅
1) Prep Your Space & Blend
Use a tray or clean surface. Grind your herb to a fluffy medium—too fine and airflow chokes; too chunky and you get gaps.
2) Place the Rolling Paper & Filter Tip
Hold the paper with the gum strip up and facing you. Place the tip at the left or right edge (whichever hand feels natural). The tip acts like a mini-handle and defines your diameter.
3) Load Evenly (Center-Heavy) ⚖️
Sprinkle the blend across the paper with a slight center bias. Leave a touch more near the tip for stability, and taper toward the far end for a cone profile if you like.
4) Pinch, Rock, and Pre-Shape 🤲
Pinch the rolling paper between your thumbs and index fingers. Gently rock back and forth to pre-shape, compressing just enough to remove air pockets—don’t over-squeeze.
5) The Tuck (The Moment of Truth)
With the paper still pinched, tuck the back edge under the blend. Start near the tip and move outward. Once tucked, roll forward with even pressure.
6) Seal Smoothly 💧
Moisten the gum lightly and evenly. Too much moisture = wrinkles or peeling. Plant-based rolling gum is a tidy alternative if you prefer a non-lick seal.
7) Pack & Finish
Use your packer to tap the open end. Add a pinch if there’s space. Finish with a tiny twist. You’re set. 🙌
Pro Tips, Variations & Advanced Techniques ✨
Dial in Your Diameter 🎚️
Your tip diameter sets the roll’s width. If you like a slower burn, go slightly wider. For solo sessions, a slimmer cylinder can be perfect.
Humidity Control
Papers that are too dry become crumbly; too humid and they wrinkle. Store papers in a sealable pouch; add a mini humidity pack if your climate swings.
Double-Paper Reinforcement
For extra durability (festivals, hikes), overlap a second paper by ~5–8 mm along the seam and seal it. Keep the overlap thin to avoid canoeing.
Hemp Gum & Micro-Seams
Touch up tiny gaps with a dab of plant-based gum applied with a toothpick. Let it set for a few seconds before packing.
Advanced: Cross-Filter Trick ➕
Insert a short secondary paper strip inside the first tip at 90° to shape airflow and block particles—great for long sessions.
Troubleshooting: Fixing Common Issues
Uneven Burn (“Canoeing”) 🛶
- Cause: Uneven density or a lumpy tuck.
- Fix: Gently roll between fingers to redistribute, then run a tiny line of moisture along the fast side’s edge to slow it.
Paper Tearing 😬
- Cause: Over-tight packing or brittle papers.
- Fix: Use fresher papers; reduce pressure; patch with a micro strip + gum.
Won’t Stay Sealed
- Cause: Too little/too much moisture or oily fingers.
- Fix: Clean hands; even, light moisture; consider plant-based gum for a sure seal.
Hard Draw / Tight Airflow 🌬️
- Cause: Over-packed center or too-fine grind.
- Fix: Loosen the middle, pack end lightly, and use a medium grind.
Video Library (Follow Along) 🎬
Prefer learning by watching? These short videos cover the whole process—from filter to final polish. The embeds below are Shopify-friendly iframes with responsive styling. We’ve also credited each channel beneath the player. 🙏
1) Beginner Hand Roll: Tip ➜ Tuck ➜ Seal ▶️
Clear hand positions, clean tuck, and a steady seal—ideal for first-timers.
Credit: Papers + Ink (YouTube)
2) Rolling with a Glass Tip 🥽
Side-by-side guidance on inserting and stabilizing a glass tip for a cool, consistent draw.
Credit: Green Pharms (YouTube)
3) Pro Technique & Seam Control 🎯
Clean camera angles on the rock-and-roll motion and seam management—great for leveling up hand control.
Credit: Berner (YouTube)
4) Filter Crafting: Three Easy Tip Shapes ✂️
Learn simple, durable paper-tip shapes that control airflow and keep bits out.
Credit: Fajita Cologne (YouTube)
Care, Storage & Travel-Friendly Ideas 🧳
- Store papers flat in a pouch; keep away from heavy heat or moisture.
- Humidity control: a mini pack in your kit keeps papers supple.
- Pre-roll & cap: pre-roll a couple with tips and cap the ends to keep lint out when traveling.
Upgrade Your Experience: Premium Rolling Paper from ROLLYOUROWNPAPERS.COM 💚
Feel the difference on your next roll. Our Rolling Paper is crafted for a smooth, even burn and a clean, neutral taste—no harshness, no fuss. Choose from 1¼, King, and ultra-wide, with dependable plant-based gum that seals on the first try.
- Consistent sheet quality for fewer tears and flawless tucks
- Thoughtfully thin for flavor clarity, yet beginner-friendly
- Available with matching filter tips and travel-ready booklets
FAQs ❓
1) What size paper should a beginner use?
Start with 1¼ or wide. They’re easy to control and offer extra room for a clean tuck.
2) Why does my roll canoe?
Usually uneven density or a sloppy tuck. Re-shape gently and add a micro-line of moisture along the fast-burning edge.
3) Do I need a filter tip?
Highly recommended. It stabilizes the end, protects from bits, and keeps airflow consistent.
4) How tight should I pack?
Firm enough to hold shape, loose enough to breathe. If your draw feels hard, it’s too tight.
5) My paper keeps tearing—what helps?
Use fresher papers, reduce pressure during the tuck, and keep your grind medium and fluffy.
6) Can I reinforce the seam?
Yes—overlap a thin strip (or a second paper by 5–8 mm). Keep it minimal to avoid canoeing.
7) How do I get a slower, cooler burn?
Go slightly wider on diameter, pack evenly, and consider a glass tip for a cooler draw.




Leave a comment