How to Roll Pre-Rolled Cones Like a Pro 😎

So, you’ve got your hands on some pre-rolled cones and you’re ready to enjoy a session without the hassle of learning complicated rolling tricks. Pre-rolled cones take the hard work out of rolling. In this guide, we’ll walk you through how to roll pre rolled cones step by step, share some pro tips for a perfect cone, and help you avoid common mistakes. By the end, you’ll be a cone-packing master 😎. Let’s get started! 🚀
Table of Contents
- 👉 Why Use Pre-Rolled Cones?
- 🛠️ What You Need to Roll a Cone
- 📖 Step-by-Step: How to Roll a Pre-Rolled Cone
- 🌟 Pro Tips for the Perfect Cone
- ⚠️ Common Mistakes to Avoid
- ⭐ Why Choose Our Pre-Rolled Cones
- 🤔 FAQs
👉 Why Use Pre-Rolled Cones?
“Why use a pre-rolled cone instead of rolling from scratch?” Great question! Pre-rolled cones are a game-changer, especially if hand-rolling isn’t your strongest skill (or you just want to save time). Here are a few reasons so many people love them:
- Super Convenient: No need to mess with loose papers or tricky hand-rolls. Just fill the cone and you’re good to go 😌. It’s perfect for newbies, busy folks, and anyone who wants a quick on-the-go option.
- Consistent Results: Pre-rolled cones are uniformly shaped, which means you get a nice even burn and smooth draw every time. Each cone is like a perfect clone of the last, so you know what to expect.
- Built-in Filter: Most cones come with a filter (also called a crutch or tip) already in place. This keeps things cool and enjoyable by blocking any loose bits and keeping your experience on point from start to finish.
In short, using pre-rolled cones lets you skip straight to the fun part and get a reliably great experience. Now, let’s make sure you have everything you need to get rolling.
🛠️ What You Need to Roll a Cone
Before we dive into the how-to, gather up these essentials. Having everything on hand will make the process smooth and easy:
- Pre-rolled cone: Obviously! Cones come in different papers (hemp, rice, etc.) – pick your favorite. Make sure it has a filter tip installed.
- Your favorite herb: Whatever relaxing legal blend or dry herb you prefer, ensure it’s properly dried and ready to grind.
- Grinder: A good grinder is your best friend here. It breaks down your herb into an even, fluffy consistency that’s perfect for packing.
- Packing tool: Many cone packs include a small stick or straw for packing. If you don’t have one, a chopstick, pen tip, or even a slim shoelace aglet can work in a pinch 🤏.
- Tray or plate: Use a tray, plate, or any clean flat surface to catch any bits of herb that might spill. It keeps things tidy so you won’t lose any precious material.
- Lighter: You’ll need one when it’s time to spark up your cone. Any lighter works, but one that gives an even flame is ideal for a smooth light.
Got all your supplies ready? Sweet! Now it’s time for the main event – filling and packing that pre-rolled cone.
📖 Step-by-Step: How to Roll a Pre-Rolled Cone
Step 1: Prep Your Herb 🌿
- Grind it medium-fine: Open your grinder, put in a couple of nugs, and give it a few good twists. You’re aiming for a medium-fine grind – slightly fluffy, not powder. Too fine can clog the cone; too chunky could lead to an uneven burn.
- Remove stems and seeds: Pick out any noticeable stems or seeds before grinding. Those can poke holes in the paper or make the cone burn weird. Clean herb = a smoother experience.
- Use a tray: Grind over a tray or clean surface so you don’t lose any material. Plus, it makes it easier to scoop up the herb when you start filling.
By the end of prep, you should have a small pile of nicely ground herb ready to load. It should feel fluffy, not too powdery. Now we’re ready to fill that cone!
Step 2: Fill the Cone
- Hold steady & start small: Keep the cone upright (tip down) and drop in a small pinch of ground herb to start. Aim to get some herb down into the tip while holding the cone stable to avoid spills.
- Fill in layers: Keep adding herb a little at a time. After each addition, give the cone a gentle tap to settle the contents and use your packing tool to lightly tamp it down. Repeat until the cone is about 80–90% full (leave a bit of room at the top).
Take your time during this filling step. It’s much easier to add more herb gradually than to deal with a spill or an over-packed cone. Patience pays off here!
Step 3: Pack It Gently
- Use a packing tool: Take that small stick (or whatever tool you have) and gently press the herb down after each pinch. Start with the material at the bottom and give it a light tamp to set a good foundation.
- Pack in layers: Add a bit of herb, then gently tamp it down with your tool. Layer by layer, you’ll avoid empty spots and get an even pack throughout.
- Don’t overdo it: Easy does it. If you pack the cone too tightly, air won’t flow and it could burn unevenly. Too loose, and it might burn too fast or even collapse. Aim for a happy medium – the herb should stay in place but not be crushed.
Continue filling and gently packing until the cone is filled to just below the top. The goal is a firm, evenly packed cone without squeezing the life out of it. Once that’s done, you’re ready for the finishing touch.
Step 4: Twist & Seal 🎀
- Leave a little space: Hopefully you’ve left about a quarter-inch (a few millimeters) of empty paper at the top of the cone. If it’s completely full, remove a tiny bit of herb so you have room to close it.
- Twist the top: Using your thumb and index finger, gently twist the excess paper at the tip of the cone. Twist in one direction until the paper pinches closed, forming a little “tail” or wick at the end 🌀. This secures your herb inside so nothing spills out.
- Don’t twist too tight: Be firm but don’t crank on it – twisting too hard can tear the paper or pack the herb too tight. You want a snug twist that stays put, but no need to overdo it.
- Alternative method: Some people fold the paper tip instead of twisting, kind of like folding a bag of chips. It can work if you’re gentle, but twisting is quicker and more secure for most cones.
That’s it! Your cone is packed and sealed. All that’s left is to light it up and enjoy the good times. 😉
Step 5: Light and Enjoy 🎉
- Even light is key: When you bring the lighter to the twisted tip of your cone, slowly rotate the cone. This helps the end ignite evenly all the way around, preventing one side from burning faster (no one likes an uneven run).
- Slow, steady puffs: Take a couple of gentle puffs to get it going. No need to inhale like a vacuum 😅 – slow and steady will cherry the tip nicely without overheating it.
- Enjoy the smooth draw: If you packed it well, your cone should pull smoothly. Savor the flavor and the even burn. Pre-rolled cones tend to deliver a consistent experience, so sit back and relax!
There you have it – you’re now kicking back with a perfectly rolled (well, packed) cone that you prepared yourself. Pretty satisfying, right? 😎 Now, let’s cover a few extra tips to really level up your cone game.
🌟 Pro Tips for the Perfect Cone
Want to really impress your friends or just treat yourself to the best pre-rolled cone possible? Here are some pro tips and tricks to take your pre-rolled cone technique to the next level:
- Mix up strains or flavors: Feeling creative? You can layer different herbal blends in one cone for a custom experience. For example, put one type of herb at the bottom and another type on top. It can add a cool twist to your session as the flavors mix 😋.
- Use a cone loader: Filling multiple cones or want to speed things up? Consider a cone loader or small funnel tool. It helps guide the herb into the cone neatly, which means faster, mess-free packing – awesome for parties or bulk prep.
- Humidity matters: Extremely dry herb can burn a bit harsh, and overly moist herb can be hard to light. Aim for well-cured, dry (but not crispy) material. If your herb is too dry, store it with a humidity pack to freshen it up. If it’s too moist, let it air out for a while before grinding.
Remember: practice makes perfect – each cone you roll will get easier and better. Keep at it! 💪
⚠️ Common Mistakes to Avoid
Even with an easy method, a few common pitfalls can happen. Here’s what to watch out for (and how to avoid them):
- Packing too tight: Over-packing can choke off airflow and cause your cone to go out. Pack a little looser next time for a smoother burn.
- Packing too loose: Under-packing can make your cone burn unevenly or too quickly. If it feels limp or burns uneven, pack a bit more firmly next time.
- Not leaving room to twist: If you fill the cone to the brim, you won’t have paper left to close it. That can cause spillage or a bad seal, so always leave a little empty space at the top.
Keep these tips in mind and you’ll save yourself some headaches. Most of it is common sense – after a few cones, you’ll be packing them like a pro without even thinking about it.
⭐ Why Choose Our Pre-Rolled Cones
Not all cones are created equal, and we’re proud to offer some of the best pre-rolled cones out there. What makes our pre-roll cones so special? Let us brag for a second:
- Premium quality paper: We use high-quality, slow-burning paper that lets you enjoy a long, smooth session without harshness. No weird chemicals or bleached paper here – just pure, clean flavor from start to finish.
- Built-in tips: Every cone comes with a perfectly rolled filter tip, so you don’t have to fuss with making one. It keeps your herb in place and your experience comfortable till the very last puff.
- Options for everyone: We offer multiple cone sizes (from 1¼ to king) and even fun flavored cones. Whether you’re flying solo or sharing with friends, you can choose what fits your vibe. Plus, if you roll on the regular, our value bundles will keep your stash stocked and save you money in the long run.
Ready to elevate your rolling game? Check out our collection of pre-rolled cones in our shop and give them a try. Once you experience the difference in quality and convenience, you’ll never want to go back. Happy rolling! 🎉
🤔 FAQs
Q1: How much herb can I fit into a pre-rolled cone?
A: Standard 1¼-size cones hold ~0.75–1 gram, while king-size cones can fit about 1.5 grams or more. Don’t overfill – if it feels too tight, better to start another cone.
Q2: Do I need a filter tip for my cone?
A: Almost all pre-rolled cones have a filter tip (a.k.a. crutch) built in. It keeps the cone’s shape, stops bits from getting in your mouth, and helps airflow. If you ever get a cone without one, you can roll a little paper tip yourself, but that’s rare.
Q3: What if I don’t have a grinder?
A: No grinder handy? You can break up your herb with your fingers or use scissors to chop it up. It takes a bit more time, but aim for an even texture so your cone burns smoothly.
Q4: Why is my cone burning unevenly?
A: “Canoeing” (uneven burn) usually means the herb wasn’t packed evenly. Make sure to pack your cone in layers and gently tamp each layer. Also, rotate the cone in the flame when lighting up to start it off evenly.
Q5: Can I put a half-finished cone out and relight it later?
A: Absolutely. If you only finish half, just knock off the lit end and let the cone cool, then put it in an airtight tube to save for later. When you relight it, it might taste a little staler than a fresh one, but it’ll still do the trick.
Q6: Are flavored cones safe to use?
A: Yes – as long as you buy from a reputable brand. Flavored cones use food-grade flavorings and are safe to use. If in doubt, stick to natural, unflavored cones (or choose trusted brands like ours that use quality ingredients).
Q7: What’s the shelf life of pre-rolled cones?
A: Empty cones can last for years if you store them well (cool and dry). They don’t really expire, but over a very long time the paper could dry out or get a bit brittle. If you’ve already filled a cone with herb, it’s best to enjoy it within a week or two for peak freshness. The herb will slowly dry out even in a cone, though an airtight tube can help keep it fresher a little longer.
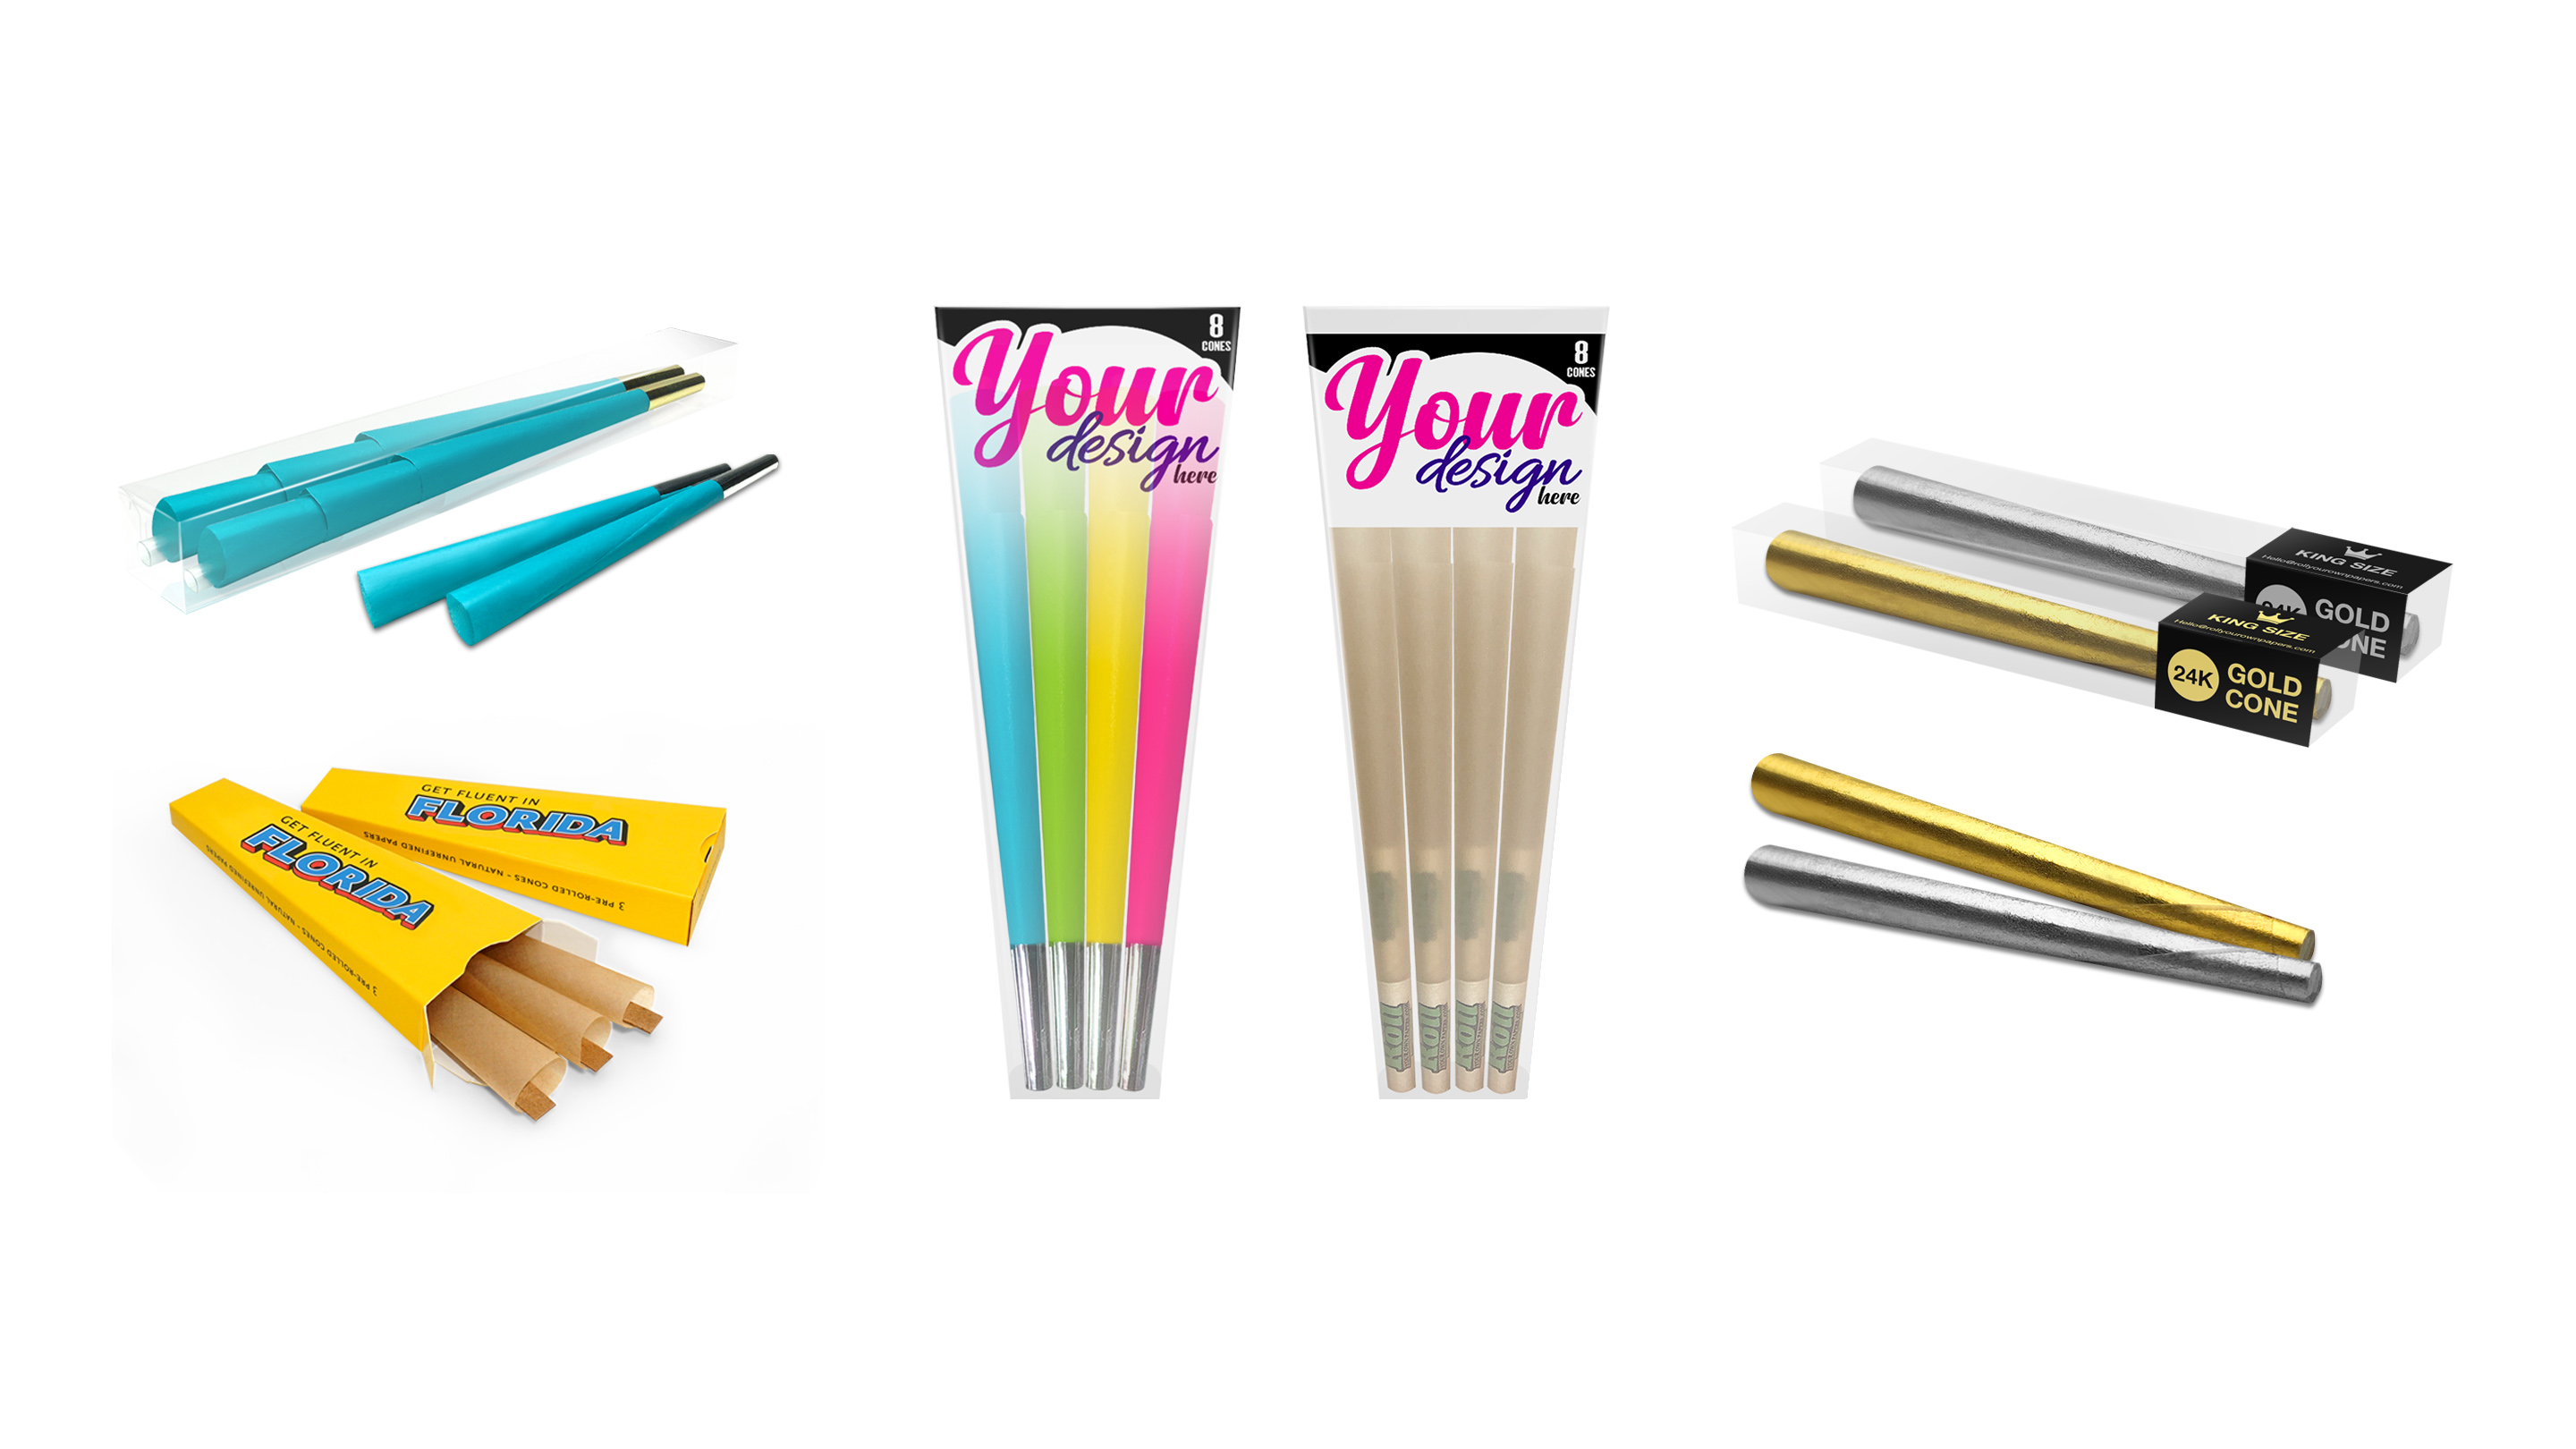
Get ROLLYOUROWNPAPERS.COM Custom Pre-rolled Cones ✨
Ready-made convenience, your way. Build cones that match your vibe or shop identity—clean pack, consistent draw, and branding that pops.
- Dialed-in sizes: 1¼, Slim, King & more for the perfect capacity and feel.
- Paper options: Ultra-thin, unbleached, or flavored styles to suit your preference.
- Precision tips: Pre-installed filter tips keep things tidy and consistent from start to finish.
- Even, steady burn: Uniform cones for smooth, reliable sessions every time.
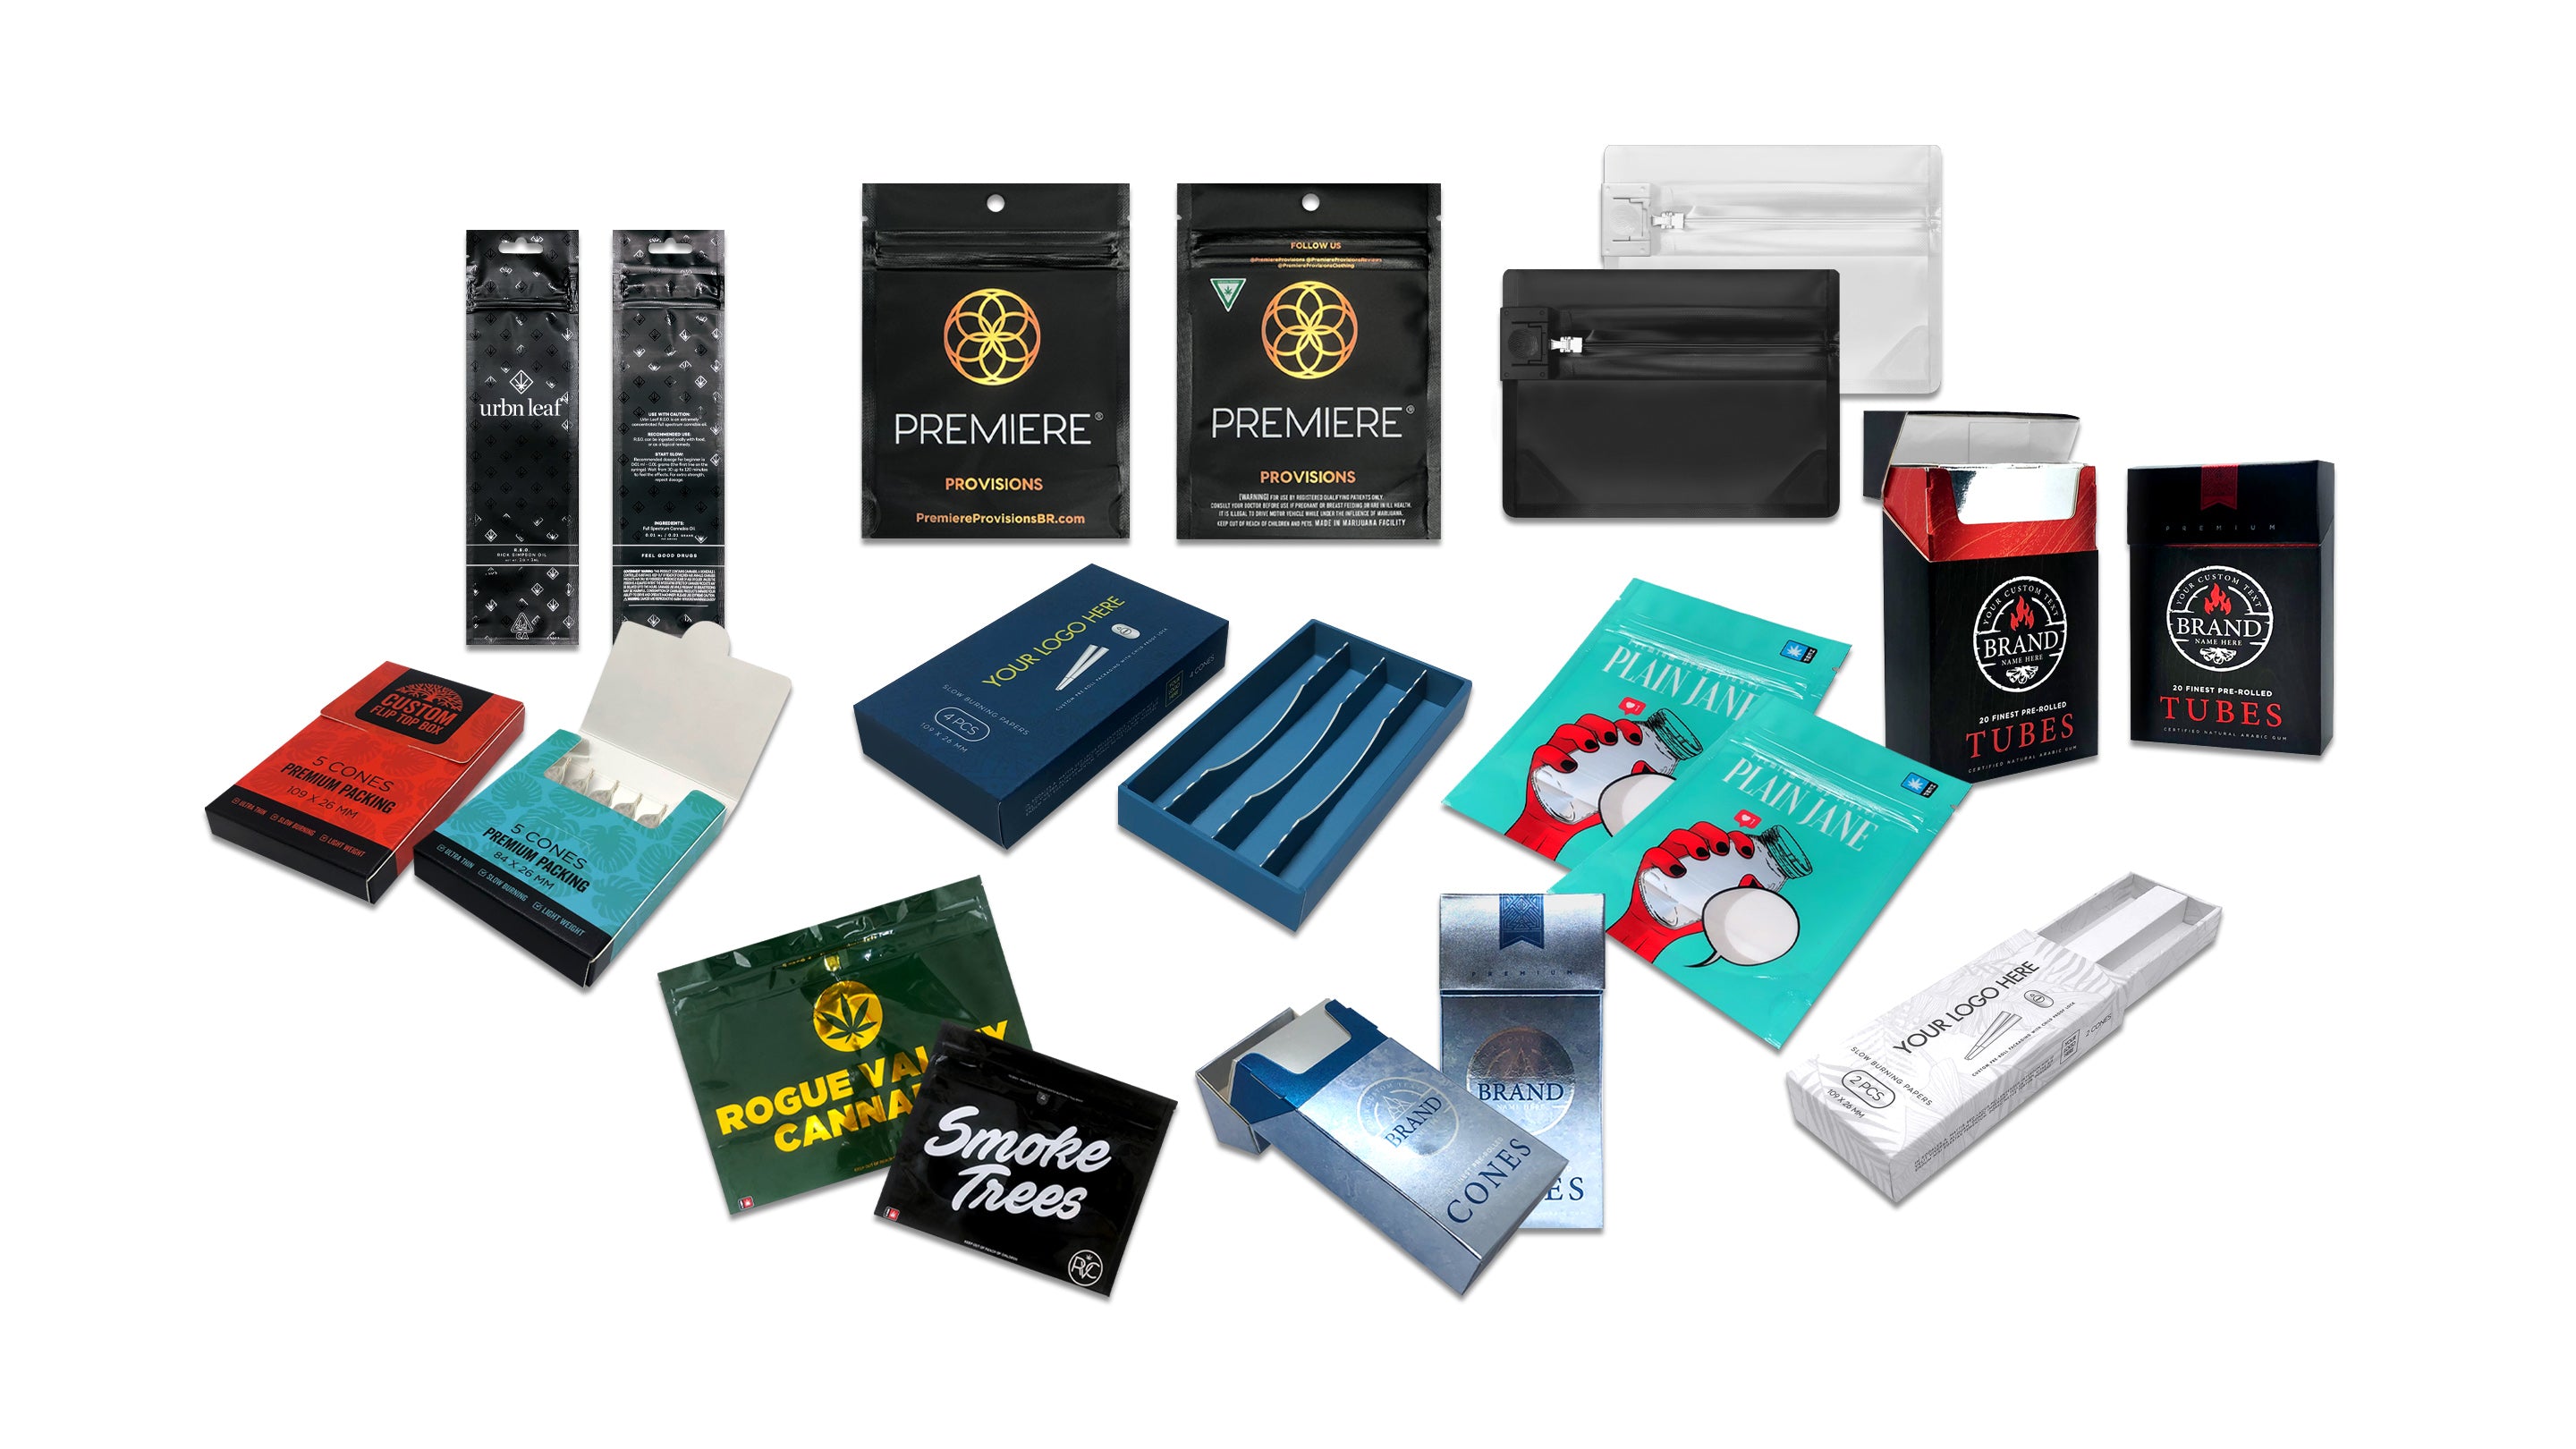
- Custom branding: Print on cones, tips, and packaging for a premium, retail-ready look.
- Fast & friendly MOQs: Quick turnaround with low minimums so you can launch or restock fast.
Ready to level up your setup? 🚀
Choose your ideal size, paper, and finish—then personalize it. We’ll handle the rest with pro-grade consistency.
Shop Custom Pre-rolled Cones



Leave a comment