😎 How to Roll with Rolling Paper: The Ultimate Step-by-Step Guide

Learning how to roll with rolling paper is a rite of passage for anyone who enjoys a hand-rolled experience. If you’ve ever felt all thumbs trying to roll one up, don’t worry – this guide will walk you through the whole process step by step. By the end, you’ll be rolling with confidence. Let’s get rolling! 🚀
Table of Contents
- What You’ll Need to Roll
- Step 1: Prepare Your Herb
- Step 2: Set Up Your Paper and Filter
- Step 3: Fill the Paper
- Step 4: Roll it Up (The Tricky Part)
- Step 5: Seal and Finish
- Step 6: Light Up and Enjoy
- Tips and Tricks for a Perfect Roll
- Choosing the Right Rolling Papers
- Upgrade Your Roll: Our Premium Rolling Papers
- 🙋♂️ FAQs: How to Roll with Rolling Paper
✅ What You’ll Need to Roll
Before you start rolling, make sure you have all the necessary supplies on hand. Here’s your checklist of rolling essentials:
- Rolling Papers: Thin, high-quality papers (preferably unbleached and chemical-free) for the best experience.
- Your Herb: Well-dried and ground plant material of your choice (the fresher, the better).
- Grinder (optional): Helps break down your herb evenly. If you don’t have one, your fingers will do in a pinch.
- Filter Tip (crutch): A small piece of cardstock or a pre-made tip to serve as the mouthpiece. This keeps things tidy and avoids getting bits in your mouth.
- Flat Surface: A tray or clean table to catch any spills and make rolling easier.
👉 Step 1: Prepare Your Herb
The first step to a perfect roll is prepping your herb. If you’re using a grinder, now’s the time to put it to work. Grind your herb until it’s nice and fluffy. Aim for a consistency like loose tea leaves – not too fine (which could clog things up), but not in big chunks either.
No grinder? No problem! You can break up the herb with your fingers or scissors. Just take your time to ensure it’s evenly torn apart. Stems or extra-large pieces can poke holes in your paper, so remove those. Properly prepared herb will burn smoother and make the rolling process much easier.
👉 Step 2: Set Up Your Paper and Filter
Now that your herb is ready, get your rolling paper and filter tip. Take one sheet of rolling paper and orient it with the sticky gum strip at the top (facing you). If you’re using a filter (highly recommended for an easier roll and cleaner result), roll or fold your filter tip into a small cylinder or “W” shape and place it at one end of the paper.
Place the filter on the end of the paper closest to you, lining it up with the edge. The filter will act as a support when you start rolling, and it also marks the mouth-end of your roll. Make sure the paper is slightly creased lengthwise; this creates a little trough that will hold your herb.
👉 Step 3: Fill the Paper
It’s time to add your herb. Gently sprinkle your ground herb along the crease of the paper. Start at the filter end and work your way to the other end. Be careful not to overfill – you want a nice even line of herb. Too much can make rolling difficult (and can end up in a mess, like an overstuffed burrito spilling its fillings 🌯).
If you’re unsure how much to use, err on the side of less for now. You can always roll a second one if needed 😉. A common amount is about 0.5 grams (roughly enough to fill a regular 1¼ size paper). Distribute the herb evenly; you can use your fingertip to spread it out if it’s piled up in spots.
👉 Step 4: Roll it Up (The Tricky Part)
Now for the part that trips up most beginners: the actual rolling. Pinch the paper between your thumbs and fingers, with your thumbs on the outside, and your index fingers on the inside, supporting the herb. Gently roll the paper back and forth between your fingers (like an accordion!) to pack and shape the herb into a cylinder.
As the herb forms a solid shape, tuck the ungummed edge of the paper (the side closest to you) into the roll, starting at the filter end. The filter gives you a sturdy hold point – use it to start the tuck, and then continue the tuck along the length of the roll. This step takes patience. If some herb falls out, that’s okay (it happens to everyone!). Just pause, tuck it back in, and keep rolling!
Roll slowly and evenly, guiding the paper around the herb. By the time you’re done, the un-gummed edge should be tucked under your herb and the sticky gum strip will be exposed on top, ready to seal.
👉 Step 5: Seal and Finish
Once the paper is fully tucked and your roll looks almost ready, it’s time to seal it. Lick the sticky gum strip of the rolling paper (just a light lick – no need to slobber). Starting at the filter end, press the gum strip down onto the rolled paper. Work your way along the seam, sticking it down as you go. If it doesn’t stick immediately, you may need to lick it a bit more or even re-tuck and try again. Patience is key!
With the paper sealed, you have what’s essentially a finished roll, except for the open end. If the herb is loosely packed at the tip, take a pen, shoelace end, or any thin poking tool and gently pack the herb down through the open end. This will firm up the roll and ensure an even burn. Now, twist the excess paper at the tip into a little tail. This twist keeps everything in place and acts as a wick for lighting.
👉 Step 6: Light Up and Enjoy
Time to enjoy the fruits of your labor! Hold your rolled creation in one hand (by the filter end) and a lighter in the other. Light the twisted tip of the paper while gently puffing (think of sipping through a straw, softly). Once it catches, enjoy slow, smooth inhales. Remember, you don’t need to draw super hard – let it cherry (burn) evenly.
Take it easy if you’re new to this. Start with small puffs to get a feel for it. There’s no prize for finishing fast – savor the experience 😌. Exhale and relax. You did it!
💡 Tips and Tricks for a Perfect Roll
Rolling is an art, and everyone develops their own style over time. Here are some extra tips to level up your rolling game:
- Start Small: If you’re new, use a smaller amount of herb. It’s easier to handle and you can focus on technique. As you get better, you can roll bigger ones.
- Use a Rolling Tray: A tray or even a magazine under your work area will catch any fallout. You won’t lose any precious herb that might spill, and it makes clean-up easy.
- Fixing Tears: Did your paper rip? Don’t panic. You can patch small tears with a little piece of another paper’s gummy strip (tear off a spare strip and lick it on). If it’s a big tear, it might be easiest to start over with a fresh paper.
- Practice, Practice, Practice: The more you roll, the better you’ll get. Maybe your first few tries aren’t pretty – that’s okay! Save them and re-roll later, or just spark one up and have a laugh about it. It’s all part of the learning process.
📜 Choosing the Right Rolling Papers
Not all rolling papers are created equal. The paper you choose can affect the ease of rolling and the quality of your experience. Here’s what to consider when picking papers:
- Size: Rolling papers come in various sizes (from single-wide to king-size). Beginners often find 1¼ size papers ideal – they’re standard and easy to handle. Larger papers hold more herb but can be trickier to roll if you’re just starting out.
- Material: Papers are made from different materials like wood pulp, rice straw, or hemp. Rice papers are thin and burn slowly, but can be a bit slippery to roll. Wood pulp papers (often white) are thicker and grip better, which makes them easier for newbies. Hemp papers are a popular middle ground – medium-thin, unbleached, and eco-friendly. In general, thinner papers (like many rice or hemp papers) burn slower and impart less taste, while thicker papers burn faster but can be easier to roll.
Ultimately, the “best” rolling paper is the one that suits your style. Many people experiment with different brands and types until they find their perfect match. Don’t be afraid to try out a few varieties to see what works for you!
🙋♂️ FAQs: How to Roll with Rolling Paper
1. What’s the easiest type of rolling paper to use for beginners?
Wood pulp papers are usually the easiest for beginners because they have more grip and are thicker, making them easier to roll and control.
2. Do I need a filter tip when rolling?
It’s not required, but using a filter tip makes rolling easier and helps keep the shape while keeping bits out of your mouth.
3. How do I fix a tear in my rolling paper?
You can patch small tears using another paper’s gummy strip. Just tear off a small piece, lick it, and place it over the rip.
4. Why does my roll burn unevenly?
Uneven burns usually happen because the herb inside wasn’t packed evenly. Use a tool to gently pack it before sealing and twist the end tightly.
5. How much herb should I use per roll?
About 0.5 grams is a common amount for a regular 1¼ size paper. You can adjust depending on paper size and preference.
6. What’s the difference between rice, hemp, and wood pulp papers?
Rice papers are thin and burn slow but can be slippery. Hemp is eco-friendly and balanced. Wood pulp papers are easiest to handle, especially for beginners.
7. Can I reuse rolling paper if I mess up?
If the paper is still clean and not too wrinkled, you can carefully unroll and reuse it. But if it’s torn or soggy, it’s best to grab a fresh sheet.
🌟 Upgrade Your Roll: Our Premium Rolling Papers
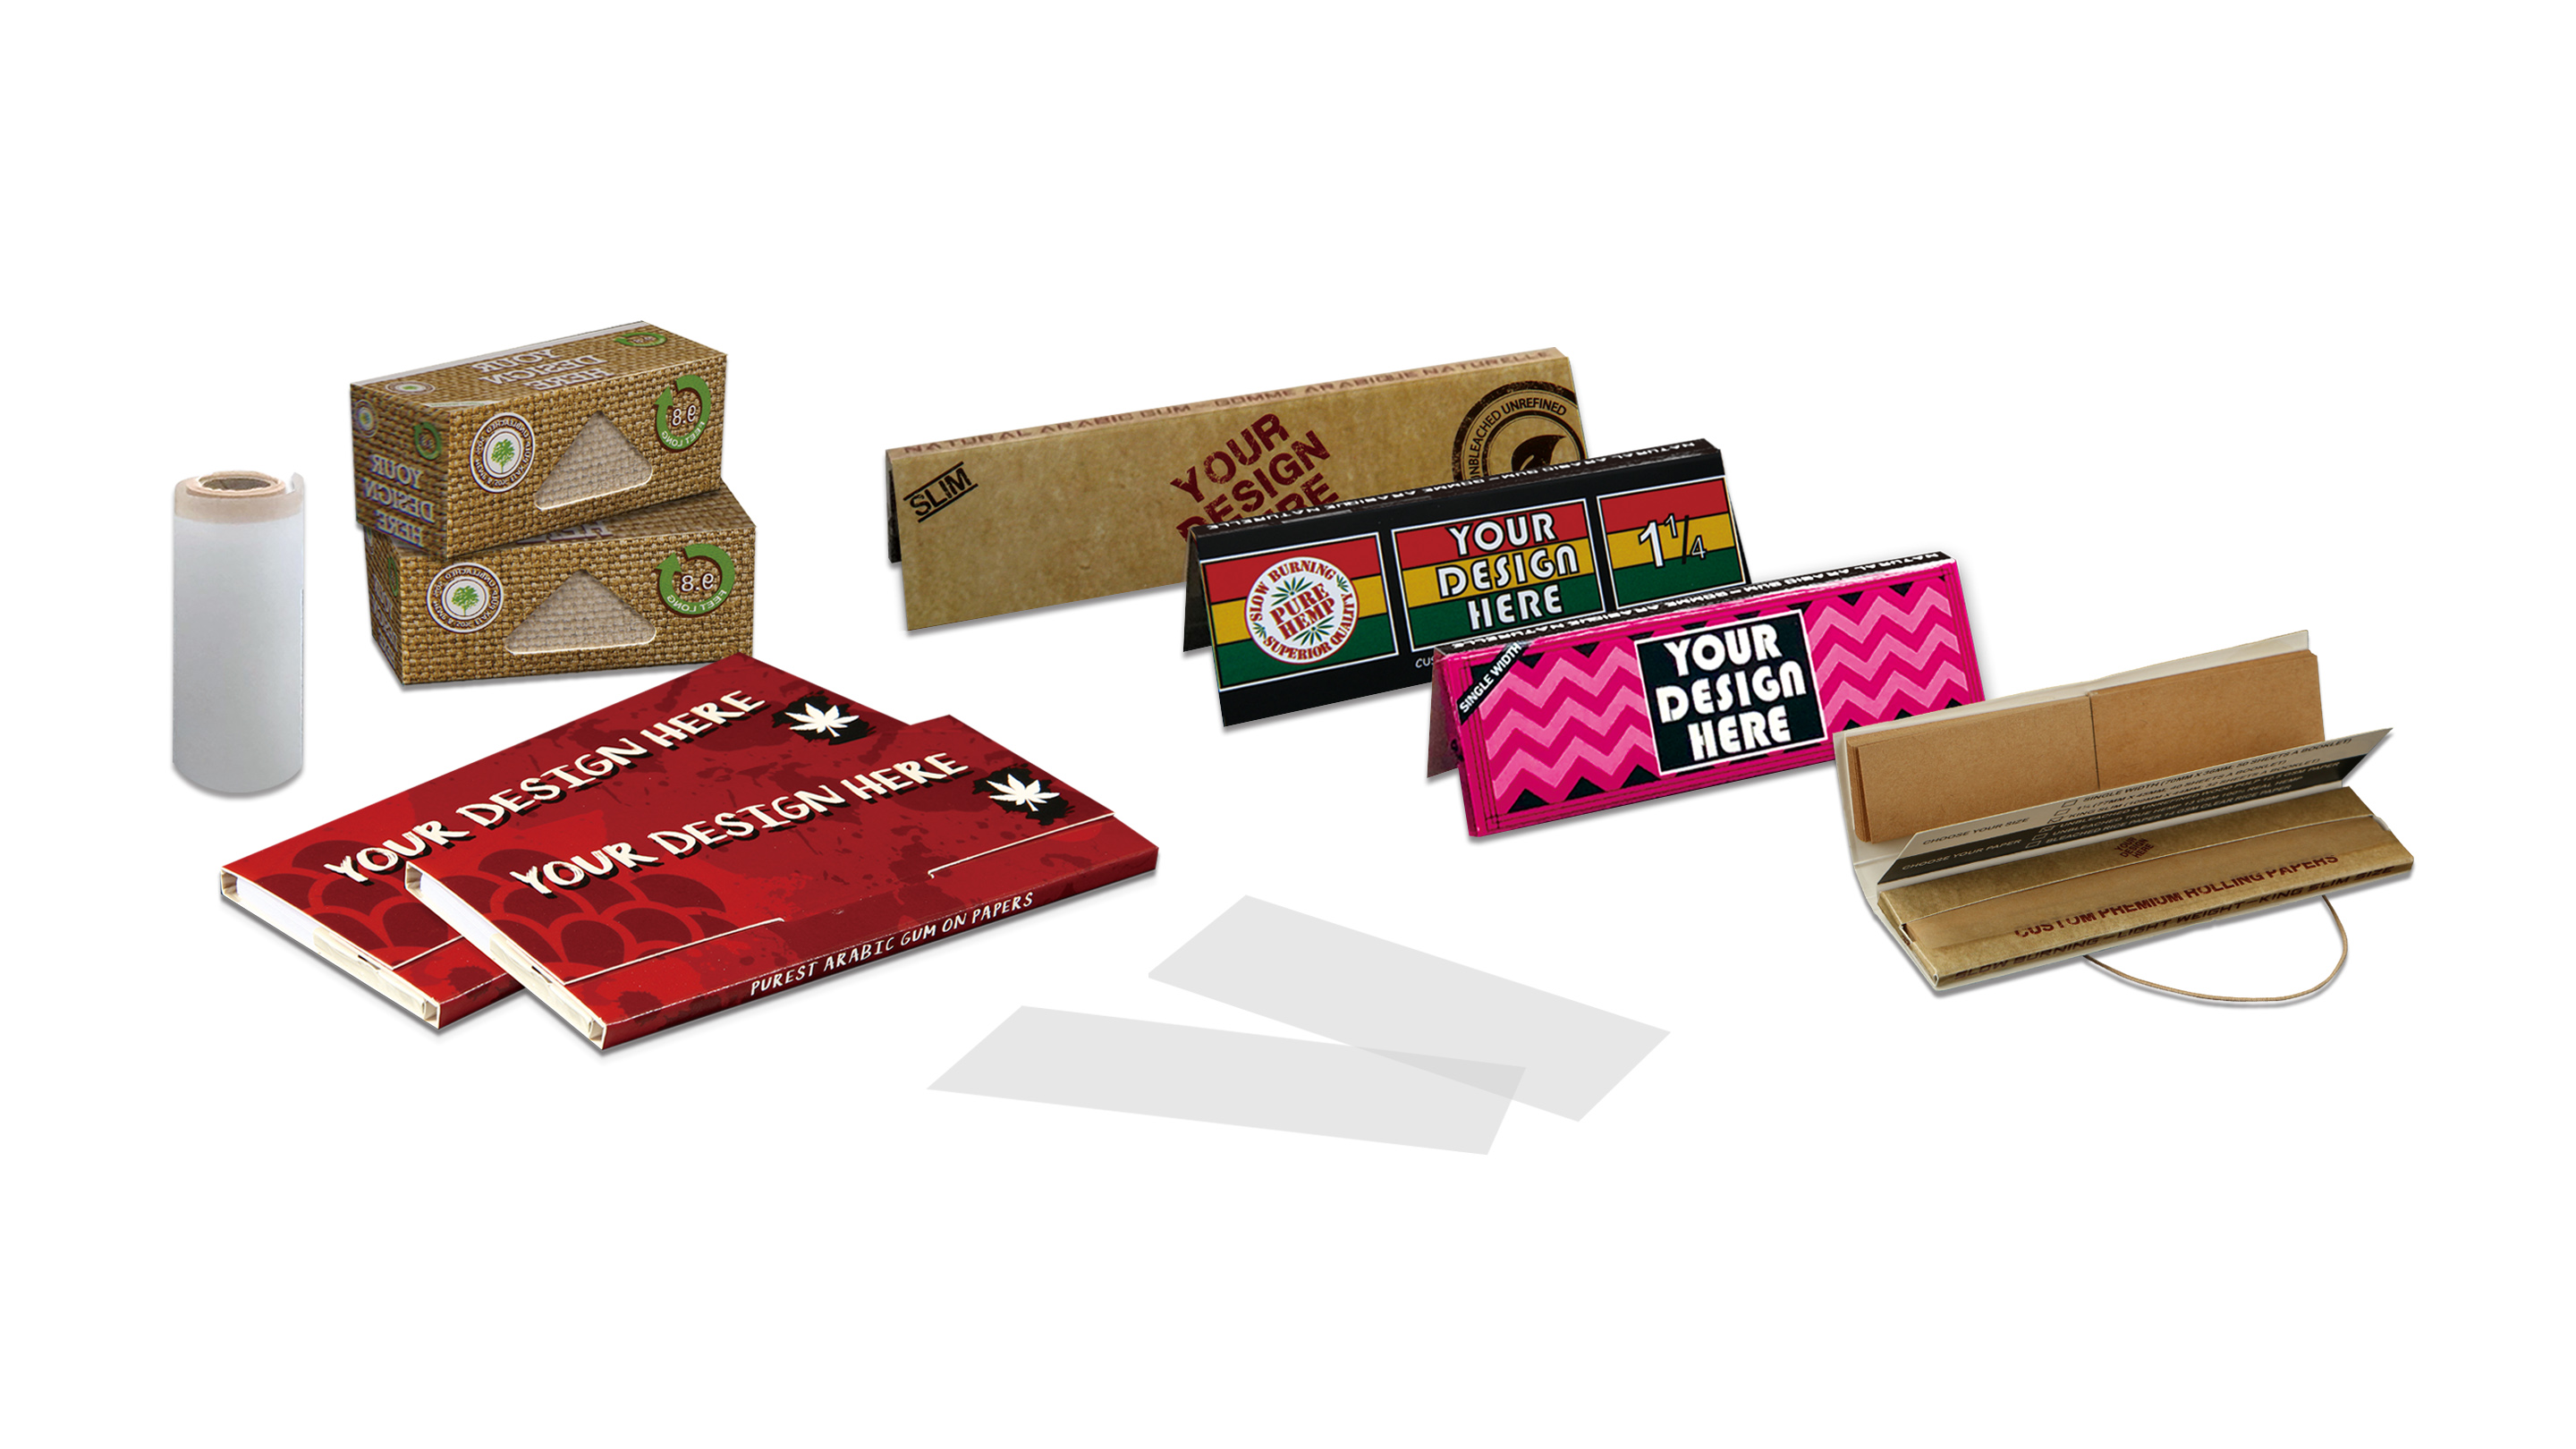
One often overlooked factor in rolling is the quality of the paper itself. Using premium rolling papers can make the whole process easier and more enjoyable. That’s where Custom Rolling Paper comes in! Our papers are ultra-thin yet strong, made from natural materials with no harsh chemicals, and they burn slow and even – meaning you taste your herb, not the paper. They’re easy to roll (good grip and flexibility) and once lit, they stay lit with a smooth burn (no constant relighting!). We offer a variety of sizes, and even custom designs if you want to roll in style 😎. Give them a try – you might be surprised how much a great paper elevates your rolling experience.
Now that you’ve learned how to roll with rolling paper from start to finish, it’s time to put it into practice. Grab your supplies, take a deep breath, and roll one up. Remember, every great roller started where you are now. With a bit of practice (and maybe some quality papers by your side), you’ll be rolling like a pro in no time. Happy rolling! 🙌





Leave a comment