🌿 How to Use a Weed Grinder: Step-by-Step Guide 😎

What’s up, guys, and welcome to the super guide on how to use a weed grinder! So, whether you’re completely new to this or some great herb connoisseur, this easy companion will help you learn everything about grinding your weed for the ultimate effective use. Yeah, it might appear somewhat intimidating to use a grinder for the first time, but fret not! We present very simple steps, ‘pro’ tips, and answers to FAQs about that practice. You’ll be doing this like a ‘pro,’ getting the most out of your herb by the end of this 😉. Let’s go!
Table of Contents
- What is a Weed Grinder? 🤔
- Why Use a Weed Grinder? 🌟
- Types of Weed Grinders 🛠️
- Parts of a Weed Grinder 🧩
- Before You Grind: Preparation 🧼
- How to Use a Weed Grinder (Step-by-Step) 👉
- Tips for an Optimal Grind 💡
- How to Clean Your Grinder 🧹
- Why Choose Our Weed Grinders 😉
- Frequently Asked Questions ❓
What is a Weed Grinder? 🤔
A weed grinder, sometimes referred to as an herb grinder, is an investment in a very convenient and handy tool to reduce your weed or dried herbs into manageable pieces. Usually, it has sharp teeth that tear up the herb when you twist the grinder’s halves together. The outcome? An evenly ground, fluffy heap of herb ready for your next round. There are different-sized grinders available made up of different materials-metal, wood, plastic but they all revolve around one mission; to ease your life while preparing your herb.
Why the need for a grinder when you can just break the bud with your fingers? Consistency and efficiency. The top grinder provides an even grind that ensures your herb will burn or heat uniformly, no matter whether you’re packing a bowl or loading a vaporizer. Plus, it’s not all sticky resin (kief) all over your fingers. In sum, using a grinder is the neatest and most effective way to prepare your stash for enjoyment.
Why Use a Weed Grinder? 🌟
Still on the fence about using a weed grinder? Let’s break down the benefits:
- Smoother Experience: Ground weed has a uniform texture, which means it will burn more evenly in a joint or heat more consistently in a vaporizer. No more random big chunks causing harsh hits or uneven sessions.
- Better Potency & Flavor: Grinding exposes more surface area of the herb. This helps release flavors and compounds evenly, giving you stronger potency and fuller flavor from the same amount of weed.
- Efficiency: A grinder saves time and fingers 😅. You can break down a large nug in seconds, and it catches the fine bits (like kief) that would otherwise get lost. More herb for you, less waste.
- Cleaner Hands: Ever tried to pick apart a sticky bud? It’s messy. Using a grinder keeps the resin on your herb (where it belongs) and off your hands. No more gummy fingers.
- Kief Collection: Many weed grinders have a special compartment to collect kief (the powdery, super-potent resin crystals). Over time, you’ll gather enough for a bonus sprinkle on top of a bowl or to press into hash. Free extras! 🎉
Types of Weed Grinders 🛠️
Not all weed grinders are created equal. Here are the common types you’ll come across:
- 2-Piece Grinder: Just a top and bottom with teeth. You put the herb in, grind, and then open it to tap out your weed. Simple and portable, but no separate storage – the ground herb sits among the teeth.
- 3-Piece Grinder: Comes with a top, a grinding chamber (with holes for the ground herb to fall through), and a bottom chamber to catch the ground herb. This makes it easier to retrieve your freshly ground weed without dealing with the teeth.
- 4-Piece Grinder: The most popular style for enthusiasts. It’s like a 3-piece but with one extra compartment at the bottom called a kief catcher. A fine screen below the main chamber lets the tiny kief crystals fall through and collect separately. Over time, this bottom chamber accumulates kief – a nice little bonus stash of potent goodness.
- Electric Grinder: Feeling like a high-tech hipster? 😎 Electric grinders do the job with the push of a button. They’re great for when you have a lot of herb to grind, are limited in hand strength, or just because you can carry it. Just keep in mind they’re less portable, you need power (battery or plug), and you have slightly less control over the consistency of the grind compared to manual grinders.
Parts of a Weed Grinder 🧩
To use your grinder effectively, it helps to know its parts. Most manual weed grinders (especially 3-piece and 4-piece models) have these components:
- Lid: The top piece. Often has teeth on the underside. Some lids are magnetized to help them stay put during grinding.
- Grinding Chamber: The space where the magic happens. This chamber (usually the top part of a 3-piece or 4-piece grinder) contains sharp teeth on both the bottom of the lid and the top of the chamber below. You place your herb here.
- Collection Chamber: In a 3-piece or 4-piece grinder, this is the section below the grinding chamber. Ground weed falls through holes into this chamber, waiting for you to retrieve it. No more picking bits out from between the teeth!
- Kief Chamber: (Only in 4-piece grinders) The very bottom compartment separated by a fine mesh screen. As you grind, tiny potent particles (kief) sift through the screen and collect here. Many grinders include a little scraper tool to help gather this valuable powder.
Before You Grind: Preparation 🧼
Alright, you’ve got your shiny new grinder – but hold up a sec! Before the first grind, a little prep goes a long way:
1. Clean it first: New grinders can have manufacturing residue or metal shavings. Nobody wants that in their herb. So, take apart your grinder and give it a quick wash. Use warm soapy water to rinse each piece, then dry it thoroughly. This washes away any dust or residues from the factory. Make sure it’s completely dry (water + herb = bad combo).
2. Check for any debris: if you’ve been using your grinder for a while, bits of herb tend to get trapped in its crevices. Tap the pieces over a tray or paper to dislodge any leftover crumbs from last time. A small brush can help sweep out old particles, so your next grind is fresh and pure.
3. Avoid overloading: Before you start grinding, break your bud into smaller pieces with your fingers. Remove any hard stems or seeds. This makes it easier on the grinder’s teeth. Don’t stuff a giant nug in whole – it might jam or cause you to exert too much force. Think pebble-sized pieces for the best results.
How to Use a Weed Grinder (Step-by-Step) 👉
Ready to grind? Using a weed grinder is simple. Here’s a step-by-step breakdown:
- Remove the lid. 👍 Hold the grinder upright and pop off the top lid. You’ll see the sharp teeth on the underside of the lid and the matching teeth in the chamber.
- Load your weed. 💡 Take a couple of those small herb pieces you prepped and place them in the grinding chamber, between the teeth. Don’t cover the center magnet (if your grinder has one) – just spread the bits around the teeth. Remember, don’t overfill; it’s better to do two smaller batches than one overstuffed grind.
- Grind it up. 💪 Put the lid back on. Hold the bottom of the grinder with one hand and the lid with the other. Now give it a few firm twists, like you’re turning a doorknob. Twist back and forth about 5-10 times. You’ll feel the resistance at first and then it will twist more easily – that means the herb is getting nicely chopped. If it becomes hard to turn, stop and tap the grinder gently (or even reopen and reposition things) rather than forcing it.
- Tap and check. 👀 Before you pull the grinder apart, give it a gentle tap on the side or upside-down. This helps shake off any sticky bits clinging to the teeth, so everything falls into the chambers. Then, remove the lid and peek inside. Most of your herb will have dropped through the holes to the collection chamber. If you see some chunks still stuck between the teeth, you can put the lid back on and give a couple more twists.
- Unscrew and enjoy. 🎉 Unscrew the grinder’s middle section to access the collection chamber where your freshly ground weed is waiting. Be careful when opening – hold it level, so you don’t spill anything. Use your fingers or a small tool (some grinders come with a scraper) to scoop out the fluffy ground herb. It’s now ready to be used in your joint, bowl, or vaporizer!
Bonus: If you have a 4-piece grinder, don’t forget to check the bottom chamber. Over time, kief will accumulate there. It might take many grinding sessions to see a lot, but once you have enough, it’s like a little treasure trove 🏆. You can sprinkle some kief on top of a bowl for an extra kick or save it for a special occasion.
Tips for an Optimal Grind 💡
Grinding is pretty straightforward, but these extra tips can level up your grinding game:
- Don’t grind too fine (unless you need to). If you twist and grind for too long, you’ll end up with powdery herb. Ultra-fine grind is great for certain vaporizers, but if you’re rolling a cone or packing a bowl, powder can restrict airflow. So, grind just enough — not into dust.
- Rotate both ways. While grinding, twist the grinder back and forth in both clockwise and counter-clockwise directions. This ensures nothing gets stuck and gives a more even grind. If you feel your grinder getting stuck while twisting one way, reverse the direction to free up trapped herb.
- Tap the grinder. As mentioned, a gentle tap before opening can loosen sticky pieces. Some people even gently bang the grinder’s halves together (over a tray to catch fall-out) to knock off stubborn bits. Just don’t dent your grinder by whacking it too hard!
- Too sticky? Try a coin trick. If your grinder has a kief catcher and the screen is clogged with sticky resin, here’s a hack: After grinding, place a cleaned small coin (like a penny) in the freezer for a few minutes, then put it in the collection chamber and gently shake. The cold coin will help knock kief through the screen. 🔧 This can help collect more kief over time. Remember to retrieve the coin afterward!
- Temperature matters. Ever notice grinding very sticky herb is tough? Try putting your buds in the freezer for about 10-15 minutes before grinding (make sure they’re in a sealed bag or container). Cold, brittle herb breaks apart more easily and won’t gum up the grinder as much. Just don’t forget them in the freezer 😅.
How to Clean Your Grinder 🧹
To keep your grinder working smoothly, regular maintenance is key. Over time, resin and tiny bits can build up, making it harder to twist or causing funky smells. Here’s how to keep your grinder in tip-top shape:
Quick Clean (Every Few Uses)
After a few sessions, do a quick clean:
- Take the grinder apart. Over a piece of paper or tray, tap out any loose bits from each piece.
- Use a small brush or a toothpick to gently scrub out kief and residue from the teeth and screen. (Many grinders come with a little brush just for this purpose.)
- Tap out the debris again. You’d be surprised how much can get stuck in the crevices!
This 30-second routine keeps build-up from becoming a problem.
Deep Clean (When It’s Really Gunked Up)
After lots of use, or if your grinder is getting stiff and sticky, it’s time for a deeper clean:
- Disassemble completely: Separate all the pieces of your grinder.
- Isopropyl soak: Place the pieces (except any electrical parts, if it’s an electric grinder!) into a sealable bag or container filled with isopropyl alcohol (rubbing alcohol). Add a teaspoon of coarse salt as an abrasive agent.
- Shake and soak: Seal the bag and give it a good shake for a minute. The salt and alcohol will work into the residue. Then let it soak for 20-30 minutes to dissolve stubborn gunk.
- Scrub: Open the bag and using an old toothbrush or brush, scrub the pieces, especially the teeth and screen, to remove any remaining residue.
- Rinse and dry: Rinse everything under warm water thoroughly. Make sure all alcohol and debris are washed away. Then dry each piece completely. You can let them air dry on a paper towel or use a clean cloth. Ensure there’s no moisture left before reassembling (to prevent rust or mold).
🚫 Note:
Avoid cleaning your grinder in a dishwasher. The heat and detergent can damage the grinder’s material or coating. Hand-cleaning is the way to go.
With a clean grinder, each twist will feel smooth and easy, and you won’t have old flavors contaminating your fresh herb. A little maintenance goes a long way!
Why Choose Our Weed Grinders 😉
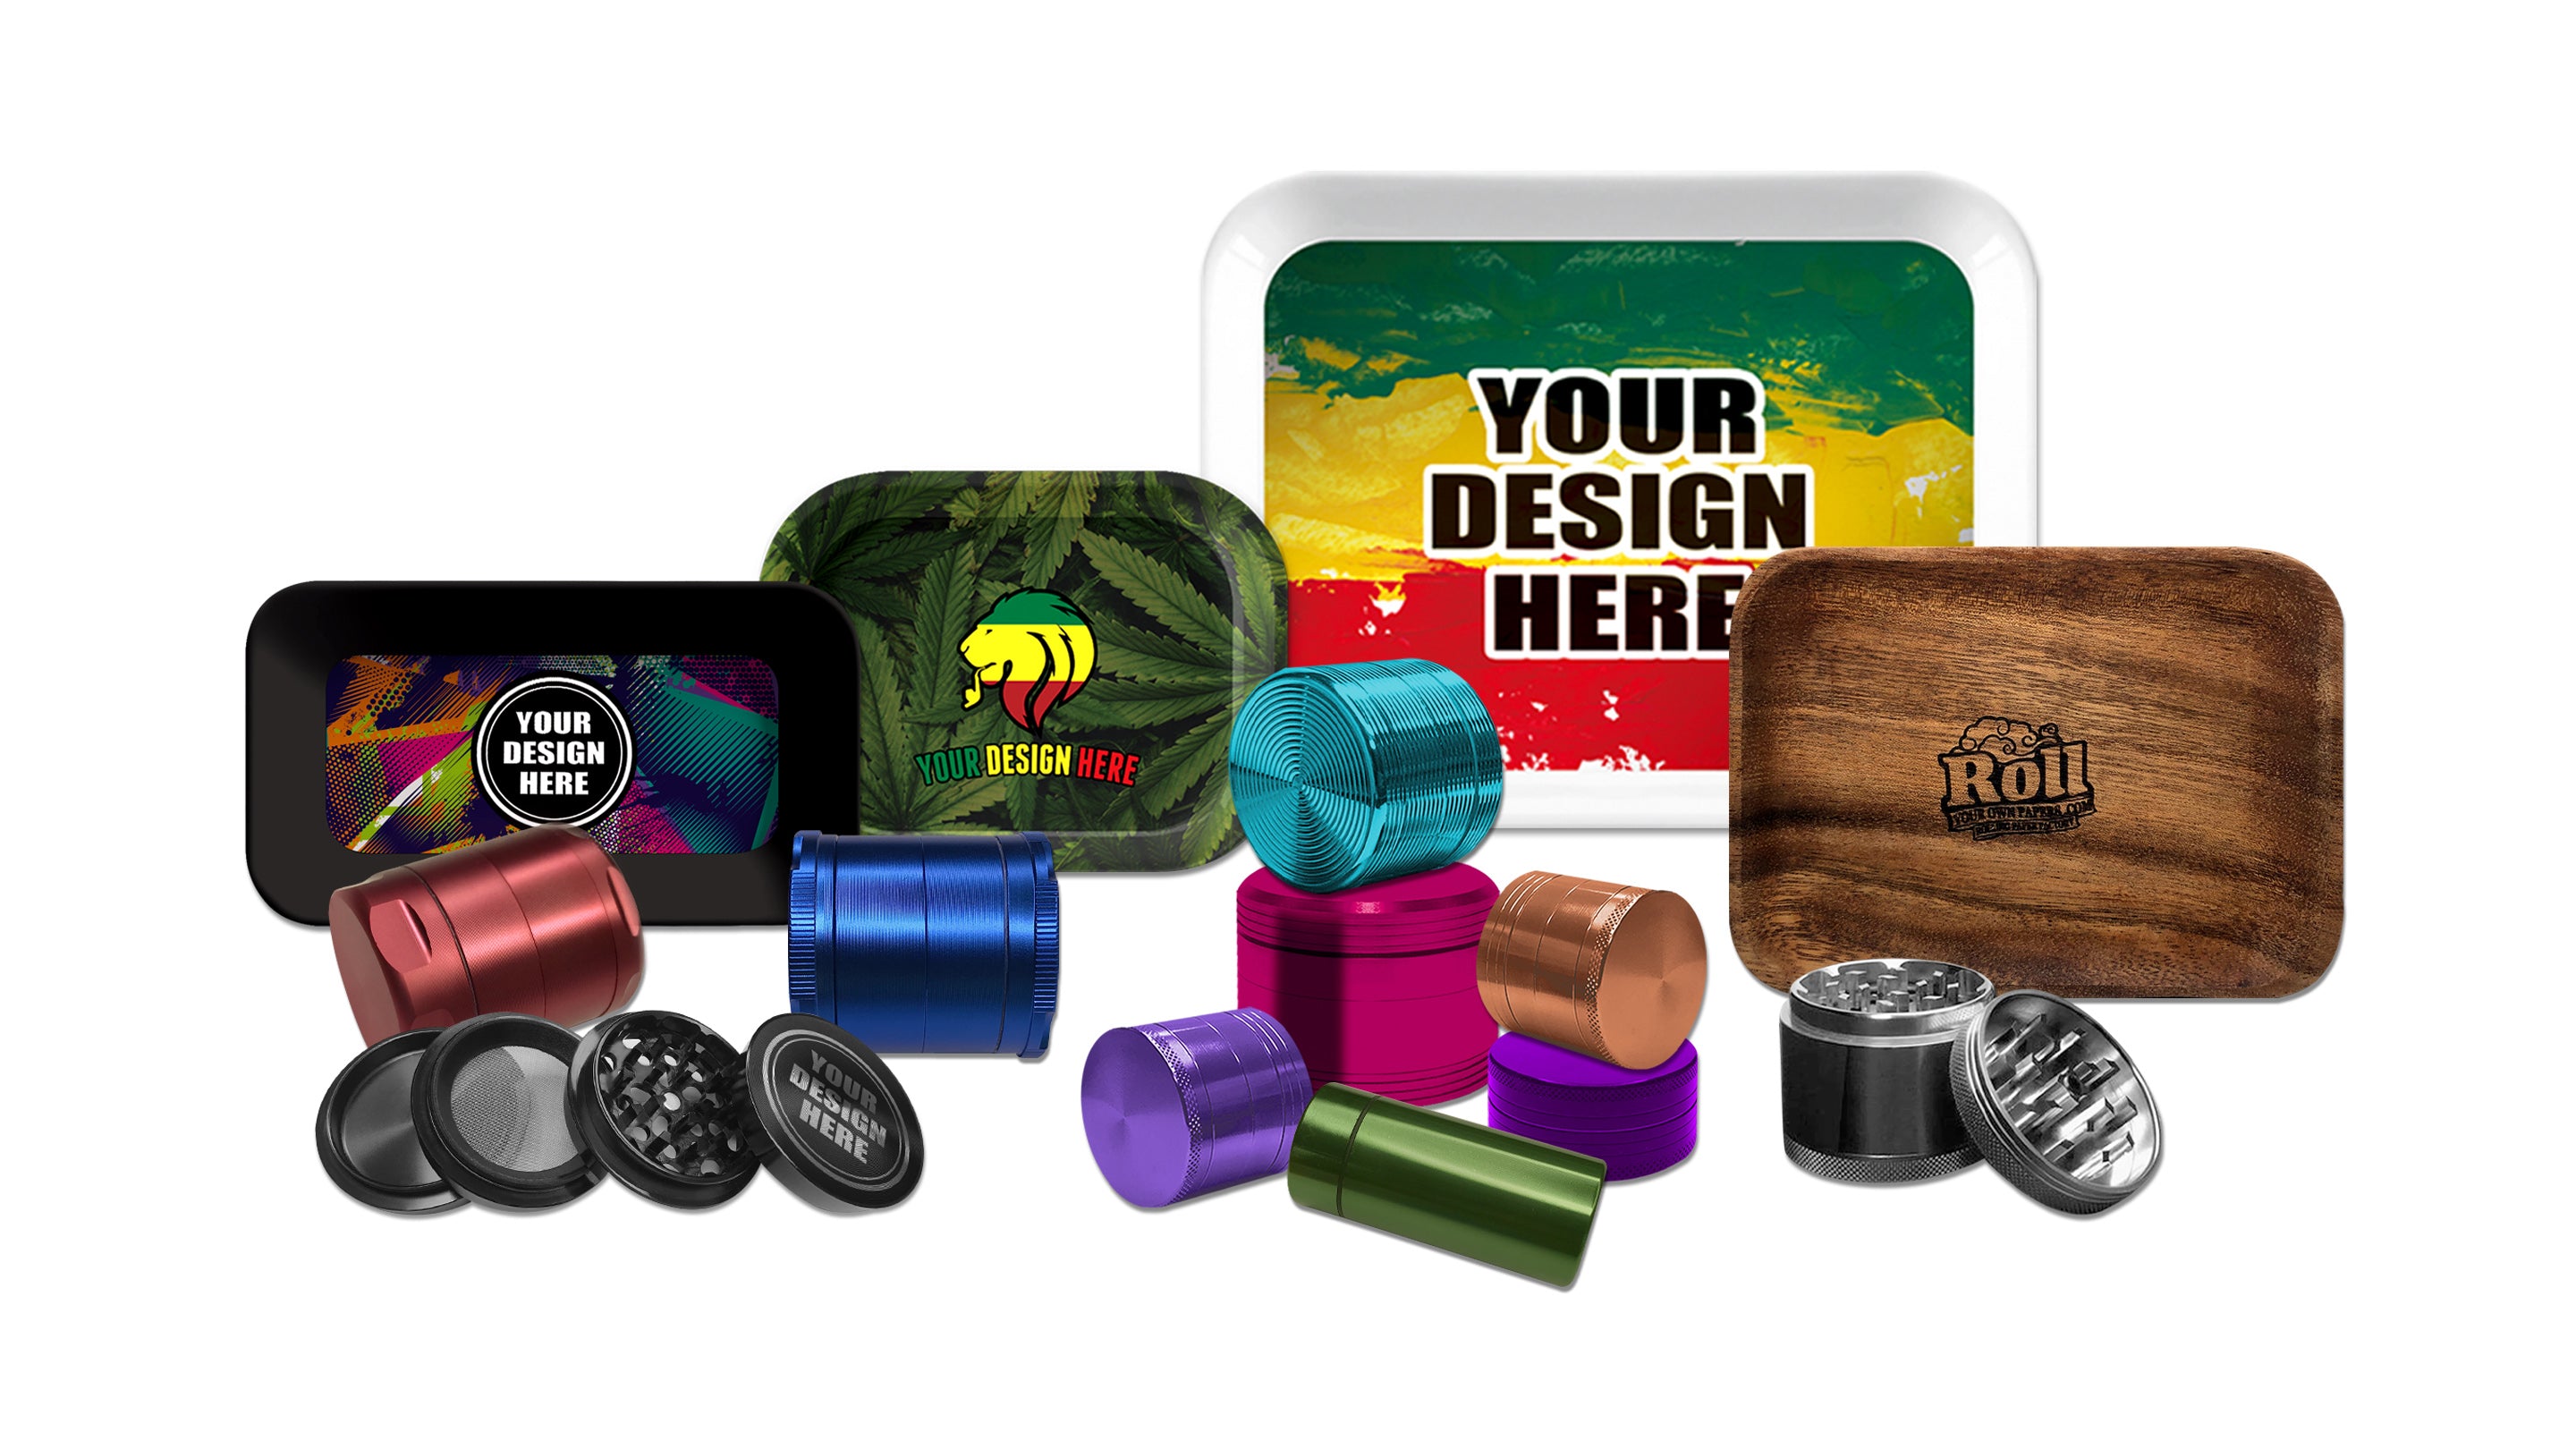
By now, you know a good grinder is essential for the best herb experience. Why not get one that’s perfect for you? We offer custom printed weed grinders that not only do an awesome job grinding, but also show off your style. Our grinders are made from high-quality materials and come straight from the manufacturer, which means you get top-notch durability at a great price. 😉 Whether you want your grinder plain and sleek or decked out with a personal design, we’ve got you covered. Check out our collection and find a weed grinder that’s perfect for your needs!
Frequently Asked Questions ❓
How often should I clean my weed grinder?
Answer: For a heavy user, a quick brush-out every session or two keeps things smooth, and a deeper clean every few weeks is ideal. If you only grind occasionally, you can clean it less often – basically, when you notice it getting harder to turn or see a lot of build-up, it’s cleaning time.
Can I put my grinder in the dishwasher?
Answer: It’s not recommended. The high heat and strong detergents in a dishwasher can dull the grinder’s blades and even strip paint or coatings. It’s best to hand wash your grinder with the method we described (using isopropyl alcohol or soapy water) for a thorough but gentle clean.
What’s the best way to collect kief from my weed grinder?
Answer: The best way is to use the kief catcher in a 4-piece grinder. Each time you grind, the fine powder falls through the screen into the bottom chamber. When you’re ready to collect it, gently unscrew the kief chamber and use a small scraping tool (often provided with the grinder) to gather the kief. For an extra boost, you can place a clean coin in the collection chamber as mentioned earlier, and shake it – this helps knock more kief through the screen.
Why is my grinder hard to turn?
Answer: If your grinder is getting tough to twist, it’s usually due to one of two things: it’s overpacked or it’s gunked up with sticky residue. Try removing some herb if you stuffed it too full. If that’s not the issue, it probably needs a cleaning – resin from your weed can build up on the teeth and walls. Give it a good clean (brush out or use the isopropyl alcohol method for a deep clean) and it should spin smoothly again.
Why are my herbs getting stuck in the grinder’s teeth?
Answer: Big or sticky pieces can wedge between the teeth instead of shredding. Make sure you break your bud into smaller bits before grinding and remove any hard stems. Also, if your herb is very moist or sticky, it can cling to the teeth – drying it out slightly or freezing it for a few minutes can help. Finally, regular cleaning prevents old residue from making new herb stick.
Why isn’t my weed grinder collecting any kief?
Answer: If you have a 4-piece weed grinder but see little to no kief in the bottom, a few things could be happening. First, it might just take time – if you haven’t ground much yet, the kief builds up gradually. If you’ve been grinding a lot and still nothing, check if the screen is clogged. A gentle brush can clear a blocked screen. Also, some herbs are drier and will produce less kief than others. Using the coin trick (a cold coin shaken in the grinder) can help dislodge stubborn trichomes.
How can I grind weed without a weed grinder?
Answer: In a pinch, there are a few DIY methods. You can use your fingers to crumble the herb (though it won’t be as even and your fingers will get sticky). Scissors and a shot glass (or small cup) make a great improvised grinder – just put the weed in the cup and snip away with the scissors until it’s shredded. Some people also use a clean coffee grinder or blender for larger quantities, but be cautious: these can pulverize your herb into powder quickly and steal some kief (and they’re a pain to clean afterward). Old-school solution: you can even put the herb in a sturdy pill bottle with a coin and shake vigorously. These methods work in an emergency, but for consistent results, a real weed grinder is the way to go 👍.







Leave a comment