🤔 Which Side of the Rolling Paper Do You Lick? 😋 The Ultimate Guide to Rolling Right 🍦

So, you’re ready to roll one up, but suddenly you pause and wonder: “Uh, which side of this rolling paper am I supposed to lick?” 😅 Don’t worry, you’re not alone! This is a super common question for beginners (and even experienced rollers trying a new brand of papers). In short, always lick the side with the thin glue strip – that sticky, shiny line usually found along one edge of the paper. That quick lick will activate the natural gum and seal your roll nicely.
But there’s a lot more to rolling the perfect one than just knowing where to put your tongue. In this guide, we’ll walk you through everything from identifying the gummy side of a rolling paper to pro tips on technique, plus some cool facts about what that sticky stuff is actually made of. By the end, you’ll be rolling with confidence 😎. Let’s get started!
Table of Contents
- 📝 Rolling Paper Basics: The Sticky Side Explained
- 🚀 Step-by-Step: How to Roll Your Own Like a Pro
- 💡 Tips & Tricks for a Perfect Roll
- 🔬 Rolling Paper Glue 101: Is It Safe to Lick?
- 🤩 Upgrade Your Rolling Experience
- ❓ FAQs
📝 Rolling Paper Basics: The Sticky Side Explained
Let’s start with the fundamentals: the “sticky side” of a rolling paper. If you look closely at your rolling paper, you’ll notice one edge has a shiny or lightly textured strip – that’s the glue strip (often made of natural gum). This is the part you need to lick. When you run your fingertip over it, it might feel slightly different (a bit smoother or stiffer) than the rest of the paper. That’s your cue!
Which side to lick? It’s simple: lick the side with the gum strip. Typically, when you hold your paper to roll, you want the gum strip facing you at the top. So once you’ve filled your paper and shaped your roll, the gummy edge is positioned to be licked and then pressed down to seal. If you accidentally lick the wrong side (hey, it happens 😅), the paper likely won’t stick – you’ll just get a wet paper with no seal. In that case, don’t panic: you can still salvage things by wetting the actual gum strip (from the outside of the roll) or just grabbing a fresh paper and trying again.
Bottom line: the gum-coated side is the MVP – give that side a little lick when you’re ready to seal up your roll. Now, let’s move on to the actual rolling process step by step.
🚀 Step-by-Step: How to Roll Your Own Like a Pro
Ready to roll? 🎉 Here’s a step-by-step guide to rolling a great one. Take it slow and don’t get discouraged – rolling is an art, and practice makes perfect.
Step 1: Prepare Your Materials
First things first, gather everything you need:
- Rolling Paper: Choose a quality rolling paper (thin, unbleached papers are a great choice). Remember, one side of each paper has that sticky gum strip.
- Herb: Your favorite ground herb (make sure it’s nicely dried and ground to an even consistency). No need to mention what kind 😉 – just use whatever legal plant material you prefer.
- Filter Tip (optional): Also called a crutch, this is a small piece of thick paper or cardboard rolled up to form a mouthpiece. It helps keep the shape and stops bits from getting in your mouth. You can buy pre-made tips or make one yourself by rolling a strip of cardboard.
- Flat Surface: A tray or clean magazine can catch any spills and make rolling easier.
- Grinder (optional): If you have one, it helps break down your herb evenly. If not, your fingers will do the job – just make sure to remove any seeds or stems.
Step 2: Position the Paper (Gum Strip Up)
Now, take one sheet of your rolling paper. Orient it so the glue strip is up top and facing you. In other words, the sticky side should be on the far edge, running along the top, closest to you (when you eventually roll, you’ll be rolling towards that edge). If you’re using a filter tip, place it on one end of the paper where you’ll start rolling (usually the end by your non-dominant hand). For instance, if you’re right-handed, you might put the filter at the left end of the paper, since you’ll finish the roll on that side.
Lightly crease the paper lengthwise to form a little pocket for your herb. This makes it easier to fill and roll.
Step 3: Fill It Evenly with Herb
Sprinkle your ground herb onto the paper, distributing it evenly along the crease. If you have a filter tip in place, start piling the herb right next to it and work your way to the other end. Don’t overstuff it – a common mistake is trying to fit too much. Aim for a consistent line of herb from end to end. Think Goldilocks: not too little (or it’ll be loose and limp), and not too much (or it’ll be hard to roll and might tear the paper). You can gently shape the herb with your fingers so it’s evenly spread out.
Step 4: Tuck and Roll
Here comes the trickiest part for most folks 😬: forming the roll. Pinch the paper between your fingertips (thumb and index fingers of both hands) and start rolling it back and forth to pack and shape the herb into a cylinder. The goal is to tuck the un-gummed edge of the paper (the side closest to you) over the herb and into the roll. Use your thumbs to tuck that edge in, starting at the filter side if you have one (the filter gives a nice sturdy shape to start the tuck). Once the paper’s edge is tucked behind the herb, begin rolling upward, guiding the paper around into a tube.
Take your time here. Keep the tension gentle but firm – you want it tight enough to hold its shape and not fall apart, but not so tight that air can’t flow through. If it’s not perfect, no worries! You can always unroll and try again. Even seasoned rollers sometimes need a do-over.
Step 5: Lick the Gum & Seal the Deal
Now we answer our million-dollar question in action 😁: sealing the roll. With your masterpiece almost fully rolled (there should just be the top edge with the glue strip left unrolled), it’s time to lick. Give that gum strip a nice, even lick from end to end. You don’t need to slobber on it – just a little moisture will activate the gum. (Imagine licking an envelope to seal it – same idea, and no one likes an overly wet envelope! 💦)
After licking, immediately press the gummed edge onto the roll to seal it shut. It’s often easiest to start at the end with the filter/tip and work your way to the other end. Use your thumb and forefinger to smooth the paper down along the seam. If it doesn’t stick right away, you might need to lick it slightly more, or just hold it in place for a second. Pro tip: some people find it easier to lick the back side of the gum strip (from the outside of the roll) once everything is in shape, rather than licking the gum directly. This can prevent you from accidentally licking the gum off if you have a heavy tongue 😜. Try both methods and see what works best for you!
Step 6: Finish and Enjoy
You’re almost there! The final touches make a difference. If there’s excess paper at the end (opposite the filter end), twist it closed like a candy wrapper – this helps contain the herb and gives you a little wick to light. Some people also like to gently pack the open end (before twisting) by tapping the rolled paper vertically on the table or using something like a pen to nudge the herb down a bit. This just ensures the herb is snug.
Now, it’s time to light up and enjoy 🎉. Hold your rolled creation (by the filter or one end) and put the twisted tip to your lips. Light the tip while rotating the roll, and take a gentle draw (inhale slowly) to get an even burn across the end. And voilà – you’re officially rolling like a pro! Take a moment to admire your work, then kick back and savor the experience. 😎
💡 Tips & Tricks for a Perfect Roll
Rolling isn’t just a step-by-step process – it’s an art form. Here are some extra tips and tricks to help you refine your technique and avoid common hiccups:
-
💧 Don’t Over-Wet the Gum:
When licking the paper, less is more. Too much saliva can make the paper soggy (ew!) and even cause it to tear or not stick properly. A light dab or lick along the gum strip is all you need.
-
⚖️Even Distribution is Key:
Make sure your herb is spread evenly before you roll. Uneven lumps can lead to “canoeing” – that’s when one side of the roll burns faster than the other, creating a pesky run. An even fill = an even burn 👍.
-
📏 Don’t Overpack or Underpack:
Finding the right fill amount is a balancing act. Overpacking makes it hard to draw (tight rolls might not allow any airflow), while underpacking can make the roll limp and quick-burning. Aim for a firm, but not rock-hard, pack. -
📄 Use a Filter Tip (Crutch):
If you struggle with the rolling form, try rolling with a filter tip in place. It gives you something to hold onto and shapes one end of your roll, making the whole process easier. Plus, it keeps bits of herb out of your mouth and adds structure.
-
🔥 Dry It Quickly (if needed):
If you accidentally got the paper too wet when sealing, give it a few seconds to dry before lighting up. In a pinch, you can hold a lighter flame near (not directly on) the seam to help it dry and stick. Just be careful not to actually burn the paper.
-
😷 Hygiene Hack:
Rolling for a group and don’t want to put your saliva on the paper? Understandable! You can use a little water instead of licking. Dip your fingertip in clean water and run it along the gum strip, or use a small sponge/brush if you want to be fancy. (There are even “rolling glue” products made from plant extracts that let you seal without any spit.) Your friends will thank you 😉. -
💪 Practice, Practice, Practice:
Don’t be discouraged if your first few tries aren’t perfect. Every seasoned roller has gone through the same learning curve. The more you roll, the better you’ll get. If one comes out loose or lopsided, you can always unwrap it and try rolling it again. Keep at it – you’ll develop your own style and finesse over time! -
🌟 Advanced Technique – The Inside-Out Roll:
Want to impress with a super-thin roll? Try the inside-out (backroll) method. This involves flipping the paper so the gum strip is on the bottom (facing down) when you roll. You roll it around your herb almost completely, lick the gum from the outside, seal it, then carefully tear off the excess paper. This leaves you with a very tidy roll with minimal paper (meaning less paper to burn, for a cleaner taste). It’s a bit tricky, so practice the normal way first. 😉
🔬 Rolling Paper Glue 101: Is It Safe to Lick?
By now you know to lick that gum strip – but have you ever wondered what exactly you’re licking? What’s that glue made of, and is it safe to put in your mouth (and to inhale when it burns)? The good news: most rolling paper adhesives are natural and non-toxic. In fact, the glue on quality rolling papers is often made from plant-based sources that are safe to eat. Let’s break down the common types of rolling paper “gums” out there:
| Glue Type | Source | Safe to Lick? |
|---|---|---|
| Natural Gum Arabic | Sap of acacia trees (hardened and purified) | Yes ✅ (All-natural, used in foods & candy) |
| Sugar-Based Glue | Natural sugars (like dextrin) | Yes ✅ (Edible & plant-derived) |
| Cellulose Glue | Plant cellulose (vegetable-based) | Yes ✅ (All-natural and safe) |
| Synthetic Adhesives | Chemical polymers (lab-made) | Generally avoid ❌ (Rare in good papers; not food-grade) |
As you can see, the best rolling papers stick to natural gums. Gum arabic, for example, is very popular – it’s the sap from acacia trees and has been used for ages in everything from postage stamps to foods. It’s recognized as safe to consume (even the FDA says so), and it burns cleanly without a noticeable flavor. Sugar-based and cellulose-based gums are also common and safe; they’re basically food-grade ingredients.
Lower quality papers might use synthetic glues. These are less common nowadays, but if you ever encounter a mystery brand that doesn’t advertise “natural gum” on the label, you might be dealing with something artificial. Synthetic adhesives could leave behind odd tastes or chemicals when burned – not what you want in your organic herb session. Our advice: stick to brands that clearly state they use natural gum (most reputable brands do).
🌿 We Use Only Natural Arabic Gum
At RollYourOwnPapers.com, we pride ourselves on using 100% natural Arabic gum for our custom rolling papers. That means every paper has a plant-based, vegan-friendly adhesive that you can lick with confidence. No chemicals, no funky stuff – just pure natural gum that provides a perfect seal every time 👍.
Tip: If you’re ever unsure about a rolling paper’s ingredients, check the pack or the manufacturer’s website. Quality brands usually mention their paper material (hemp, rice, etc.) and the type of gum used. Transparency is key when you care about what you’re consuming!
🤩 Upgrade Your Rolling Experience
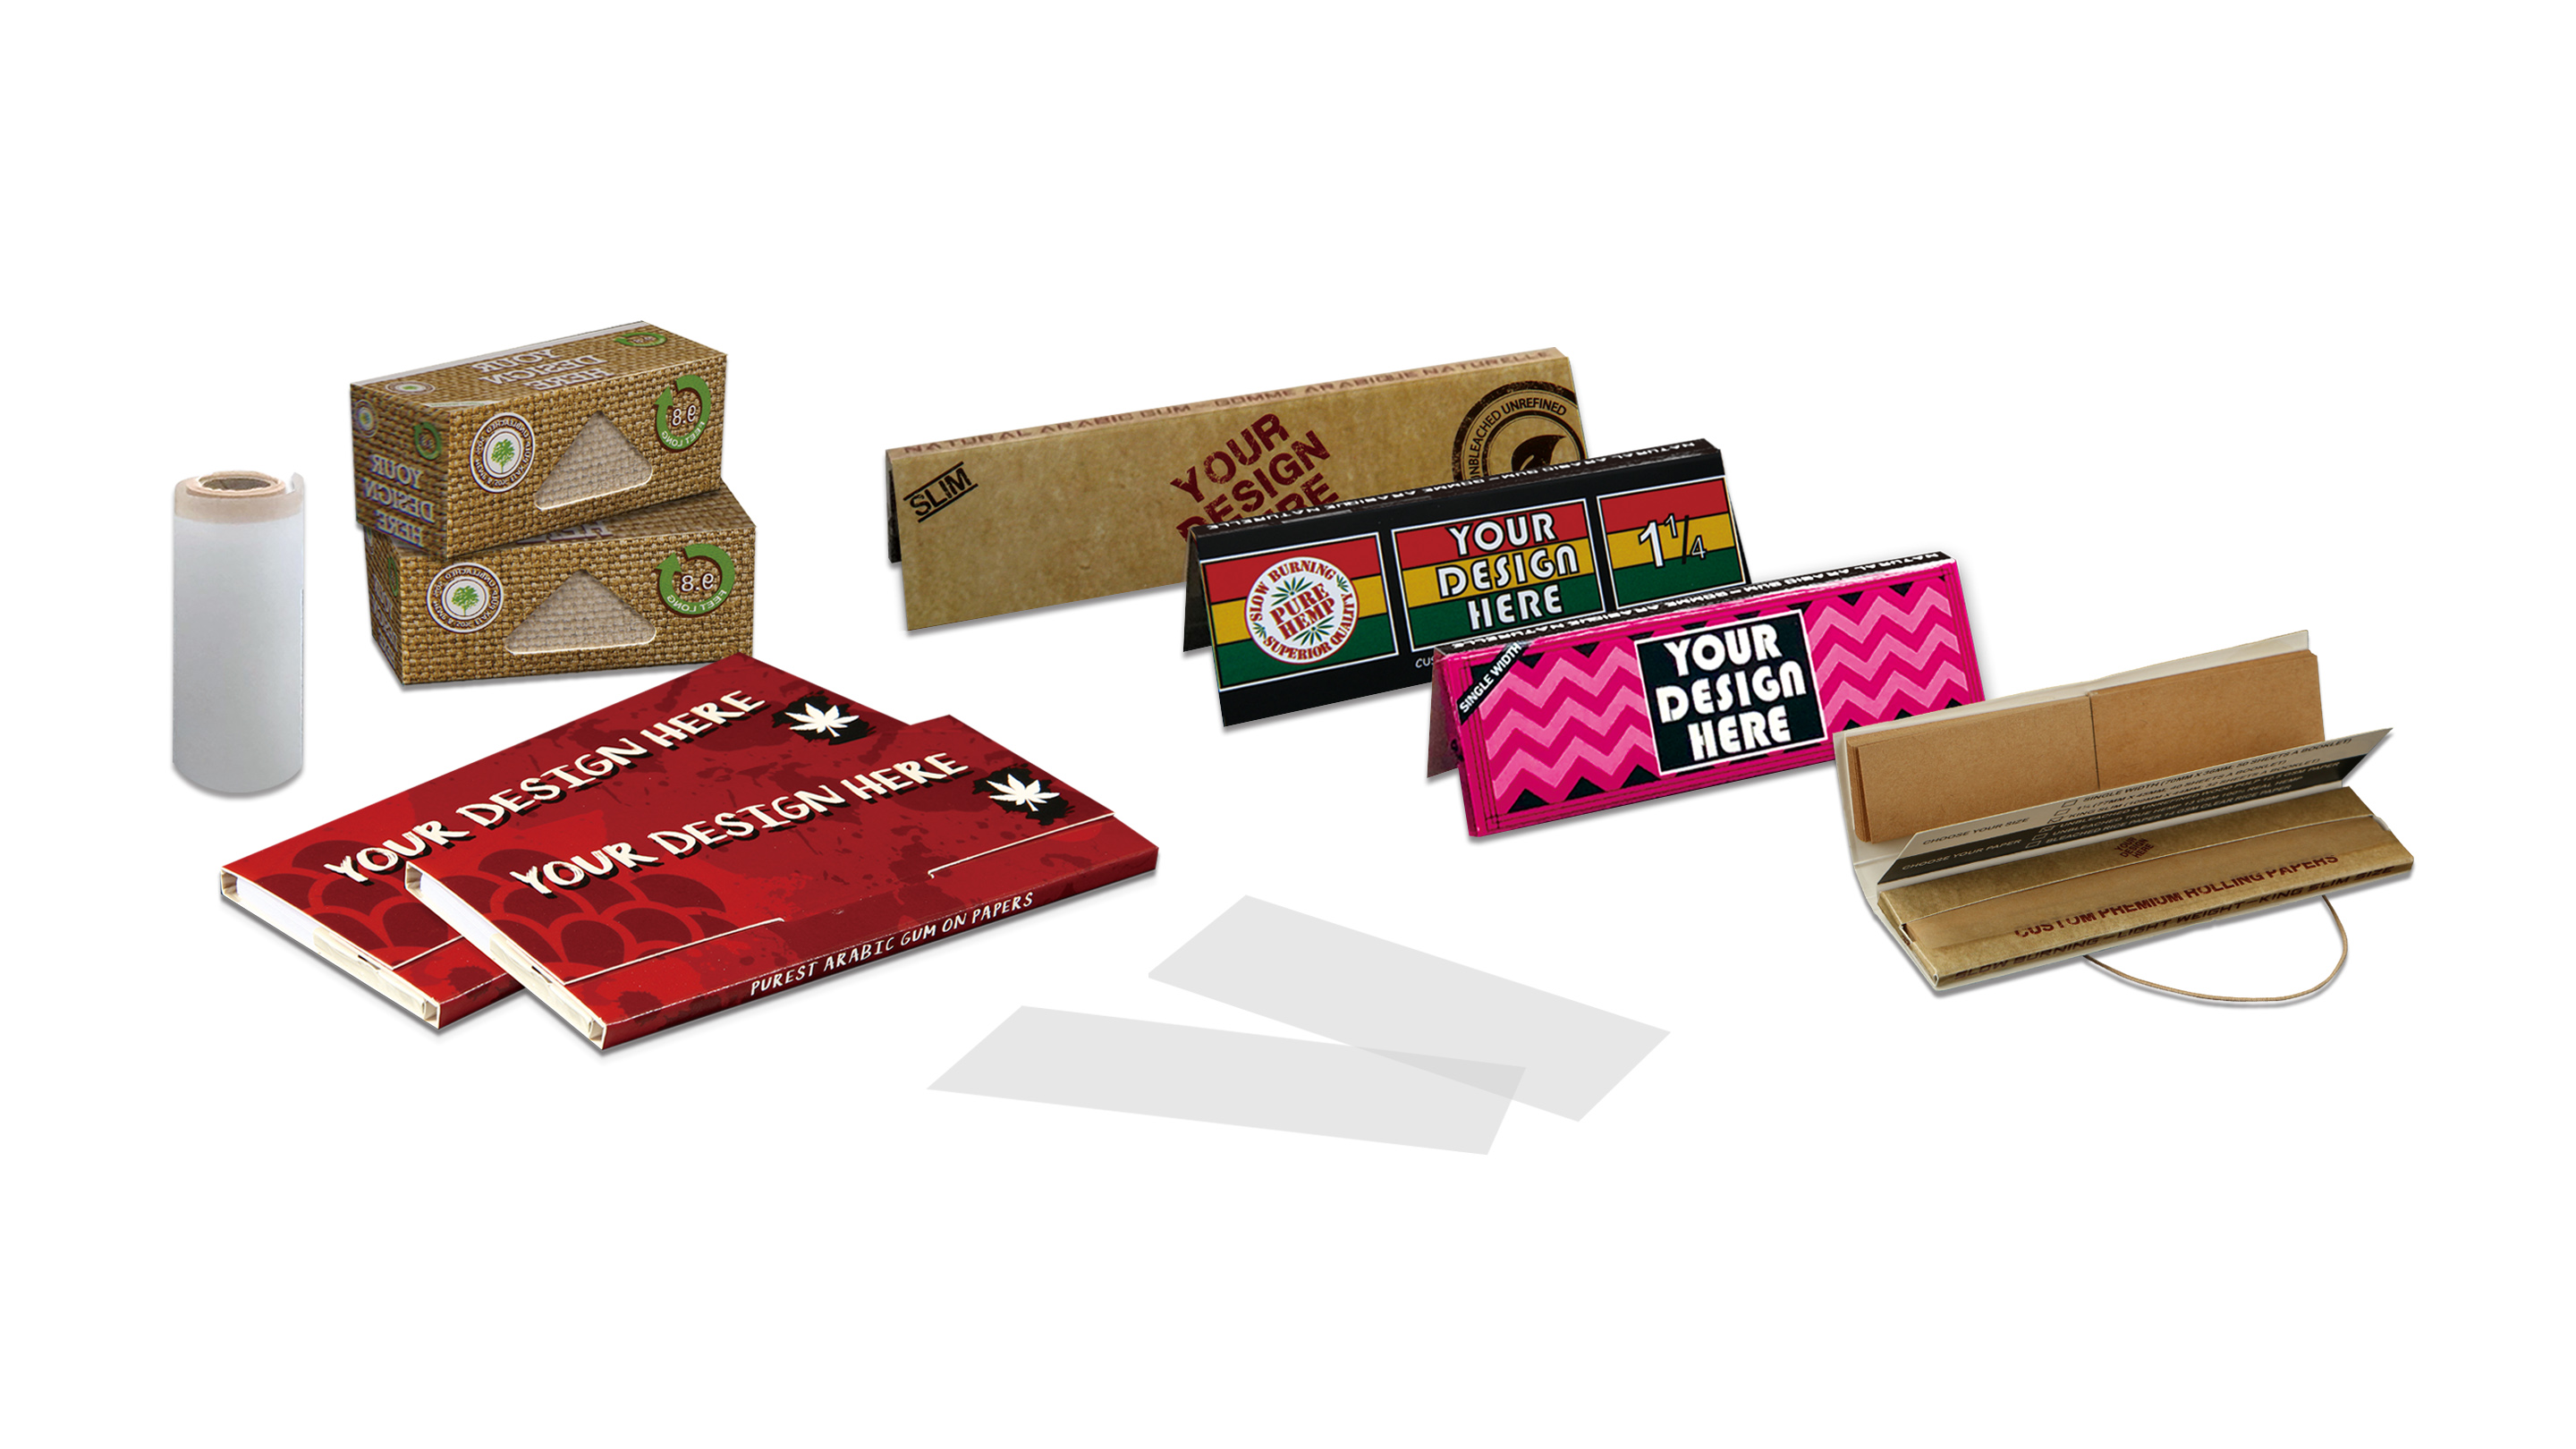
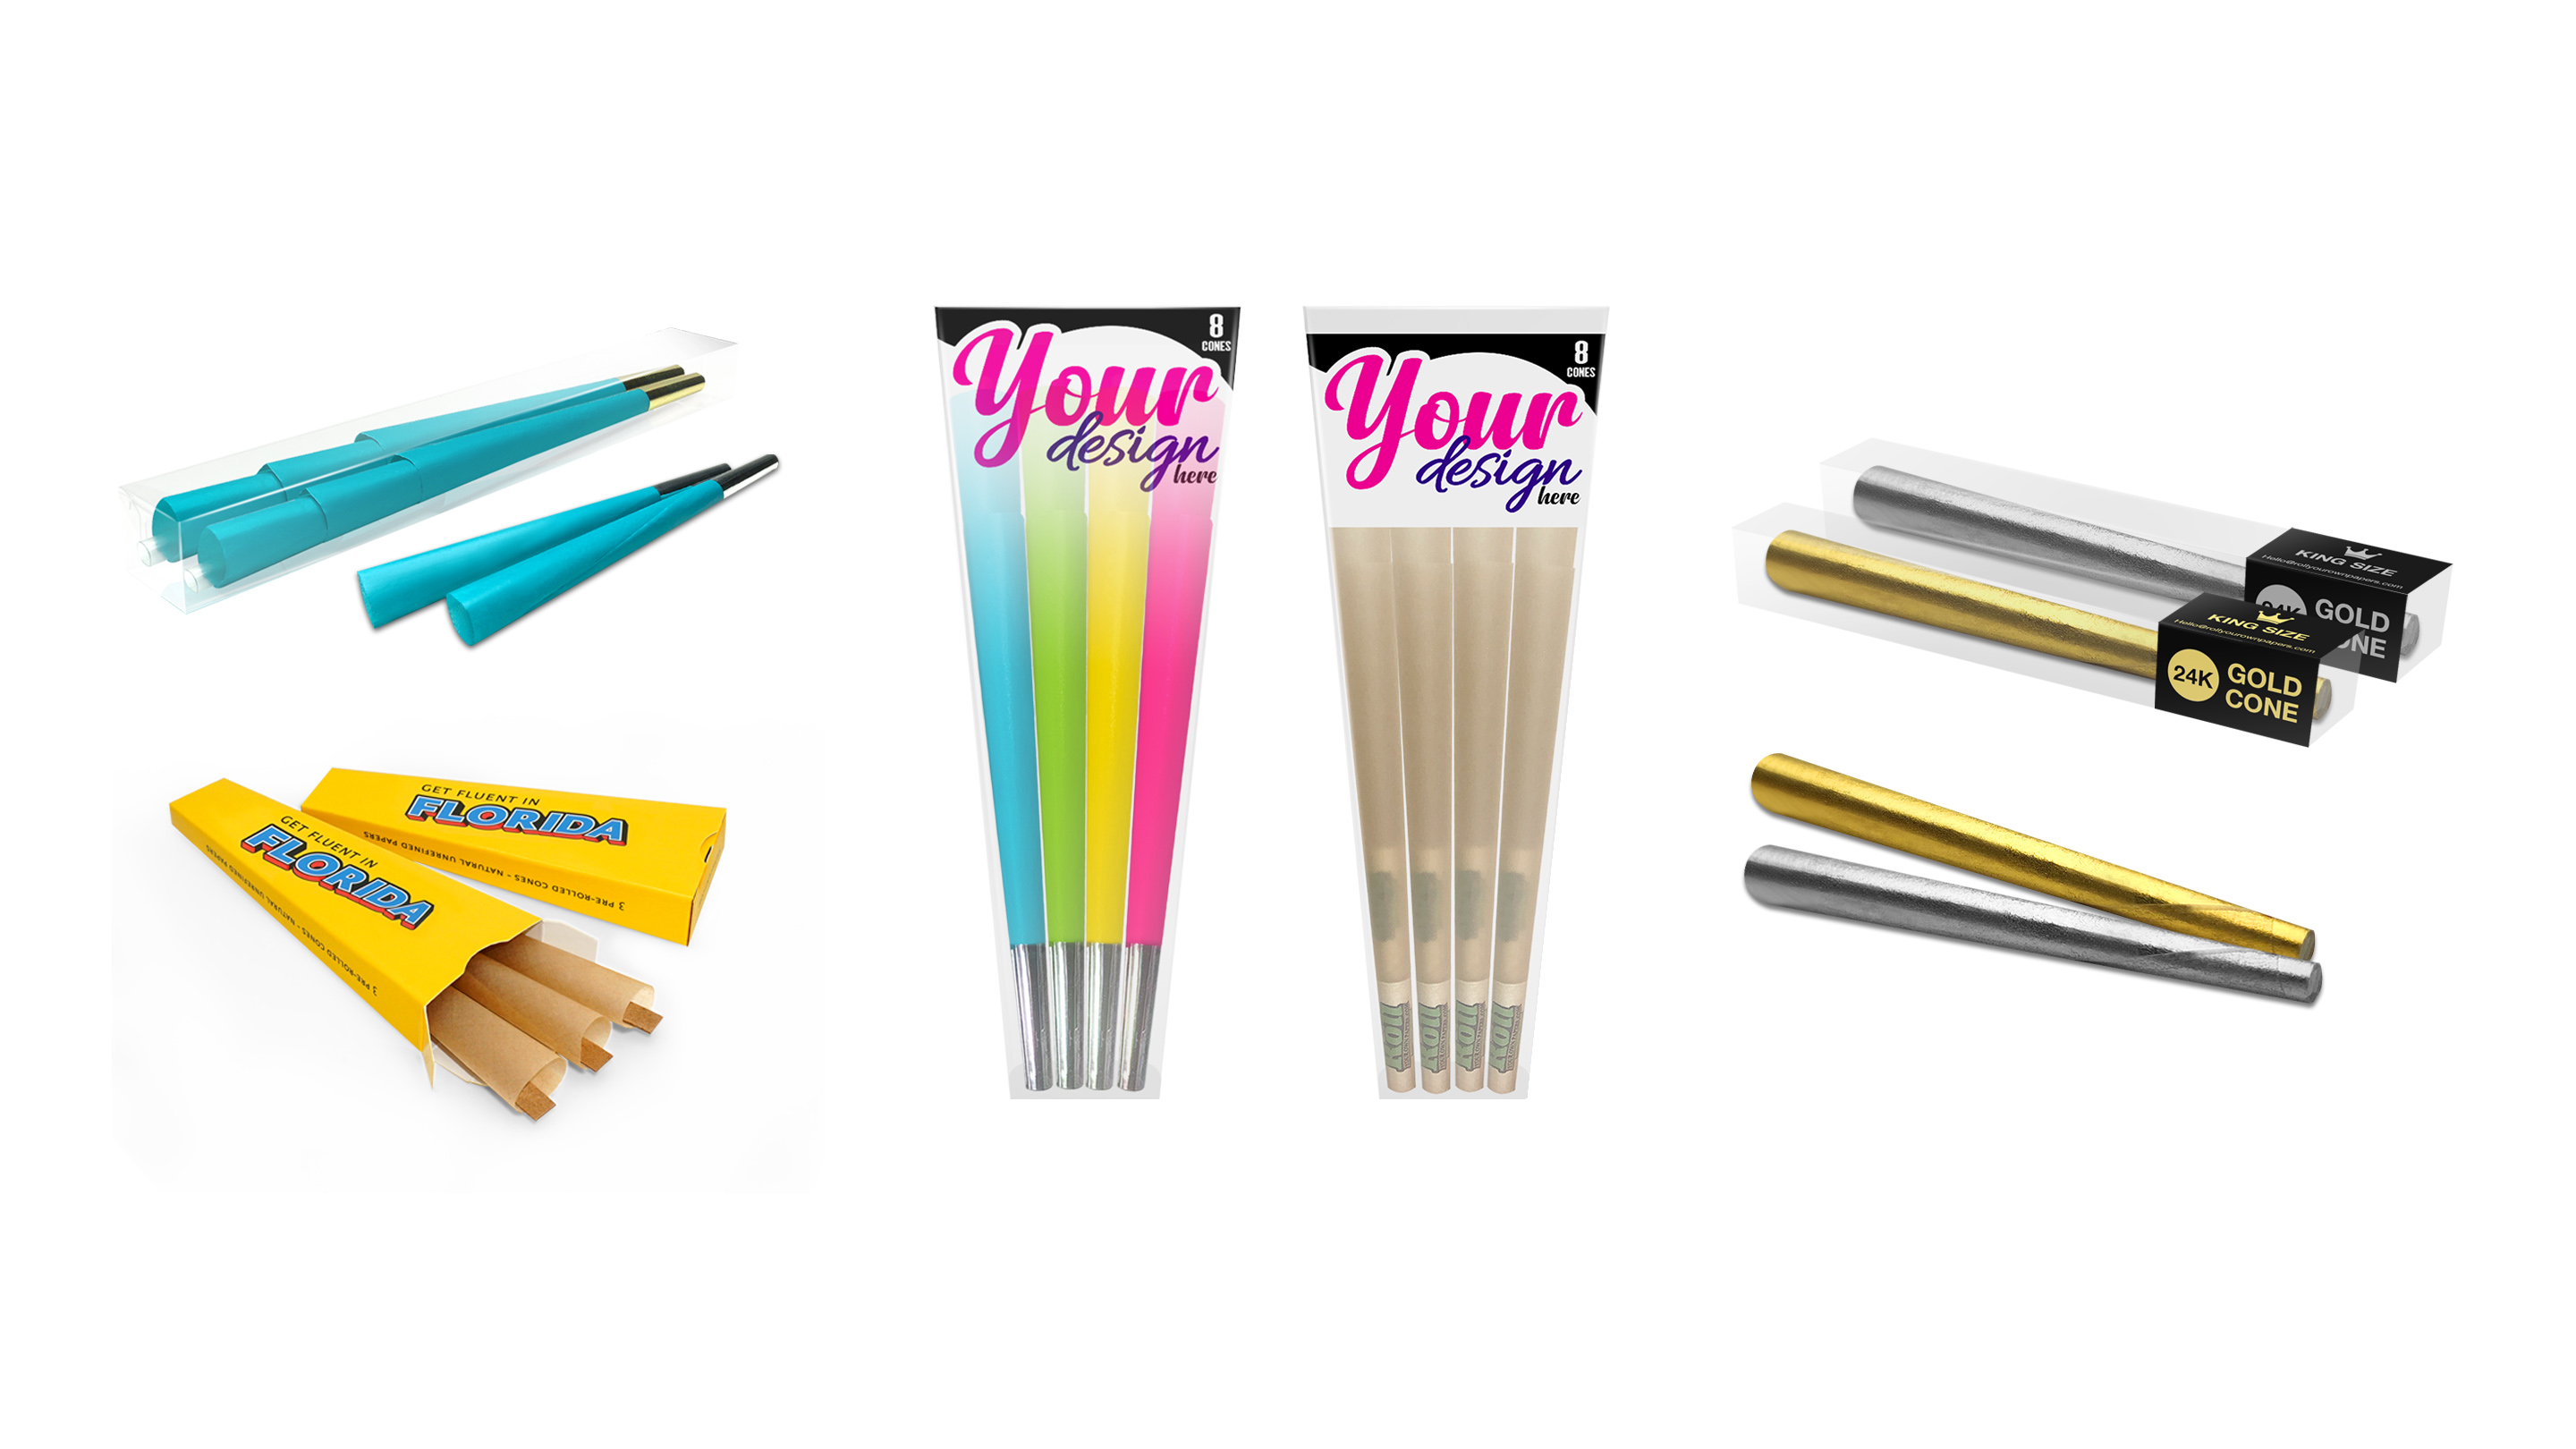
Using the right rolling papers can seriously level up your rolling game. High-quality papers burn smoother, taste cleaner, and yes, stick better! Why not go a step further and make your rolling experience truly yours? RollYourOwnPapers.com lets you create custom rolling papers with your own designs or branding. Imagine rolling with papers that have your name, logo, or artwork on them – pretty cool, right? 😎
Not only do our papers look awesome, but they’re also made to the highest standards (ultra-thin, unbleached, and of course with natural gum). Whether you want to add personal flair to your sessions or promote your brand in a unique way, we’ve got you covered. Check out our site to explore custom options and take your rolling experience to a whole new level. After all, if you’re going to roll, why not roll in style? 😉
❓ FAQs
How do I tell which side of a rolling paper has the gum?
Typically, one edge of the rolling paper has a shiny, slightly sticky strip – that’s the gum (glue) strip. You can often see it glisten under light or feel the difference with a fingertip. When you hold the paper, the gum side is usually facing you at the top. If in doubt, gently touch each edge of the paper; the side that feels a bit tacky or smoother is the one with gum. That’s the side you’ll lick when it’s time to seal.
What happens if I lick the wrong side of the paper?
If you lick the side without gum, the paper will get wet but won’t seal (since there’s no adhesive there to stick things together). It’s a common oops for beginners. Don’t worry – you haven’t ruined anything. The fix is simple: you can still lick the correct side (the gum strip) from the outside and stick it down, as long as you haven’t totally soaked the paper. Alternatively, you can unroll, flip the paper the right way, and re-roll if things got too messy. It might cost you an extra paper, but hey, practice makes perfect!
How much should I lick the rolling paper?
You only need to lick the gum strip lightly – just enough to moisten the whole strip. Think of licking a stamp or envelope; you want it damp, not drenched. Over-licking can make the paper too soggy, which might tear the paper or cause it not to stick well. A quick swipe of the tongue (or a light dab with a wet finger) across the gum line will do. If you’re unsure, start with a little moisture; you can always add a touch more if it doesn’t stick, but you can’t take it back if you soak it. So, easy does it!
Is the glue on rolling papers safe to lick (and inhale)?
Yes – in quality rolling papers, the glue (gum) is usually made from natural, food-grade substances like gum arabic or sugar. These are non-toxic and safe to consume. When they burn, they don’t release harmful chemicals. It’s essentially like licking a candy or a postage stamp – nothing too crazy. That said, very cheap off-brand papers might use synthetic adhesives, which aren’t ideal. As long as you stick to reputable brands (which almost always advertise “natural gum” on the package), you’re in the clear. (We made sure to use the good stuff in our own papers for this very reason.)
Can I seal a roll without licking the paper?
Absolutely. If you’d rather not use your tongue, you have a couple of options. The easiest is to use a little water – dip a clean fingertip in water and run it along the gum strip to wet it, then seal as usual. Some people keep a small sponge or brush just for this. There are also products like edible rolling glues (made from natural plant ingredients) that you can use to moisten the paper. The key is just to get that gum strip wet with something; it doesn’t have to be saliva. Using water or a glue pen can be more hygienic, especially if multiple people will be sharing the end product.
Why won’t my rolling paper stick properly?
If your rolling paper isn’t sticking, a few things could be going on. First, make sure you’re licking the correct side (the gum strip) – it sounds obvious, but it’s easy to accidentally wet the wrong edge if you’re in a rush. Next, ensure you’re using enough moisture; a bone-dry gum strip won’t stick, so give it a decent lick (just not a flood). Another issue could be that you inadvertently wiped off the gum by handling the paper too much or by licking too aggressively. In that case, try using a bit of water or re-lick if there’s some gum left. Lastly, consider the paper’s age/quality: old or very cheap papers may have a gum strip that lost its stickiness. If nothing works, grab a fresh paper from a new pack. And remember the trick of drying the seam with a little heat – a quick pass of a lighter’s warmth (not the flame) can help set a wet seal.
Does licking the paper affect the taste or how it burns?
Under normal circumstances, not really. The tiny bit of moisture from your lick will evaporate once you light up. You shouldn’t taste anything odd – good papers use flavorless natural gum, so you’ll mostly just taste your herb. If you absolutely drench the paper, you might notice a papery taste or a slower light at first (since the paper is damp). But with a normal lick, it won’t change the flavor or burn. In fact, using too little moisture could make the paper burn funny if it’s not sealed well. (Fun fact: some rolling papers come in flavored varieties, but those are a different story – a normal unflavored paper just adds a neutral, barely-noticeable taste if any.)
Now you’re armed with all the knowledge to roll like a true pro – and you’ll never have to wonder which side to lick again. Happy rolling! ✌️
🚀 Click Here to Shop for Custom Rolling Papers ✅
Check out ROLLYOUROWNPAPERS.com for custom papers, and take your rolling game to the next level. After all, if you’re rolling your own, you might as well roll your own custom 😎🔥.






Leave a comment