How to Bag Weed 🌿: A Complete Guide to Keeping Your Stash Fresh & Discreet

Ever ended up with dry, stale bud because you stored it wrong? 😅 We’ve all been there. Learning how to bag weed properly is a game changer for anyone who wants to keep their herb fresh, potent, and low-key. In this friendly guide, we'll cover everything from choosing the right weed bag to sneaky tips for hiding that skunky smell. Whether you're packing a tiny nug or moving a whole ounce, we’ve got you covered with real-talk advice (no complicated jargon here!). Let’s dive in and get your stash bagged like a pro.
Table of Contents
- Why Properly Bagging Your Weed Matters 🤔
- Weed Measurements 101: How Much Are You Bagging? ⚖️
- Choosing the Right Bag for Your Stash 🛍️
- Step-by-Step: Bagging Your Weed Like a Pro
- Odor Control Tips 🤫: Keeping Your Bagged Weed Discreet
- Shelf Life: How Long Does Weed Last in a Bag?
- Upgrade Your Weed Bag: Why Quality Matters
- FAQs
Why Properly Bagging Your Weed Matters 🤔
Freshness is Fragile: Weed is a plant product, which means it can dry out, get moldy, or lose potency if not stored right. Tossing your nugs into a random sandwich bag might seem convenient, but it often leads to crispy, flavorless bud or, worse, funky mold if there’s moisture. Proper bagging helps maintain the ideal environment so your herb stays as sticky-icky and flavorful as the day you got it.
Potency & Trichomes: Ever notice that sticky residue inside a cheap plastic baggie? That’s your weed’s goodness (trichomes) getting stuck to the bag! 😱 Thin plastic bags carry a static charge that can literally pull the potent crystals off your bud. Proper storage containers (we’ll get into those soon) prevent this kind of loss, so you’re not inadvertently wasting potency.
Odor Control: Let’s be real – weed has a pungent aroma. Unless you want your whole room or car announcing your hobby, you need to bag it in a way that contains the smell. The right bag will trap those skunky scents, keeping your activities on the down-low. No more suspicious glances from roommates, neighbors, or that one friend with the super nose! 😉
Discretion & Legal Safety: In many places, keeping your herb in a proper, sealed container is not just smart – it’s the law. Even if it’s legal to carry, an unsealed baggie could spell trouble or at least raise eyebrows. A well-sealed, opaque weed bag keeps things discreet. It’s easier to tuck away in your pocket or glove box, and it won’t leave a trail of smell or crumbs.
In short, bagging your weed correctly means your stash stays fresh longer, smells less, and doesn’t shed those precious trichomes. Now that we know why it matters, let’s make sure you’re doing it right!
Weed Measurements 101: How Much Are You Bagging? ⚖️
Before you even bag your herb, it helps to know how much you’re dealing with. Are we talking a quick gram for personal use, or an ounce for the long haul? Knowing common weed measurements ensures you choose the right bag and handle your stash properly. Here’s a quick rundown of the basics (U.S. quantities):
-
1 Gram (g)
– Often called a “dime bag” (historically $10 worth). It’s a small nug or two, enough for a couple of bowls or one joint. Easiest to bag, and any small zipper baggie will fit a gram. -
⅛ Ounce (3.5 g)
– Known as an “eighth” or “slice.” A very popular amount, about enough to fill a standard sandwich bag corner. An eighth can roll up ~3-7 joints depending on size. You’ll want a small bag or pouch that can hold a little handful of bud. -
¼ Ounce (7 g)
– Commonly called a “quarter” or sometimes a “quad.” This is a decent stash – think two eighths. It can fill the bottom of a sandwich bag. At this size, using a slightly sturdier bag is smart so the weight of the herb doesn’t bust it open. -
½ Ounce (14 g)
– Simply a “half.” Now we’re talking a sizable stash. A half-ounce is about half a sandwich bag full of buds. You might split this into a couple of smaller bags or use one medium-sized bag to accommodate it. -
1 Ounce (28 g)
– Often called an “ounce,” “O,” or a “zip” (legend has it, because an ounce typically fits in a Ziplock bag 😉). This is the max amount many people can buy or carry legally in some areas. An ounce of weed needs a good-sized bag (or jar) – roughly a full sandwich bag of buds. It’s definitely worth using a high-quality, smell-proof bag for an ounce to protect that investment!
Fun slang: You might hear terms like “dub” (slang for ~$20 of weed, often ~2 grams) or “dime” (as mentioned, roughly $10 worth, ~1 gram). And when someone says “I got a zip,” they mean an ounce. Don’t worry – with time, you’ll get the lingo down! 😎
Understanding these quantities helps you choose the right packaging and not overstuff (or underfill) your bag. For example, cramming an ounce into a tiny baggie is a recipe for squished nugs and frustration. Similarly, putting a single gram in a giant bag is overkill and leaves a lot of excess air (which can dry your weed out faster). Match the bag size to the amount, and you’re golden.
Choosing the Right Bag for Your Stash 🛍️
Not all bags are created equal. The bag you got from a convenience store is worlds apart from a specialized smell-proof pouch designed for herb. Let’s break down your options:
🔹 The Old School Plastic Baggie
We’re talking the regular sandwich bag or those tiny ziplocks often used as dime bags. Pros: they’re cheap (or free), easy to find, and get the basic job done of holding stuff. If you’re in a pinch, a simple plastic baggie can hold your weed for a short time. However, the cons are big: they’re not airtight or smell-proof, they let odors seep out and fresh air rush in. Over time, your bud in a baggie will dry out as air steals its moisture. Plus, as mentioned earlier, trichomes can stick to the plastic sides due to static. 🤦♂️ Thin baggies can also tear or open easily (ever find loose shake all over your drawer? Yeah, that’s why). In summary, plastic baggies are okay for very temporary transport, but they’re far from ideal for storage.
🔸 Smell-Proof Mylar Bags (The Gold Standard)
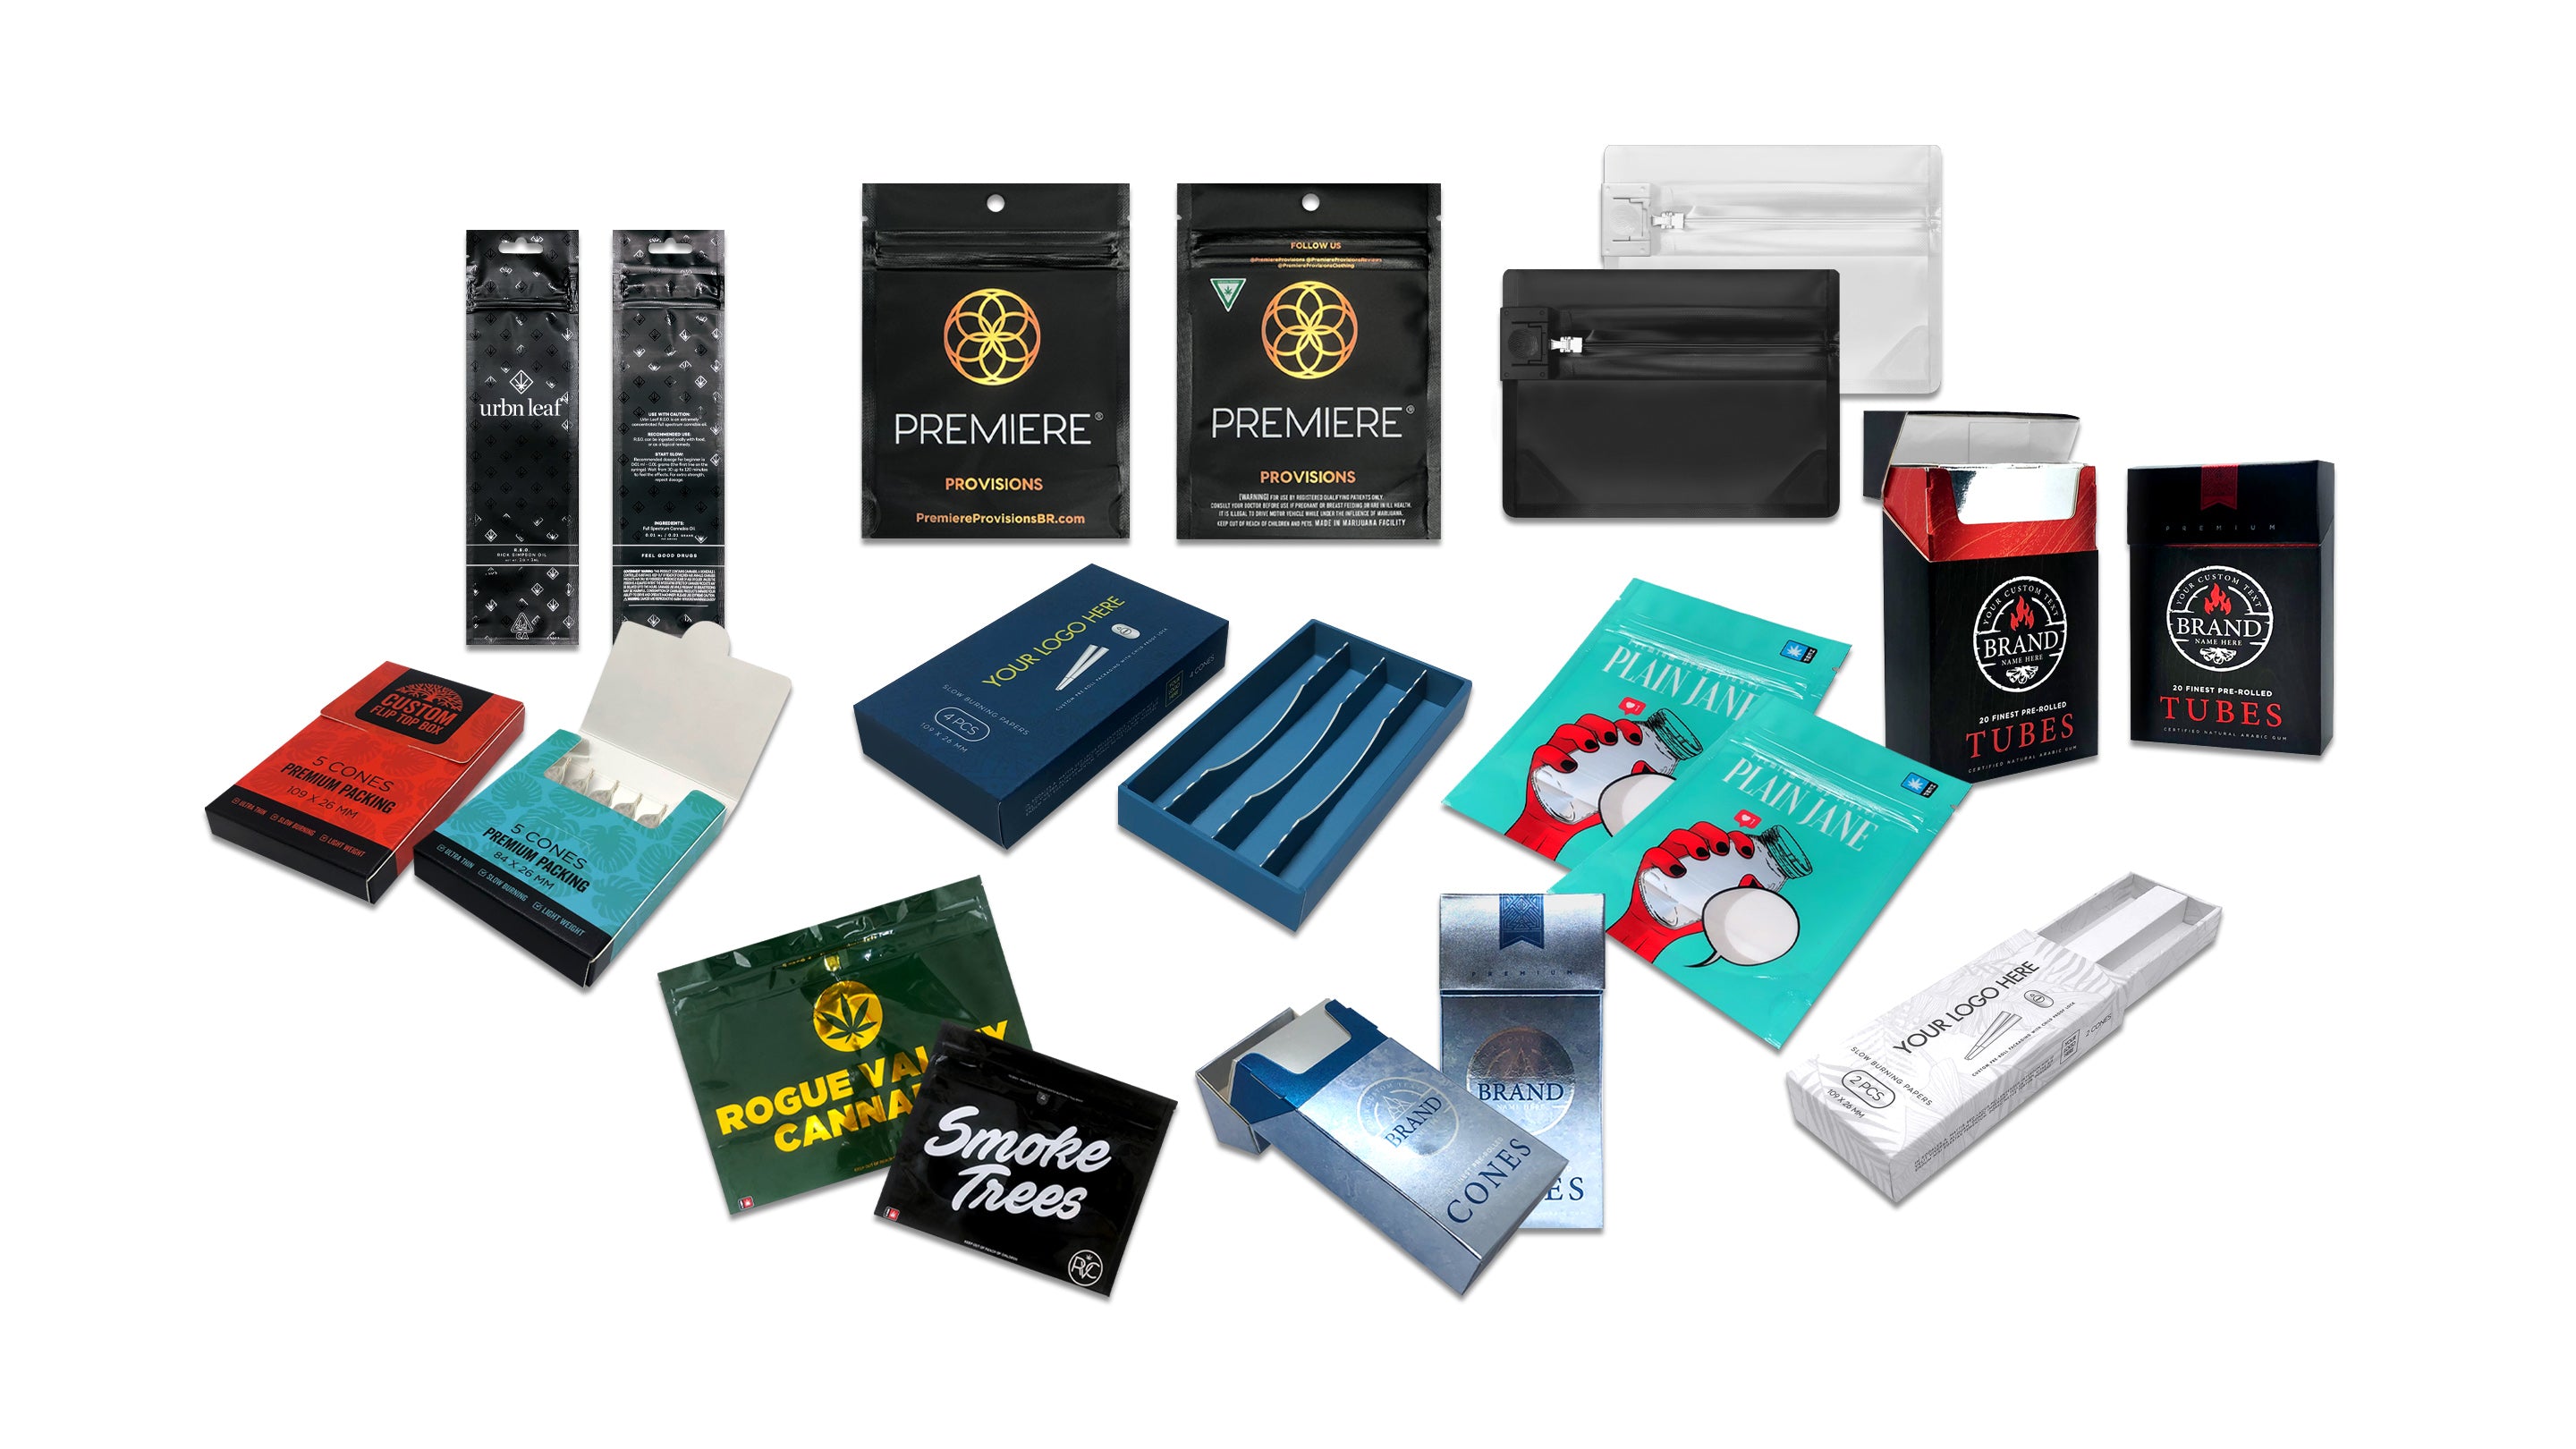
Mylar bags are those opaque, often shiny bags you see at dispensaries. They are specifically made for storing herb. Why are they awesome? For starters, they are **thicker and more durable** than kitchen baggies. Mylar is a special material that blocks light and is far less permeable to air. Translation: your weed is protected from two major quality killers – light and oxygen. Most mylar custom mylar bags also have a strong zip seal (some even heat-seal for extra freshness) that keeps smells locked inside. No tell-tale aroma leaking out! They come in various sizes (from 1 gram up to an ounce or more) and many are **child-resistant** (an extra safety perk if you have kids around or just want that peace of mind). The only cons to mylar bags? They cost a bit more than a regular sandwich bag, and you need to remember to squeeze out excess air and seal them properly each time. But honestly, for the huge jump in protection they offer, it’s worth it. You can even reuse them multiple times. We’ll talk more about these later – including how you can get custom-designed weed bags to show off your style. 😉
🔹 Glass Jars (Not a Bag, But Worth a Mention) 🍯
Okay, jars aren’t bags, but many seasoned enthusiasts swear by mason jars or glass stash jars for storage. Glass jars are airtight, don’t collect static (so trichomes won’t cling to the sides), and are great for long-term curing and storage. If you’re keeping weed at home for weeks or months, a jar can be your best friend. The downside? Glass is rigid and breakable – not great for carrying around in your pocket or travel. Jars also aren’t discreet (clear glass shows what’s inside unless you use a tinted or opaque one). So, think of jars as your at-home solution, and bags (especially smell-proof bags) as your on-the-go solution. In fact, many people use a combo: cure and store bulk in a jar at home, but take what you need for the day in a small mylar bag. Best of both worlds!
To summarize the options, here’s a handy comparison table:
| Storage Method | Pros | Cons |
|---|---|---|
| Basic Plastic Baggie | Cheap or free, easy to find, fits in your pocket. | Not smell-proof or airtight; can leak odors; lets air in (dries out bud); static cling steals trichomes; can tear or open easily. |
| Smell-Proof Mylar Bag | Airtight and odor-sealing; blocks light; durable material; often resealable; available in child-resistant designs; keeps weed fresher longer. | Costs a bit more; not rigid (buds can be squished if sat on); need to seal properly each time; for long-term storage, should be kept in a cool place. |
| Glass Jar | Fully airtight; no static; great for long-term freshness and curing; reusable; no odor leakage when closed; preserves flavor well. | Breakable and bulky; not discreet (unless opaque); not a travel-friendly option for impromptu trips; can let light in (if clear glass). |
Each method has its use. Since this article is about how to bag weed, we’ll focus on the bag options as we move forward – especially the smell-proof solutions that give you the biggest bang for your buck in keeping that herb fresh! 💯
Step-by-Step: Bagging Your Weed Like a Pro
Ready to bag up your greens? Follow these simple steps to ensure your herb stays happy:
- Prep Your Bud: Make sure your weed is appropriately dry (but not bone-dry) before bagging. If it’s fresh from a harvest or a very humid environment, let it air out for a bit. Bud that’s too wet can develop mold in a sealed bag (bad news!). Conversely, super dried-out bud will crumble – you might revive it later with a humidity pack, but it’s best to prevent over-drying to begin with.
- Select the Right Bag: Choose a bag size and type that matches your needs. For a gram or two, a small mini ziplock or smell-proof baggie is great. For an ounce, grab a quality odor-proof mylar pouch or a quart-size freezer bag at minimum. Remember, if you’re using a regular plastic bag, you might consider double-bagging for extra odor control (one bag inside another). Pro tip: If you have different strains, use separate bags for each to keep flavors and scents pure (and label them, so you don’t mix up your OG Kush with your Blue Dream!).
- Measure Your Weed (Optional but Wise): If you’re dividing up your stash (say, from a large amount into smaller bags), use a scale to weigh out portions. This way, you’re not accidentally shorting yourself or anyone else. Knowing that each bag has, for example, 3.5g for an eighth, or 1g for a personal use baggie, makes life simpler. Plus, it’s kind of satisfying to see those neat little portions. 📏⚖️
- Pack It Gently: Place your buds into the bag gently. Don’t force giant nugs through a tiny bag opening – break down larger nuggets into smaller chunks if needed. (No need to grind it now; keep it as whole buds for freshness.) Try not to overstuff the bag; you don’t want to crush the buds. A little breathing room is okay, but also avoid a huge excess of air. If using a sandwich bag, you can gently press out excess air before sealing (just don’t squish the poor bud in the process).
- Seal the Bag Properly: This part’s crucial! For ziplock-style bags, push out as much air as you reasonably can, then seal it completely along the entire strip. Listen for that “zip” sound or feel it click closed. With mylar bags, many have zip closures too; others might need to be heat-sealed with an iron or heat sealer for long-term storage (after the zip is closed). However you seal, double-check there are no gaps. A tiny opening can invite in air and let smells leak out. If you’re paranoid about odor or have a particularly stinky batch, double-bagging (placing the sealed bag into another bag) can add an extra layer of smell containment.
- Label & Date (Optional): If you have multiple bags or strains, label them! Use a marker to write the strain name, or slap a little sticker on the bag. It’s also a great idea to jot down the date you bagged it (especially for long-term stash). That way, you have an idea of how old it is later. Trust us, your future self will appreciate knowing which bag is the indica and which is the sativa without having to sniff-test each. 😅
- Store in the Right Place: Bagged up and sealed? Great. Now put that bag somewhere cool, dark, and dry. Avoid direct sunlight (heat and UV light can degrade THC and terpenes). A closet, drawer, or cabinet works nicely. If you’re on the go, stash the bag in a smell-proof case or a tucked-away pocket in your backpack/duffel. For car travel, keep it in the trunk or a closed container (in many US states you’re required to keep cannabis in the trunk while driving). Basically, treat your bag of weed like a perishable gourmet item – don’t leave it baking on the dashboard or sitting next to a heater. 😉
Follow these steps, and you’ll notice your weed stays fresher and more potent for much longer than the old “toss it in a random baggie” method. Small habits, like sealing the bag carefully every time and avoiding unnecessary exposure to air, make a big difference over weeks or months.
Odor Control Tips 🤫: Keeping Your Bagged Weed Discreet
Worried about that tell-tale smell? Here are some tips to keep the dank aroma under wraps:
- Double-Bag for Defense: If you’re stuck with a thin baggie and the smell is seeping out, put that bag into a second bag and seal it up. While this isn’t foolproof, it does add a layer that odor has to escape from. It’s a cheap hack when you don’t have a true smell-proof bag handy.
- Use Odor Absorbers: Consider storing your bagged weed alongside something that naturally absorbs odors. For example, a small activated charcoal pouch (the kind used in gyms bags for shoe odor) can work wonders. Just keep the charcoal pouch outside of the weed bag (don’t mix charcoal with your herb, obviously) – for instance, put both the weed bag and the charcoal bag into a bigger container together. The charcoal will soak up a lot of escaping smells.
- Avoid Perfumey Cover-Ups: You might be tempted to toss in a dryer sheet or spray cologne to mask weed smell. While that can mask the odor, it can also impart a weird flavor to your bud (who wants their herb tasting like spring laundry detergent? 🤢). If you must use dryer sheets for stealth (say, hiding a bag in your luggage), keep them outside the inner bag and maybe wrapped around an outer layer. But generally, it’s better to neutralize than to overpower with another scent.
- Keep It Cool: Heat can make smells stronger. Ever notice how a warm car reeks more of weed (or anything smelly) than a cold one? Don’t leave your bag of weed in a hot environment. Cooler temps keep the odor molecules less active and less smelly. If you can, store your stash in a cool spot. (No, you don’t need to refrigerate or freeze weed – that can introduce moisture issues – just avoid heat.)
- Stealth Stashing: If you need to be extra discreet (for example, traveling through areas where you’d rather not advertise your stash), hide your bag in something innocuous. Common trick: put the sealed bag of weed inside an empty coffee bag or container – coffee can help mask the smell and the packaging doesn’t raise eyebrows. Another trick: vacuum seal your weed bag if you have access to a food saver device; vacuum-sealed bags greatly reduce odor and also preserve freshness (just be gentle to not crush the buds with too much suction). And always keep it tucked away out of sight – inside a sock in your luggage, in a sealed Tupperware at the bottom of a backpack, etc. Out of sight, out of mind (and out of nose) is the goal. 🤫
Remember, the best solution for odor is a proper smell-proof bag. If you find yourself frequently worried about the scent, investing in a quality odor-proof pouch or case is totally worth it. (Plus, it’ll save you the paranoia of “Can everyone smell that?!” when you enter a room.) Stay safe and scent-contained!
See also: Can You Put Weed in a Checked Bag? ✈️ The Essential Guide for U.S. Travelers
Shelf Life: How Long Does Weed Last in a Bag?
So, you’ve bagged your weed perfectly – how long will it stay good? The answer depends on both the quality of your bag and how you store it. Weed doesn’t have an “expiration date” like milk, but it does degrade over time. Here’s what to consider:
Short-Term (Up to 1 Month): If you’re consuming your stash within a few weeks, a well-sealed bag (especially a mylar or heavy plastic bag) should keep it pretty fresh. The buds will retain most of their moisture and potency, assuming you’re opening the bag minimally (frequent opening = fresh air in, which speeds up drying and cannabinoid breakdown).
Mid-Term (1–3 Months): Around the month or two mark, you might notice buds in simple plastic baggies getting drier and losing smell. THC and terpenes slowly break down with exposure to air, light, and heat. In a high-quality smell-proof bag stored in a cool, dark place, your weed can easily last 3 months with only minor loss in flavor or kick. Keep an eye (and nose) on it though: if you whiff the bag and it smells markedly less dank than before, that’s a sign of terpene loss.
Long-Term (6–12+ Months): For really long storage, bags aren’t the ideal choice – airtight jars or vacuum-sealed packs in conjunction with bags work better. But let’s say you stored some buds in a top-notch mylar bag, sealed it well, and tucked it away. After 6 months, expect some dryness and a bit of potency drop. After a year, weed can lose around 15-20% of its THC potency even in good conditions. In a plain baggie, that degradation happens faster – your bud might be harsh and much weaker by the 1-year mark. After multiple years, weed can lose a huge chunk of its potency (half or more), especially if not stored perfectly.
The biggest threats to your stored weed are air, light, and humidity swings. Too much air and your bud dries out, terpenes evaporate, and cannabinoids degrade. Light (especially UV) can break down THC into less potent compounds over time. And if there’s any excess humidity sealed in, mold can ruin a stash (so always check that bud isn’t too wet when bagging). Using a quality weed bag, keeping it in the dark, and maybe even throwing a small humidity control pack in the storage container can extend the life of your weed significantly.
The good news: Even if weed gets old or a bit dry, it usually won’t “go bad” in the sense of making you sick (unless it’s moldy – don’t smoke moldy weed!). It just won’t be as enjoyable. Dry, year-old weed tends to be harsh on the throat and less potent, with much of the aroma gone. If you find an old bag of bud and it looks/smells okay, you can revive a bit of moisture by tossing a humidity pack or even a slice of bread or citrus peel in a jar with it for a day (just don’t forget and let it mold).
But ideally, try to consume or replace stored weed within 6 months for maximum flavor and effect. And if you’re purposely storing for the long term, consider upgrading your storage method (jar, vacuum seal, etc.) rather than just a baggie.
See also: Can Weed Expire in a Bag? 🌿 🤔 Here’s What You Need to Know!
Upgrade Your Weed Bag: Why Quality Matters
By now, you’ve gathered that the better the bag, the better your bud’s chances of staying fresh and dank. If you’re serious about preserving your herb (or just tired of dried-out, smelly surprises), it’s time to upgrade that baggie. Here’s why a premium bag is worth it:
No More Lost Potency: As we noted, cheap plastic can steal THC-rich trichomes. Quality weed bags made of mylar or other specialized materials won’t cling to your crystals. That means what goes in the bag comes out of the bag – not a bunch of goodness stuck to the sides.
Odor on Lock: Premium smell-proof bags are designed with multiple layers or thick plastic that contain that funky aroma. You can carry your stash without announcing it to the whole room. 🙌 For anyone who needs discretion (hi, apartment dwellers and travelers), this is a huge benefit.
Durability & Security: A high-quality bag won’t rip at the worst moment or pop open in your backpack. Many come with features like resealable zippers, or even child-resistant locks. If you’ve ever had a bag open up and sprinkle herb all over your pocket (tragic 😭), you’ll appreciate the peace of mind a sturdy pouch offers.
Customization & Style: Let’s not ignore the cool factor – you can get some dope-looking bags out there. In fact, we offer our own custom mylar bags that you can personalize with designs or logos. Why carry your stash in a bland bag when you could have one with artwork, your name, or something fun printed on it? It’s like upgrading from a plain T-shirt to a stylish graphic tee – form and function combined. 😎
In short, investing in a proper weed bag is a small decision that pays off big time. Your bud will last longer and taste better, and you’ll stress less about who or what can smell it. It’s a win-win.
🔥 Don’t want to rely on sandwich baggies forever? Upgrade your stash game with a quality smell-proof bag. One great option is our very own custom mylar bags – these premium weed bags keep your herb fresh, lock in odors, and can even be customized to match your vibe. Why settle for less when you can bag your weed like a boss?
FAQs
Q: How much weed should I put in one bag?
A: It’s best to avoid overstuffing a bag. If you have a large amount, divide it into a few bags. Generally, a small baggie can comfortably hold up to an eighth (3.5g) without overcrowding. A sandwich-sized bag can hold a quarter to half-ounce. Keeping some airspace (but not too much) is okay. You just don’t want to cram buds in so tight that they get crushed or can’t breathe a little. If the bag is bulging at the seams, use a second bag or a bigger bag.
Q: Is it okay to store my weed long-term in a plastic bag?
A: Storing weed long-term (months) in a basic plastic bag isn’t ideal. Over time, the plastic can let in air and slowly leak out aroma, which means your bud will get dry and lose potency. For a week or two, a well-sealed baggie kept in a cool, dark place can suffice. But for longer than that, consider upgrading to a smell-proof mylar bag or a glass jar. Those will preserve quality much better over the long haul.
Q: How can I keep my bagged weed from smelling up a room or car?
A: The key is a tight seal and odor barrier. Use a smell-proof bag if possible – that’s step one. Beyond that, you can double-bag it to add layers. Store the bag inside another container (for example, a sealed Tupperware or a jar) if you’re really concerned. In a car, keep it in the trunk or in a closed backpack. Little tricks like tossing the sealed bag in an empty coffee jar or adding an activated charcoal pouch to the area can absorb odors. But nothing beats a true odor-proof bag for confidence.
Q: Can I vacuum seal my weed for better storage?
A: Yes! Vacuum sealing is a fantastic way to prolong freshness and virtually eliminate smell. Many people vacuum seal weed (often with the bud first placed in a jar or bag, then the whole thing sealed in a vacuum bag). The lack of air slows down degradation a lot. Just be gentle – too strong a vacuum can compress your buds into a pancake. 😂 Also, if you vacuum seal, open it occasionally to let buds “breathe” if storing for very long periods (to prevent any hidden moisture from causing issues). Overall, it’s one of the best storage methods especially for big quantities or long-term saves.
Q: How long will my weed stay good in a bag?
A: In a quality airtight bag stored properly, weed can stay decent for several months. You’ll likely notice slight dryness or a bit of flavor loss after a month or two in a baggie, but it’s still totally usable. By 6 months, buds in a simple bag might be quite dry and less potent. In a mylar bag (or vacuum sealed), they’ll fare better – maybe still okay at 6+ months with minor loss. After a year, expect noticeable decline in potency and taste no matter the bag (unless you froze it or something). And always check for mold if stored somewhere humid. When in doubt, give it the sniff and sight test – if it smells musty or looks off, don’t use it.
Q: Can I travel with weed in my bag?
A: That depends on where you are and where you’re going. If you’re moving about within a legal state (21+ and within possession limits), you can travel with weed in your bag – just keep it sealed, out of reach (trunk of car), and preferably in the original packaging or a proper smell-proof container. If we’re talking air travel ✈️, it’s tricky. Airports and airplanes are under federal jurisdiction in the U.S., and cannabis is still federally illegal. Many people do risk flying with small amounts in checked bags or carry-ons, but it’s not legally allowed and there’s always a chance of getting caught. (TSA isn’t actively searching for weed, but if they find it, they can involve local law enforcement.) Traveling between legal states by car is generally fine (again, within legal limits and properly stored). Never cross international borders with weed. In short: know the laws of your origin and destination, keep your stash discreet and sealed, and when in doubt, leave it behind. For more specifics, check out our travel guide linked above in the “See also” section.
Q: Should I grind my weed before storing it in a bag?
A: Nope, it’s better to store your weed as whole nugs. Ground weed has way more surface area exposed to air, which means it will dry out and lose potency faster than intact buds. It also can leak more smell. Keep your herb in nug form in your bag, and only grind it right before you plan to use it. That way, all those tasty terpenes and cannabinoids are preserved as long as possible. Think of it like coffee beans – they stay fresher whole, and you grind them at the last minute for maximum flavor. Same idea with your ganja. 🌿




Leave a comment