💧 How to Clean a Metal Rolling Tray — The Ultimate Step-by-Step Guide ✨✅

Ever looked at your metal rolling tray and thought, “Yikes, when did it get that dirty?” 😅 Don’t worry – even the best trays need a good cleaning once in a while. Learning how to clean a metal rolling tray is easy and totally worth it. A clean tray not only looks great, but it also keeps weird odors or old residue from messing with your fresh materials. Plus, it prolongs the life of your tray and keeps everything running smoothly for your rolling rituals.
In this guide, we’ll walk you through cleaning your metal rolling tray step by step using simple household items (no fancy cleaners required). We’ll also share some handy tips and answer a few common questions along the way. By the time we’re done, your tray will be sparkling like new – and ready for your next session! Let’s get started. 💪
Table of Contents
- What You’ll Need
- Step-by-Step Cleaning Guide
- Extra Cleaning Hacks for Stubborn Messes
- Cleaning a Custom Rolling Tray
- Maintenance Tips & How Often to Clean
- FAQ
🧰 What You’ll Need to Clean Your Metal Rolling Tray
- Warm water (to loosen gunk)
- Mild dish soap or detergent
- Soft sponge or cotton cloth (non-abrasive)
- Soft-bristled brush or old toothbrush (for scrubbing corners)
- Paper towels or a clean towel (for drying)
- Optional: Isopropyl (rubbing) alcohol for sticky residue
- Optional: Baking soda (for deodorizing) and white vinegar (for tough stains)
- Optional: A pair of cleaning gloves (if you prefer)
- Optional: Your favorite playlist to make cleaning more fun 🎶
🧹 Step-by-Step: Deep Cleaning Your Metal Rolling Tray
Ready for that deep clean? Below is a step-by-step guide on how to get your metal rolling trayspotless. Follow these easy steps and you’ll have a tray so clean you could eat off it (well, figuratively speaking!).
🗃 Step 1: Remove All Items and Prep
Clear everything off your metal rolling tray first. Take off any herbs, materials, papers, grinders, lighters – whatever you’ve got on there, set it aside for now. Removing all your gear gives you full access to the tray’s surface so you can reach every corner. This is also a good time to gather the cleaning supplies listed above, so you have everything handy. Prep done? Awesome – let’s move on.
🗑️ Step 2: Dump Out the Debris
Now, turn your empty tray upside down over a trash can (or step outside) and give it a few gentle taps or shakes. Crumbs, dust, and little bits of leftover material will fall right out. You might be surprised (or slightly embarrassed) at how much comes loose! If there are any obvious sticky clumps or gunk stuck on, you can also use a paper towel to wipe those out at this stage. The goal here is to knock out all the loose debris before we start washing.
🛁 Step 3: Soak in Warm, Soapy Water
Time to give your metal rolling tray a nice sudsy bath. Place the tray in your sink (or a basin large enough to lay it flat). Fill it with warm water and add a squirt of mild dish soap. You don’t need a ton – about a teaspoon or two of soap is plenty. Let the tray sit and soak for a few minutes in the warm, soapy water. This will help loosen up any dried-on residue or grime, making it much easier to scrub off. If your tray is too big to submerge fully, just fill it and slosh the soapy water around so all surfaces get wet.
🧽 Step 4: Gently Scrub the Tray
Now for the elbow grease! Take your soft-bristled brush or sponge and start scrubbing the tray’s surface. Be thorough – scrub the bottom, the sides, and especially the corners and edges where gunk tends to hide. Use small circular motions and a bit of pressure, but don’t go overboard. The key is to clean without scratching. A soft toothbrush can work great for getting into crevices or any engraved designs. You’ll see the sticky residue and stains lift away as you scrub. Dip the brush in the soapy water as needed to keep things nice and sudsy.
🔥 Tip: Loosen Stubborn Gunk with Heat or Alcohol
If you encounter a super stubborn sticky spot that just won’t scrub off, don’t fret. Try applying a little heat or rubbing alcohol to loosen it up. You can carefully warm the trouble area by blowing hot air with a hair dryer for a minute (warm resin = easier to remove), or pour a bit of 90%+ isopropyl alcohol directly on the spot and let it sit for 2-3 minutes. Then go back and gently scrub – that gunk should give up and come off much easier. (Just be sure to rinse off any alcohol completely in the next step.)
🚿 Step 5: Rinse Away Residue
After a thorough scrubbing, your tray probably looks a million times better. Now you’ll want to rinse off all that dirty, soapy water and any loosened grime. Dump out the grey soap water from the tray, then rinse the tray under clean warm water. If you’re doing this in a basin, refill it with fresh water and gently slosh it around. Make sure to wash away all soap suds and any debris you scrubbed off. You don’t want any soapy residue left behind (nobody wants their rolling tray smelling like soap next time they use it!). Take a quick look and run your fingers over the surface – it should feel clean and smooth, with no slippery soap film remaining.
☀️ Step 6: Dry the Tray Completely
Don’t skip the drying step! Drying your metal tray thoroughly is super important to prevent water spots or rust (if it’s steel). Use a clean towel or some paper towels to wipe down the tray, soaking up as much water as possible. Pay attention to the corners and any rolled edges where water can hide. Once you’ve hand-dried it, it’s a good idea to let the tray air-dry the rest of the way. You can prop it upright in a dish rack or set it on the counter on a dry towel. Give it 15-20 minutes to fully air dry. The metal should be completely dry to the touch before you put it back into action.
✨ Step 7: Deodorize and Freshen Up
This step is optional but highly recommended, especially if your tray has been in action for a while. Baking soda to the rescue! Sprinkle a few tablespoons of baking soda evenly across the surface of your dry tray. Using a clean cloth (or just your fingers), lightly spread the baking soda around so it coats the tray. Let it sit for about 10 minutes. Baking soda will absorb any lingering odors and help lift any remaining subtle stains or stickiness. After waiting, dump out the baking soda and give the tray one final wipe or quick rinse. Dry it off again, and voilà – your metal rolling tray is not only clean, but also smelling fresh and ready to rock!
Take a moment to admire that shine. Your tray hasn’t looked this good since you first got it! Keeping it clean will make every use feel like a brand new experience. 😎
💡 Extra Cleaning Hacks for Stubborn Messes
For those extra-tough messes or if you’re in a hurry, here are some additional tricks you can try. These don’t replace a good deep clean, but they can help in a pinch or tackle specific problems:
- Rubbing Alcohol Wipe-Down: Got sticky, tar-like residue? Soak a paper towel or cotton ball with high-percent isopropyl alcohol and wipe the sticky areas. The alcohol breaks down resin and gunk quickly. Just remember to rinse the tray with water afterward and dry it well.
- Salt & Alcohol Scrub: For a powerful combo, sprinkle coarse salt on a particularly stubborn spot and add a few drops of rubbing alcohol. The salt acts as a gentle abrasive while the alcohol dissolves grime. Gently rub the area with a cloth or sponge, then rinse clean.
- Vinegar and Baking Soda Foam: If you prefer natural cleaners, this one’s fun. Sprinkle a bit of baking soda on the tray, then spray or drip white vinegar over it. It will fizz up! That fizzy reaction can help lift stains and eliminate odors. Give it a minute to bubble, then wipe the tray clean and rinse/dry as usual.
- Magic Eraser Sponge: A melamine foam sponge (Magic Eraser) can work wonders on scuffs or marks. Dampen the sponge and gently rub any discoloration or stuck-on goo. Don’t press too hard on printed designs, but for plain metal areas it can really make them shine. Wipe away any residue with a cloth after.
- Quick Wipes for Daily Upkeep: Keep a pack of gentle baby wipes or disinfectant wipes handy. After each session, a quick wipe of the tray’s surface will pick up ash, crumbs, and moisture. It’s not a deep clean, but it’ll keep things from building up too much until you can wash it properly.
Each of these hacks can save the day when you’re dealing with a particularly dirty metal rolling tray or want to stretch the time between deep cleanings. Just remember, they’re supplemental – you’ll still want to give your tray a thorough soap-and-water spa day regularly to keep it in top shape 😉.
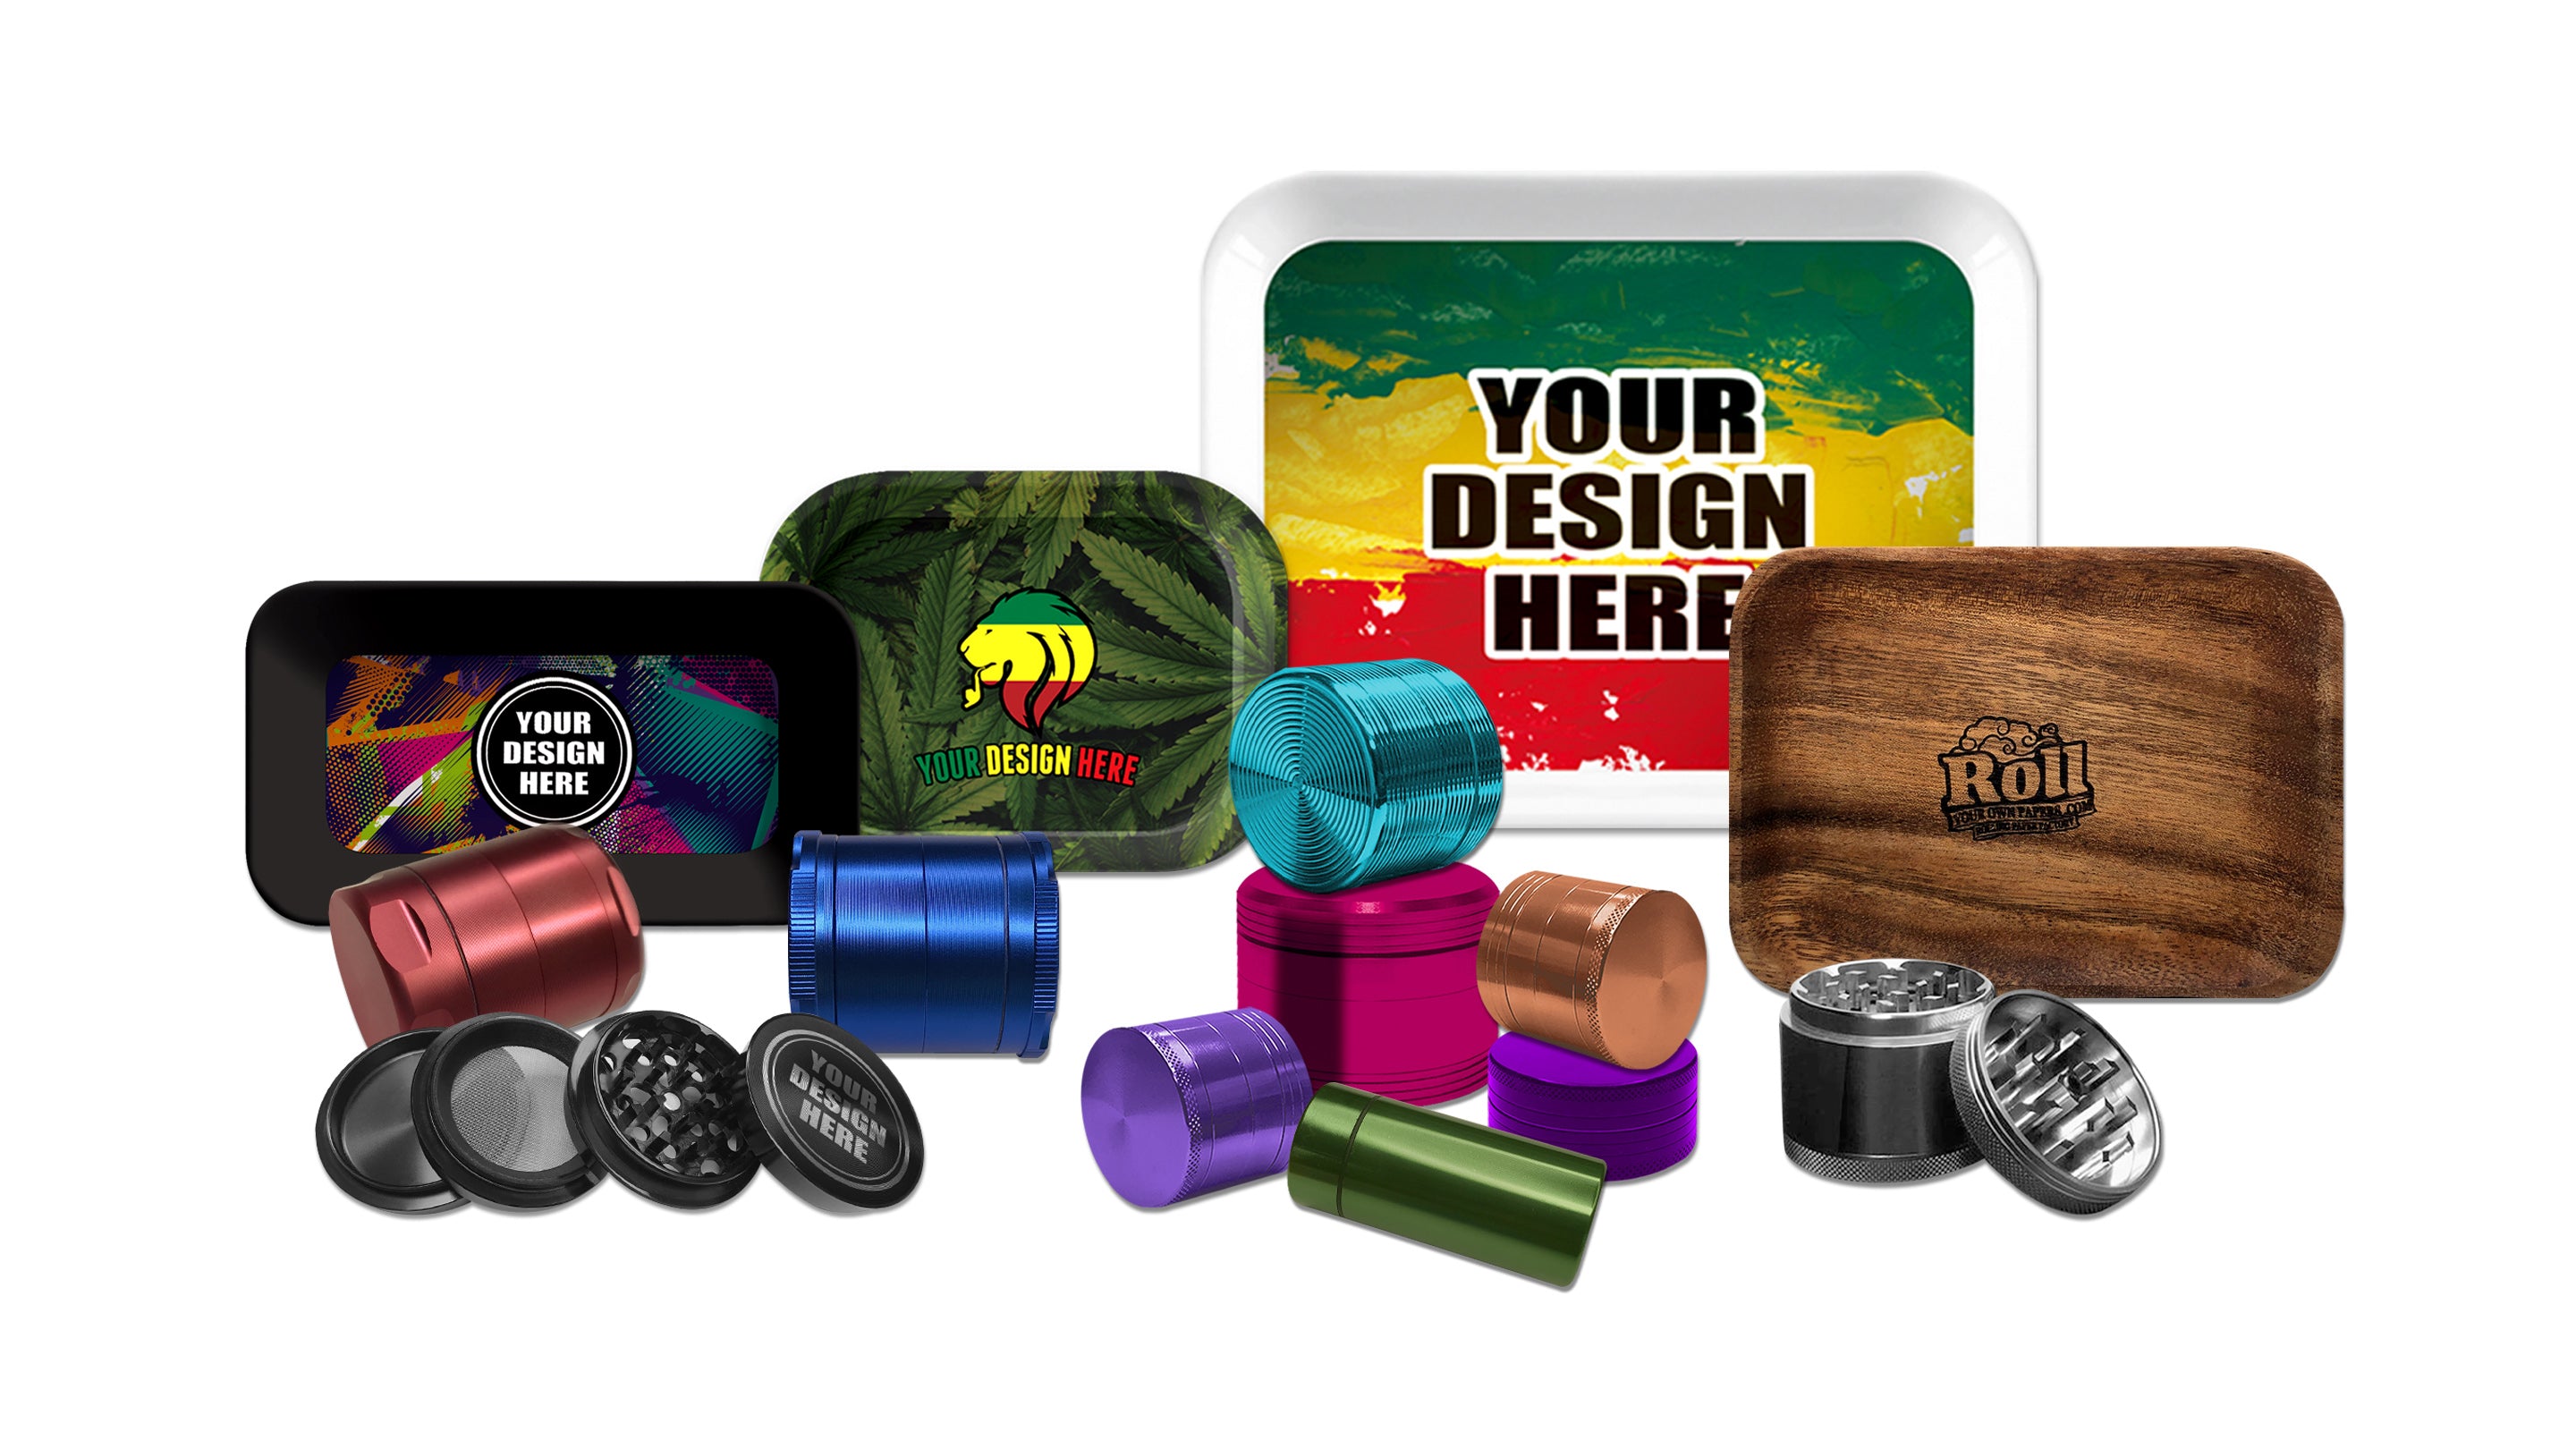
🎨 How to Clean a Custom Rolling Tray (Without Ruining the Design)
Custom rolling trays often have cool artwork or personal designs, and you’ll want to clean yours without messing up that sweet design. The trick is to stick to gentle cleaning methods. Use warm water and mild dish soap, and wipe with a soft cloth instead of scrubbing aggressively. Avoid any abrasive scrubbers (no steel wool or rough scouring pads!) and stay away from harsh chemicals that could strip or fade the printed design. Even if your tray’s artwork has a protective coating, repeated harsh scrubbing in one spot could wear it down. When in doubt, test any cleaner on a small, inconspicuous corner of the tray first to make sure it doesn’t affect the colors or finish.
If your tray sports stickers or decals you’ve added yourself, consider removing them before a deep clean (water and soap can loosen adhesives). You can always stick on some fresh decals afterward to keep your tray looking personal and unique. By taking a little extra care, you’ll keep that custom artwork vibrant and intact while still getting your tray nice and clean.
🛡️ Maintenance Tips & How Often to Clean
Nobody wants to do a deep clean every day. The good news is, a little regular upkeep will make big cleanings less frequent and keep your rolling tray looking fresh all the time. Here are a few easy maintenance tips:
- Wipe After Each Use: Get in the habit of giving your tray a quick wipe down after each session. A dry paper towel or a quick swipe with a baby wipe will remove loose bits and prevent buildup of sticky residue.
- Use a Tray Liner: Lining your tray with a sheet of parchment paper or a silicone mat when you’re rolling can catch spills and crumbs. Afterwards, just toss the liner (or wash the mat) and your tray stays nearly clean.
- Brush or Vacuum Regularly: Keep a small soft brush or even a mini hand vacuum nearby. Brushing out or vacuuming the tray every few uses will pick up leftover material, dust, or ash so it doesn’t accumulate.
- Cover or Store the Tray: When not in use, store your tray in a drawer, cupboard, or use a dedicated tray cover if you have one. This keeps dust, pet hair, and other random debris from settling on the surface.
- Clean Spills ASAP: If you spill something sticky or liquid on your tray (it happens!), wash it off sooner rather than later. Dried-on mystery goop is much harder to clean than a fresh spill.
How often should you deep clean? It depends on how often you use your metal rolling tray. For a casual user, doing a full deep clean about once a month or every couple of months is usually fine. If you’re using your tray daily (or it’s visibly getting dirty faster), aim for a deep clean roughly every 2-4 weeks. Basically, whenever you start noticing a lot of residue buildup or any funky smells, that’s your cue. Regular light maintenance (like the tips above) will let you go longer between deep cleaning sessions. Keep an eye (and nose) on your tray’s condition, and you’ll know when it’s time for a bath!
❓ FAQ: Cleaning Metal Rolling Trays
Q1: Can I put my metal rolling tray in the dishwasher?
A: Yes – most metal rolling trays (as long as they don’t have any electronic components or delicate add-ons) are dishwasher-safe on the top rack. This is a convenient hands-off way to clean a metal tray. Use a normal cycle with your usual dish detergent. Just be aware that if your tray has a printed image or special coating, the harsh detergents and high heat in a dishwasher could fade or peel it over time. When in doubt, hand washing is the safer bet for trays with designs.
Q2: How often should I clean my rolling tray?
A: It really depends on usage. If you only use your tray occasionally, a thorough cleaning every month or two is usually enough. For heavy daily use, you might want to clean it every few weeks to prevent excessive buildup. A good rule of thumb is to clean your tray whenever you notice a lot of residue or any bad odors. And remember, quick wipe-downs after each use will keep it cleaner longer so you won’t need to deep clean as often.
Q3: What’s the fastest way to clean a rolling tray in a pinch?
A: The quickest way to tidy up a rolling tray is to wipe it down immediately after use. Grab a damp paper towel or an alcohol wipe and quickly wipe the surface to pick up crumbs and residue. Then dry it off with a clean towel. This quick method only takes a minute and will keep your tray reasonably clean until you have time for a proper wash. It won’t be a perfect clean, but it’ll do in a pinch!
Q4: What should I avoid when cleaning a metal rolling tray?
A: Avoid anything that might scratch or damage your tray. That means no steel wool pads, metal scrapers, or extremely harsh scouring sponges – these can scratch up the metal and ruin any coating or artwork. Also avoid strong corrosive chemicals like bleach or oven cleaner; there’s no need for those and they can leave harmful residues (yuck). Stick to gentle cleaners like dish soap, vinegar, or rubbing alcohol. And when scrubbing, always use a soft cloth, sponge, or soft-bristle brush.
Q5: How do I clean a custom rolling tray without damaging the design?
A: Be extra gentle with custom or printed trays. Use mild soap and water and a soft sponge or cloth on the areas with artwork. Don’t scrub directly on the printed design with anything abrasive. Let the soapy water do the work to loosen grime, then wipe clean. If there’s a sticky spot on a design, try dabbing it with a little rubbing alcohol on a cloth, but don’t soak it. And definitely avoid the dishwasher for trays with custom graphics – hand wash them to play it safe. By taking it easy and avoiding harsh scrubbing, you’ll preserve that awesome design.
Q6: Can I use vinegar or baking soda to clean a metal tray?
A: Absolutely! Both white vinegar and baking soda are excellent natural cleaners for a metal tray. You can use them separately or together. Vinegar on its own helps dissolve grime and neutralize odors – just dampen a cloth with vinegar, wipe the metal rolling tray, then rinse and dry. Baking soda is a gentle abrasive and deodorizer – you can make a paste with a little water and baking soda, scrub gently, then rinse. Or as mentioned above, sprinkle baking soda and spritz vinegar to get that fizzing action for a deeper clean. Just always rinse thoroughly and dry after using these ingredients, so no powdery residue or vinegar smell is left.
Q7: Why is it important to keep my rolling tray clean?
A: Keeping your rolling tray clean makes your whole experience better. First off, it’s more hygienic – you don’t really want old crumbs and mystery residue mixing with your fresh stuff. Clean tray = pure, untainted materials. Second, it prevents bad smells; over time a dirty metal rolling tray can start to stink, and that’s not something you want in your space. Finally, it just looks cool to have a shiny, like-new tray 😎. It shows you take care of your gear. And practical bonus: a well-maintained tray will last longer, since you’re preventing corrosive buildup or damage. So a clean tray is a win-win for style, taste, and longevity.




Leave a comment