💡 How to Clean Your Weed Grinder (Without Alcohol) 🔧

Grinders are the unsung heroes of rolling prep — they keep things smooth, even, and consistent. But let’s be real: they get messy fast. Sticky residue, trapped bits, and dull grinding action can all turn your session into a hassle. Most guides suggest alcohol, but what if you don’t want to use it? No worries — this guide will show you exactly how to clean your weed grinder no alcohol, using easy household methods that are safe, natural, and effective. 🌿✨
Table of Contents
Why Keep Your Grinder Spick-and-Span? 💡
Cleaning your grinder isn’t just a chore – it’s key for smooth performance and fresh flavor. Leftover plant residue and sticky buildup can clog teeth and trap unwanted moisture. In time this gunk can even grow mold and bacteria on metal parts. A clean grinder ensures each grind is efficient and hygienic, preserving the taste of your herbs and keeping your sessions hassle-free. Plus, regular cleaning extends your grinder’s lifespan and makes grinding effortless every time.
Tools & Materials 🧰
You’ll need just a few household items. Grab a clean toothbrush or small brush, cotton swabs (Q-tips), and a bowl or container for soaking. For cleaners, white vinegar and baking soda are natural degreasers. A drop of mild dish soap or lemon juice adds extra grease-cutting power. Be ready with warm water for rinsing and a paper towel or cloth to dry. Having these supplies on hand will make the process quick and easy.
Cleaning Methods 🔄
Freeze & Tap ❄️
When residue is really stuck-on, pop your grinder in the freezer for 30–60 minutes. Freezing hardens the sticky bits, so you can simply tap or brush them off. Lay out a paper towel and bang the grinder pieces gently to dislodge most of the debris. Then use a small pick or toothpick and a brush to clean any remaining bits from the teeth and screen. This no-liquid trick works great for both metal and plastic grinders.
Soapy Water Scrub 🚿
For plastic (or mild metal) grinders, a warm soapy soak is a simple fix. Never use harsh solvents on plastic – they can melt or warp it. Instead, fill a bowl with hot water and a few drops of dish soap. Submerge the disassembled parts and let them soak for 10–15 minutes to loosen gunk. Then scrub each piece with a toothbrush, rinse thoroughly with clean water, and dry completely. This removes most residue safely without alcohol.
Vinegar & Salt/Vinegar & Baking Soda 🧂
When you have a metal grinder and no alcohol on hand, white vinegar is a powerhouse cleaner. Mix 3–4 tablespoons of vinegar with water, or better yet add a tablespoon of coarse salt or a sprinkle of baking soda for extra abrasion. Soak the grinder parts in this solution for about 30 minutes. The vinegar will dissolve resin, while salt or baking soda physically scrubs it away. After soaking, scrub with a brush and rinse well. This all-natural combo tackles tough buildup without fumes.
Lemon Juice Magic 🍋
If you want a fresh, citrusy clean, lemon juice is the ticket. Squeeze fresh lemon juice onto a brush or cloth and scrub the grinder teeth and crevices. The mild acid in lemon juice breaks down sticky residue. For really grimy parts, let the pieces soak in lemon juice for 5–10 minutes before scrubbing. Rinse thoroughly and dry. Besides cleaning, this leaves your grinder smelling like a citrus grove!
Hydrogen Peroxide Bath 💧
A less-common but effective trick is a hydrogen peroxide soak. You can use plain 3% hydrogen peroxide (the kind from the drugstore) to dissolve stains and kill germs. Simply submerge the grinder parts for a few minutes, then scrub and rinse as usual. As GreenBeeLife notes, hydrogen peroxide works as a safe alcohol alternative to lift residue. Just be sure to rinse it all off – and don’t use this method on plastic (stick with water or vinegar for plastics).
Cleaning by Grinder Type 🔍
Metal Grinders
Most of the methods above work great on metal. Freezing, soaking in vinegar or soapy water, or even gentle boiling in water can clean metal parts. After any soak, use a brush to scrub the teeth. If any gunk remains, pick it out with a toothpick. Rinse and dry thoroughly. Metal grinders can handle more aggressive cleaning (avoid bleach or chlorine, though).
Plastic Grinders
Plastic grinders need extra care. As noted above, never use alcohol on plastic – it can degrade or melt it. Instead, stick to warm soapy water. For stubborn spots, rinse with warm water repeatedly and scrub gently with dish soap. You can also try diluted vinegar (50/50 with water) in a short soak. Dry plastic parts completely right away to avoid warping.
Electric Grinders ⚡
For battery or electric grinders, don’t use any water inside! Instead, unplug or remove batteries and wipe the blades and chamber with a slightly damp cloth. Use a brush or toothpick to get between blades. Avoid liquid contact with the motor or electronics. As one expert notes, never submerge electric grinders – just “use a damp cloth” to wipe them clean.
Maintenance Tips 🛠️
- Regular cleanings: A quick brush of your grinder after each use prevents major buildup. Make it a habit to empty kief and wipe residue weekly.
- Keep it dry: Always let parts dry completely before reassembling or storing. Moisture can cause mold or rust.
- Avoid overloading: Don’t cram too much herb in at once. Grind in small batches for even performance and less clogging.
- Thread care: Apply a drop of food-grade oil (like olive or coconut oil) on the threads once in a while to keep things turning smoothly.
Meet Our Custom Weed Grinder 🌟
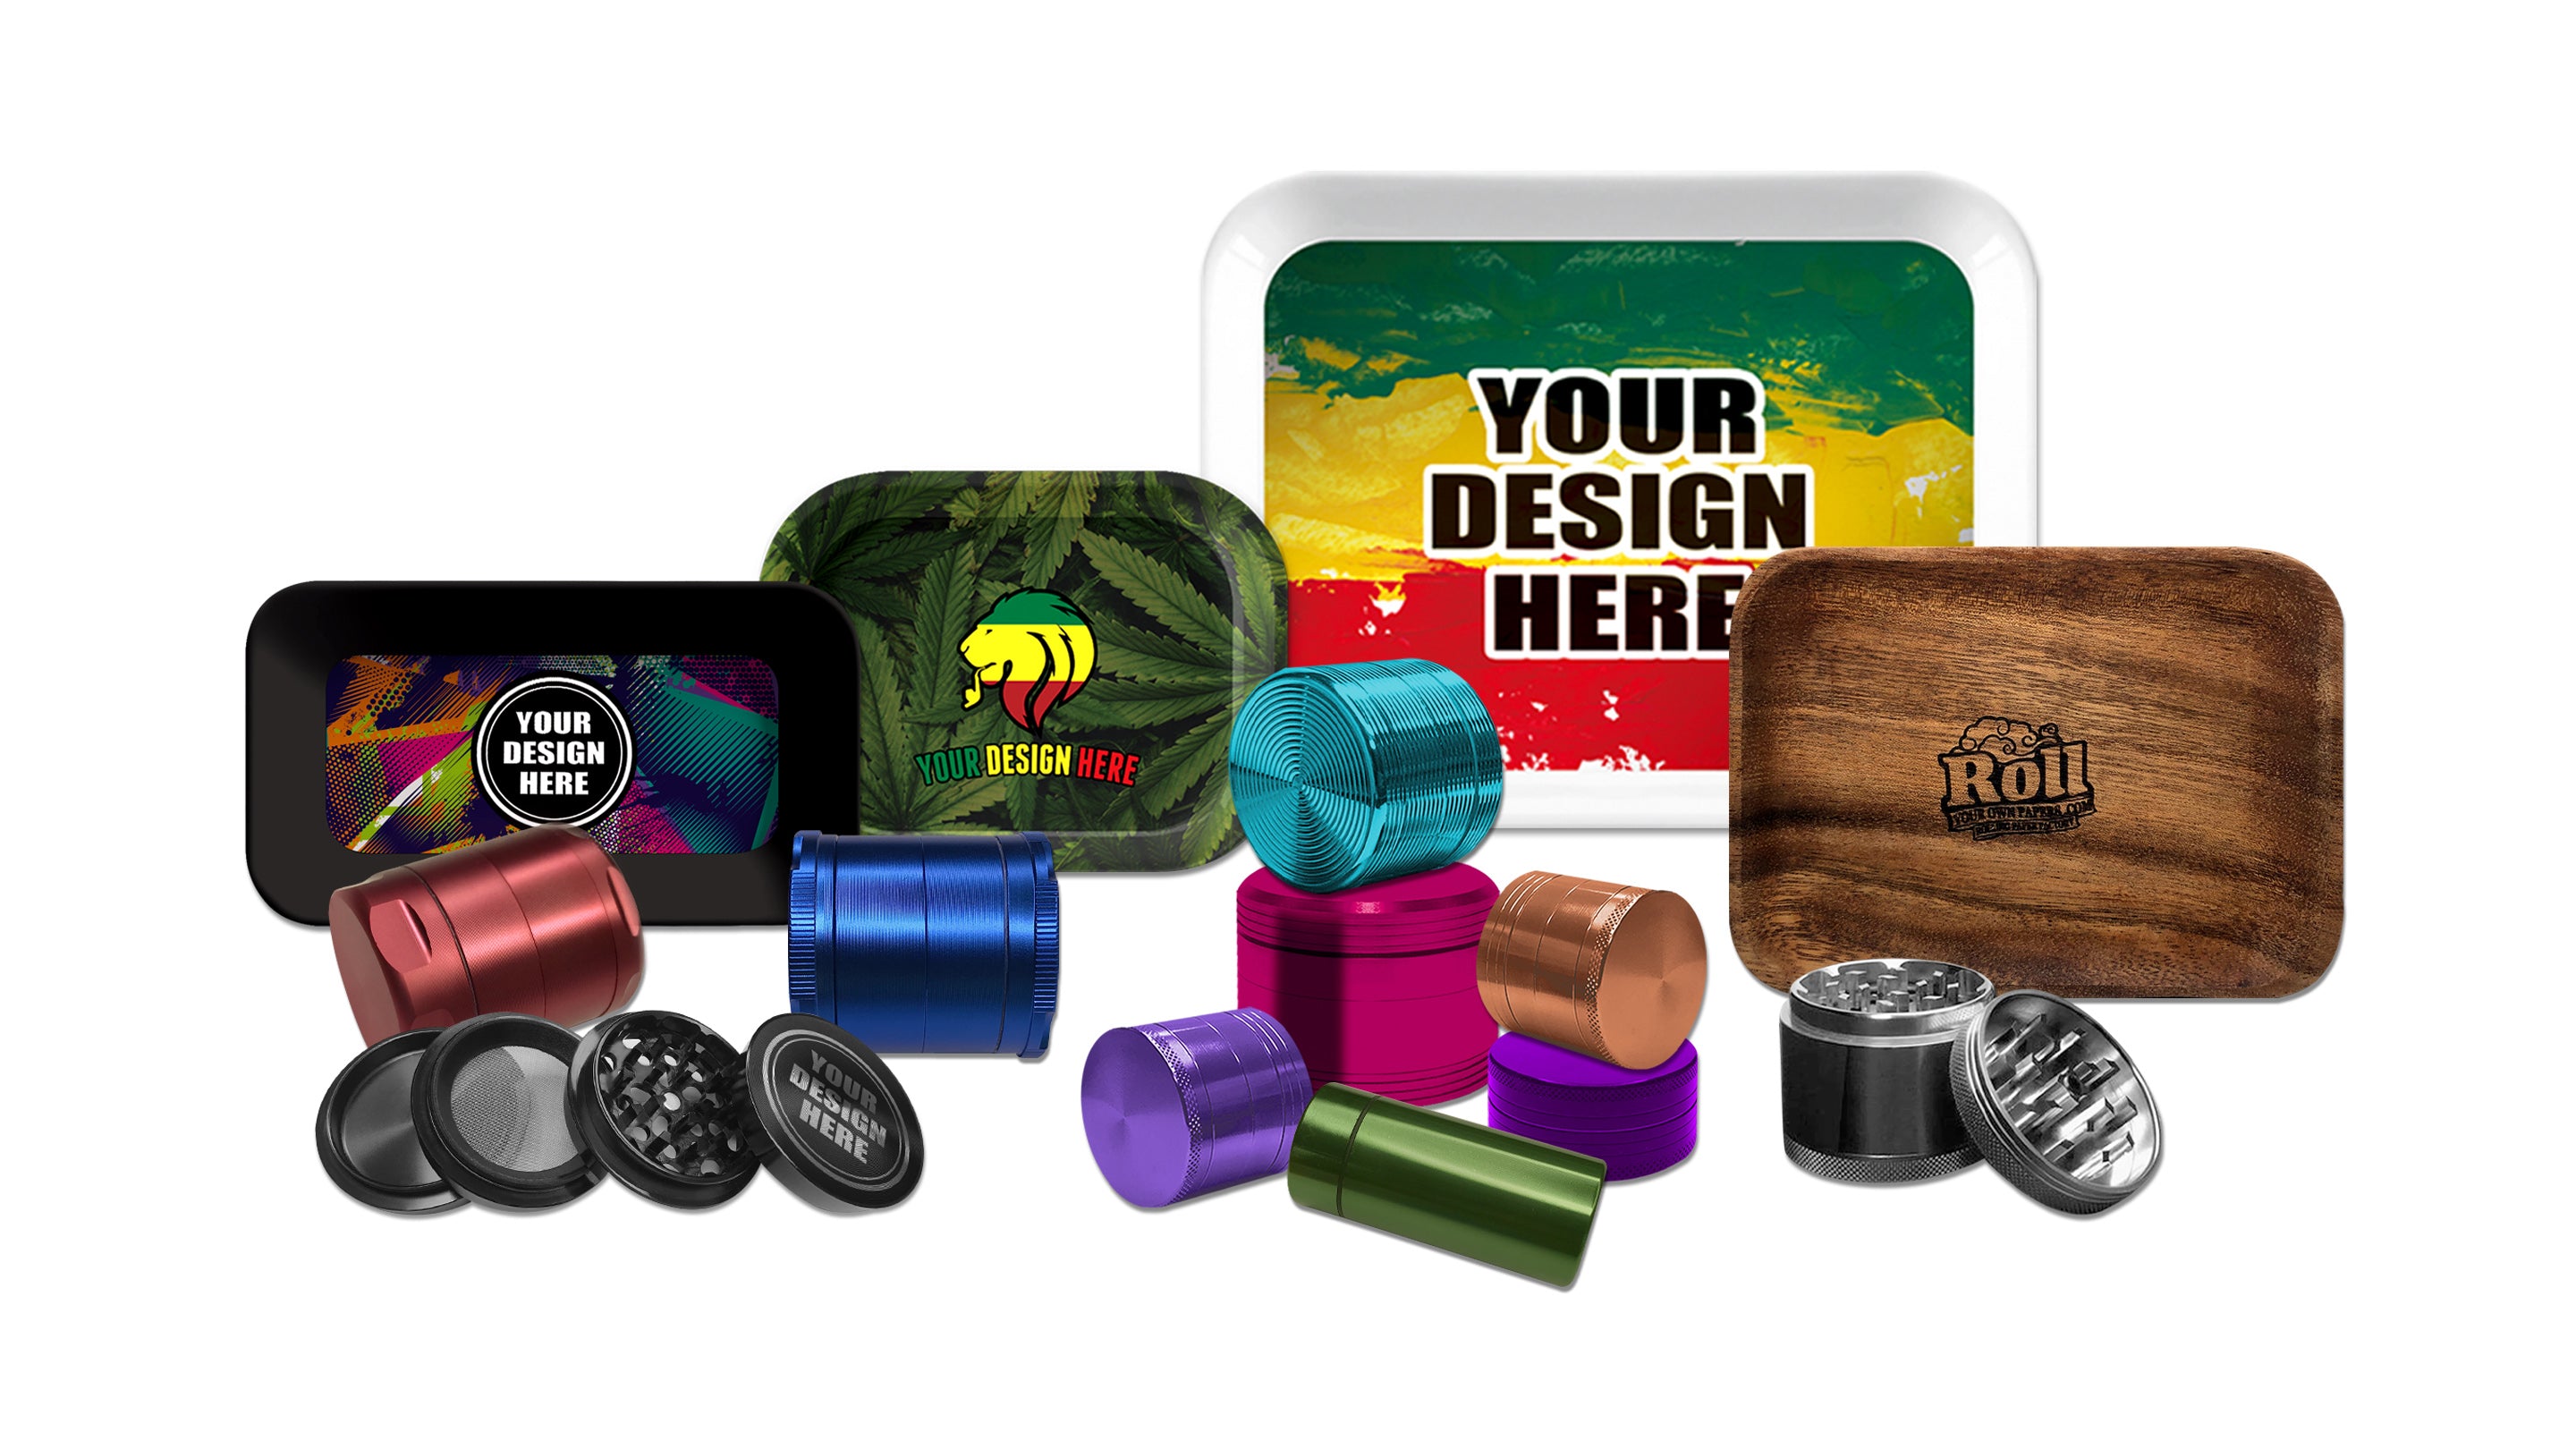
Looking for an upgrade? Check out our premium weed grinders designed for smooth, stick-free grinding. At ROLLYOUROWNPAPERS.com we’re experts in custom weed grinder manufacturing. Every custom grinder comes with a free design service and high-quality materials. Choose a sleek stainless-steel model, personalized with your artwork! Our durable custom printed weed grinder will last for years and make grinding a breeze. We stand behind our products with top-notch customer service, free worldwide shipping, and 100% satisfaction.
🔥 Ready to Upgrade Your Grinding Game?
Tired of manual grinding and sticky mess? 🎯 Level up with a premium custom grinder that crushes herbs effortlessly for a smooth, flavorful grind every time!
- ✔️ Sturdy stainless-steel construction
- ✔️ Free custom engraving & artwork
- ✔️ Outstanding customer service
- ✔️ Free worldwide shipping
📦 Bulk orders available | 🚚 Fast, free delivery | 🌱 Eco-friendly packaging
Frequently Asked Questions 🤔
How often should I clean my weed grinder?
Aim to deep clean your grinder about once a month (or whenever residue builds up). You can do quick cleanings (brushing out loose bits) after each use. Regular cleaning prevents gunk buildup and maintains flavor.
Can I use white vinegar to clean my grinder?
Yes. A soak in a water-vinegar solution is very effective. Mix water with white vinegar (and optionally salt or baking soda) and soak the metal parts for 30 minutes. Scrub and rinse well afterward.
Is it safe to use hot water on a grinder?
Yes, hot water is great for cleaning. For plastic grinders, soak in hot (near-boiling) water with a bit of dish soap to loosen residue. For metal grinders, you can also rinse or even boil briefly. Always dry completely to avoid moisture issues.
How do I clean a plastic grinder without melting it?
For plastic, never use harsh chemicals. Use warm soapy water or a diluted vinegar soak. Soak plastic parts in hot (not boiling) soapy water for a few minutes, then brush gently. Avoid alcohol or acetone on plastic. Rinse and dry right away.
Can mold grow in my grinder?
Yes. A dirty, damp grinder can develop mold or bacteria. That’s why thorough cleaning and drying is important. Make sure all parts are dry before reassembly to prevent any moisture.
What’s the easiest no-alcohol cleaning method?
The freezer method is super easy: freeze the disassembled grinder for 30 minutes, then tap and brush out the frozen bits. Follow up with a quick brush. This requires no liquids at all.
Should I lubricate my grinder after cleaning?
After a full clean, you can apply a tiny drop of food-grade oil (like coconut or olive oil) to the threads to keep them turning smoothly. Only a small amount is needed, and wipe away any excess. This step is optional but helps prevent stiffness.






Leave a comment