How to Make a Grinder for Weed: DIY Herb Grinder Guide 🌱

Ever been ready to roll and suddenly realized your grinder’s gone missing? 😱 Don’t worry—you don’t need fancy gear to keep the session alive. In this guide, we’ll show you exactly how to make a grinder for weed at home using simple household items. From scissors and bottles to cheese graters and even a DIY wooden mesh grinder, you’ll learn fun, safe, and surprisingly effective ways to get the perfect grind. Plus, we’ll share pro tips and why upgrading to a custom weed grinder might just be your best move. Let’s dive in! 🌿✨
Ever had that happening while in the middle of preparing your favorite herb: the weed grinder is nowhere to be found or broken? 😱 Don’t fret! Here’s how—with a bit of creativity and some house stuff—you can make a grinder for weed at home. When you want to cut an expense (and a good grinder may cost you upwards of $50, it’s not exactly cheap) or if you’re just the DIY type, then do it because it’s entertaining, original, and oddly enough, good at what it does.
We’ll walk through easy methods, plus share tips to stay safe and keep things clean. Let’s dive in and get grinding! 💪
Building your own herb grinder can even be better than buying one – you get to customize it and feel proud of your handiwork. Plus, figuring this out means you won’t be held hostage by a broken grinder next time you need it. Let’s check out what you’ll need.
Tools & Materials Needed 🔧
- A sturdy vessel or container with a tight-fitting cap/lid.
- A few heavy coins, screws, or small pebbles to help break down the herb when shaken.
- Sharp instruments: scissors, carton cutter or small knife (take much care!)
- Kitchen gadgets: coffee mill, juicer or spices (pepper) mill
- Home kitchen gadgets: cheese grater, pepper mill or pizza wheel cutter
- Optional for custom build: scrap wood pieces, nails, wire mesh screen
Basically, look around your house – think of items that can chop, crush, or rub your bud down. Get creative! Just remember to clean everything first and avoid anything coated in paint or harmful residue. For example, wash out spice grinders or remove paint from metal before use. Safety first!
Safety Considerations
Keep your tools and working area clean before you begin. No metal that has coatings of unknown provenance (no painted cans or sticker residue). Sharpen knives meticulously and watch out for those fingers with the other side. Always work on an uncluttered stable surface, then, after cutting, wipe the surfaces to avoid cross-contamination. Life will be easier, and your DIY grinder will be safe, not to mention your herbaceous bounty pure.
Quick DIY Grinder Methods 🚀
Shake & Roll (Coin + Bottle) 🔄
One of the easiest tricks is the coin-and-bottle method. Take a small, sturdy container (like a plastic pill bottle or snack jar) and toss in your buds with a heavy coin or two. Screw the lid on tightly and shake vigorously. The coin will break the herb into smaller pieces. After a bit of shaking, unscrew and enjoy ground herb ready for rolling.
Tip: This yields a coarse grind (great for bongs or rolling). Let your herb dry a bit before shaking – drier buds break apart easier. And be sure to clean the inside of the bottle well before and after use (any flavor or residue can stick to your herb).
Cut & Chop (Scissors or Knife) ✂️
If you have sharp kitchen shears or a fine knife, you can simply chop your bud. Lay your herb on a clean cutting board and carefully snip or slice it into small bits. This method gives you control over coarseness – chop a little or a lot, depending on your preference. A pizza cutter on a chopping board also works for a rolling/dicing motion.
Remember: Keep fingers clear of blades, and don’t rush. Over-chopping can turn herb to powder, which may be harsh if you’re rolling joints or using pipes. Clean up the board and tool after – any leftover plant bits or juices should be wiped away.
Kitchen Magic (Coffee Grinder / Blender) ☕
Repurpose that coffee grinder or blender! If it’s clean, drop a small amount of bud in and pulse a few times. Coffee grinders designed for beans often do a great job, giving a uniform grind. After grinding, wash out the device thoroughly so your morning coffee isn’t extra spicy!
Keep in Mind: Don’t over-fill the grinder or blend – break buds into 2-3 pieces first. Clean out residual herb after each use (coffee residue can carry flavor). Also, remember: used grinders like pepper mills must be washed out first (no pepper spice flavor!) and again after drying herb out of them.
Mortar & Pestle 🥣
A good old mortar and pestle can grind dry herb effectively. Place small nugs in the mortar and crush them by twisting the pestle. This yields a coarser grind (good for rolling). Take it slow and steady. You might spend a minute grinding, but it’s a classic way to grind herbs without any fancy tools.
Note: This works best if the herb isn’t too moist (damp buds can gum up the mortar). After use, clean the mortar thoroughly – you don’t want last night’s rosemary mixing with your bud!
Cheese Grater & Pizza Cutter 🧀
If you have a metal cheese grater, you can grate dry herb like cheese! Use a medium or fine side of the grater and gently rub small pieces of bud against it. The grated pieces fall onto a plate below. This takes some effort but gives a nice fine grind.
Similarly, a pizza cutter can slice your bud. Lay buds on a cutting board and roll the pizza cutter through them. Rotate and repeat until you get the consistency you want. Always use a board and keep knuckles away from the blade.
Build a Custom Weed Grinder 🏗️
For a crafty solution, you can actually build a mini weed grinder frame. One popular method is using scrap wood and a mesh screen:
Step 1: Create the Frame
Cut four pieces of wood to make a box (think rectangle shape). For example, two long sides (about 6" long) and two shorter sides (about 3" long) – dimensions aren’t critical. Nail or glue them into a rectangular frame (like a little shallow box). Sand any rough edges so nothing splinters your fingers or herb.
Step 2: Attach a Mesh Screen
Cut a piece of fine wire mesh (like from a kitchen sieve or a small window screen) slightly larger than the frame opening. Staple or nail the mesh across the top of the wooden box so it sits flush. This mesh is your grinder’s teeth!
Step 3: Grind Away
Put the frame on a table with mesh up. Take a nug and rub it back and forth across the screen. You’ll see finely ground herb fall below into the open box (lucky you – no grinder to clean afterwards!). This DIY mesh grinder works like a large-scale sieve. It’s a handy trick if you like a more powdery consistency.
Pro Tips & Safety 📝
Here are some extra tips to make your homemade weed grinder saga smooth and safe:
- 🧹 Cleanliness: Always wash or wipe down anything you put your bud on (containers, boards, blenders, etc.) before and after. No one wants coffee-flavored herb!
- 💧 Dry Herb: Let fresh herb air-dry if it’s too sticky. Dry bits grind more cleanly. However, don’t over-dry either – slightly damp can stick to metal.
- 🔄 Consistency: Try one method at a time. If one tool doesn’t give the right grind, switch to another. (Maybe scissors for one joint, then mixer for the next.)
- 🔒 Storage: After grinding, store any leftover herb in an airtight container. Freshly ground herb can dry out faster, so keep it sealed to stay potent.
- ⚠️ Avoid Toxins: Don’t use metal with paint, varnish, or unknown coatings (e.g. don’t grind bud in a painted can). Always opt for clean wood, glass, or stainless surfaces.
These little tricks make a big difference. The goal is to enjoy your herb, not to risk inhaling anything weird. With careful prep and cleaning, any of the above methods can work just fine.
Our Premium Weed Grinder 🌟
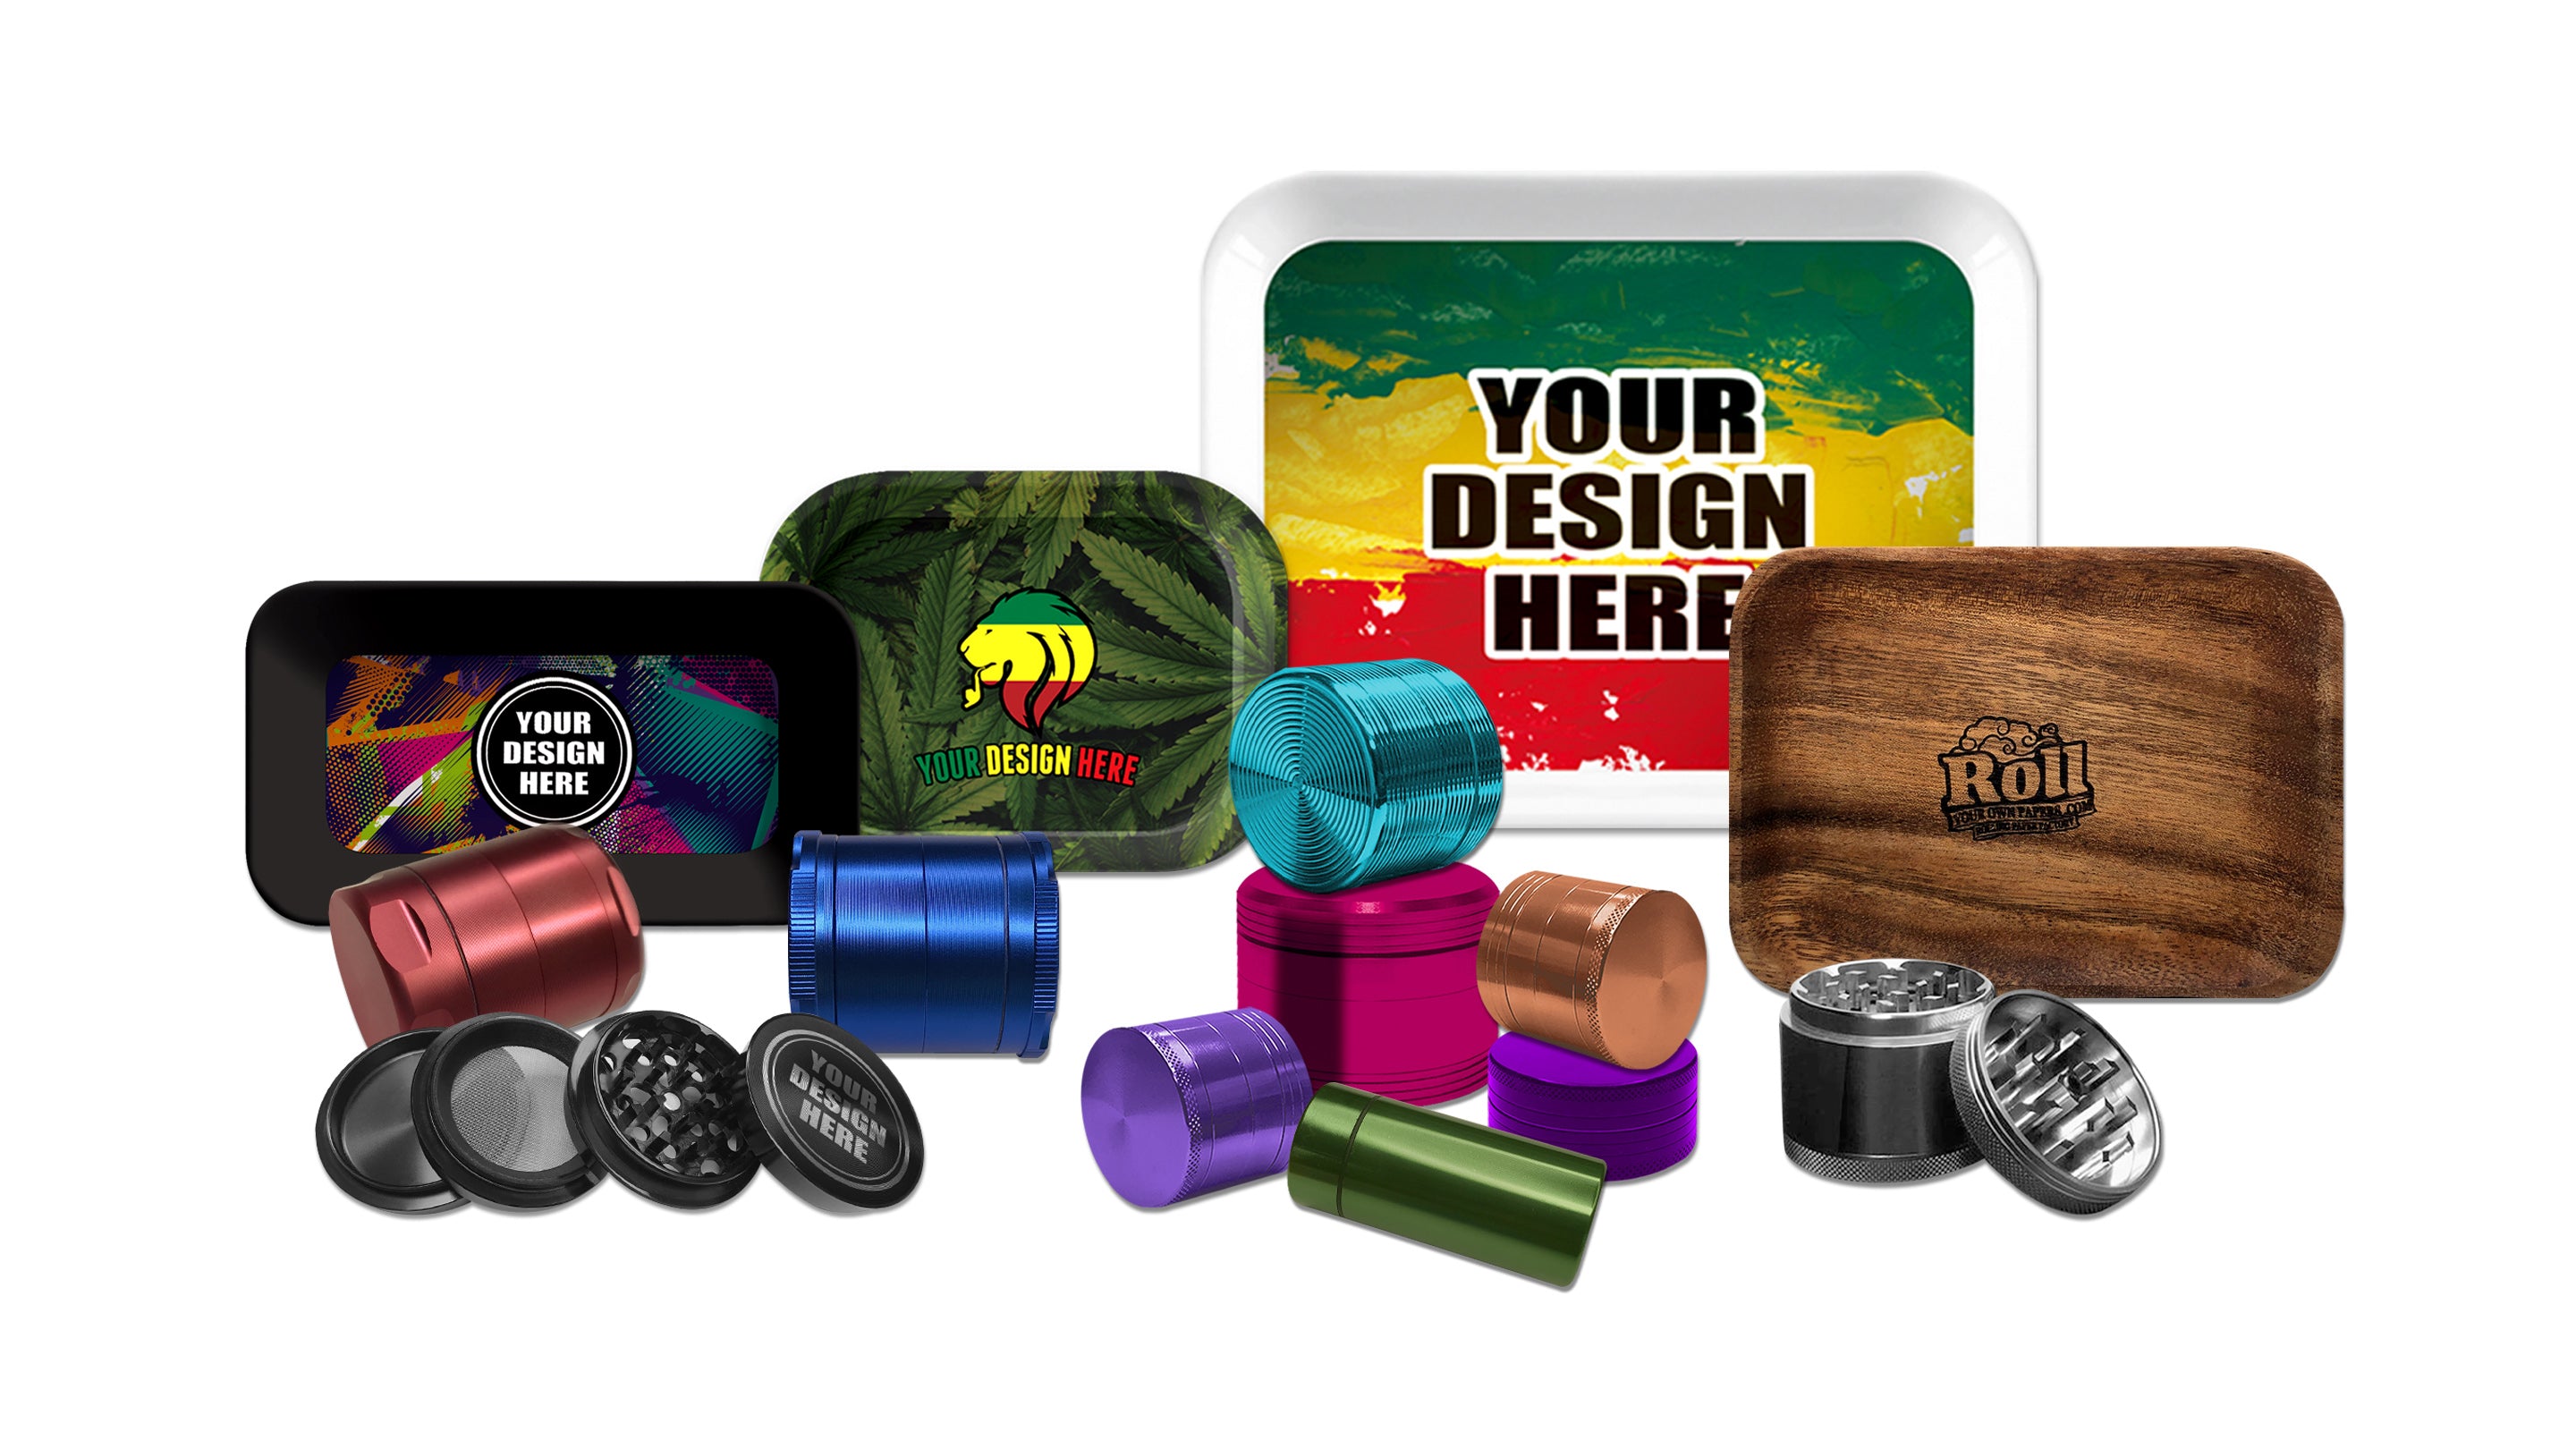
If building your own sounds like too much work, we’ve got you covered with a high-quality custom weed grinder. Our grinders are built tough: heavy-duty anodized aluminum body, razor-sharp teeth, and a built-in kief catcher for the finest pollen. 💪
Plus, you can customize your grinder! Add your logo, artwork, or any design you like on a custom printed weed grinder – they make great gifts or merch. Real talk: nothing beats the convenience of a premium grinder made just for you.
🔥 Ready to Upgrade Your Grinding Game?
Coins and scissors only take you so far. If you're craving a smooth, consistent grind every time – it's time to step up your gear! 🙌
- ✔️ Heavy-duty anodized aluminum body
- ✔️ Sharp, durable teeth for precise grinding
- ✔️ Removable pollen (kief) catcher
- ✔️ Customize them with your brand or artwork
📦 Bulk orders available | 🚚 Fast shipping | 🏆 Lifetime warranty
FAQ
Q: What materials do I need to make a DIY weed grinder?
A: Most household items work. Common choices include a small plastic container or jar plus a heavy coin (shake it up!), scissors or a knife, a coffee grinder or spice grinder, a mortar & pestle, or even a cheese grater. We covered all these tools and more above. The key is something that can crush or chop the herb. And always wash anything you use before and after grinding.
Q: Can everyday items really grind weed effectively?
A: Absolutely! It may require a little more work than using the grinder you’ve bought in the store, but cleaning it in a coffee grinder or pepper mill, or even with clean scissors can be fine. For example, quickly pulsed buds in a coffee grinder give an even grind. Just a while and some practice getting used to each of these ways.
Q: Is it safe to grind weed in a coffee grinder or pepper mill?
A: Yes, but with caution. Make sure the grinder is clean and free from strong smells or residues (no one wants chili-flavored herb!). Wash it out before and after. Also, avoid using anything coated in paint or adhesive. Only use uncoated metal or plastic. Cleaning thoroughly ensures no weird flavors or toxins in your grind.
Q: How can I clean and maintain a homemade weed grinder?
A: Cleanliness is next to…cleanliness! Rinse and remove leftover bits after each use with soap and water, if the material allows. Dry thoroughly. After each use, make sure there is no residue on any of the surfaces, so a batch does not suffer from cross-contamination. For instance, after using the blender or food processor, pour some uncooked rice in it to absorb the oils, then just wash it.
Q: What should I avoid when making a DIY grinder?
A: Avoid toxic materials or rough edges. Don’t use painted cans, or surfaces with food residue. Steer clear of plastic bags or items that can tear (you could inhale tiny plastic flakes). Always use tools intended for food or kitchen use if possible. And be careful with sharp blades – chop slowly and keep your fingers safe.
Q: Why would I make a DIY grinder instead of buying one?
A: There are a few reasons! DIY can be cheaper – as noted, good weed grinders often cost $50 or more. It’s also convenient in a pinch, and a fun project. Plus, you can customize the size and design to your liking, like building that wooden mesh grinder above or adding personal artwork to a grinder. It’s a cool way to make the grind your own!
Q: Where can I find high-quality custom weed grinders?
A: Check out our collection of custom printed weed grinders! We offer durable grinders with sharp teeth and pollen catchers, and you can even print your logo or artwork on them. It’s the easiest way to get a top-notch grinder with your own style.





Leave a comment