How to Make a Rolling Tray (DIY) 🛠️ + How Rolling Trays Are Made Industrially 🏭 (2025 Update)

Quick take: You’ll get five beginner-friendly DIY builds and an inside look at how factories make rolling trays at scale—metal stamping, injection molding, CNC wood, resin casting, and thermoforming—plus finishing options, QA standards, and cost/MOQ ranges. Let’s build smart and think like a manufacturer. 💡
📋 Table of Contents
- Design Fundamentals That Matter ✨
- DIY: 5 Practical Builds You Can Do at Home 🏠
-
Industrial: How Different Rolling Tray Types Are Made at Scale 🏭
- 1) Metal Rolling Trays (Aluminum/Steel Stamping & Deep Draw)
- 2) Plastic Rolling Trays (Injection Molding)
- 3) Thermoformed Rolling Trays (Vacuum Forming)
- 4) Wood Rolling Trays (CNC + Finishing)
- 5) Resin/Poly Rolling Trays (Casting/Compression)
- 6) Enamel-Coated Steel Rolling Trays (Kiln-Fired)
- 7) Bamboo-Fiber Composite (Compression Molding)
- Finishing & Decoration Options 🎨
- QA, Durability & Compliance Tests ✅
- Costs, MOQs & Lead Times (At-a-Glance) 💵
- Sustainability & Material Choices 🌱
-
FAQ ❓
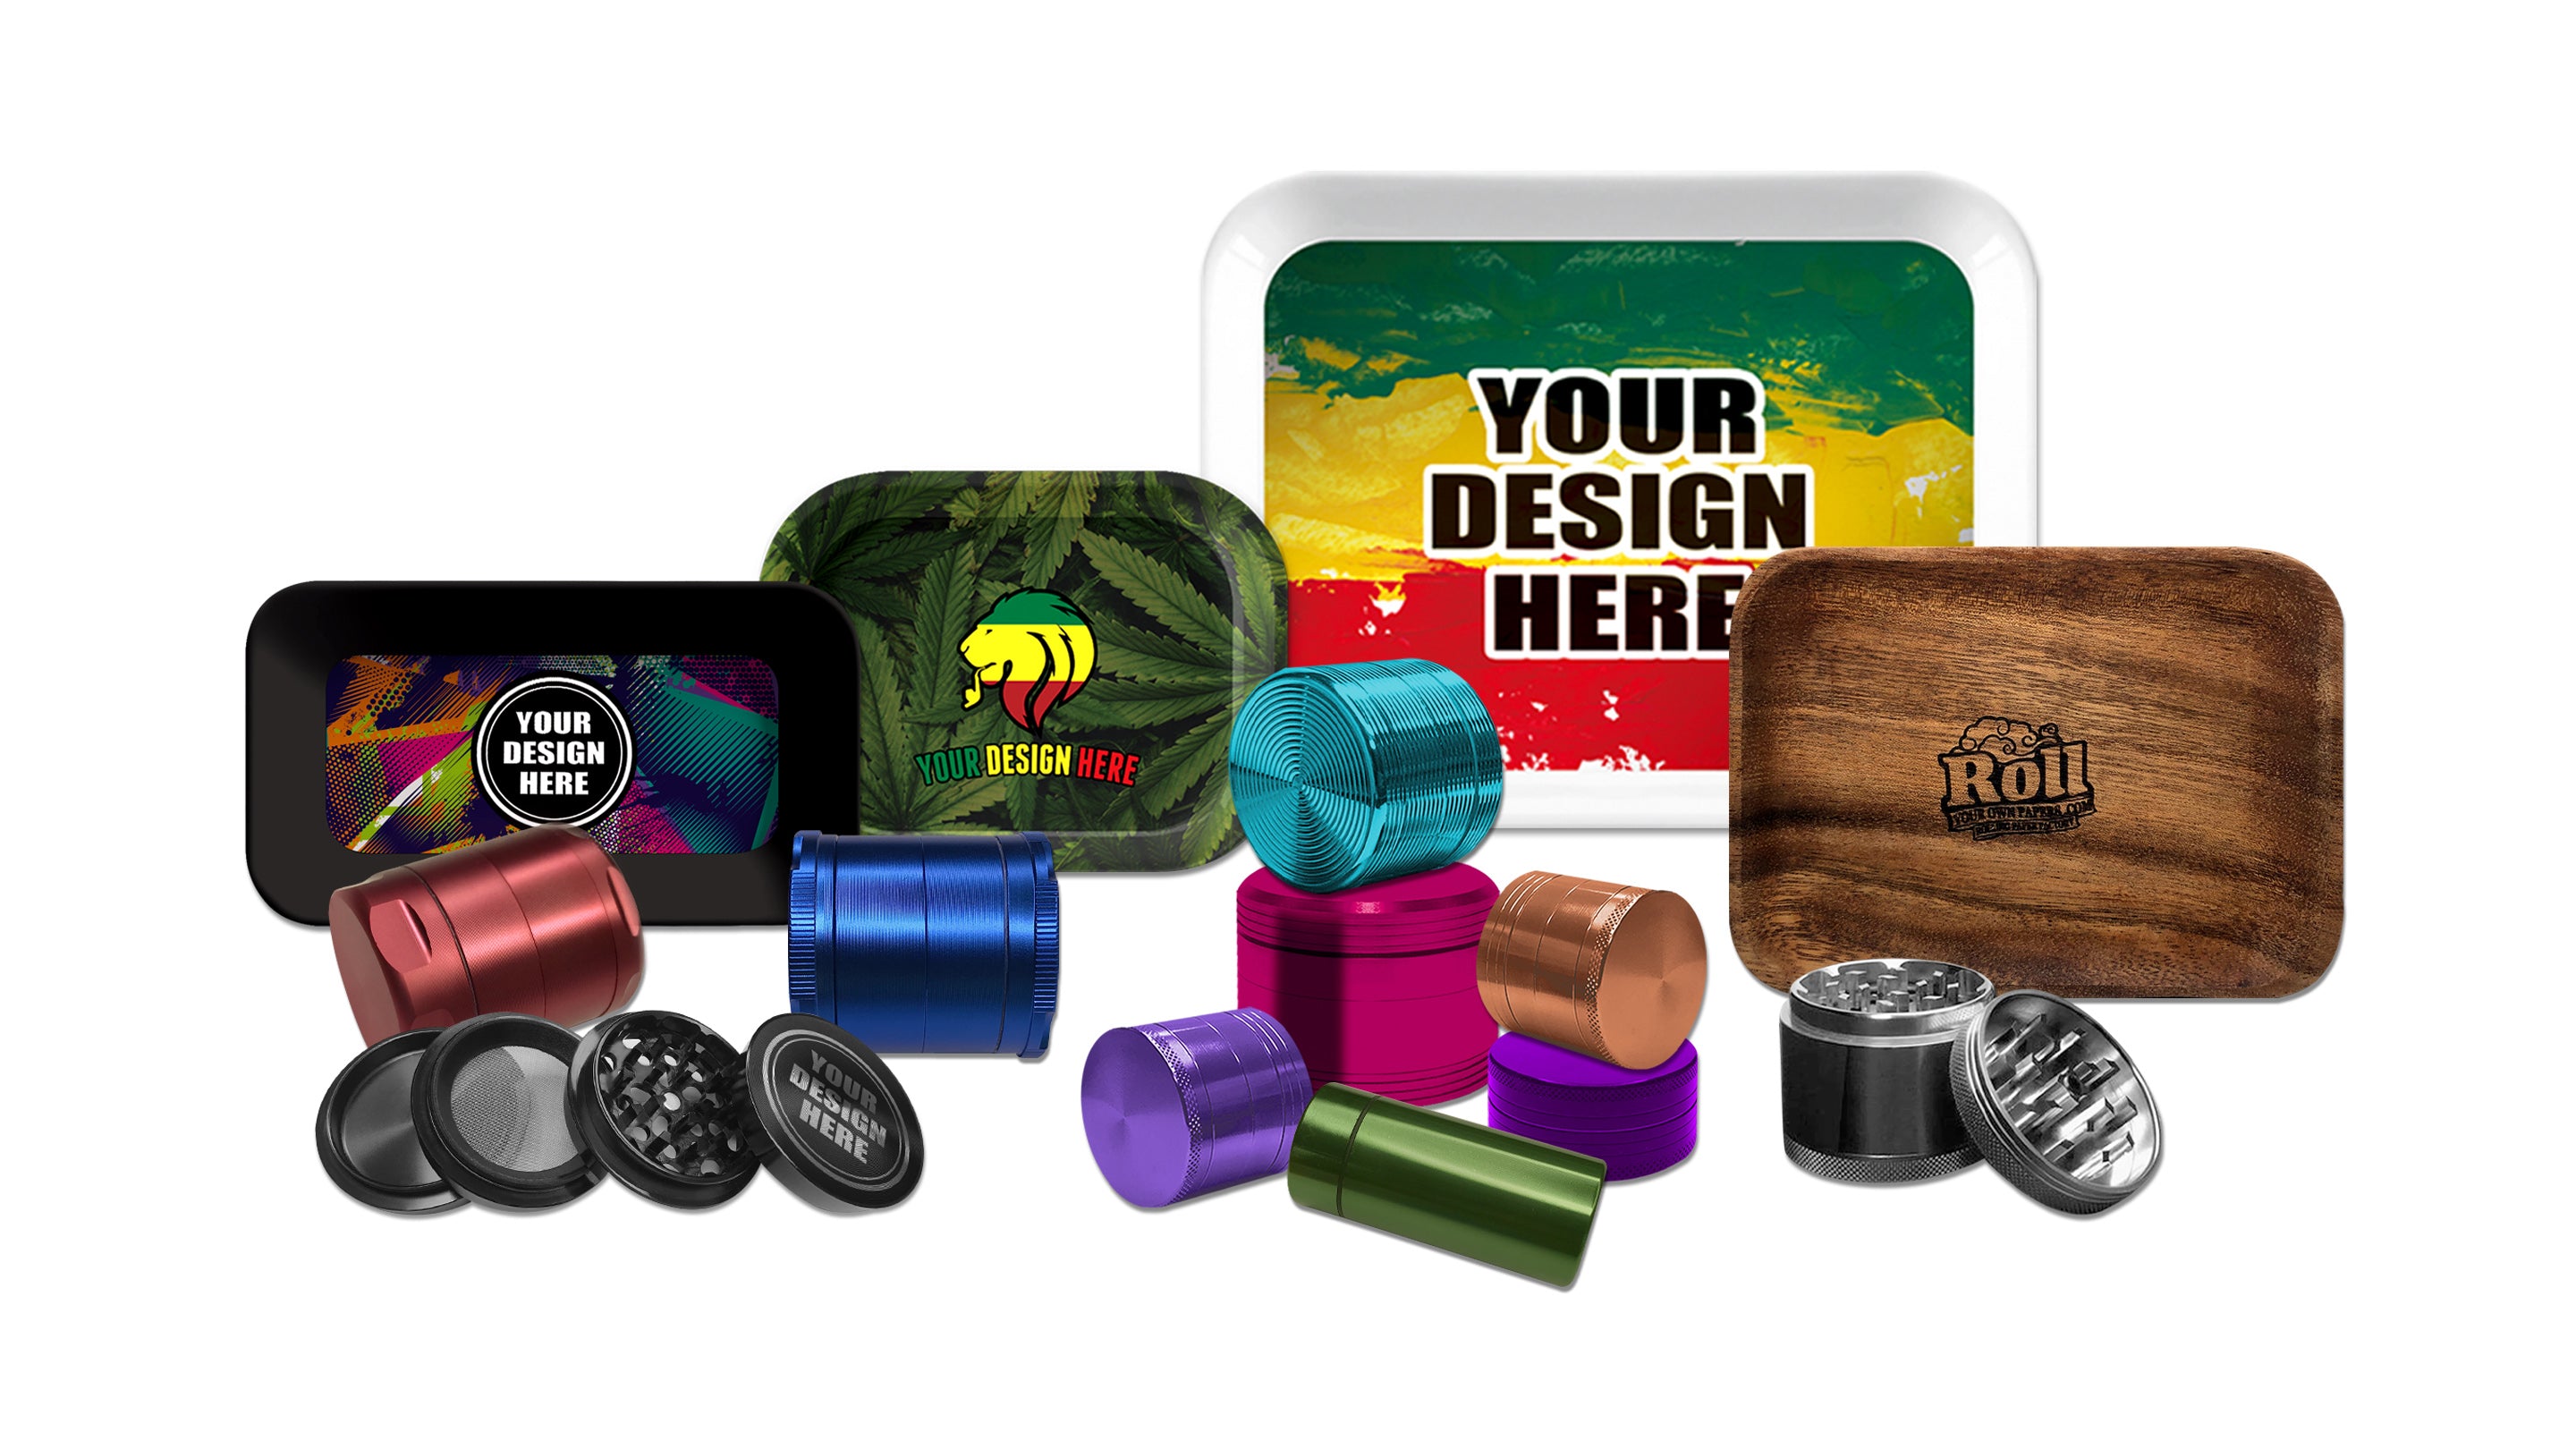
- Prefer Ready-Made? Meet the ROLLYOUROWNPAPERS.COM Rolling Tray 🚀
Design Fundamentals That Matter ✨
| Spec | Recommended | Why it Helps |
|---|---|---|
| Tray size | Small: 180–220 × 120–150 mm; Medium: 250–300 × 160–200 mm; Large: 320–360 × 210–240 mm | Common formats that fit desks and bags |
| Lip height | 12–18 mm | Contains crumbs without blocking hand movement |
| Corner radius | ≥14 mm | Easy sweeping; fewer dead zones |
| Surface finish | Matte or satin | Better visibility and fewer micro-scratches |
| Stability | Non-slip feet | Less noise, better control |
| Extras | Crumb channel, magnet bar | Faster tidy-up, tools stay put |
DIY: 5 Practical Builds You Can Do at Home 🏠
A) Upcycled Photo Frame Tray (30–45 min) ♻️
- Pick a frame: Inner area ~280×180 mm; choose a sturdy bezel.
- Swap the glass: Replace with matte acrylic (safer, easy to clean).
- Make a base: Thin plywood or acrylic wrapped in vinyl/faux leather.
- Assemble: Sandwich base + acrylic, secure with frame tabs.
- Feet: Silicone bumpers underneath.
- Bonus: Add a slim magnet strip for a metal tool.
B) Resin Rolling Tray with Inlays (Beginner-Friendly) 💎
- Prep mold: Rounded rectangle ~280×180×15 mm; level surface.
- Mix & pour: Follow ratios; pour thin base layer.
- Inlays: Pressed flowers, tickets, pattern paper—keep flat.
- Top pour: Fill to final thickness; de-bubble per instructions.
- Cure & finish: Demold fully, light sand edges, matte clear coat.
C) Routed Wood Rolling Tray (Weekend Project) 🌲
- Blank: 290×190×18 mm in maple/walnut/bamboo.
- Route pocket: Leave a 14–18 mm lip; generous corner radii.
- Sand smooth: 120→220→400 grit; break edges.
- Optional wells: Add small pockets for accessories.
- Finish: Food-safe oil/wax to satin sheen; add rubber feet.
D) 3D-Printed Rolling Tray (Parametric) 🖨️
- Model: 300×190 mm, 15 mm walls, 16 mm fillets; add 5 mm crumb channel.
- Slice: 0.2 mm layer, 3 walls, 15–20% infill; PETG is a good balance.
- Print & post-process: One-piece if possible; light wet-sand; optional clear coat.
E) Sublimation on Metal Blank (Ultra-Clean Prints) 🎯
- Blank: Use a coated metal tray blank near 280×180 mm.
- Print: Mirror artwork on sublimation paper.
- Press: Align, tape, heat-press per blank specs.
- Cool: Flat cool-down; apply non-slip feet.
Industrial: How Different Rolling Tray Types Are Made at Scale 🏭
1) Metal Rolling Trays (Aluminum/Steel Stamping & Deep Draw) ⚔️
Process overview
-
- Blanking: Sheet cut to shape.
- Draw/Stamp: Press forms lip and corner radius; sometimes multiple stages.
- Trimming & deburr: Remove flash; tumble/brush edges smooth.
- Surface prep: Cleaning, phosphate/chemical pretreat as required.
- Finish: Powder coat or anodize (aluminum); optional clear topcoat (matte).
- Decoration: UV print, screen/pad print, or sublimation on coated stock.
- Assembly: Add silicone pads, magnets, or accessories.
Why choose
-
- High durability, thin and light, crisp edges possible.
- Great for large runs; per-unit cost drops with volume.
2) Plastic Rolling Trays (Injection Molding) 🔫
Process overview
-
- Mold build: Steel mold (single/multi-cavity).
- Molding: ABS/PP/PETG pellets injected; cooling defines cycle time.
- Deflash & finish: Trim gates; texture or paint if needed.
- Decoration: In-mold labeling (IML), pad/screen print, UV print.
- Assembly: Overmold or add TPE feet; magnet inserts via ultrasonic welding.
Why choose
-
- Excellent repeatability; complex geometries; integrated organizers.
- Best for mid–high volume due to mold cost.
3) Thermoformed Rolling Trays (Vacuum Forming) ☄️
Process overview
-
- Heat sheet: ABS/HIPS/PETG warmed to forming temp.
- Form over tool: Vacuum pulls shape; then cooled.
- Trim: CNC or die-trim edges; punch features.
- Finish: Texture, print, add feet.
Why choose
-
- Lower tooling cost than injection molding; great for large formats.
- Ideal for lightweight trays and quick iterations.
4) Wood Rolling Trays (CNC + Finishing) 🌲
Process overview
-
- Material: Solid boards or laminated bamboo.
- CNC routing: Pocketing, chamfers/fillets, wells.
- Sanding line: Progressive grits; dust extraction is key.
- Finish: Oil/wax or low-VOC lacquer; cure; buff to satin.
- Decoration: Laser engraving or UV printing.
Why choose
-
- Premium warmth; lower MOQ than metal/plastic molds.
- Custom shapes and small-batch personalization.
5) Resin/Poly Rolling Trays (Casting/Compression) 💎
Process overview
-
- Molds: Rigid or silicone tooling; single or multi-cavity.
- Mix & fill: Controlled dosing; vibration or vacuum to reduce bubbles.
- Cure: Ambient, heated, or UV depending on resin system.
- De-mold & finish: Trim, sand, and apply a matte protective coat.
- Decoration: Embedded inlays or post-print.
Why choose
-
- Great for art-forward looks and embedded elements.
- Flexible for small to medium runs.
6) Enamel-Coated Steel Rolling Trays (Kiln-Fired) 🔥
Process overview
-
- Forming: Steel blank stamped/deep drawn.
- Coating: Enamel slurry applied; dried.
- Firing: Kiln fuses enamel to steel for a glassy, durable surface.
- Graphics: Additional enamel layers or decal firing.
Why choose
-
- Vintage aesthetics, tough finish, color depth.
7) Bamboo-Fiber Composite (Compression Molding) 🎋
Process overview
-
- Compound: Bamboo fiber with a binder.
- Press: Heated compression mold shapes and cures.
- Trim & finish: Edge trim; matte protective coat; print or engrave.
Why choose
-
- Natural look with molded precision; good for eco-forward lines.
Finishing & Decoration Options 🎨
- Powder coat: Durable color on metal with matte/satin textures.
- Anodize (Al): Colorfast, hard surface; pair with laser etch.
- Sublimation: Photo-quality art on coated metals.
- UV print: Crisp graphics on metal/wood/acrylic.
- Screen/Pad print: Solid spot colors; economical for runs.
- Laser engraving: Premium tone-on-tone on wood/anodized aluminum.
- Hydrographics: Wrap complex patterns; seal with clear.
QA, Durability & Compliance Tests ✅
- Tilt test: No roll-off at ~7°.
- Corner sweep: One-pass clear with a soft brush.
- Adhesion: Crosshatch or tape test for prints/coats.
- Abrasion: Rub test on logos/graphics.
- Hardness: Pencil hardness check for coatings.
- Drop: 20 cm onto cutting mat—no deformation or chips.
- Odor/cure: No notable odor after full cure and wipe-down.
Costs, MOQs & Lead Times (At-a-Glance) 💵
| Type | Tooling | MOQ (typical) | Lead Time | Notes |
|---|---|---|---|---|
| Metal (stamped) | Mid–High (dies) | 1,000–5,000+ | 30–60 days | Great per-unit cost at scale |
| Injection molded | High (steel mold) | 2,000–10,000+ | 35–75 days | Complex features, repeatable |
| Thermoformed | Low–Mid | 300–2,000+ | 15–35 days | Large formats, lower tool cost |
| Wood (CNC) | Low | 50–500+ | 10–30 days | Premium feel; flexible volumes |
| Resin casting | Low–Mid | 100–1,000+ | 12–30 days | Art-forward, custom inlays |
| Enamel steel | Mid | 500–3,000+ | 25–45 days | Tough, retro aesthetics |
| Bamboo composite | Mid | 300–2,000+ | 20–40 days | Eco look, molded precision |
Note: Ranges vary by region, factory load, and artwork complexity. Always request a written DFM (design for manufacturability) review before tooling.
Sustainability & Material Choices 🌱
- Choose durable finishes (longer life = less waste).
- Prefer recyclable substrates (aluminum, some plastics) and responsibly sourced wood/bamboo.
- Design for disassembly: feet and magnets that can be replaced.
- Use matte textures that hide wear to extend useful life.
FAQ ❓
1) What size and lip height should I start with?
A medium ~280×180 mm with a 14–18 mm lip works for most setups.
2) Which DIY method is fastest?
The photo frame build—no power tools and under an hour.
3) What industrial method is best for big volumes?
Injection molding or metal stamping. Both have higher tooling but excellent per-unit costs at scale.
4) Can I get premium finishes in small batches?
Yes—CNC wood or resin casting are flexible. UV print or laser engraving keeps MOQs low.
5) How do factories keep graphics from wearing off?
Proper pretreat, adhesion tests, and durable topcoats. For metal, powder coat + UV print + clear is common.
6) What’s a smart add-on feature?
A shallow crumb channel and a magnet bar. They improve tidiness and tool management.
7) How do I brief a manufacturer?
Send size, lip height, corner radius, material, finish, artwork, QC tests, packaging, and target MOQ/lead time. Ask for DFM feedback.
🌟 Prefer Ready-Made? Meet the
ROLLYOUROWNPAPERS.COM Rolling Tray🚀
Want a tray that’s built for real-world use? Our ROLLYOUROWNPAPERS.COM Rolling Tray is designed for clean, fast workflows and long-term durability:Dialed-in lip height to keep crumbs contained without blocking your hands
Rounded corners for easy scooping and zero dead zones
Easy-clean finish that resists stains and wipes down in seconds
Custom branding options to match your vibe or shop identity
Ready to level up your setup? 🚀
Choose your ideal size and finish, then personalize it. Fast turnaround and friendly MOQs.



Leave a comment