🔧 How to Make an LED Rolling Tray: 💡 Step-by-Step DIY Guide

Looking for a quick, no‑nonsense way to light up your setup? This guide walks you through how to make led rolling tray from scratch—covering materials, beginner‑friendly steps, and pro upgrades like epoxy gloss coats, RGB controls, and clean cable routing. It’s written for both first‑timers and seasoned DIYers so you can build a durable, premium‑looking tray that glows beautifully—without special tools. 😎💡
💡 Why Build an LED Rolling Tray?
If you love a clean setup with a bit of wow‑factor, an LED tray is the move. It keeps essentials corralled, boosts visibility in dim light, and lets your style shine. Whether you’re going minimalist wood, sleek metal, or glossy resin art, this guide shows how to make LED rolling tray that looks pro—without fancy tools. ✨
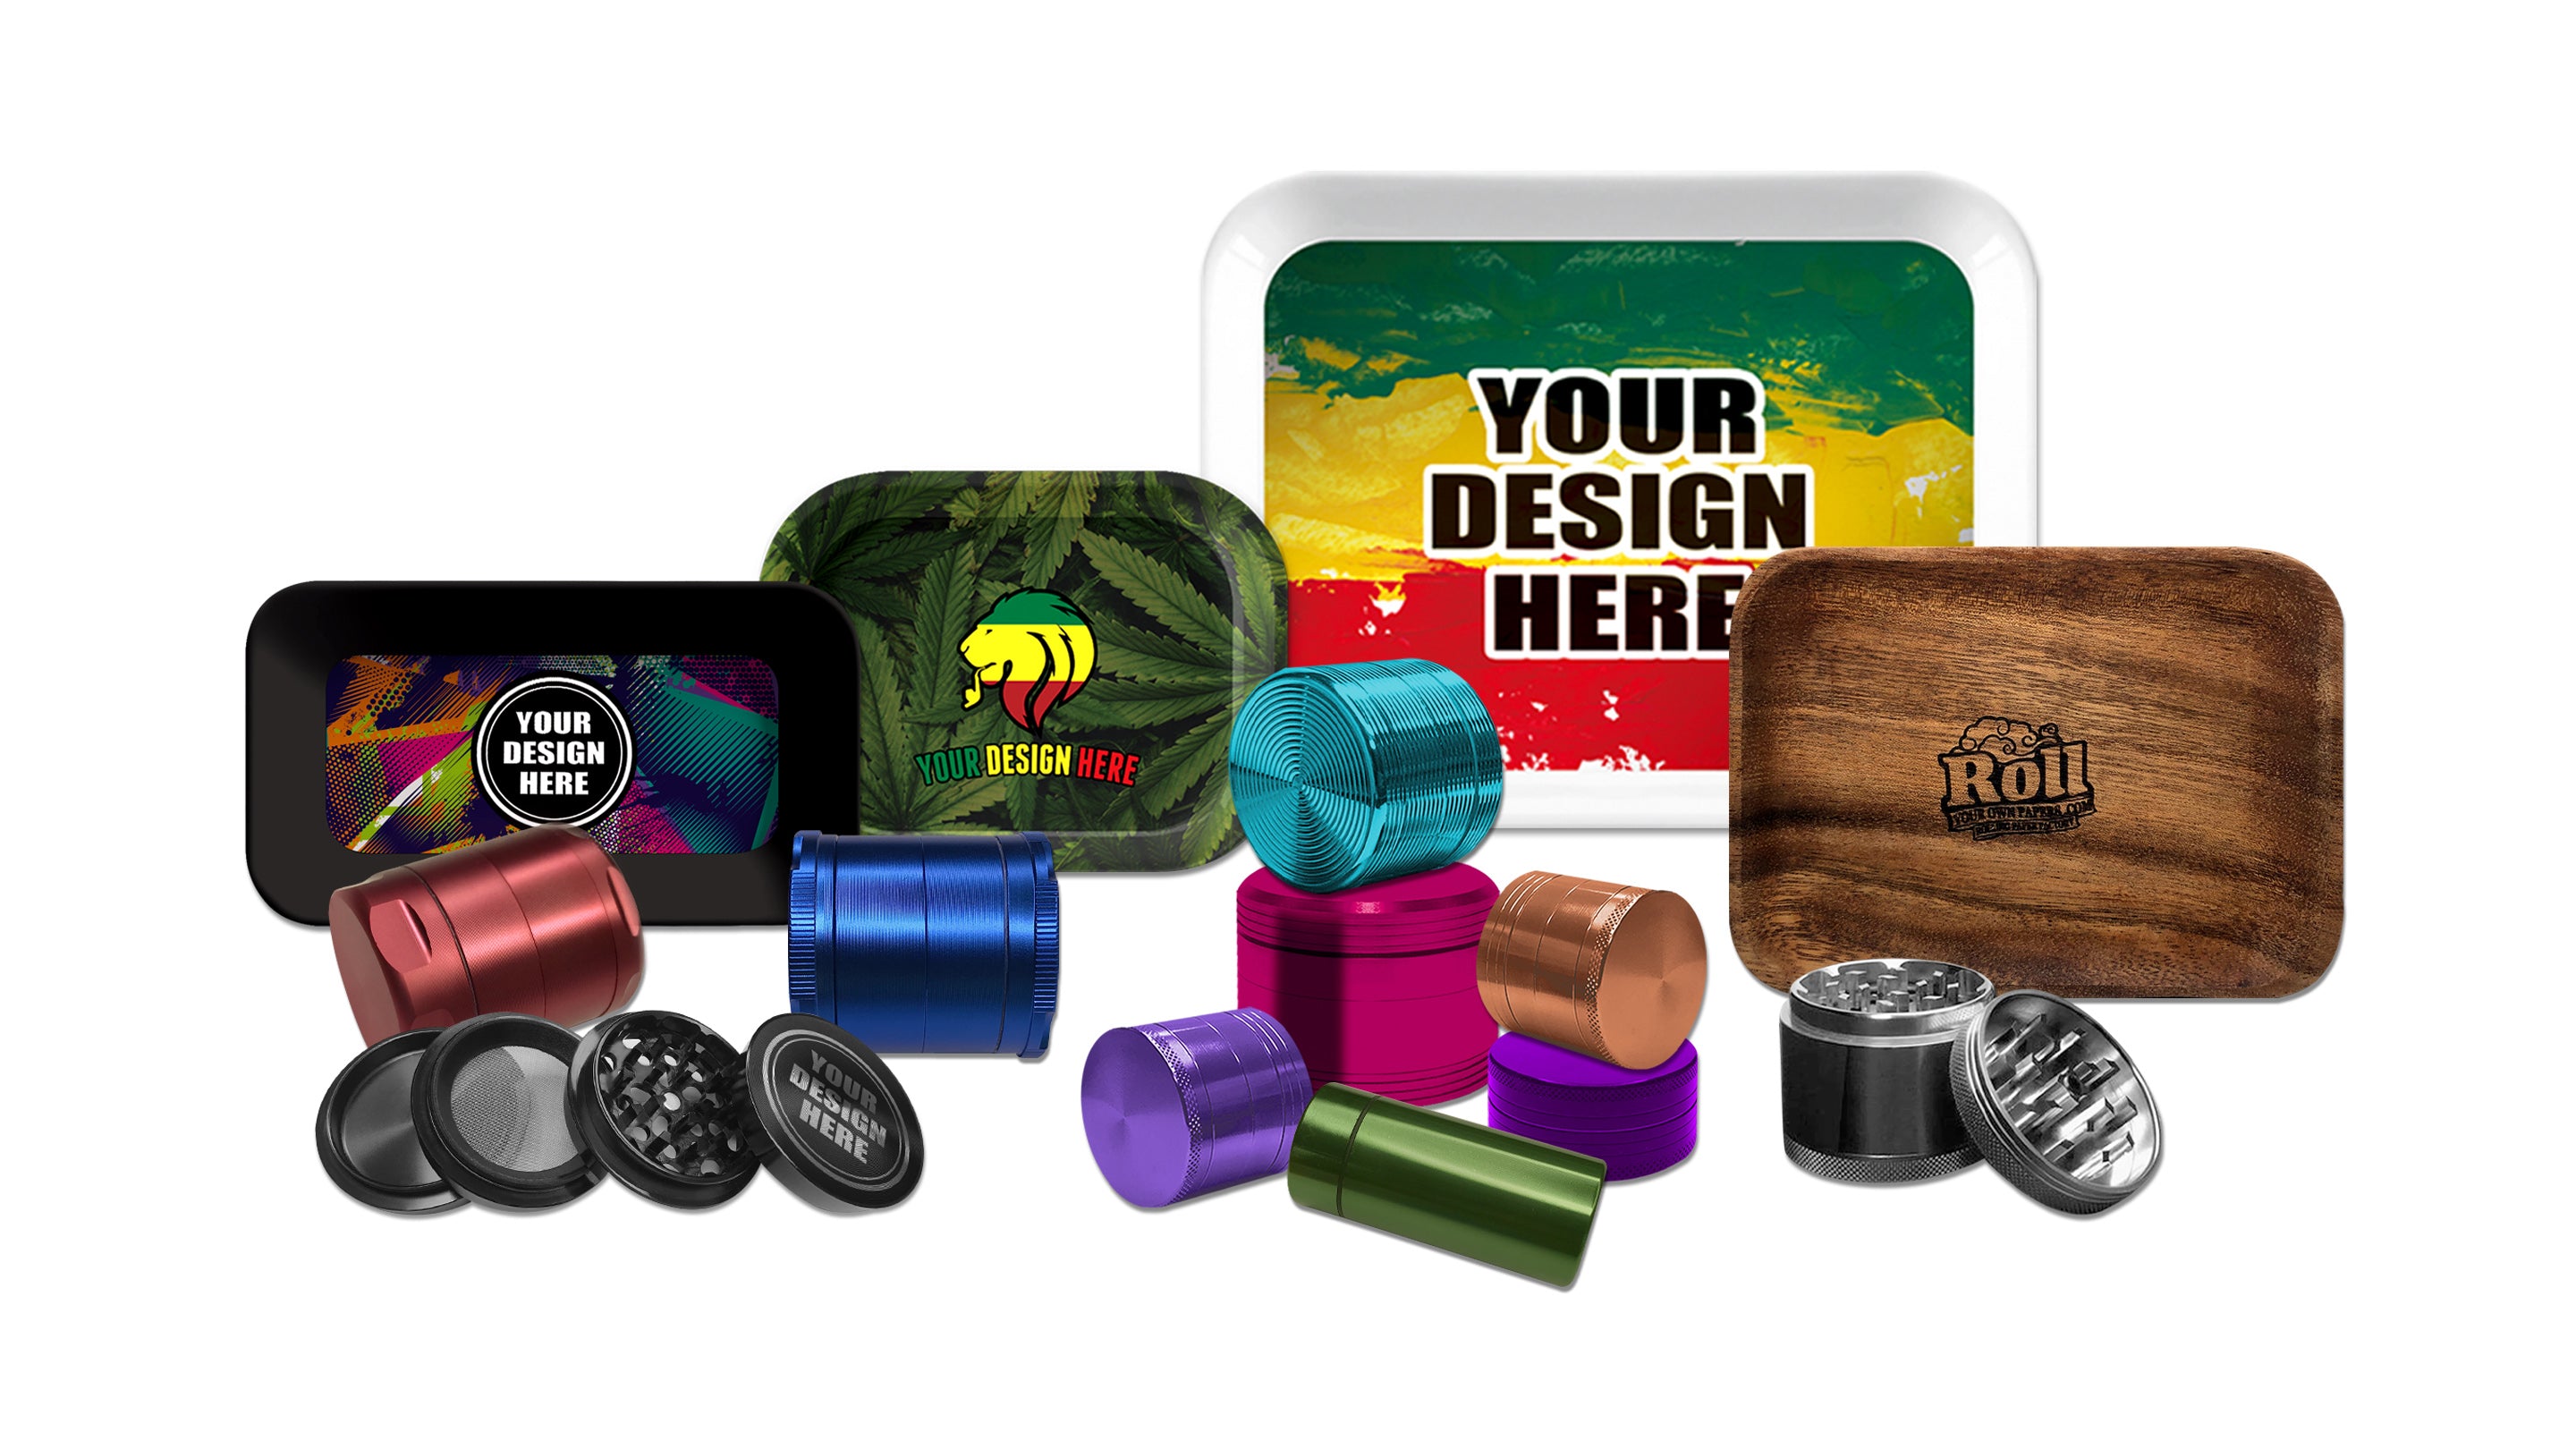
Throughout this guide you’ll also see internal links to our collection of rolling trays, custom rolling trays, and custom printed rolling trays—perfect if you want a done‑for‑you option.
🛠️ Materials & Tools
- Tray base: wood, metal, or sturdy acrylic/plastic (flat interior)
- LED strip lights (cuttable; adhesive backing; USB or 5–12V)
- Power: USB power bank or rechargeable pack (on/off switch is handy)
- Adhesives: hot glue or gel CA; optional 2‑part epoxy resin for a glossy seal
- Light sanding block + isopropyl alcohol (for surface prep)
- Mini drill/Dremel (wire routing), electrician’s tape, zip ties
- Optional: RGB controller, remote/app module, glitter or glow pigment
- Safety: gloves, mask, good ventilation if pouring resin
🧩 Step‑by‑Step Build
Step 1: Plan & Prep ✅
Dry‑fit your LED strip along the inner perimeter to confirm length and corner bends. Lightly sand the tray interior, then wipe with alcohol so adhesives stick. If you want a color stain or paint, apply now and let it fully cure.
Step 2: Install the LED Strip 🔋
Trim only on the marked cut lines. Peel the strip’s backing and adhere along the edge; add tiny hot‑glue tacks at corners. Drill a discreet hole to route the power lead under the tray. Connect to your battery/USB pack; secure joints with tape or heat‑shrink. Quick test: power on—get that glow! 💡
Step 3: Design & Seal (Epoxy) 🎨
Add decals, printed art, or a thin collage layer. Mix resin per instructions and pour a thin flood coat; guide it to corners with a stick. Pop surface bubbles with a brief pass of warm air. Cure on a dust‑free, level surface (typically 24–48h). The clear coat protects art, amplifies LEDs, and makes cleanup easy.
Step 4: Final Touches & Test 🚀
Mount the battery pack under the tray with Velcro for easy charging. Add silicone feet for grip. Dim the room and cycle colors if you used RGB—tune brightness for ambience vs. task lighting. That’s it: durable, bright, and ready to impress.
🌈 Design Ideas & Smart Upgrades
Ambient Effects & RGB Scenes
Choose RGB strips with a mini controller to swap colors, create gradients, or pulse to music. For soft under‑glow, tuck the strip slightly below the rim so light bounces off the tray surface.
Custom Graphics That Pop
High‑contrast art (black/white, neon accents) glows hardest under LEDs. Try metallic vinyl, holographic foils, or a laser‑etched wooden base sealed with resin.
Power & Controls
USB‑C power banks are clutch for travel; add an inline switch or dimmer. If you’re comfortable with wiring, embed a tiny rocker switch on the tray’s flank for a super clean look.
Maintenance
Wipe with a soft cloth. Avoid soaking wood; keep liquids away from electronics. If a strip lifts over time, re‑tack with hot glue or replace the adhesive with strong double‑sided tape.
🔥 ROLLYOUROWNPAPERS.COM Custom Rolling Trays
Want the glow without the build? We make premium rolling trays with factory‑perfect finishes. Go fully bespoke with our custom rolling trays and custom printed rolling trays—upload artwork, add LEDs, and we’ll build it to last. 🚚 Fast shipping. 🛠️ Pro quality. 😎 Always on‑brand.
🌟 Upgrade Your Tray Game in Minutes
Skip the tools—get a studio‑clean finish with LEDs and your design baked in. Perfect gifts, brand promos, or personal setups.
- ✔️ Built‑to‑last materials & glossy protective coat
- ✔️ LED options (white or RGB) with easy charging
- ✔️ Print your logo, art, or pattern edge‑to‑edge
- ✔️ Bulk pricing for teams & brands
📦 Bulk orders | 🚚 Fast shipping | 🛡️ Satisfaction guaranteed
🤔 Frequently Asked Questions
-
Q1: What’s the easiest base for beginners?
A: A shallow wooden tray with flat walls—easy to drill, easy to glue, and great with resin. -
Q2: Do I need soldering skills?
A: Not necessarily. Many LED kits are plug‑and‑play; just trim on cut lines and connect via barrel/USB. -
Q3: How do I keep the strip stuck long‑term?
A: Degrease the surface, then back up the adhesive with small hot‑glue dots at corners and seams. -
Q4: Can I add sound or charging?
A: Yes! Mount a mini Bluetooth speaker under the tray or use a USB‑C power bank. -
Q5: What’s the safest finish?
A: A thin, fully cured epoxy flood coat—durable, wipeable, and LED‑friendly. -
Q6: How much does a DIY build cost?
A: Typically $25–$60 depending on tray material, resin, and LED features. -
Q7: Can I just buy one pre‑made?
A: Totally—check our custom rolling trays for LED options and full‑bleed printing.



Leave a comment