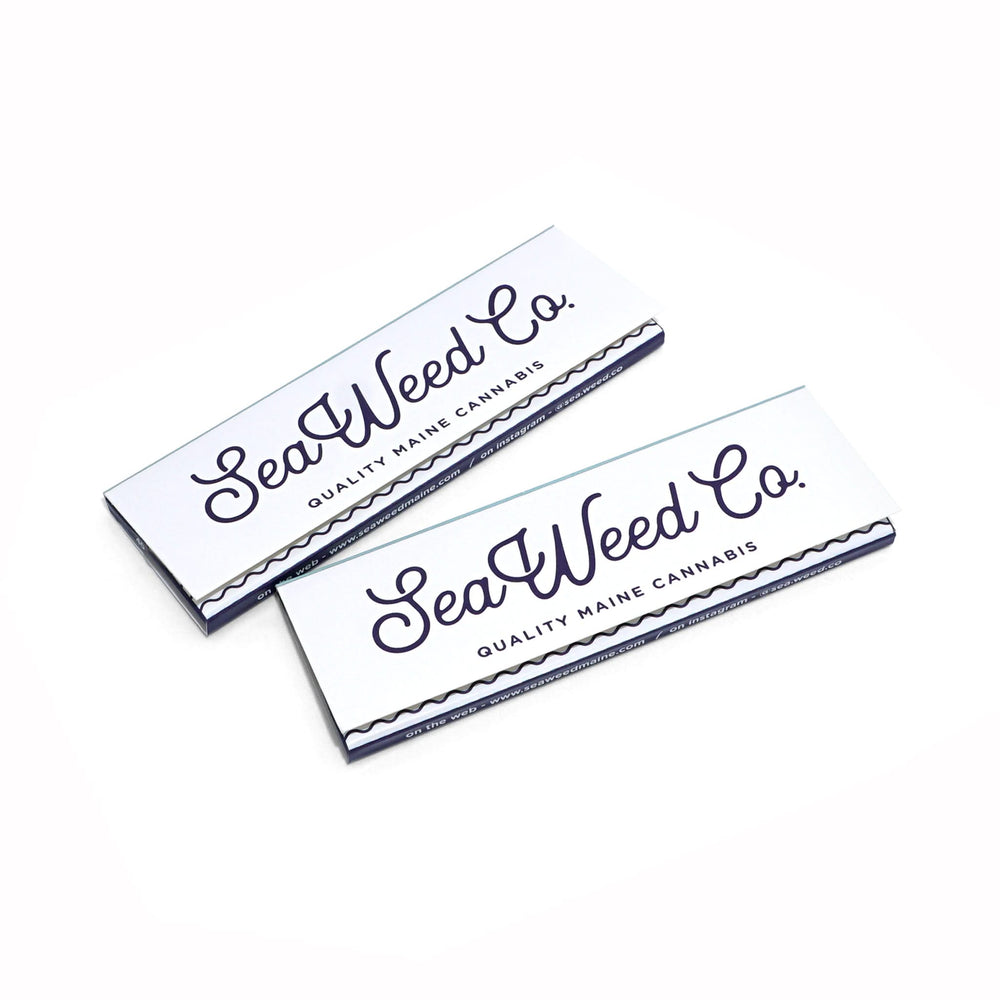
Custom rolling papers are one of the most powerful branding tools for dispensaries, lifestyle brands, smoke shops, and promotional campaigns. Instead of using generic papers, brands can print their logo, artwork, or design directly onto premium rolling paper booklets and turn every use into a brand impression.
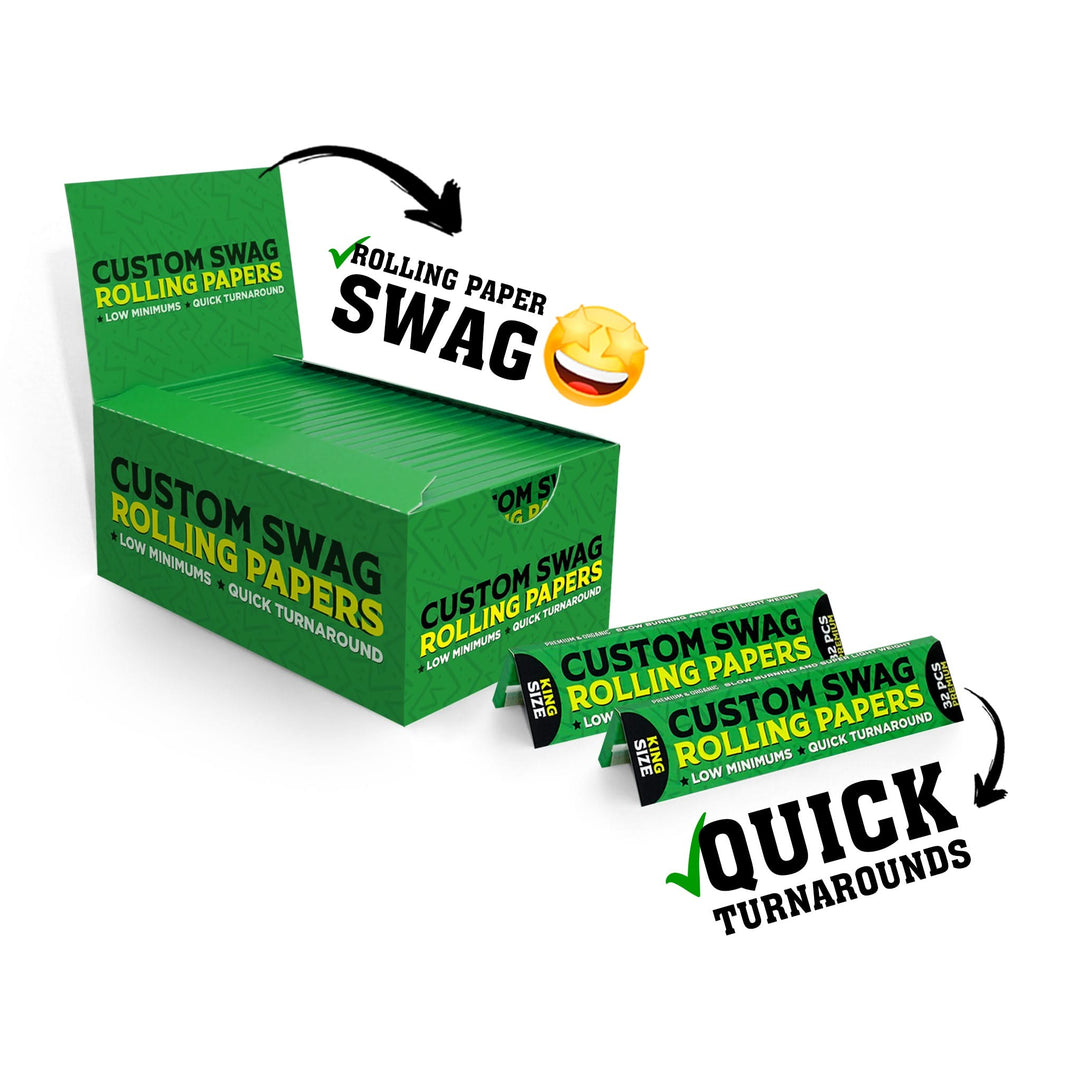
At RollYourOwnPapers.com, we manufacture high-quality custom rolling papers with low minimum order quantities, fast production times, and professional printing. Whether you are launching a new brand, promoting your shop, or creating merchandise for your customers, custom printed rolling papers offer a simple and effective way to stand out.
Our custom rolling papers are available in multiple paper types, booklet sizes, and packaging styles. Every order includes professional printing and optional design assistance to ensure your brand looks perfect.
Why Brands Use Custom Rolling Papers
Custom rolling papers have become a popular promotional product because they combine functionality with branding. Every booklet becomes a small advertising platform that your customers carry with them.
- Promote your brand with printed logos
- Create unique merchandise for your store
- Increase customer loyalty with branded accessories
- Perfect for events, promotions, and giveaways
- Affordable marketing with long-term exposure
Many brands find that custom rolling papers quickly become one of their best-selling accessories because customers love practical branded products.
Types of Custom Rolling Papers
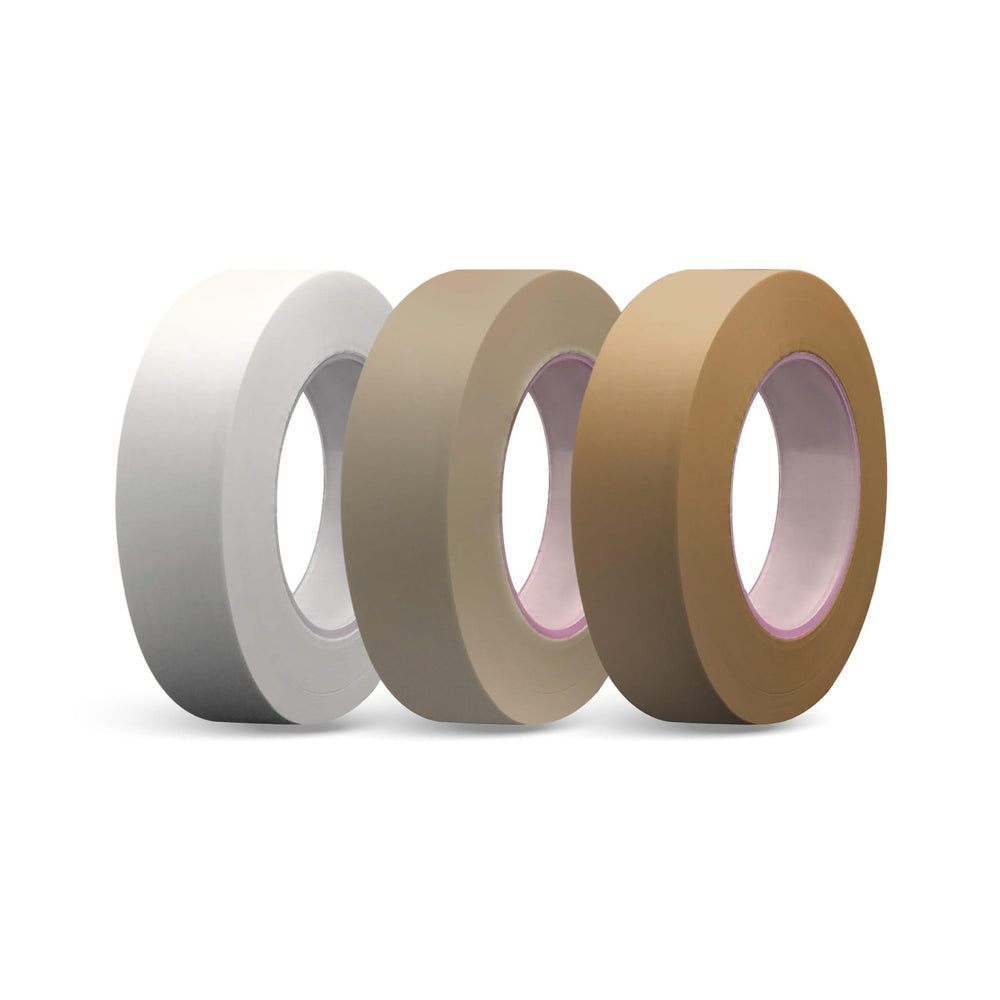
Different paper materials create different rolling experiences. We offer several options depending on your preference and brand positioning.
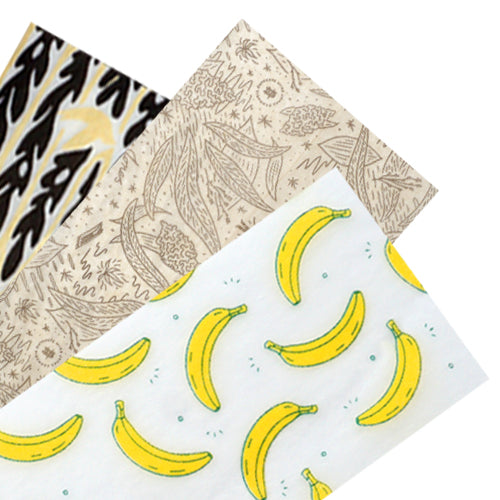
Natural Rolling Papers
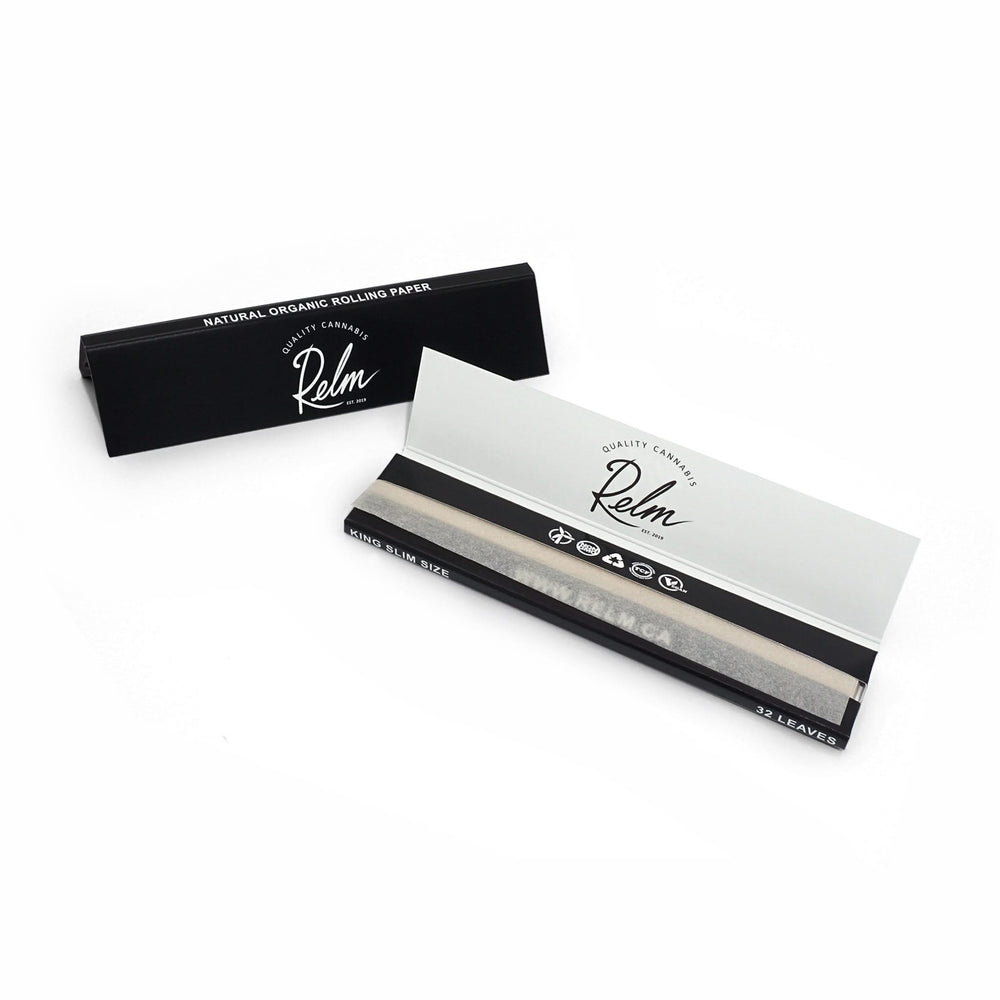
Natural rolling papers are one of the most popular choices because they burn slowly and have a natural feel. Many brands prefer natural papers because they align with eco-friendly and natural product positioning.
Rice Rolling Papers
Rice papers are extremely thin and burn very slowly. They are often chosen by experienced users who prefer a clean, smooth burn.
Wood Pulp Rolling Papers
Wood pulp papers are slightly thicker and easier to handle, making them a good choice for beginners or customers who prefer a more traditional style.
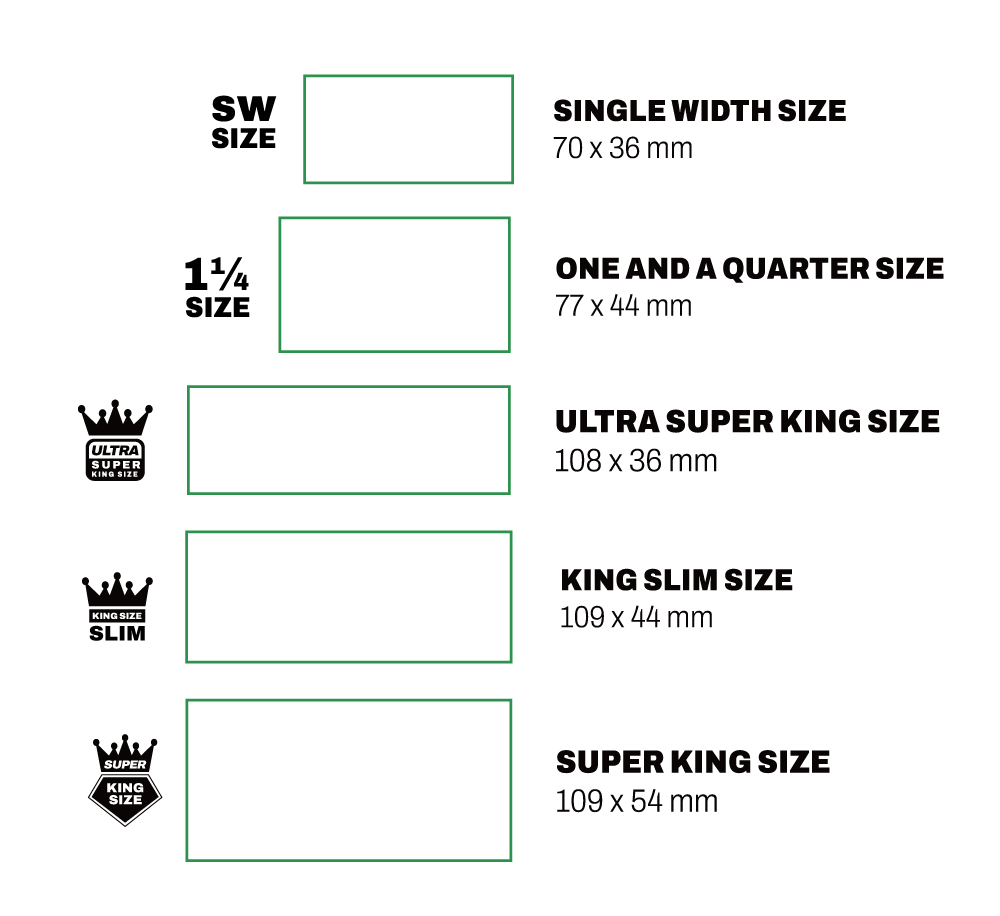
Custom Rolling Paper Sizes
Choosing the right paper size is an important part of designing your custom rolling paper booklet. We offer several standard sizes used across the industry.
- Single Wide
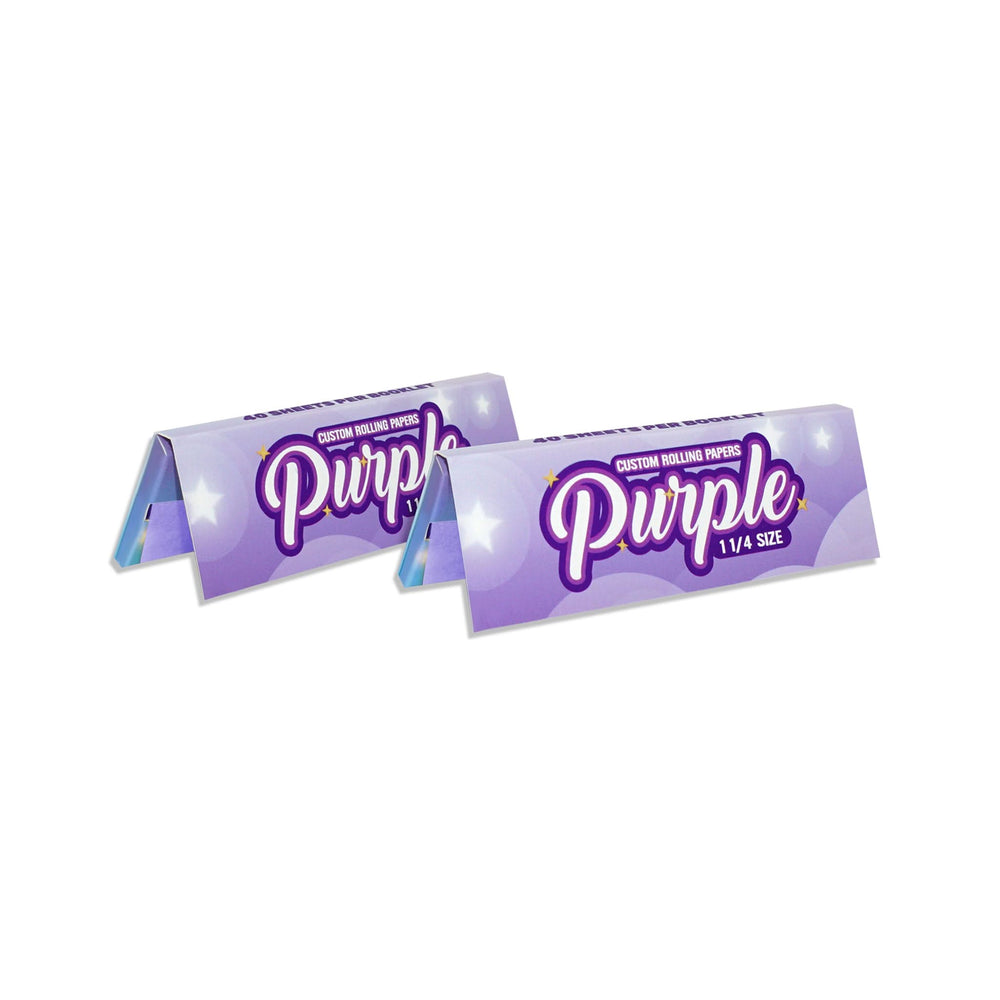
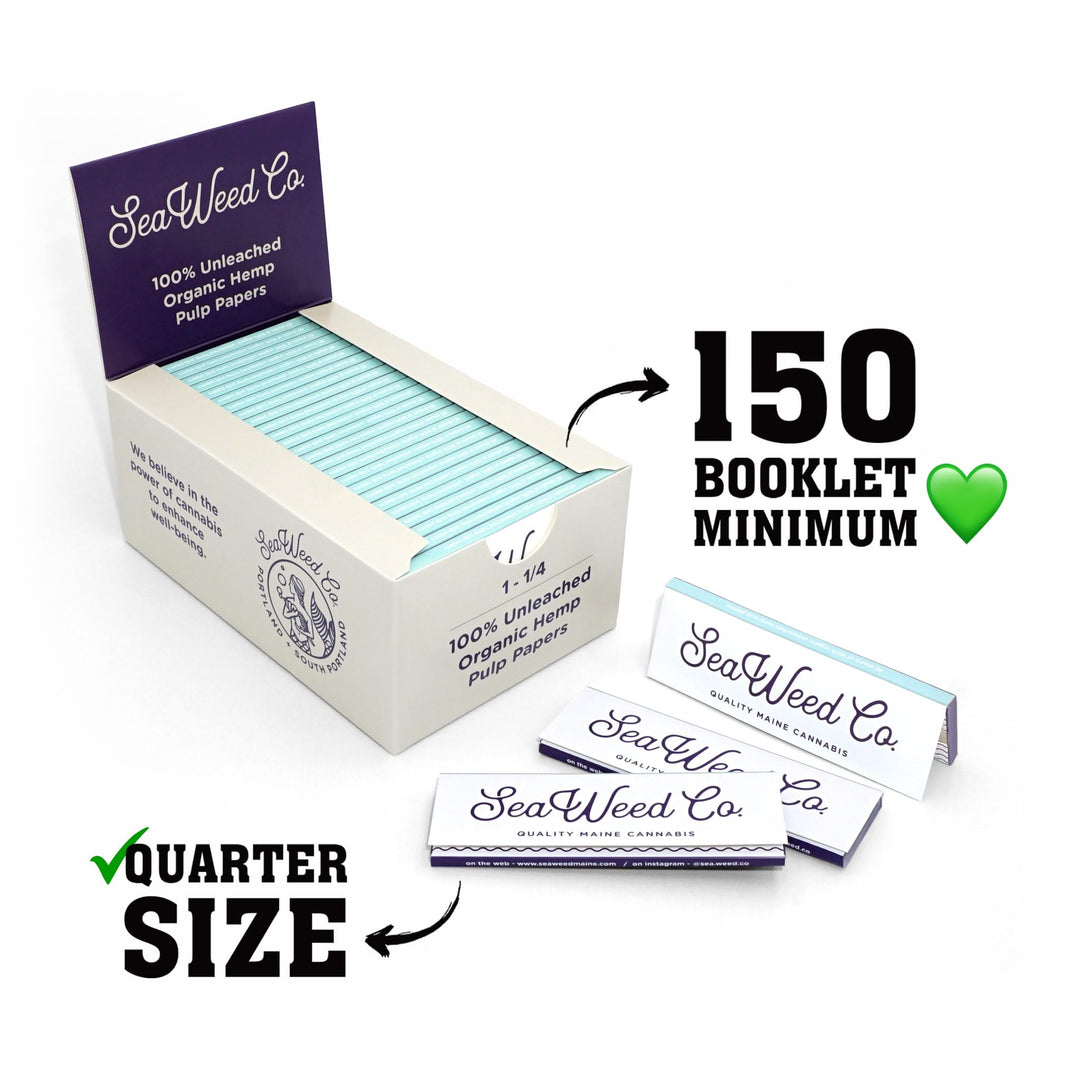
- 1 1/4 Size
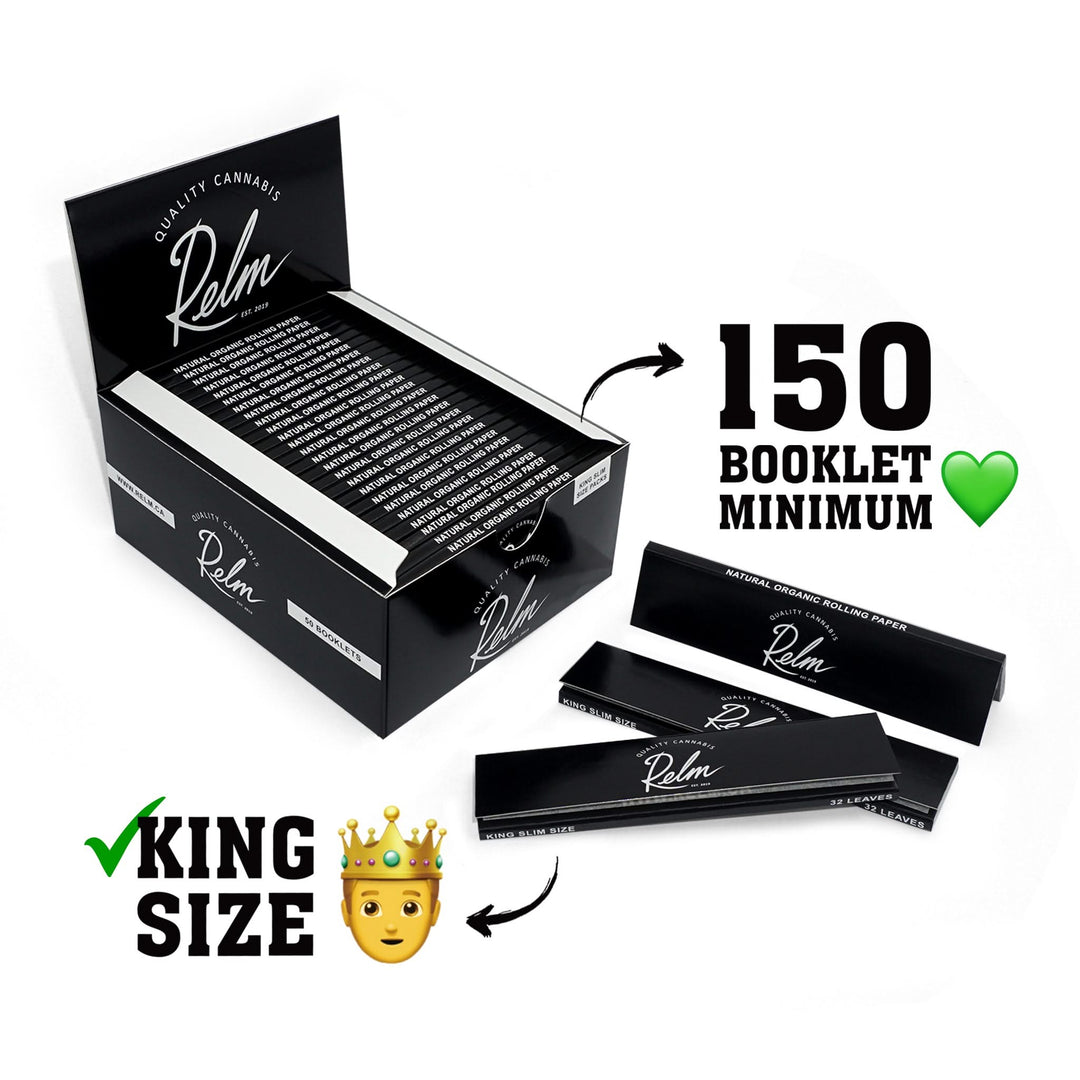
- King Size Slim
- Custom booklet formats
If you are unsure which size works best for your brand, our team can help guide you through the options and recommend the most popular formats used by dispensaries and retailers.
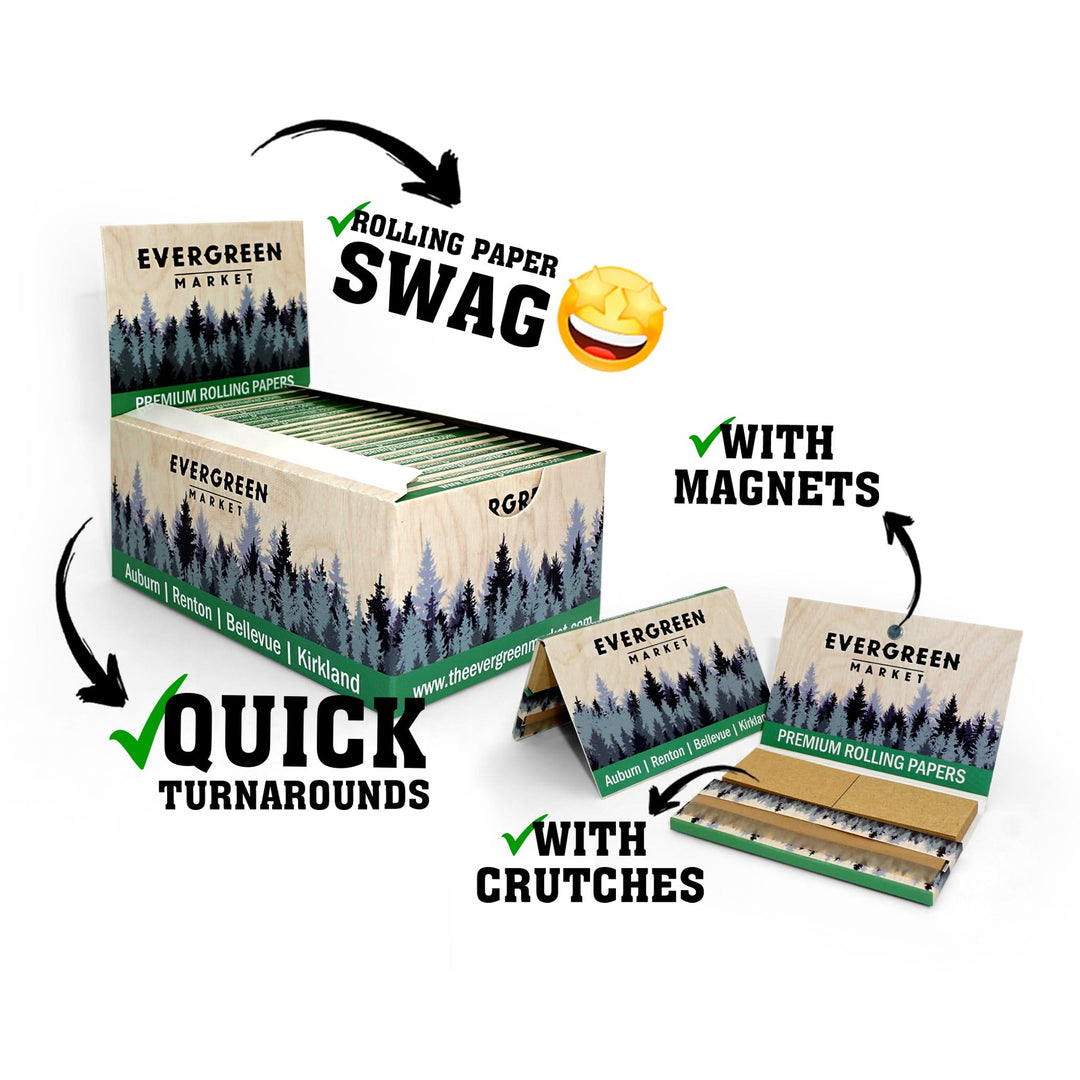
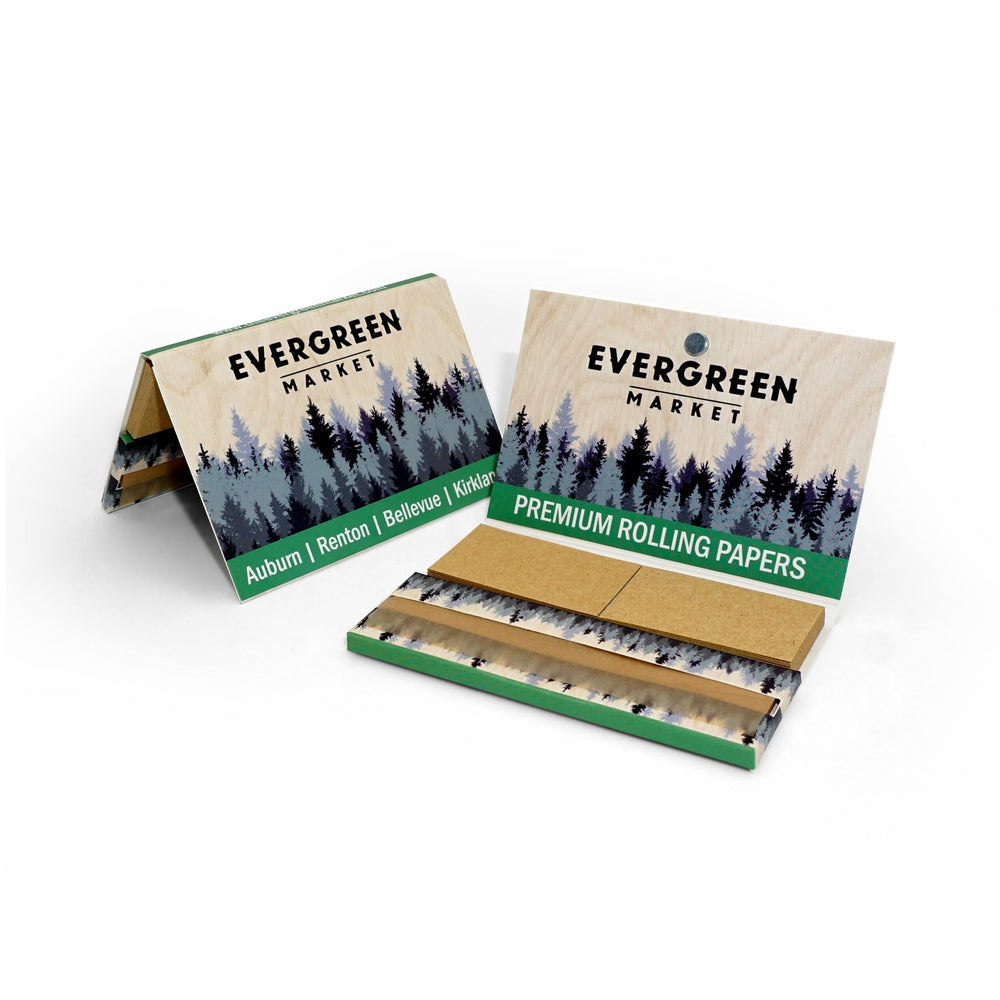
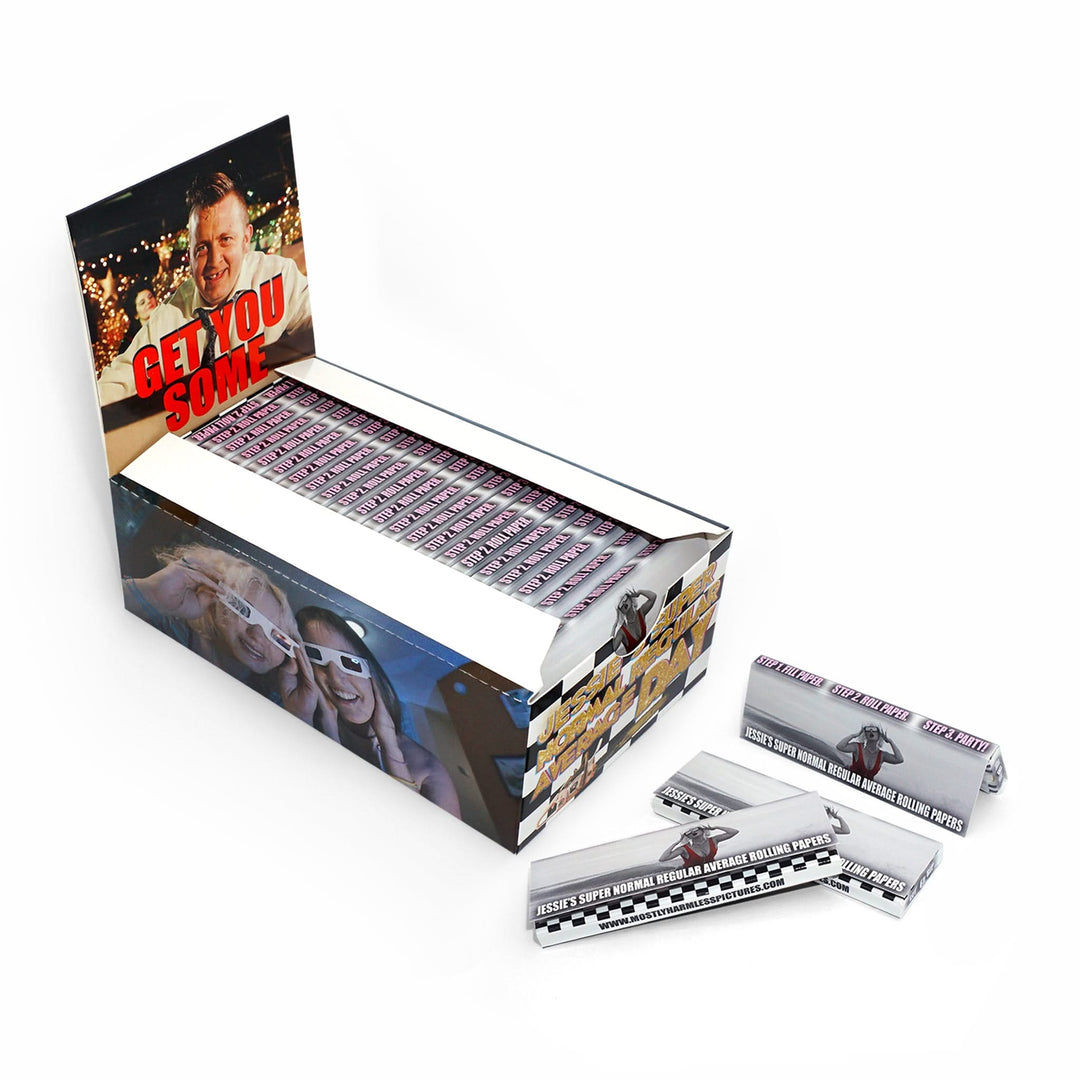
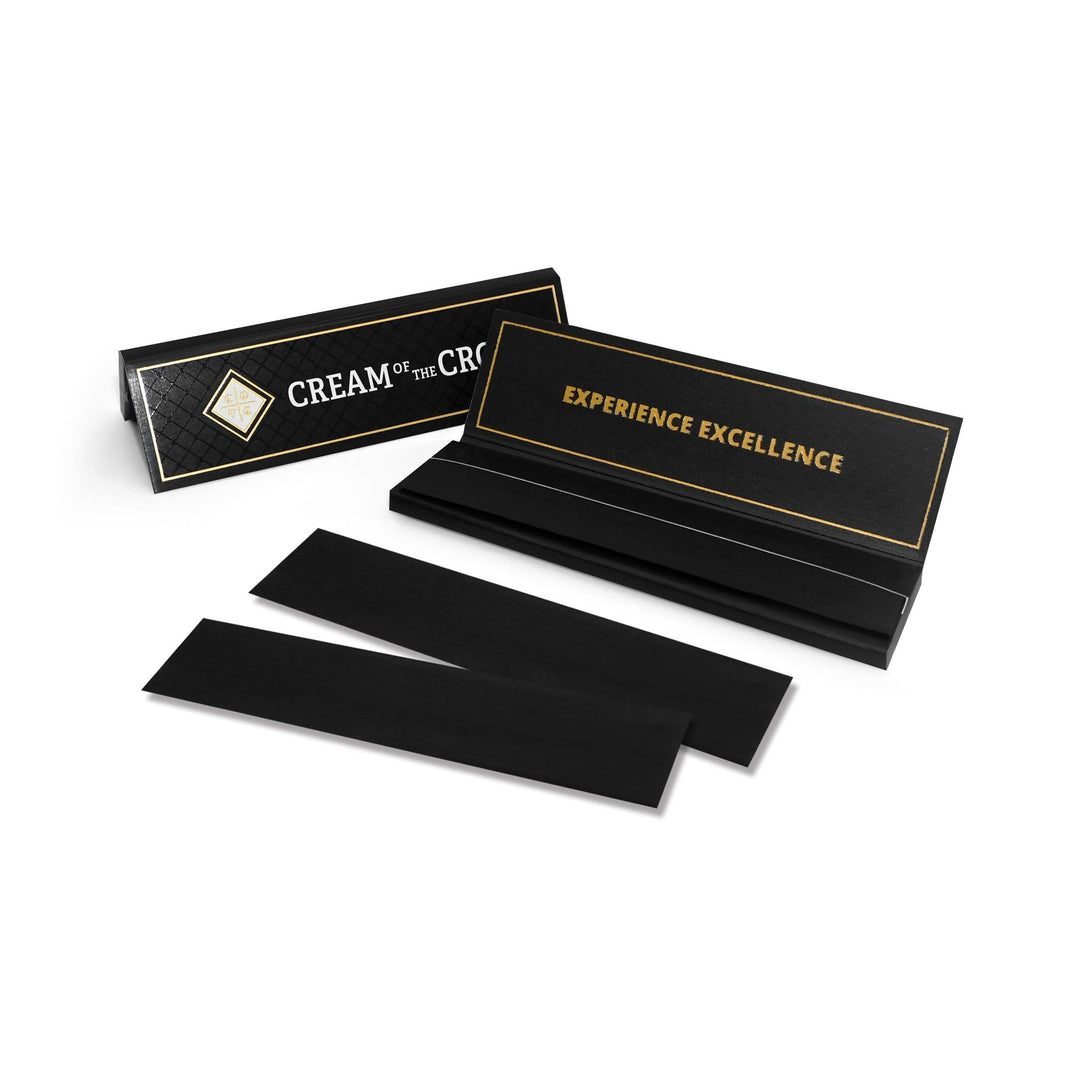
Custom Printed Rolling Paper Booklets
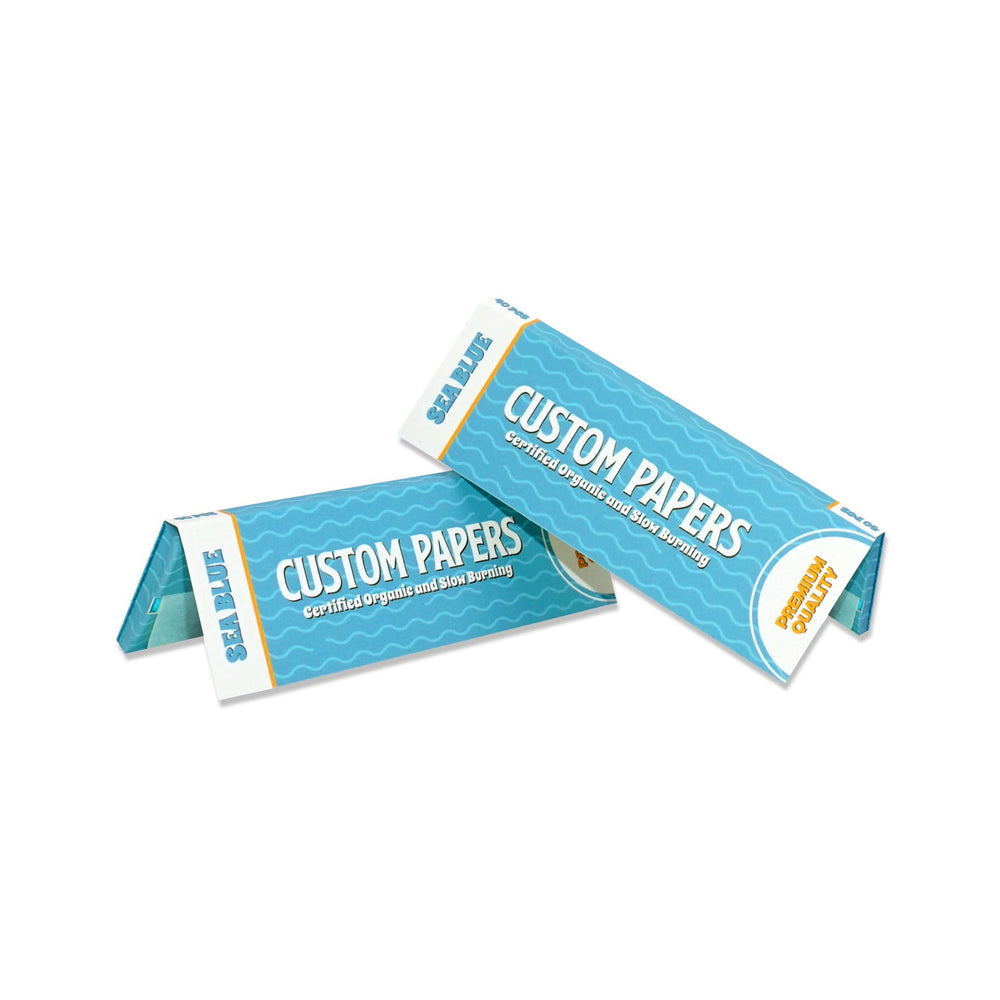
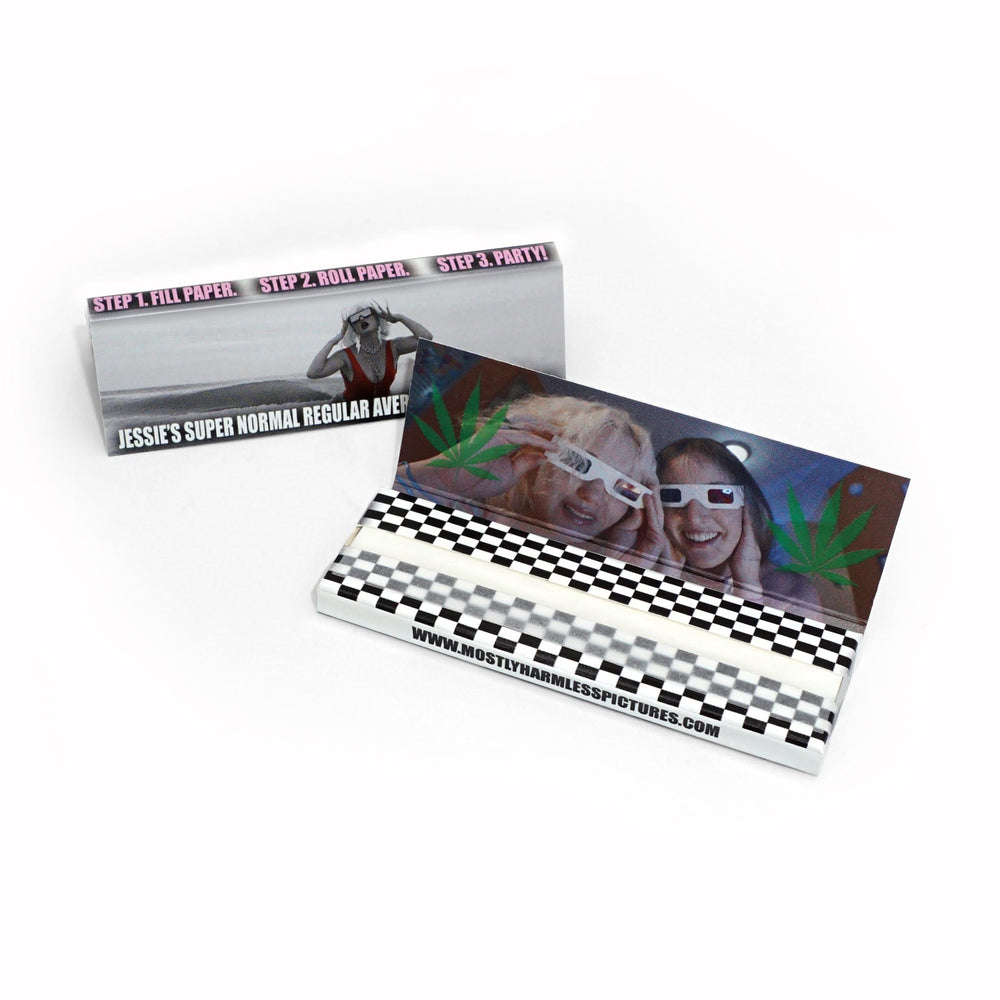
In addition to printing directly on the rolling papers, we also offer fully customized rolling paper booklets. Your booklet cover can include full-color artwork, branding, logos, and promotional messaging.
Popular booklet customization options include:
- Full color booklet printing
- Matte or glossy finishes
- Custom booklet shapes
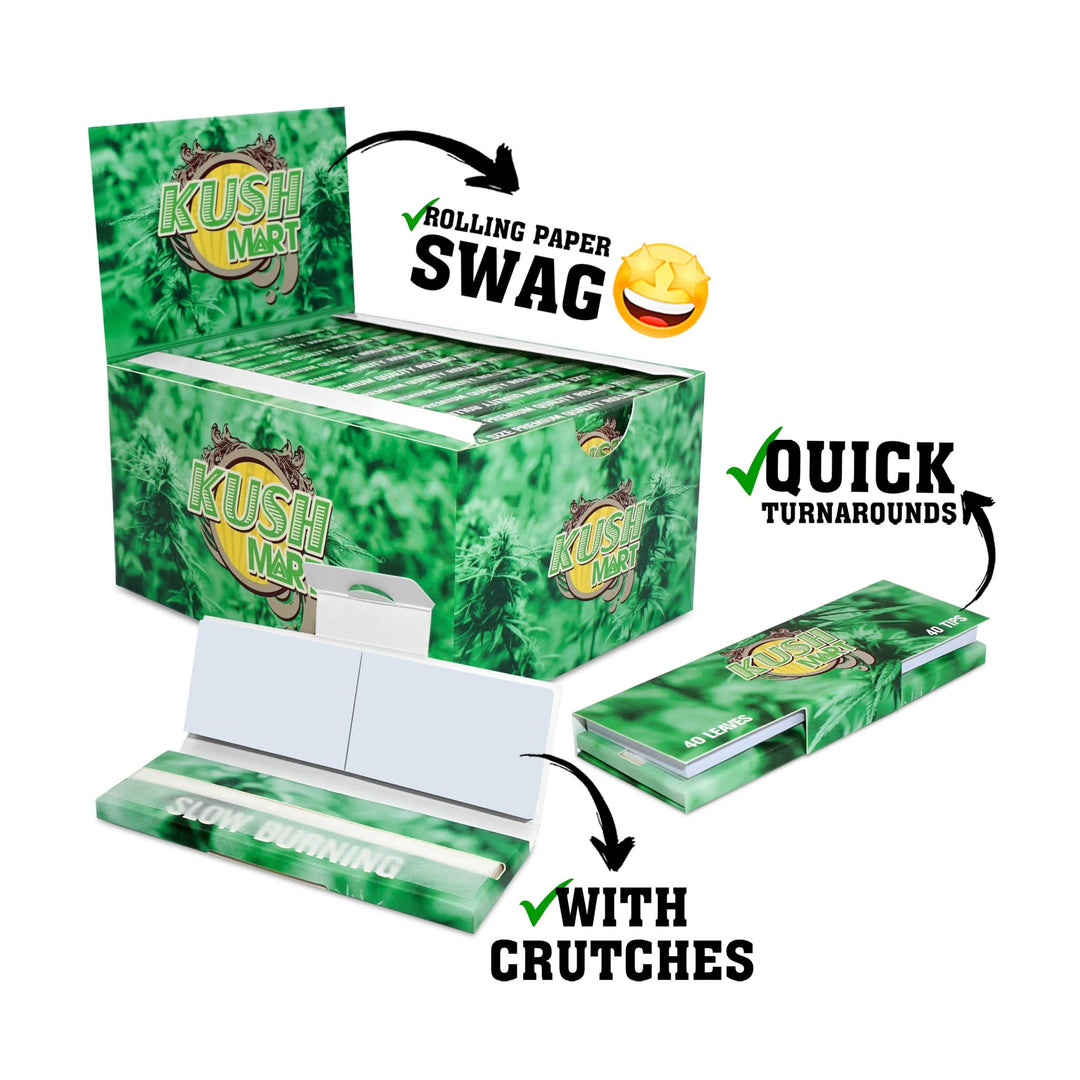
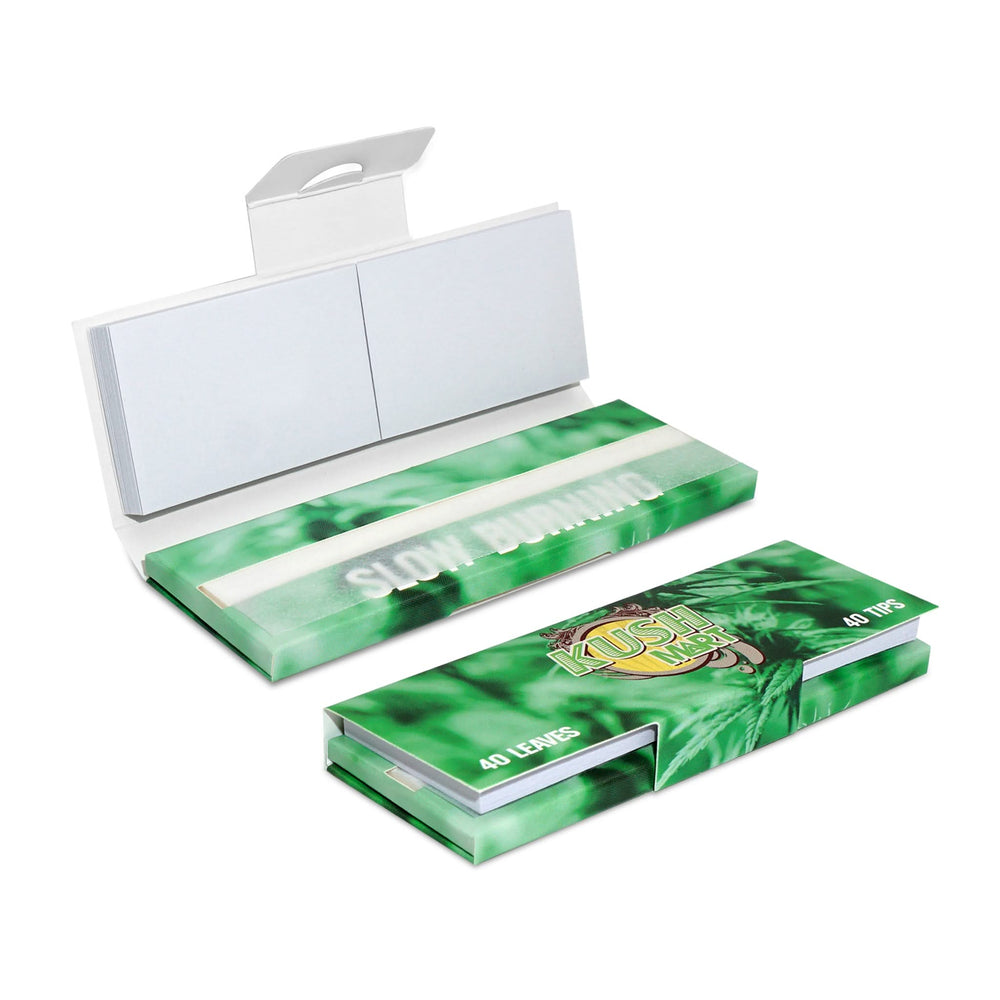
- Integrated filter tips
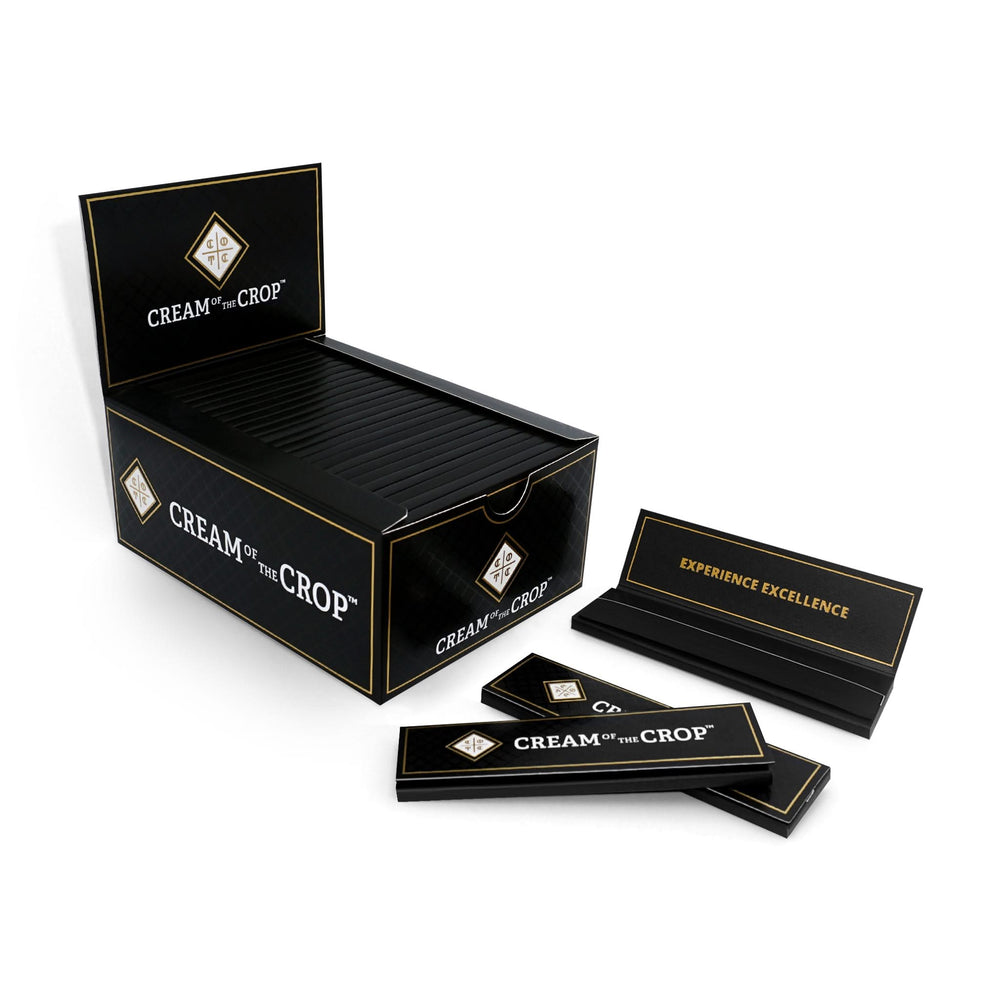
- Premium packaging options
These booklet designs help your product stand out on retail shelves and create a strong brand identity.
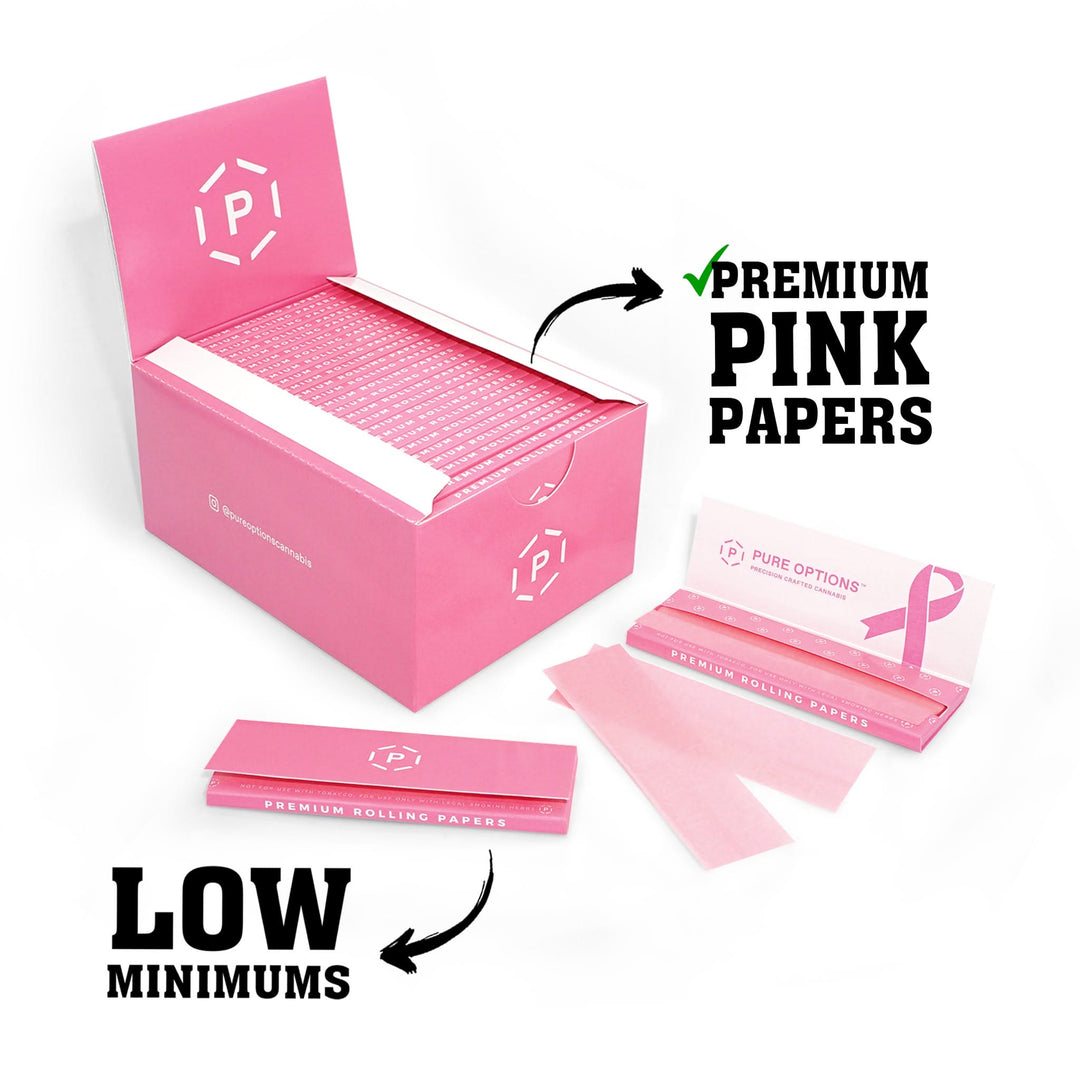
Low Minimum Order Quantities
One of the biggest challenges for small brands is high minimum order requirements. Many manufacturers require very large production runs.
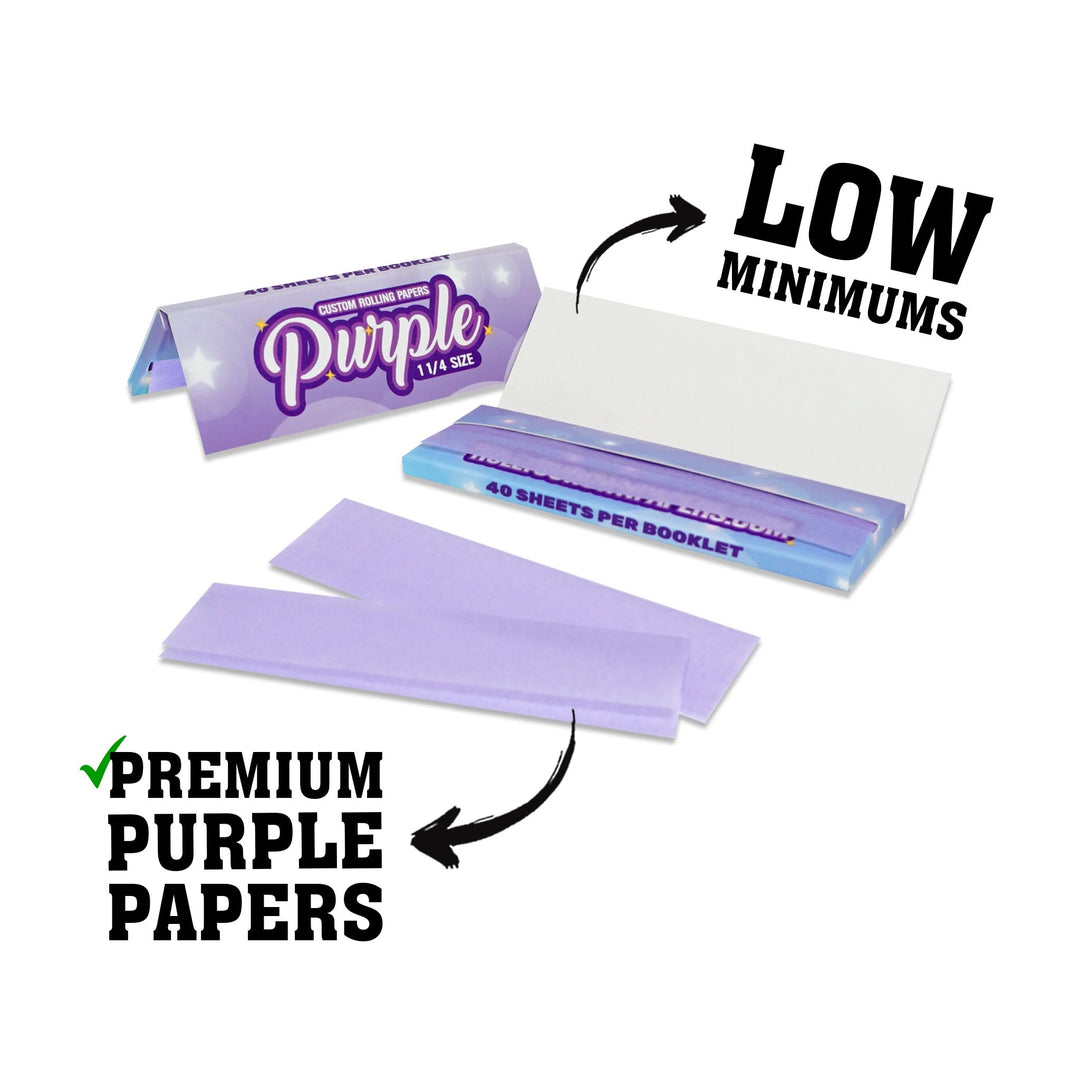
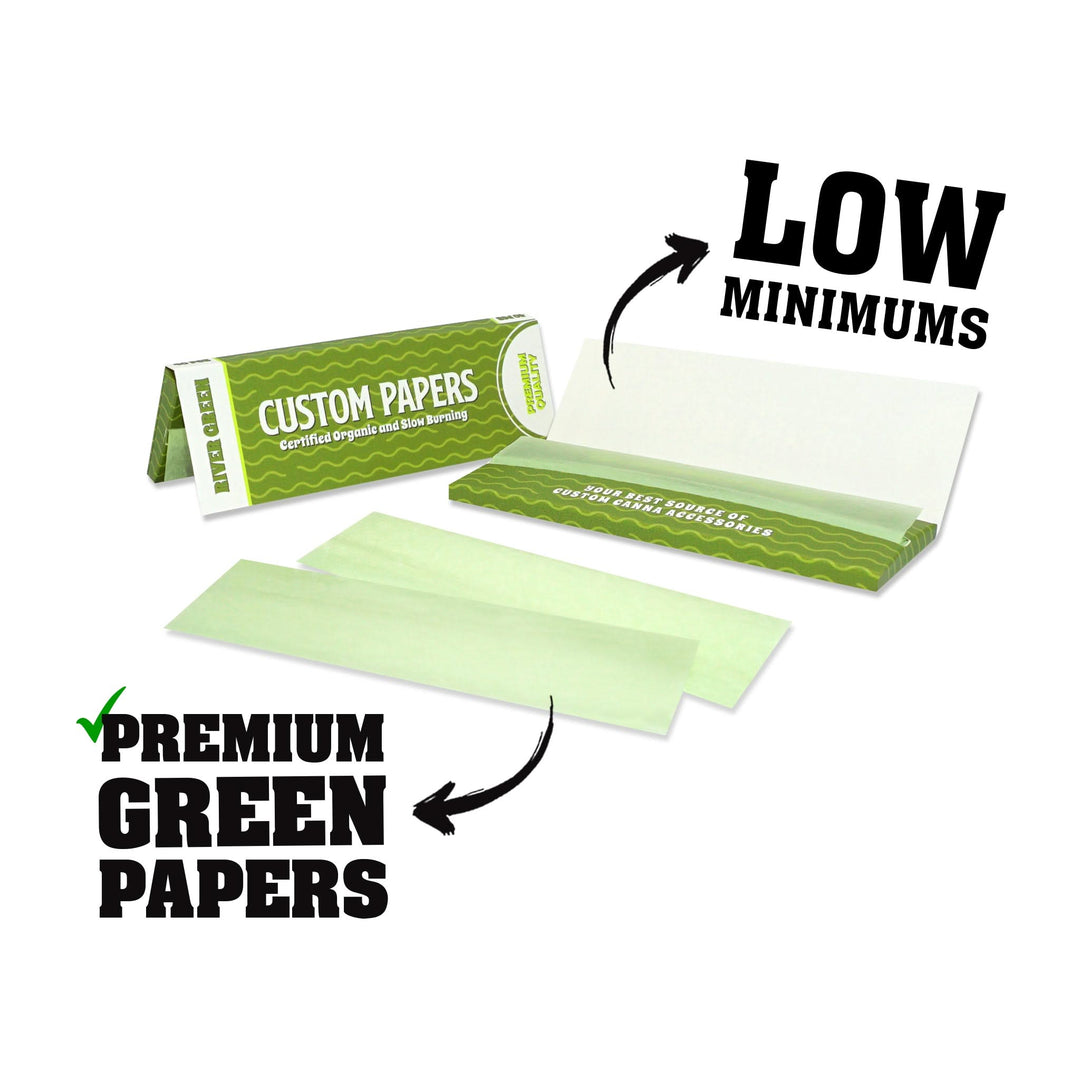
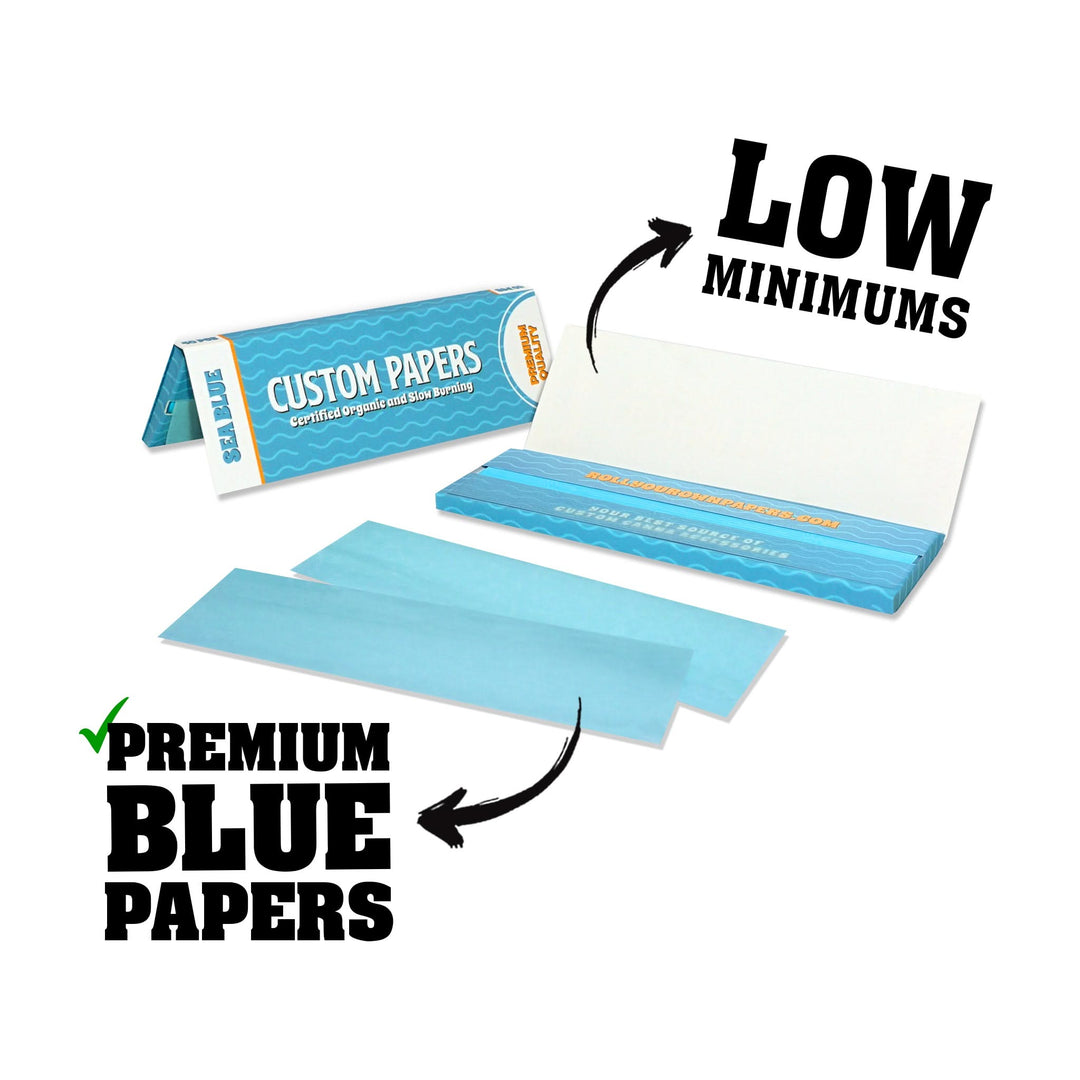
At RollYourOwnPapers.com we offer low minimum custom rolling paper orders, making it easier for startups and small brands to launch their own branded products without massive upfront investment.
This flexibility allows you to test designs, run limited promotions, or create special edition releases for your customers.
How to Order Custom Rolling Papers
Ordering custom rolling papers is simple and straightforward. Our process is designed to help brands move from concept to finished product as quickly as possible.
- Choose your rolling paper size and booklet style
- Upload your logo or artwork
- Receive a free design proof
- Approve the design and begin production
- Receive your finished custom rolling papers
Our design team reviews every order to ensure that your artwork prints perfectly and matches the final production specifications.
Custom Rolling Papers for Dispensaries and Brands
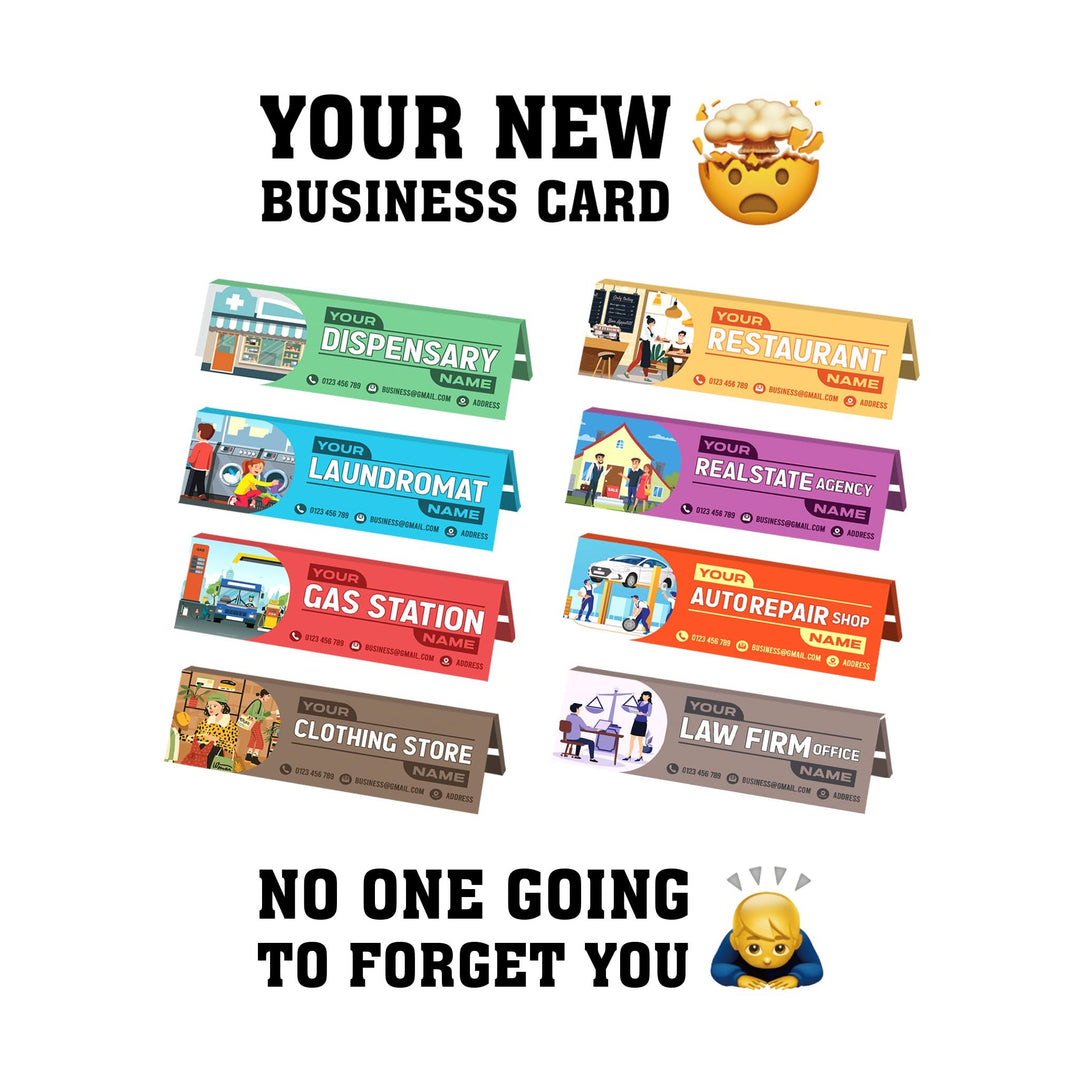
Dispensaries, smoke shops, and lifestyle brands often use custom rolling papers to expand their merchandise lineup. Branded accessories are an easy way to generate additional revenue while strengthening brand recognition.
Some businesses use custom rolling papers as promotional items or giveaways, while others sell them as premium merchandise. Because the product is practical and affordable, customers tend to keep coming back for more.
Frequently Asked Questions
What is the minimum order for custom rolling papers?
Our minimum is 150 booklets — the lowest minimum of any certified custom rolling paper manufacturer. There are no setup fees and no design fees, and the price you see includes free worldwide shipping.
Can I print my logo on rolling papers?
Yes. We print edge-to-edge in full colour on the booklet cover, on every individual leaf (interleaved printing), or both. Send us your logo or artwork and we build the print file for free.
How long does production take?
Standard turnaround is 2.5 weeks from approved artwork to your door, with free worldwide shipping on every order. Rush production is available — ask us when you order.
Do you offer design help?
Yes — design is free on every order. We also offer a free mockup with no purchase required, so you can see your brand on the product before you commit. You approve a digital proof before anything goes to print.
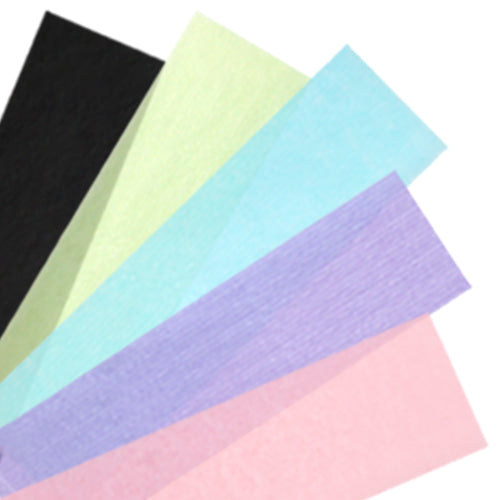
What paper types are available?
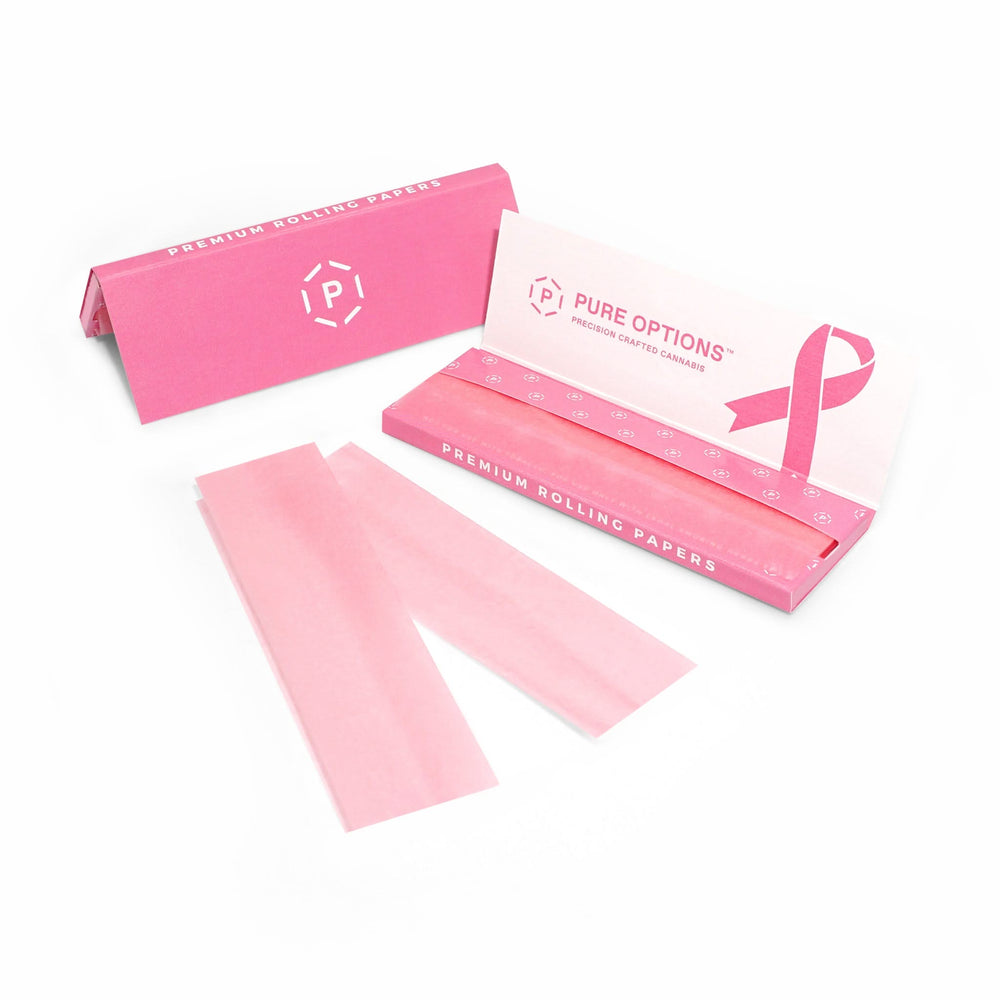
All our papers are TÜV SÜD certified with safe-to-consume Arabic gum and soy ink. Choose from unbleached unrefined wood pulp (12.5 GSM, like RAW Brown), unbleached 100% pure natural fibre (13 GSM, like RAW Organic), white rice paper (13.5 GSM, like Elements), or colored papers in pink, blue, green, purple, and black (13.5 GSM). See our product certifications.
Ready to create your own branded papers? Request a free mockup or order a sample pack to check the paper quality in your hands first.