How to Roll a Joint with Rolling Paper: Step-by-Step Guide 😎🚀

Ready to master rolling? Let’s dive in! Rolling a nice joint is kind of like making a tasty burrito – it’s all about technique, balance, and a little creativity. Whether you’re a newbie or just looking to improve, this guide breaks it down in a fun, easy way. We’ll walk through each step, share pro tips, and even add some creative flair so your joint game is 🔥.
Table of Contents:
- Why Roll Your Own Joint? 🤔
- What You Need Before You Start 🛠️
- Step-by-Step Rolling Guide 🚀
- Step 1: Grind Your Herbs 🌱
- Step 2: Add a Filter Tip 🔍
- Step 3: Sprinkle in the Herb 🌿
- Step 4: Shape & Seal the Joint 💪
- Step 5: Pack & Twist 🔄
- Step 6: Light It Up & Enjoy 🎉
- Extra Tips & Tricks ✨
- Rolling Paper Options & Sizes 🌿
- Common Mistakes ❌
- FAQs 🤔
Why Roll Your Own Joint? 🤔
Rolling your own joint isn’t just about saving money – it’s about customizing your experience. You choose the blend, size, and paper style to match your vibe. Plus, the ritual itself is part of the fun! A well-rolled joint burns smoother, shares better with friends, and looks way cooler. And hey, there’s bragging rights when you can say “I rolled this masterpiece myself!” 😎
Using quality rolling papers (like our premium organic hemp paper) also makes a difference. Thin, unbleached papers help your joint burn evenly and add no extra taste. In other words, keep it simple and let the good stuff shine.
What You Need Before You Start 🛠️
Before rolling, gather your gear so the process goes smoothly:
- ✔️ High-quality rolling papers: Preferably thin, natural, and unbleached. They exist in different sizes (more on that later). We recommend premium rolling paper for the best experience.
- ✔️ Filter tip (crutch): You can buy perforated cardboard tips or make one from stiff paper or business cards. A tip keeps the end firm and blocks small bits from getting to your mouth.
- ✔️ Your herb of choice: Make sure it’s dried and ground. A grinder is ideal, but you can also break it up by hand or with scissors.
- ✔️ Grinder or scissors: Grinding helps the herb burn evenly and prevents large chunks. It’s a key step for a good roll.
- ✔️ Flat surface or rolling tray: Keeps mess contained and your paper steady while rolling.
Having everything at hand makes the whole process more relaxing. Think of it like setting up your kitchen before cooking a meal – prep is half the battle!
Step-by-Step Rolling Guide 🚀
Step 1: Grind Your Herbs 🌱
First, grind that herb into a fluffy consistency. Finely ground material makes the roll uniform and easy to pack. You want it about the size of rice grains. This helps your joint burn evenly and keeps each puff consistent. If you grind too fine (like powder), it can burn too fast, and too chunky can cause runs. Aim for a happy medium!
Step 2: Add a Filter Tip 🔍
Place a filter tip at one end of your paper. If you cut a business card tip, make a zig-zag accordion fold and slide it in. Position it on the paper, about 1/4 inch from the edge. The filter provides a stable mouthpiece and prevents loose bits from traveling through. It’s a small step that makes puffing much more comfortable and keeps things tidy. Pro tip: lick a tiny bit of the paper’s glue edge and attach it to the filter to hold it in place before filling.
Step 3: Sprinkle in the Herb 🌿
Now, with one hand holding the paper flat, use the other to sprinkle the ground herb into the crease. Start at the filter end and work toward the middle. Don’t dump it all at once – add a little, then adjust, then add more as needed. You want the pile to be even along the length of the paper. Think of loading a taco – an even distribution is key! Too much at once can make rolling tricky.
Step 4: Shape & Seal the Joint 💪
Here’s where the magic happens. With the paper open, use your thumbs and forefingers to gently roll the side closest to you over the herb (tucking the edge under the pile). Now roll upwards, letting the paper wrap around the mix. Keep it tight but not bone-crushing. Once it’s mostly rolled, moisten the exposed gum strip with your tongue and finish the roll, sealing the edge down. A snug, even roll prevents gaps and runs, so take your time. As one guide notes, a well-sealed joint “doesn’t break open and spill” its contents – exactly what you want!
Step 5: Pack & Twist 🔄
Almost there! Use a small stick or pen end to gently pack the open end’s herb down. This tightens the contents and helps the joint burn evenly. Once packed, twist the very tip closed to keep everything inside. If the end is loose, pinch and twist it shut. Occasionally, moistening the tip before twisting helps it hold its shape. Proper packing and twisting are often overlooked, but they make smoking much easier and less wasteful.
Step 6: Light It Up & Enjoy 🎉
Light the twisted end (away from the filter) while gently puffing on the tip. Give it a gentle swirl to ensure an even burn. Take small puffs at first – large inhales can lead to coughs! Many people think holding it in longer makes you feel higher, but that’s a myth. In fact, the active compounds absorb in the first second, so enjoy those puffs and exhale at a relaxed pace. And remember, enjoy responsibly and stay hydrated – a joint is a journey, not a race.
Extra Tips & Tricks ✨
Once you’ve got the basics, here are some pro tips to level up:
Tip: Start Small 🐣
Rolling tight with too much herb is tough for any beginner. Try using about 0.3–0.5 grams (roughly what fits in a 1¼-inch paper) on your first few tries. A smaller amount is easier to control and still packs a nice buzz. Remember, you can always roll another later – it’s better to roll two solid joints than one overstuffed one!
Tip: Keep It Even 🔄
Pay attention to how you pack. The goal is a consistent cylinder shape. If the middle feels loose, that spot will burn hot and fast. Push the herb lightly after each step or two. Also, light your joint from multiple sides to catch any missed spot. Think “even burn, no one gets left behind”!
Tip: Get Creative with Shapes 🎨
Rolling is part technique, part art. Once you’re comfortable, try some flair: pineapple joints (where the top twists like a fruit crown), cross joints (two joints in one!), or even use colored custom rolling paper for festivals or gifts. The sky’s the limit. Making it fun helps you learn faster. As we always say, a happy roll makes for a happy story!
Rolling Paper Options & Sizes 🌿
Not all rolling papers are the same. Picking the right type can change your experience:
Materials: Hemp, Rice, Bamboo...
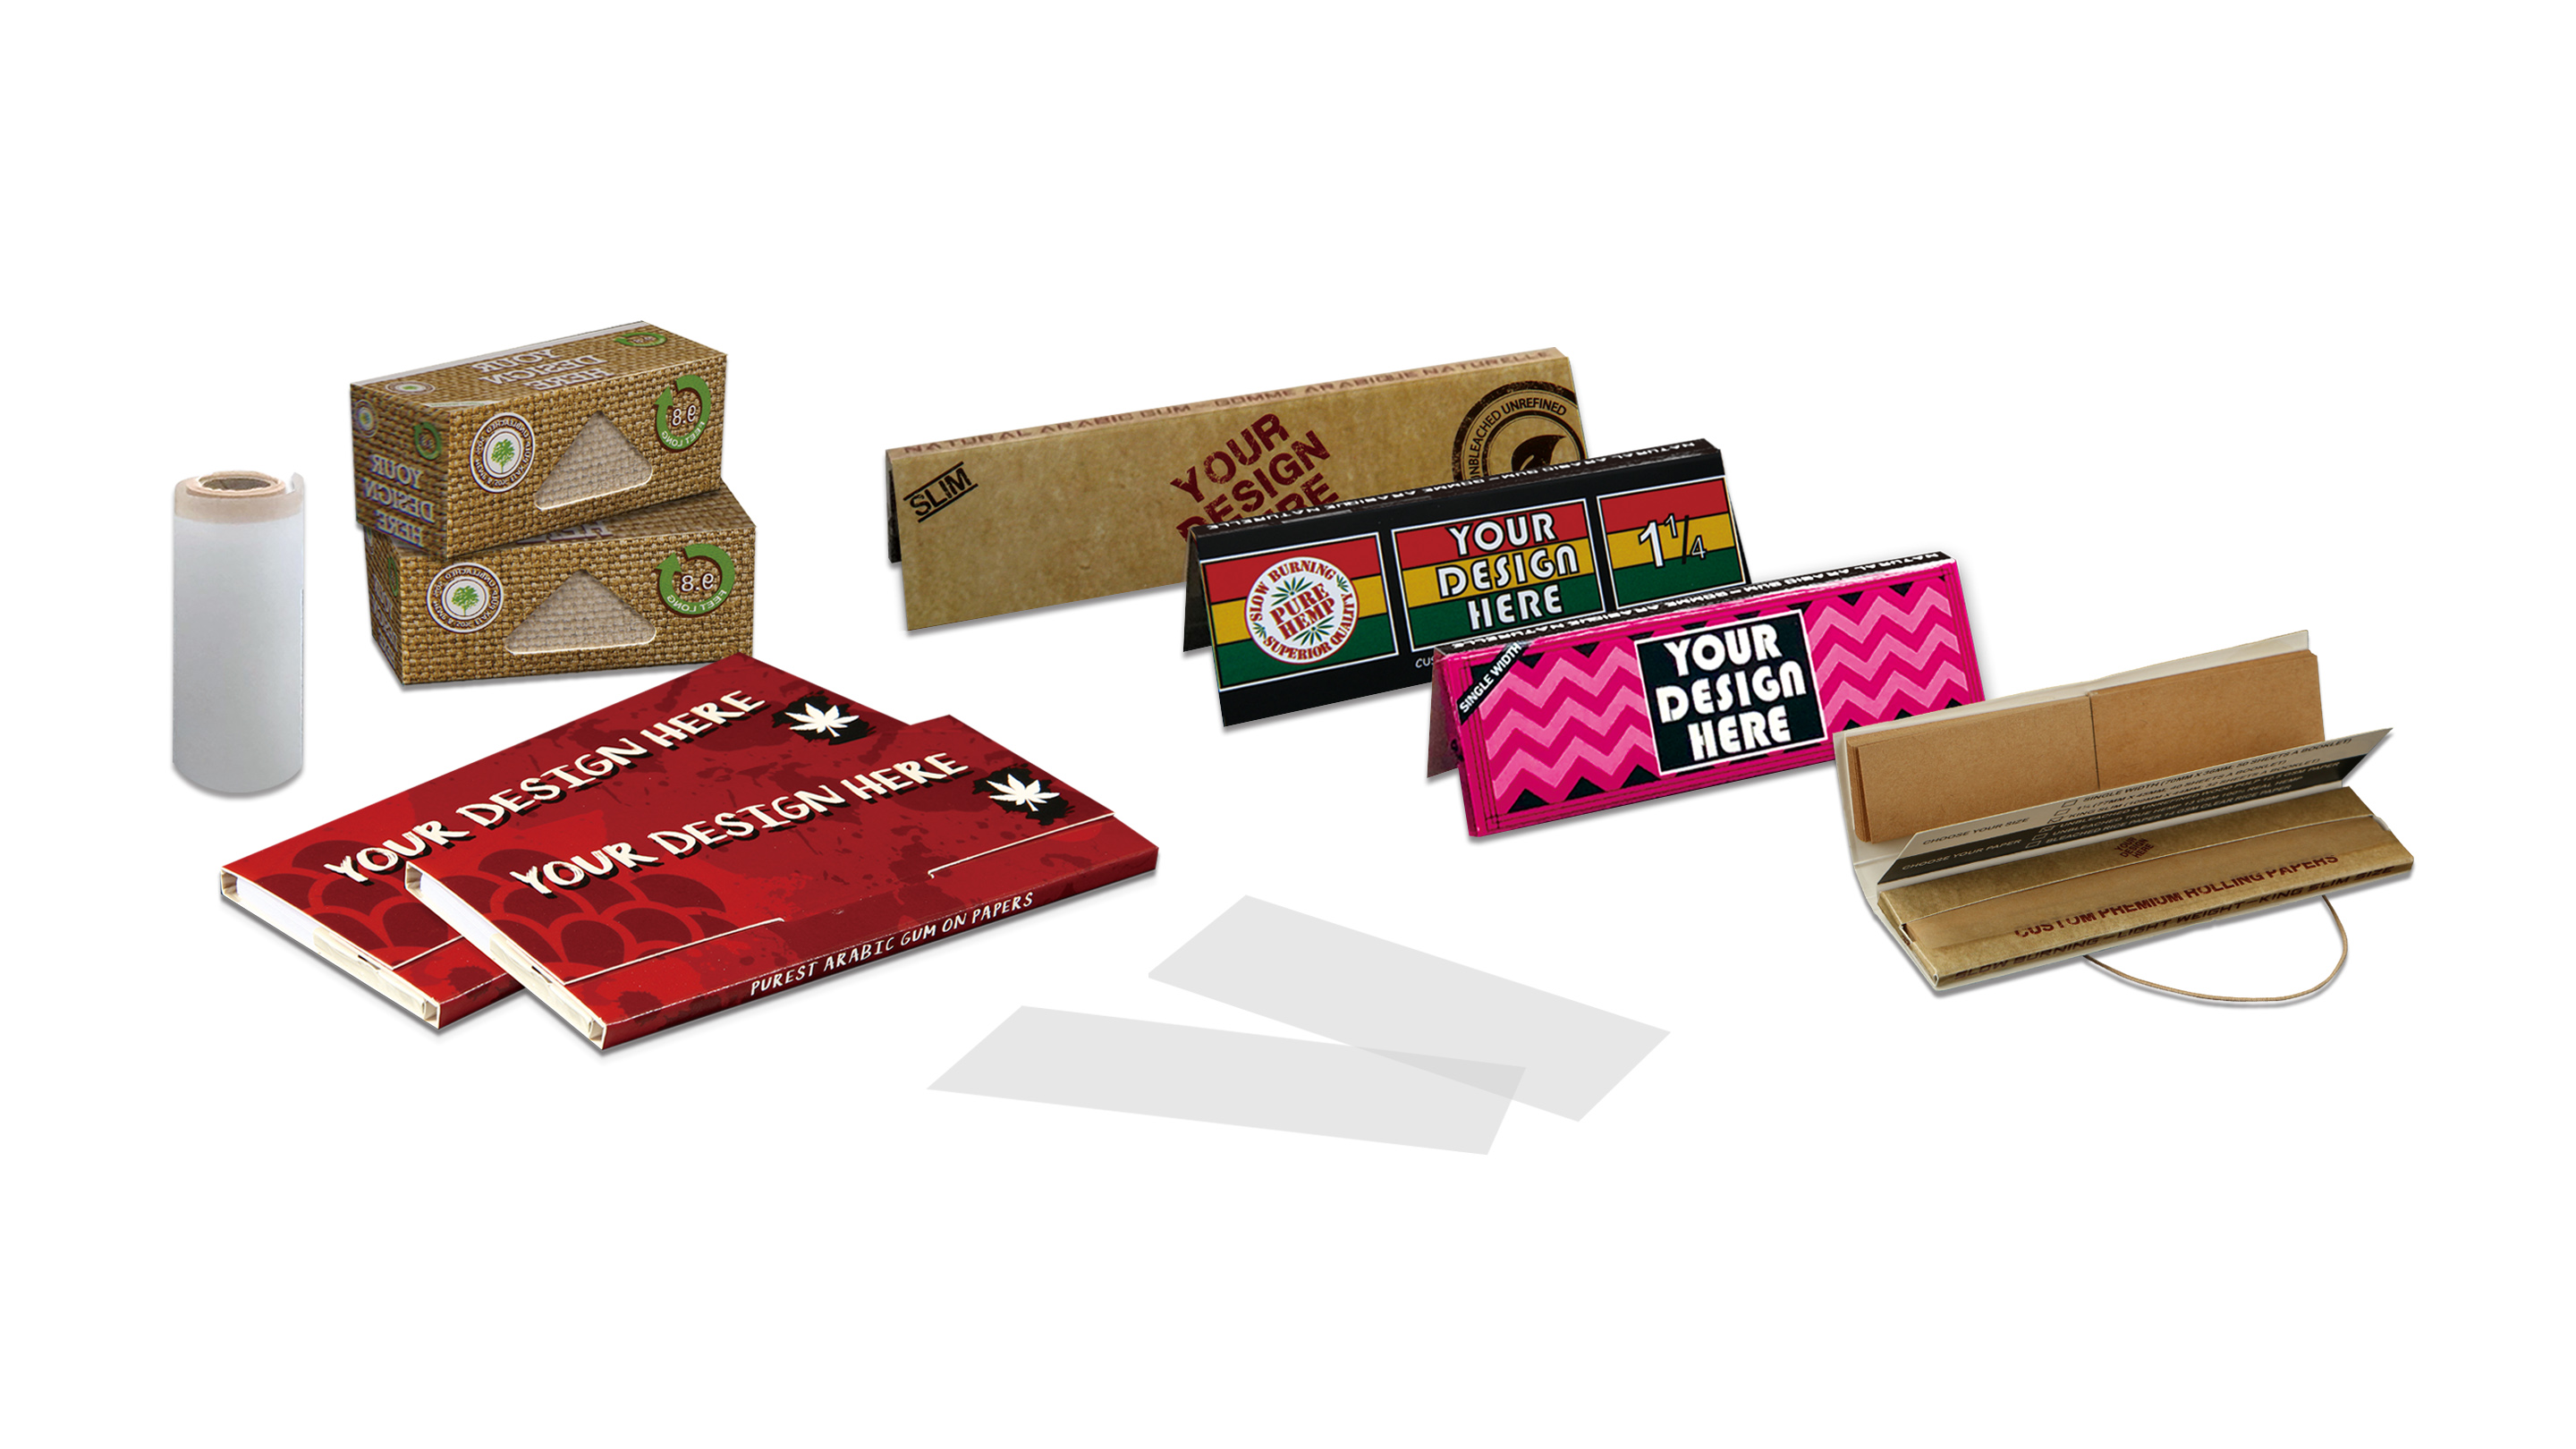
Rolling papers come in materials like hemp, rice, flax, or even tea leaves. Hemp is popular for burning slowly and evenly; rice is very thin (watch the burn rate); bamboo and other plant-based papers can have a nice flavor and natural gum. Most beginner-friendly papers are unbleached hemp or rice. We recommend trying a few – our shop has all sorts of rolling papers so you can find your favorite!
Paper Sizes: 1¼ vs King
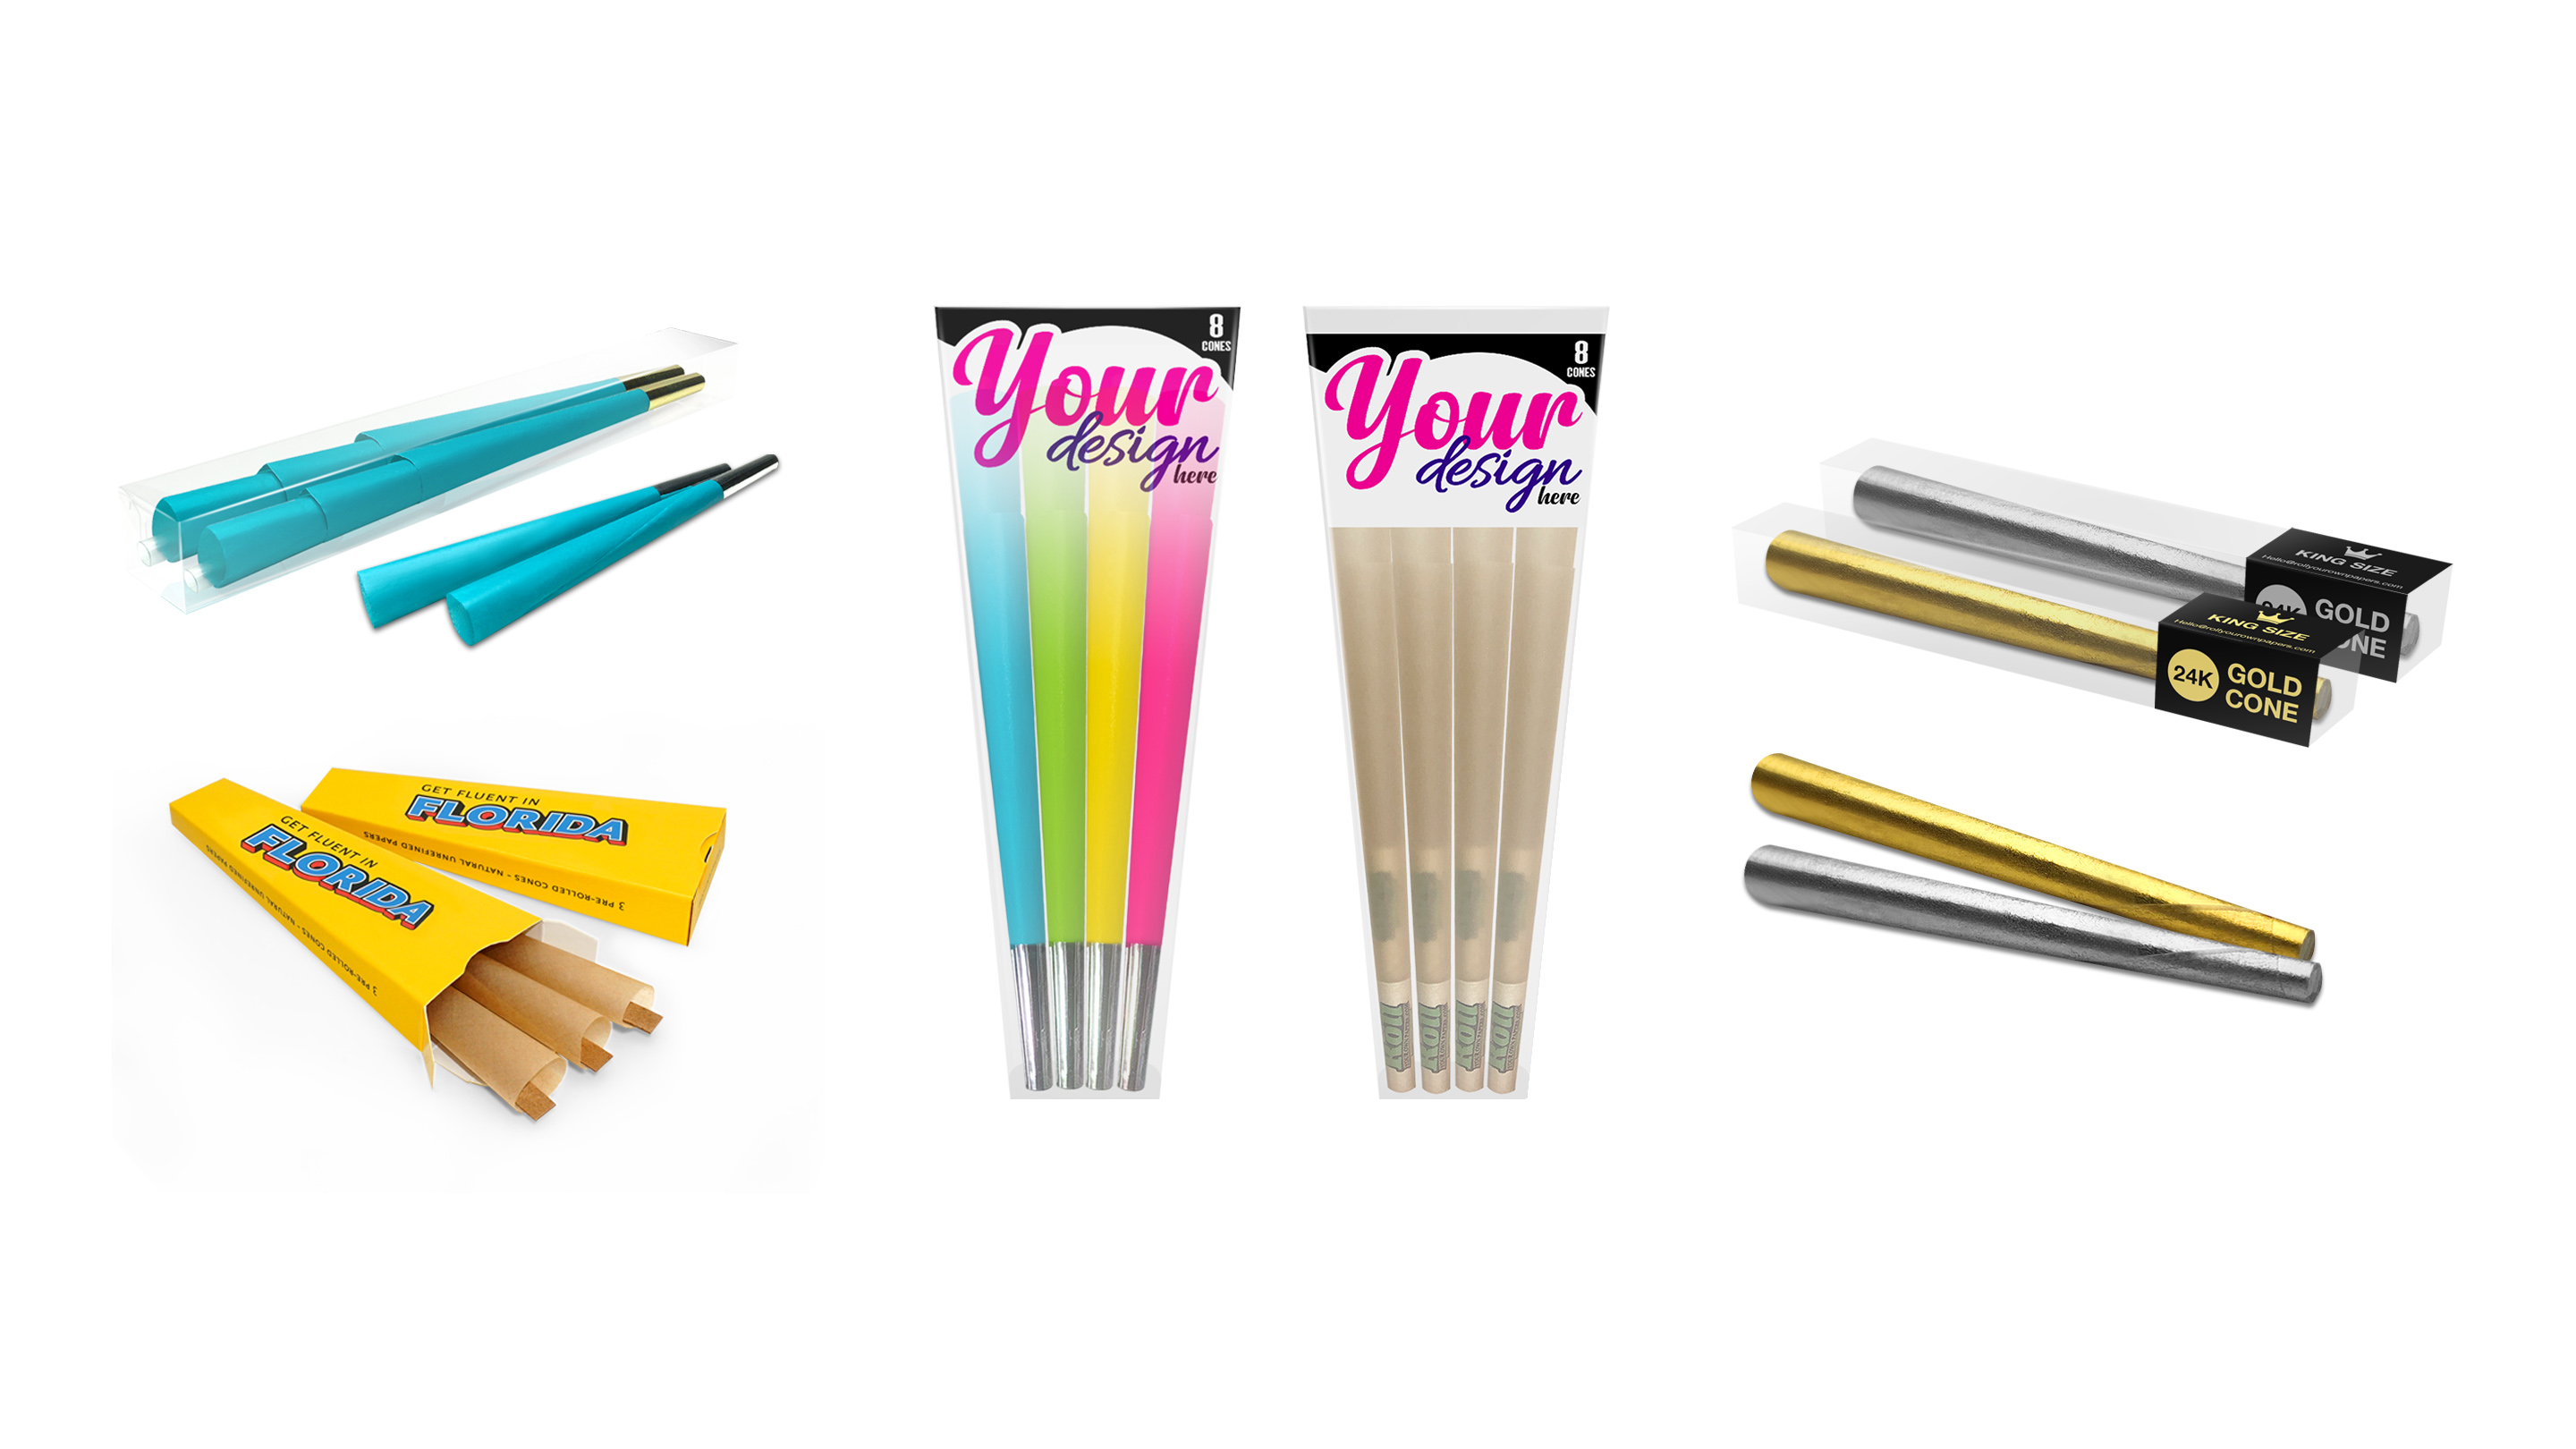
The common sizes are 1¼ (small) and King (larger). 1¼ is great for a single-smoker size; King or double-wide fits more herb for sharing or a bigger session. Start with 1¼” to master the technique, then graduate to King or cones if you want a fatter joint. No matter the size, the steps are the same – just distribute the herb accordingly.
Common Mistakes ❌
Even seasoned rollers slip up sometimes. Watch out for:
- Overfilling: Too much herb and the paper won’t seal. Roll smaller and try again.
- Uneven filling: If one side is heavier, it’ll burn unevenly. Adjust the herbs so the thickness is uniform along the length.
- Loose roll: A floppy joint leads to runs. If it’s sagging, roll tighter and use a packing tool (like a pen) to compact the mix.
- Dry herbs: If your material is brittle, it can crumble out. A quick tip: add a tiny moisture (like a drop of water on a small piece of herb) or use a humidity pack in storage to keep them supple.
With practice you’ll learn by feel – but no worries, messing up is part of learning. Fixing one of these mistakes is usually as simple as unrolling a bit, adjusting, and rolling again.
We hope these tips make your rolling sessions smooth and enjoyable. Remember, it’s all about practice, patience, and having fun with it. If you stick with it, you’ll be rolling like a pro before you know it!
Premium Rolling Papers
Searching for the perfect paper? Our shop offers top-notch rolling paper made from organic hemp and printed with eco-friendly inks. Each pack comes with natural gum strips and sturdy tips, so every joint you roll is smooth and crisp. Plus, we do custom rolling paper printing – pick your design, logo, or artwork, and roll your brand or style into every puff! 🌱🛒
🔥 Ready to Upgrade Your Rolling Game?
Parchment paper might belong in the oven, but your roll deserves better! 🎯 If you're tired of scrambling for alternatives and want a smooth, safe, and flavorful experience every time — we've got just what you need.
- ✔️ Made from organic hemp
- ✔️ Printed with food-grade ink
- ✔️ Sealed with 100% natural gum
- ✔️ Customize them with your brand, artwork, or vibe
📦 Bulk orders available | 🚚 Fast shipping | 🌱 Always chemical-free
Frequently Asked Questions 🤔
1. What’s the best way to grip the paper while rolling?
Hold the paper gently between your thumbs and index fingers, crease side up. Use your thumbs to tuck and roll the paper up and forward. Keep your grip firm but flexible – too tight and the paper tears, too loose and the joint flops. Practice with empty paper to find the right tension!
2. Do I really need a filter tip?
Yes! A filter tip (crutch) makes the joint more stable, prevents herb from getting in your mouth, and keeps the end from getting soggy. It also gives something solid to hold. Even if it’s just a small rolled-up cardboard piece, tips greatly improve the smoking experience.
3. How much herb should I put in my joint?
For a 1¼” paper, start with about 0.3–0.5 grams. This usually fills it nicely without overstuffing. The ideal amount can vary based on personal preference, but smaller is easier when you’re learning. Remember, you can always roll another if you need more!
4. How can I prevent a “tunnel” (one-side burn) in my joint?
Tunneling happens when air pocket forms inside. To avoid it, make sure your herb is evenly packed along the joint’s length. Use a pen or stick to gently tamp the herb down as you roll. When lighting, rotate the joint slowly so all sides catch flame evenly.
5. What if I don’t have a grinder?
No grinder? No problem. You can still break up herb by hand or with scissors. Just take your time and pinch out small pieces to ensure an even consistency. Fingertip grinding might leave slightly larger bits, so be extra sure to roll tightly to avoid runs.
6. Is it okay to re-light an unburned joint?
Sure – it happens! If it goes out, just reignite the tip like you did at first. No need to restart. In fact, allowing it to rest can sometimes improve the flavor. Just make sure it’s fully extinguished before relighting for safety.
7. Can I store rolled joints for later?
Yes. Store them in a cool, dry place (a glass jar or airtight container works well) to keep them fresh and prevent them from unraveling. Avoid heat or humidity. For short-term storage, a sealed tin or pill case does the trick. And if you’re storing a half-burned joint, make sure it’s completely out and cool first!






Leave a comment