😎 How to Roll Rolling Paper into a Cone (Ultimate Guide) 🚀

Rolling a cone is the go-to move for anyone who wants a smooth, slow-burning roll that looks as cool as it smokes. Whether you’re a first-timer or a seasoned roller looking to sharpen your skills, this guide has got you covered. We’ll break down every step of how to roll rolling paper into a cone in a casual, easy-to-follow way. From picking the right papers and tips to mastering the tuck and seal, you’ll be rolling like a pro in no time 😉. Plus, we’ve added some bonus methods (like a nifty dollar bill trick and more) and a FAQ section to answer common questions. Let’s get rolling! 🚀
🧰 What You Need to Roll a Cone
Before we dive into the technique, make sure you have the right supplies on hand. Here’s what you’ll need:
- Rolling Papers: Choose a paper size that fits the cone you want. If you’re new, a standard 1¼ size or king-size paper works well (the larger paper gives you more room to work with). Unbleached or hemp papers are popular for their even burn and strength.
- Filter Tip (Crutch): This is the small mouthpiece at the end of the cone. You can use a store-bought filter tip or make one from a thin piece of cardstock (even a strip of a business card). Filters help the cone hold its shape and stop bits of herb from getting in your mouth 😅.
- Herb: Whatever legal herb or blend you’re rolling, make sure it’s nicely dried. (We’ll use the term “herb” here – you can roll anything from a calming herbal mix to something more recreational, your call. Just keep it legal and avoid mentioning anything naughty in print! 🤭)
- Grinder: A grinder is super handy to break your herb down into an even, fluffy consistency. If you don’t have one, you can use your fingers or scissors – just try to get a uniform grind so it burns smoothly.
- Rolling Tray or Clean Surface: Rolling can get messy. A tray or even a clean magazine will help catch any spillage and give you a flat surface to work on.
- Packing Tool: After rolling, you’ll want to pack the cone gently to firm it up. You can use a dedicated packing stick, a small straw, the non-pointy end of a pen, or even a shoelace tip – whatever does the job.
- Lighter: Okay, you won’t need this until the end, but have one ready for when it’s time to spark up 🔥 (in a place where it’s allowed, of course!).
📋 How to Roll a Cone: Step-by-Step Instructions
All set with your materials? Awesome. Let’s walk through the process of rolling a cone from start to finish. Take it slow and don’t worry if you don’t nail it on the first try – rolling is an art that gets easier (and neater) with practice 😎.
Step 1 – Grind Your Herb
First things first: grind your herb. Take your grinder and load it up with your chosen herb. Grind it until you get a nice, even consistency. You’re aiming for a fluffy medium grind – not powdery dust, but no big chunks either. (Think the texture of dried oregano or tea leaves.) A good grind ensures an even burn and makes rolling easier. If you don’t have a grinder, you can break the herb up with your fingers or scissors; just do your best to make it uniform. Once ground, set the herb aside in a little pile on your tray or paper.
Step 2 – Create a Filter Tip (Crutch)
Now, let’s make the filter tip (also called a crutch). If you have a pre-made filter tip, great – you can use that. If not, grab a small piece of thin cardboard (those business cards or the packaging from rolling paper packs work well). 📝 Here’s how to make a quick filter tip: fold a few small “accordion” pleats at one end (imagine making a tiny zig-zag or “M” shape with the paper), then roll the remaining length around those folds to form a little cylinder. The accordion part helps the tip spring back and maintain a round shape. You decide how thick to make it – it should fit snugly in the end of your rolled cone. The filter tip isn’t absolutely mandatory, but it seriously helps: it keeps the end open, adds stability, and stops you from inhaling any loose bits of herb (no one likes a “Scooby snack” in their mouth 🤢).
Step 3 – Fill and Shape the Paper
Take one of your rolling papers and lay it out on your tray or table. Orientation matters: the adhesive gum strip should be at the top (facing you) and on the far side of the paper. If the paper has a crease down the middle, use it as a trough. Place your filter tip at one end of the paper, right by the edge. Now sprinkle your ground herb along the paper. Here’s the trick for a cone shape: put a little less herb by the filter end and gradually more as you go toward the other end. By the time you reach the far end of the paper (the one without the filter), you should have a nice pile of herb that’s thicker than the filter end – this will give you that cone “baseball bat” shape 🍦.
 Paper laid out with a filter tip and ground herb, ready to roll into a cone. Notice how the filter is at one end and more herb is piled at the opposite side to form the cone shape. This setup will be rolled to create an even cone with a nice taper.
Once your herb is placed, pick up the paper by the ends (filter on one side, your fingers holding the other). Gently rock the paper back and forth, coaxing the herb into a cylindrical shape. This step is kind of like rolling a hammock full of sand – you’re evenly distributing the herb and slightly packing it into a tube. Be gentle and keep the movements small; the goal is to get the herb to take the cone shape (wider on one end, tapering toward the filter).
Step 4 – Tuck & Roll the Cone
This is the make-or-break moment: the tuck and roll. 🌯 With the herb shaped nicely, start at the filter end and tuck the side of the paper that’s closest to you *into* the roll. Essentially, you want to get that edge to curl around the filter and the herb. Use your thumbs to help guide the paper’s edge in front of the herb, while your index fingers hold the back of the paper in place. Once the paper is tucked snug around the filter, continue that motion up the cone – tuck the rest of the paper as you move toward the wider end.
After a successful tuck, begin rolling upward. Use your thumbs (on the part of the paper facing you) and your fingers (on the back side) to roll the paper. It might help to slightly pinch down on the filter as you roll – that ensures the filter end is tight. As you roll up, the sticky gum strip will come down to meet the paper. Lick that gum strip 😋 (a little moisture goes a long way – don’t slobber on it, just a light even lick) and then continue the rolling motion to seal the cone. Press the gum strip down so it sticks. Congrats, the hardest part is done! If all went well, you now have a cone shape rolled up, with the filter at the skinny end and a nice cone body. Don’t worry if it’s not perfect – practice makes perfect, and we’ve got tips below to fix minor issues.
Step 5 – Seal, Pack & Twist the Cone
With the cone now rolled and sealed, it’s time to pack it and close it up. You’ll likely have a bit of empty paper at the tip (the wide end) because we overfilled the herb on that side slightly. First, use your packing tool (or pen, straw, etc.) to gently tamp down the herb through the open tip. Tap the filter side on the table a couple times to help the herb settle to the bottom. You want the fill to be firm but not super tight – a little give is ideal so that air can flow.
If you notice you have space, you can add a pinch more herb into the open end and pack again. Once the cone is nicely filled and packed, leave about a quarter-inch of paper at the top empty. Now, pinch that excess paper at the top and twist it shut 🔧. This twist creates a nice little “fuse” for lighting and keeps everything in place until you’re ready to enjoy. Don’t over-twist (you don’t want to rip the paper), just enough to close it. Boom – you’ve got yourself a cone!
Step 6 – Enjoy Your Cone! 🎉
Time for the best part – kicking back and enjoying what you’ve rolled. Before lighting, make sure the cone feels well-packed (not too tight, not too loose). Hold it upright and give it a gentle little shake; if herb falls out, you might need to pack a tad more or twist the top a bit tighter. When you’re ready, light the twisted tip evenly, let it burn for a second, then take a slow, smooth draw from the filter end. If it’s your first cone, it might not be 100% perfect, but hey, you did it! 🙌 Each time you roll, you’ll get better. Now sit back and appreciate that cone – you earned it.
Pro Tip: If your cone is burning a bit wonky (like one side is cherry and the other isn’t), don’t panic. You can fix an uneven burn by lightly wetting the faster-burning side with a fingertip (just a tiny bit of saliva) or simply rotating the cone as you smoke it. We’ll cover more on avoiding “canoeing” (uneven burns) in the Tips & Tricks section below.
🔄 Alternative Methods to Roll a Cone
Maybe rolling a cone the standard way isn’t clicking for you, or you just want to try something different. No worries – there’s more than one way to craft the perfect cone. Below are a few alternative methods and hacks to roll a cone. These can be especially handy for beginners, or if you’re lacking one of the usual tools. Give them a try and see what works for you!
👍 Method 1: The Dollar Bill Trick
Believe it or not, your wallet might contain an excellent rolling assistant – a dollar bill (or any similar-sized paper money). The dollar bill method is a classic hack for rolling, essentially acting like a makeshift rolling machine. Here’s how it’s done:
- After you’ve prepared your filter and ground herb, place your rolling paper (with herb and filter loaded as described in Step 3) onto a dollar bill that’s been folded in half (so it makes a little pocket).
- Position the paper in the fold of the bill, with the filter at one end, just like it was in your fingers before.
- Using your thumbs and fingers, hold the ends of the dollar bill and start rolling the bill back and forth, which in turn rolls the paper inside it. The bill keeps everything tightly sandwiched, so you maintain a good shape without herb spilling everywhere.
- Once you feel the paper starting to form a cone around the filter and herb, you can tuck the edge of the rolling paper just like before – the bill helps guide the tuck evenly along the length.
- Lick the gum strip of the paper (you’ll have to peek inside the dollar bill “jig” to do this, or you can wet it before placing if you’re careful) and then continue rolling the bill to seal the cone.
- Slide the now-rolled cone out of the dollar bill. Tap the filter end on the table to pack the herb down, then twist the tip closed as usual.
The dollar bill method basically gives you an extra set of steady hands. It’s surprisingly effective for beginners. The bill keeps the pressure even, helping you roll a tight cone without the paper crumpling or the herb spilling. Just make sure the bill is clean(ish) – you’re putting your rolling paper in it, after all 😅. With a little practice, this trick can produce a nicely rolled cone that looks store-bought.
✒️ Method 2: Rolling Around a Pen (The Straw/Pen Method)
If freehand rolling isn’t working out, you can cheat a little using a pen or a straw as a mold. This method pre-forms the cone shape, and then you fill it up. It’s almost like making your own pre-rolled cone. Here’s how to do it:
- Grab a pen, pencil, or straw – basically any thin cylindrical object. If it’s pen or pencil, it’s best if it’s smooth (no clip or fancy grips) to make it easy to slide the paper off.
- Tuck your rolling paper around the pen: Start by wrapping one end of the rolling paper around the tip of the pen at a slight angle (this creates the cone shape). The goal is to have the small end of the cone near the pen tip and the wider end toward the pen’s middle.
- Roll the paper around the pen, forming a cone tube. Overlap the paper where the gum strip is and lick the gum to seal it onto the cone. Now you’ve got an empty paper cone, held on the pen.
- Gently slide the cone off the pen. Be careful here – you want the paper cone to keep its shape. If it’s a bit loose, that’s fine; you’ll be filling it in a moment.
- Take your filter tip and insert it into the small end of the cone you just made. It should wedge in and stay put. If it feels too loose, you can unroll the paper, tighten the cone, and reseal, or use a slightly bigger filter tip. If it’s too tight to fit, you might need a slightly smaller filter or you can trim the filter a bit.
- Now fill the cone: use a small piece of paper as a scoop or make a tiny funnel to pour your ground herb into the open wide end. Add a little at a time, tapping the cone so the herb settles toward the filter. Every so often, use that pen or a thin stick to gently pack the herb down.
- Continue until the cone is filled to the top. Pack it gently – remember the Goldilocks rule, not too tight, not too loose.
- Twist the top of the cone closed and you’re ready to rock!
This pen method is great because it takes the actual “rolling” out of the equation – you’ve basically created a cone-shaped container and then just loaded it up. It’s perfect if you find the coordination of rolling the paper with herb in it a bit tricky. The end result is a cone that’s nicely shaped and often very clean-looking. It’s also a neat party trick: “Wow, how’d you roll that so perfectly?!” – feel free to credit the pen 🖊️.
🤖 Method 3: Using a Pre-Rolled Cone or Cone Rolling Machine
If all else fails (or if you’re feeling a little lazy, no judgment!), you can use pre-rolled cones or a rolling machine designed for cones. These methods technically mean you’re not “rolling” the cone yourself, but the end result is the same – a great cone ready to fill or smoke. Here’s what to know:
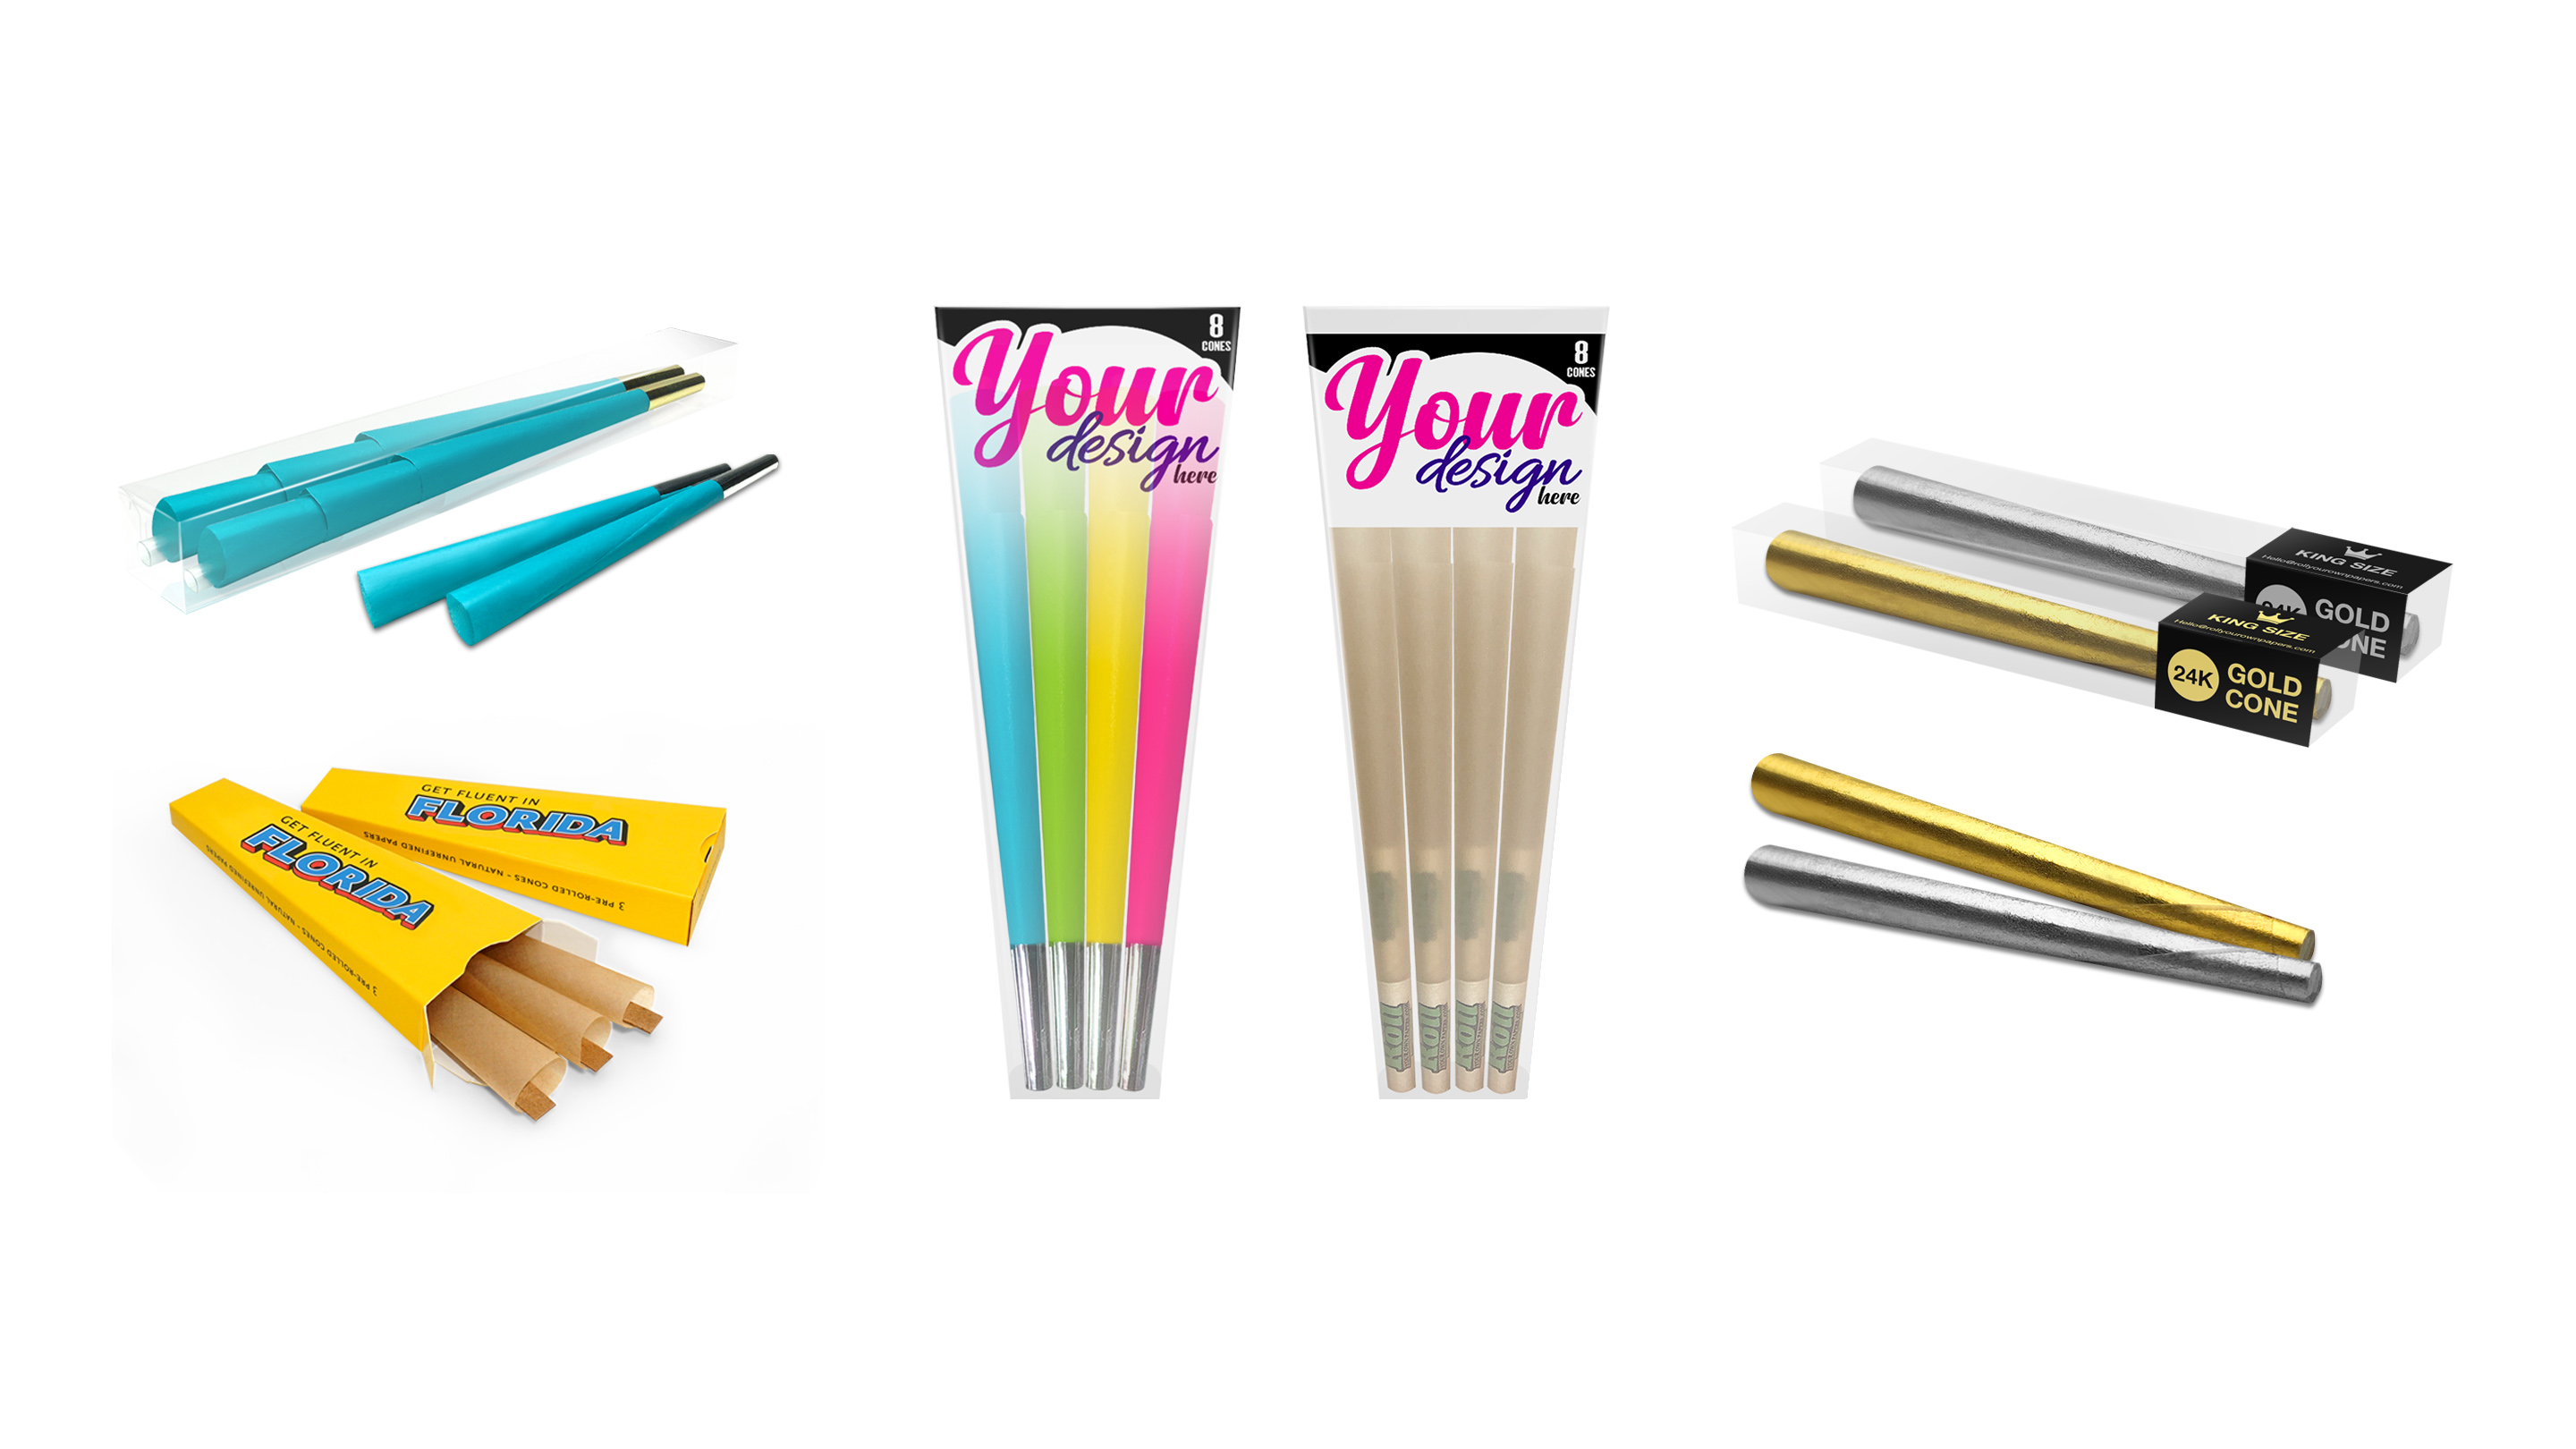
- Pre-Rolled Cones: These are empty cones sold by many brands (often made of the same paper as rolling papers). They usually come with a filter tip already in place. To use, you simply grind your herb and pack it into the cone, just like we did in the pen method above. Many come with a little straw or stick to help pack them. Pre-rolled cones are super convenient – you get a perfect cone shape every time with zero rolling skill needed. The downside is they cost a bit more than papers, but for some it’s worth it for the consistency.
- Cone Rolling Machines: There are also rolling devices out there that help form cones. Some look like the standard joint rollers but have a cone shape or attachments; others (like the popular OTTO grinder) even grind and pack the cone for you with the push of a button. To use a manual cone roller, you typically load your paper and filter in the machine, add herb, and then turn or close the machine which curls the paper into a cone. It’s similar to how cigarette rolling machines work, but adapted for cones. The electric or automatic ones are even easier – just follow the product instructions, and you’ll get a cone rolled and packed consistently every time.
While using pre-rolled cones or machines might feel like “cheating,” the goal is to enjoy a well-rolled cone, so there’s no shame in it. In fact, a lot of people use these methods when making a bunch of cones for an event or just to save time. They also ensure uniform quality – each cone will smoke similarly because they’re all packed the same. If you’re a beginner, you might use these as a crutch (pun intended) while practicing your hand-rolling skills on the side.
🔥 Tips & Tricks for the Perfect Cone
Rolling a cone can take a bit of practice to truly master. Even experienced rollers pick up new tricks over time. Here are some tips and tricks to help you roll the perfect cone and troubleshoot common issues:
- Even Distribution is Key: One of the main causes of a wonky cone is uneven herb distribution. Always start with that cone shape of herb on your paper – less near the filter, more toward the other end. This way, when you roll, the cone practically forms itself. If you find a section is too thin or too thick while you’re shaping, put a little more herb or take some out before you tuck and seal.
- Don’t Overpack (or Underpack): If your cone is too tight, it’ll be hard to draw from and might burn unevenly or go out frequently. Too loose, and it’ll burn hot and fast (and could collapse or run). You want a consistent, moderately firm pack. A good test: after rolling, give the cone a gentle squeeze between your fingers. It should feel firm but with a tiny bit of give, like a stress ball that’s not fully packed. If it’s rock solid, it’s overpacked – loosen it up by rolling it between your palms or gently massaging it. If it’s super soft, add a bit more herb through the tip and pack gently.
- The Quarter-Turn Trick: While lighting and smoking, give your cone a little rotation between your fingers (quarter-turn or so every few puffs). This helps it burn more evenly, kind of like a rotisserie. It’s a simple way to avoid one-sided burns.
- Fixing Canoeing (Uneven Burn): If one side starts burning faster (we call that “canoeing” because it can look like one side of the paper canoeing down), you can fix it on the fly. As mentioned earlier, you can lick the faster-burning side lightly – the moisture slows it down so the other side can catch up. Some people also carry a lighter and carefully singe the slower side to even it out (only do this if you’re confident and **be careful** not to burn yourself or make it worse!). Prevention is best: an even roll and good pack will canoe less. Also, make sure you’re not smoking in heavy wind – that can cause canoeing too.
- Repairing Tears: Uh-oh, ripped your paper? Don’t toss it out just yet! Small tears or holes can be fixed. If it’s a tiny hole, a bit of extra saliva can seal the fibers around it (think of it as glueing it shut). For bigger rips, you can use an extra piece of rolling paper: tear a small patch (with some gum on it if possible) and wet it, then stick it over the tear like a bandage. It’s not pretty, but your cone will be smokable. Better yet, try to avoid tears by handling the paper gently and perhaps using thicker papers if you find yours always rip. Hemp papers are more robust than ultra-thin rice papers, for example.
- Practice with Oregano (or Tea): If you want to improve your rolling without wasting your good herb, practice with something like oregano, mullein, or any dried herb with similar texture. That way you can roll cone after cone, toss them or unroll and reuse the paper, until you get the hang of it. By the time you roll the real deal, you’ll have muscle memory 🔄.
- Humidity Matters: This one’s subtle, but if you live in a very dry or very humid place, it can affect your rolling. Extremely dry conditions can make papers more brittle (they might tear easier). A tiny puff of breath on the paper before rolling can give it a bit of moisture to be more flexible. In very humid conditions, papers might get too soft or the gum might not stick well – try to roll in a drier room or keep your papers in a sealed bag. Also, store your herb right; overly dry herb can be crumbly (messy to roll) and too moist herb can clump (also not great). Aim for Goldilocks herb – not too dry, not too moist.
- Use Quality Papers: All rolling papers are not created equal. A good quality paper will have a consistent, slow burn and a reliable gum strip. Cheap or old papers might burn unevenly or the glue might fail. If you’re struggling, it might not be you – it could be the paper. Try another brand or type and see if it makes a difference.
- Keep It Clean: Rolling is easier when everything’s neat. Use a tray so you don’t lose herb. Wash your hands if they’re sticky from handling herb (sticky fingers can catch on the paper and tear it). And work in a well-lit area so you can see what you’re doing. A little vibe is nice (some tunes, maybe a beverage nearby 😏), but don’t roll in a moving car or in a cyclone of a room and expect perfection.
With these tips in mind, you’re equipped to handle most cone-rolling challenges. Remember, every expert roller started out fumbling with their first paper. Each cone you roll will teach you something, and soon you’ll develop your own style and flair. Who knows, maybe you’ll even start teaching your friends your special tricks. Keep practicing, stay patient, and enjoy the process – after all, rolling is half the fun!
❓ Frequently Asked Questions (FAQs)
Got questions? We’ve got answers! Below are some common questions that pop up when it comes to rolling paper cones. If you’re curious about something we haven’t covered, hopefully you’ll find it here.
Q: What is the easiest way to roll a cone for beginners?
A: The easiest way to roll a cone is to start with the basic method using a filter tip and a larger rolling paper. Beginners should use a smooth, slow approach: gently roll the paper back and forth to shape the cone, without overfilling it. If you’re struggling, you can try using a simple trick like the dollar bill method (explained above) or even opt for pre-rolled cones as a starting point. These methods require less dexterity and can help you get a feel for the cone shape before you master doing it entirely by hand.
Q: How do I roll a cone without a filter tip?
A: Rolling a cone without a filter tip is possible, though a bit more challenging. To do this, roll the paper starting at the mouth end more tightly while leaving the opposite end wider to form the cone shape. Pinch the smaller end gently as you roll to create a makeshift mouthpiece. Be careful not to crush that end closed. Once finished, you might fold a tiny piece of paper into the mouth end to keep it open and to block any loose herb from getting in your mouth. However, using a filter tip (even a homemade one from thin cardboard) is recommended because it helps the cone keep its shape and makes it easier to enjoy your cone without bits getting in your mouth.
Q: How can I roll a cone using a dollar bill?
A: The dollar bill trick is an old-school hack to help those who have trouble with rolling. To roll a cone with a dollar bill, place your filled rolling paper (with herb and filter positioned as usual) onto the folded bill. Enclose the paper with the bill as if the bill itself is your set of fingers. Then, using the bill, roll the paper back and forth, guiding it into a cone shape around the filter. Once the herb is packed and the paper is rolled into the cone shape, tuck in the paper’s edge and lick the gum line to seal it, all while it’s held in the bill. Finally, remove the rolled cone from the bill, tap to pack, and twist the tip closed. The bill basically acts like a rolling machine, making it easier to roll a tight cone.
Q: What is the pen or straw method for rolling a cone?
A: The pen (or straw) method involves forming a cone shape by wrapping the rolling paper around a cylindrical object like a pen. To do this, roll an empty paper around a pen (starting at the tip of the pen to mimic a cone’s point) and lick the gum to seal the paper into a cone tube. Then gently pull the paper cone off the pen. You’ll have a hollow cone shape. Next, insert a filter tip into the small end. Finally, fill the cone with your ground herb using a scoop or paper funnel, packing it gently with the pen or a stick as you go. This method essentially lets you create a perfect cone shape without freehand rolling, and then you just pack it.
Q: Why does my cone burn unevenly (canoeing)?
A: Uneven burning, also known as “canoeing”, happens when one side of the cone burns faster than the other. This is usually due to an uneven pack or distribution of material, or sometimes a wet spot on the paper. To prevent canoeing, make sure your herb is ground evenly and distributed consistently before rolling. Avoid packing the cone too tightly in some areas and too loosely in others – aim for uniform firmness. If you notice a cone starting to burn unevenly, you can even it out by rotating the cone while it’s burning or by lightly moistening the faster-burning side (carefully) to slow it down. Using quality rolling papers and making sure the cone is properly packed (not too tight, not too loose) will greatly reduce uneven burns.
Q: How much herb should I put in a cone?
A: How much herb to use depends on the size of your rolling paper and personal preference. A standard 1¼ size rolling paper might hold about 0.5g of material comfortably. King-size papers can hold more, often around 1g or more if you roll it well. The key is not to overstuff the paper. You want to be able to form the cone shape while still being able to tuck and seal the paper. If you put too much, it may overflow or be hard to roll. If you put too little, the cone might be too loose and burn quickly. It’s okay to experiment: start with a moderate amount and add or remove material until the paper feels evenly filled out when you shape your cone.
Q: Which rolling papers are best for rolling cones?
A: The best rolling papers for cones are ones that balance strength and thinness. For beginners, slightly thicker papers (like hemp or wood pulp papers) can be easier to work with because they don’t tear as easily when shaping the cone. Brands that offer pre-cut filter tips and papers together can also be handy. Many people prefer unbleached or hemp papers for a slower, even burn. The size is important too – if you want a big cone, use king-size papers; for personal smaller cones, a 1¼ size might be ideal. Ultimately, the “best” paper is one that you find easy to handle and that burns evenly. It’s a good idea to try a few types (rice, hemp, etc.) to see which you like best. If you want something special, you could even use branded or custom rolling papers, like the ones from ROLLYOUROWNPAPERS.com, which ensure quality and can add a cool personal touch 😉.
🎉 Roll in Style with Custom Rolling Papers
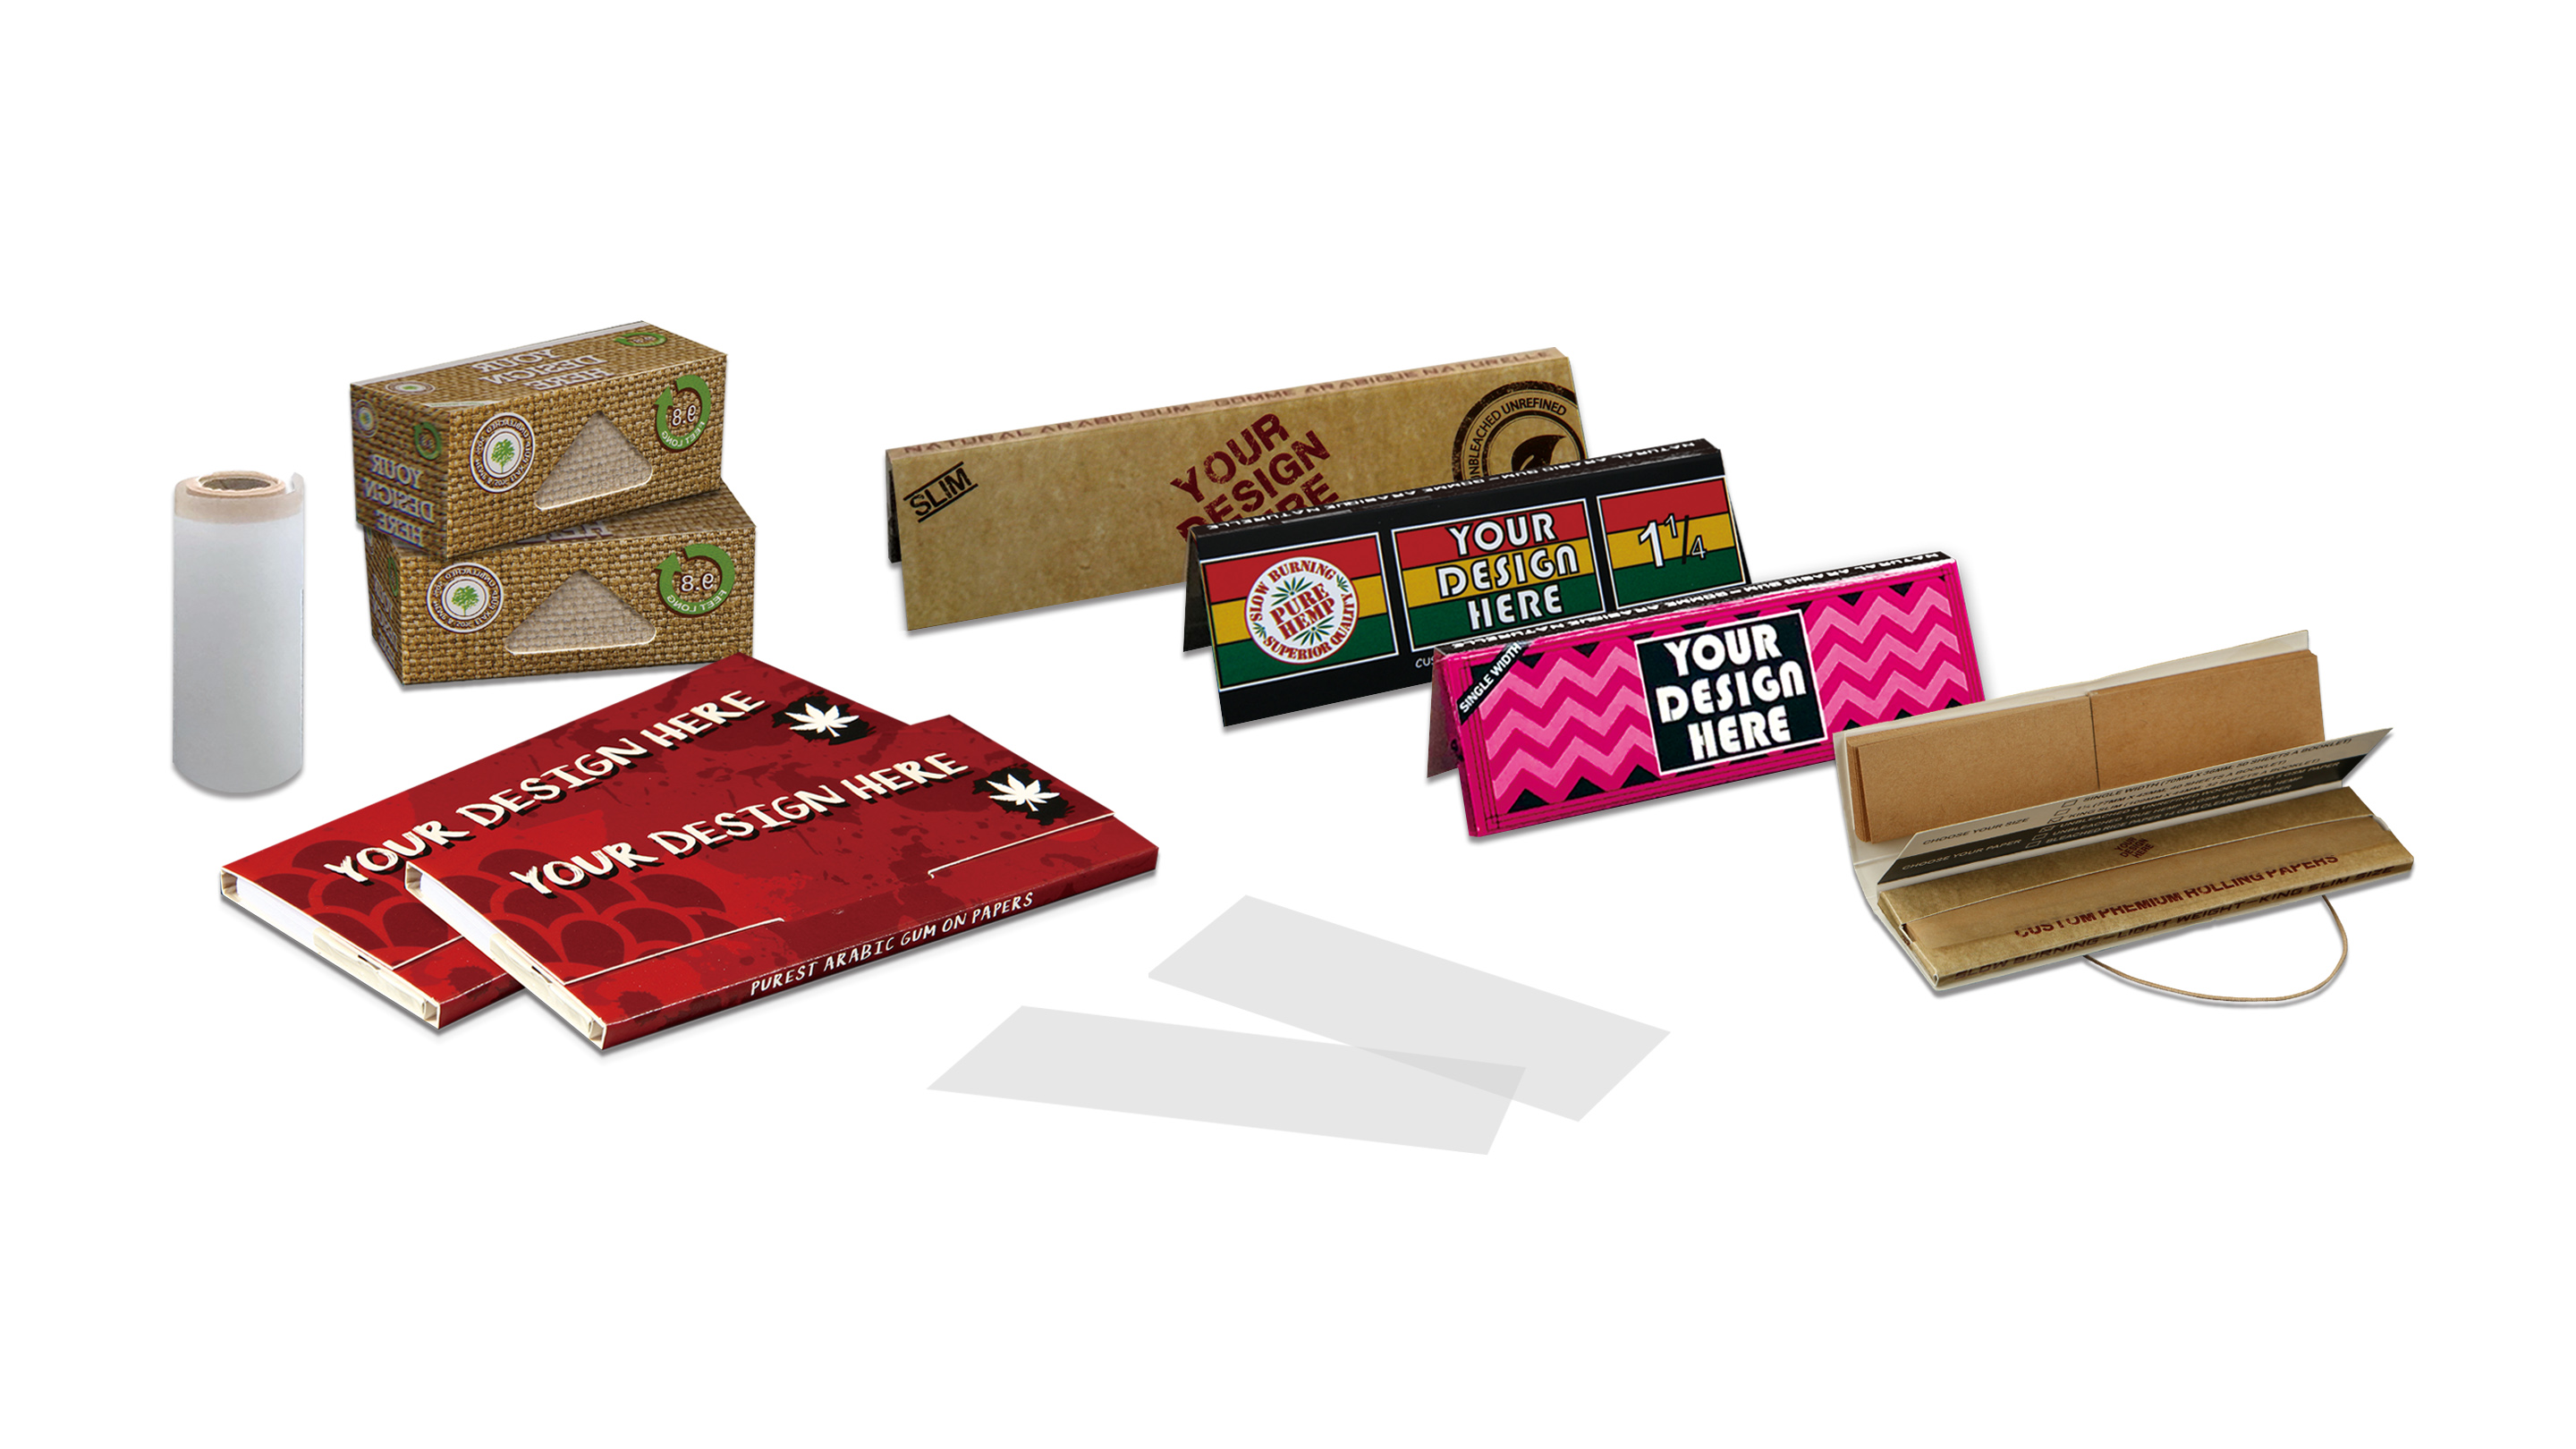
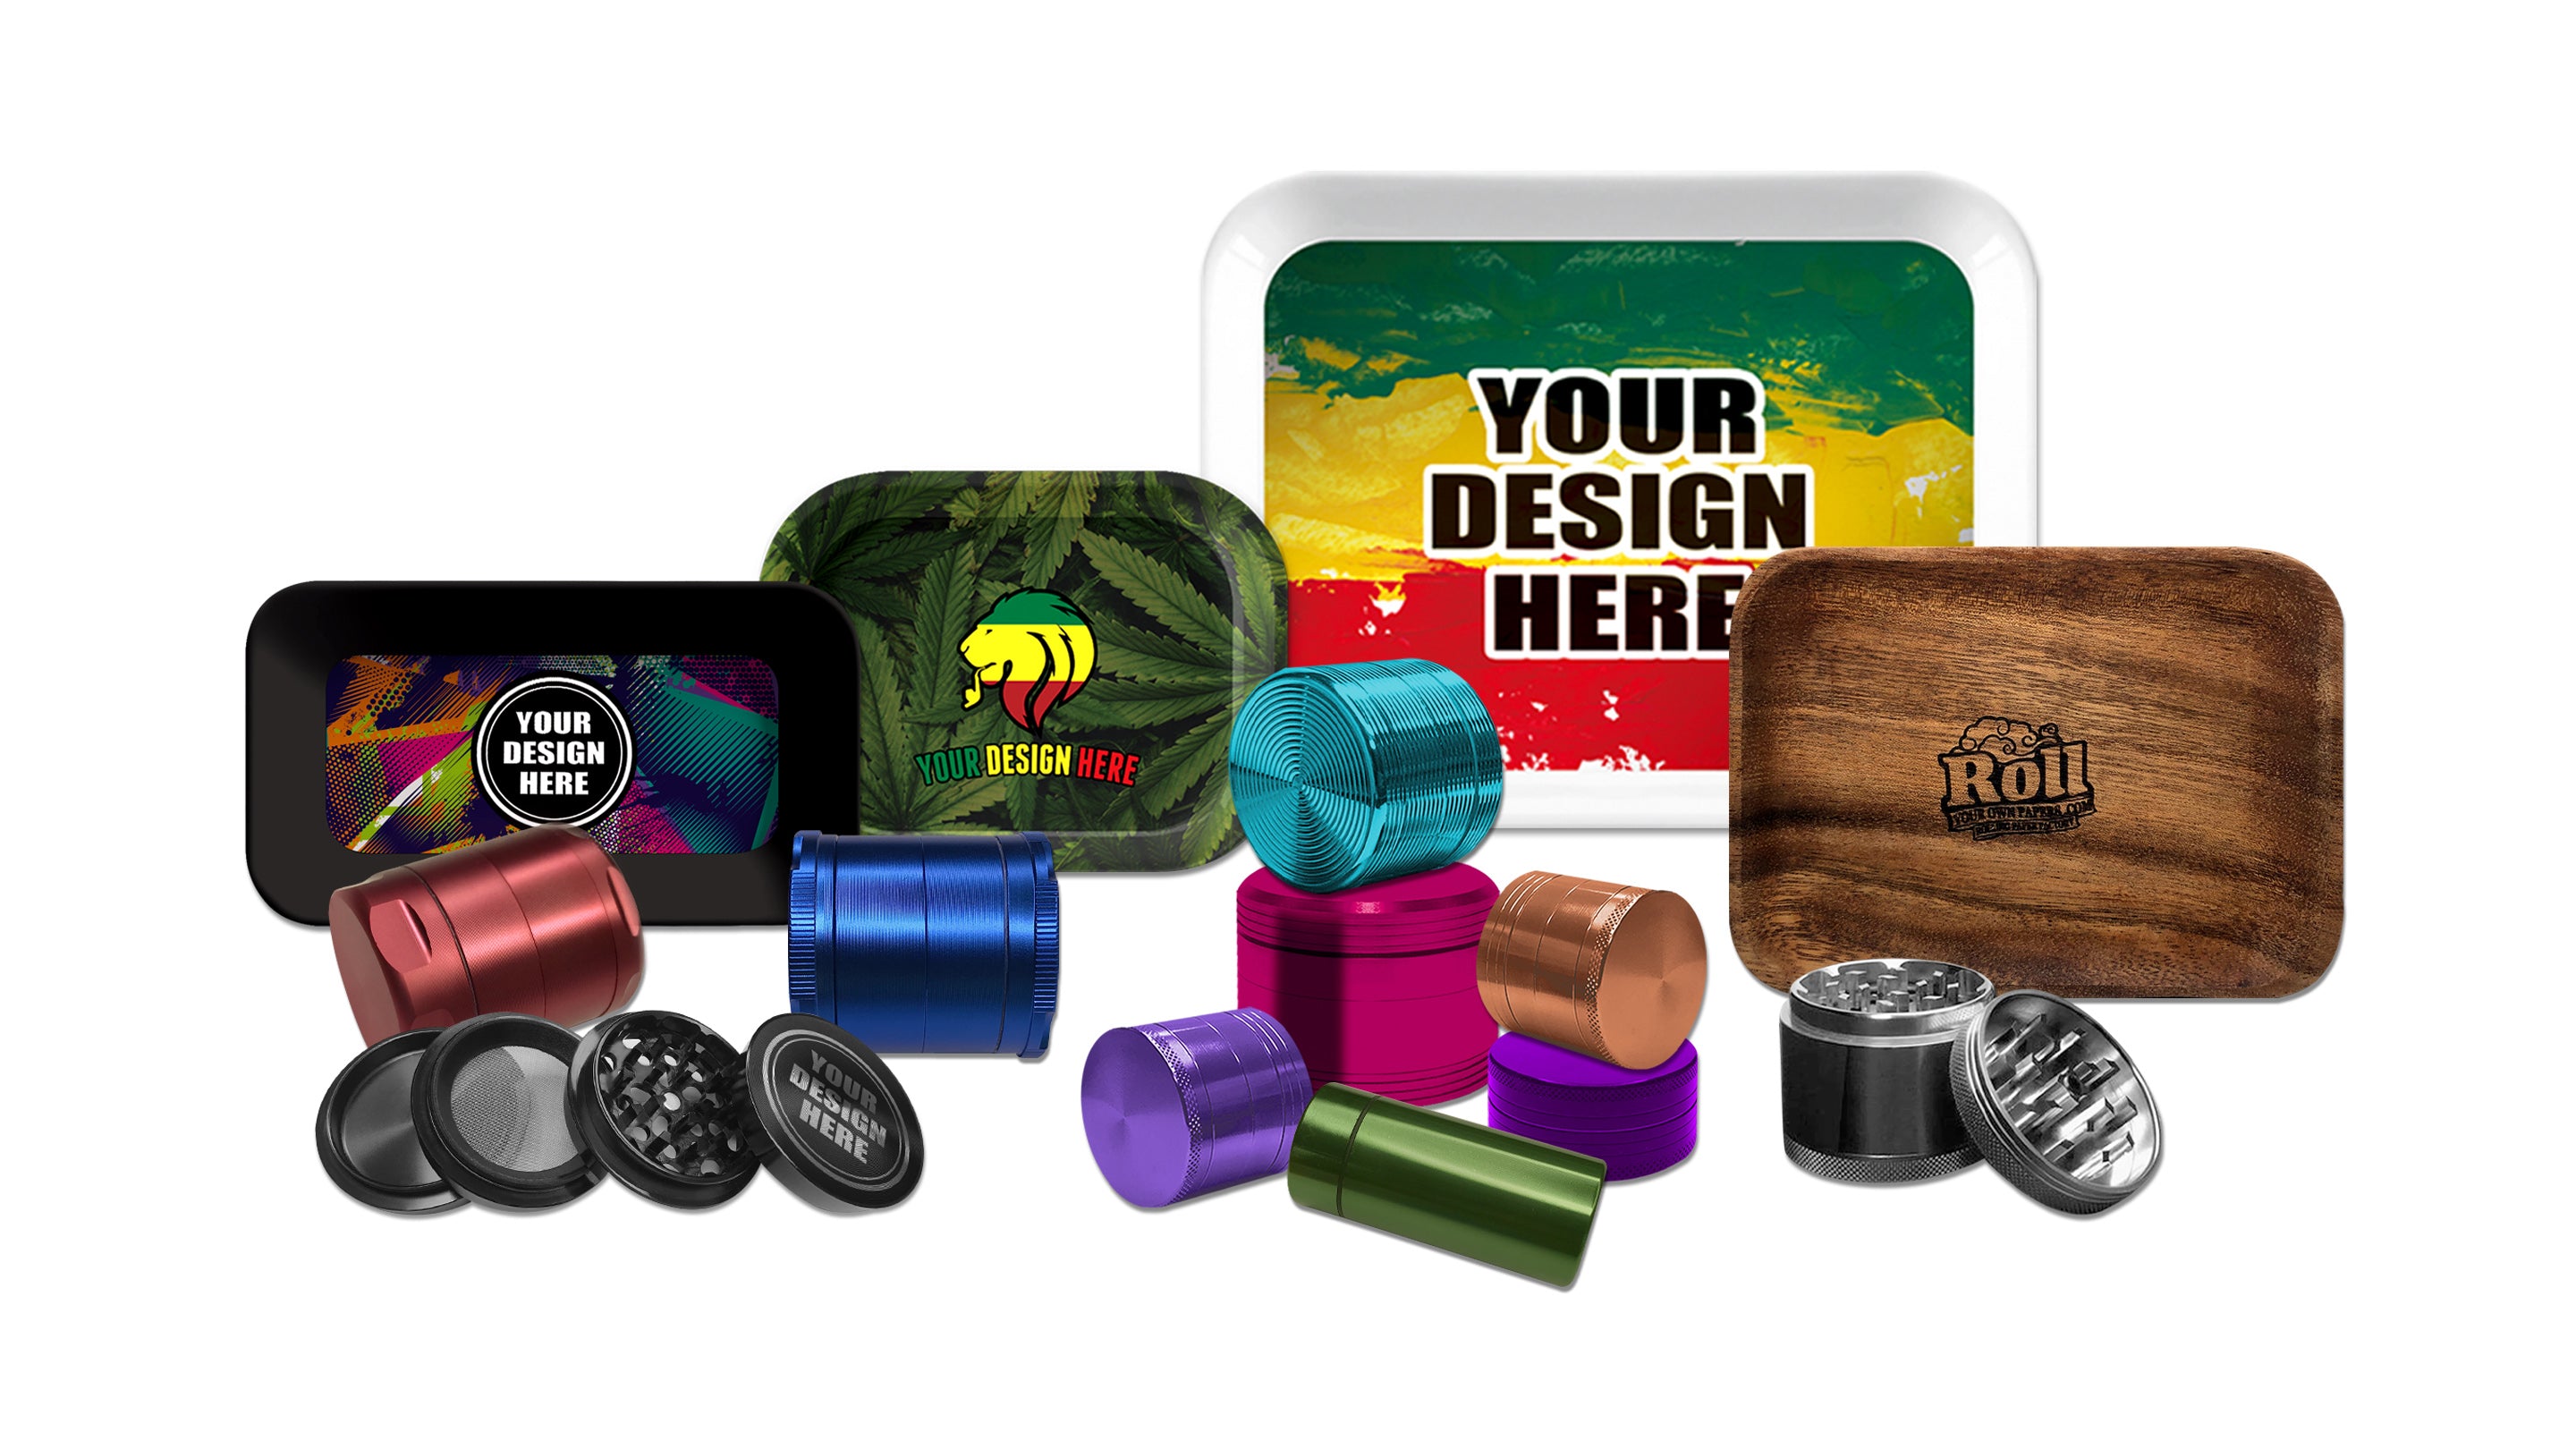
Now that you know how to roll the perfect cone, why not roll it in style? If you really want to stand out, consider using custom rolling papers from ROLLYOUROWNPAPERS.com. 😉 You can get your own designs, logos, or artwork printed on high-quality rolling papers. Imagine impressing your friends with cones rolled in papers that have your name, your brand, or a unique design on them – that’s a serious flex! Beyond looks, these papers are top-notch in terms of quality, ensuring an even burn and an easy roll. Rolling is an art, so why not have the canvas (your paper) be something special?
🚀 Click Here to Shop for Custom Rolling Papers ✅
Check out ROLLYOUROWNPAPERS.com for custom papers, and take your cone game to the next level. After all, if you’re rolling your own, you might as well roll your own custom 😎🔥.







Leave a comment