How to Use a Rolling Tray (2025 Guide) 🎯 Clean, Organized, Effortless Rolls

If your rolls feel messy, slow, or inconsistent, your rolling tray setup is probably the reason. This guide shows you exactly how to use a rolling tray—from beginner-friendly layouts to pro workflows, fast cleanups, and travel-ready tips. Keep it neat, save your herb, and level up your sessions—without overthinking it.
📋 Table of Contents
- What Is a Rolling Tray? 🤔
- Why a Rolling Tray Matters 💡
- Anatomy of a Great Tray (Materials, Sizes, Edges)
- How to Use a Rolling Tray Step-by-Step 🛠️
- Cleaning & Care (Quick & Deep)
- Advanced Tips & Accessories 🎯
- Common Mistakes & Fixes 🚫✅
- Ready-Made Setups You Can Copy 🍱
- Hygiene & Safety Tips
- ⭐ Meet the ROLLYOUROWNPAPERS.COM Rolling Tray
- ❓ FAQs
What Is a Rolling Tray? 🤔
A rolling tray is a flat, slightly raised surface designed to keep your tools and herb in one place. It’s the “workbench” for your prep—catching crumbs, preventing spills, and giving you a reliable, clean area to roll perfectly every time.
Why a Rolling Tray Matters 💡
- Less mess: Raised edges keep everything contained—no more crumbs in the couch.
- Fewer do-overs: A flat, consistent surface improves shape and pack.
- Faster workflow: Everything is where you expect it—papers, tips, grinder, lighter.
- Portable workstation: Small trays slip into a bag; larger trays shine at home.
- Hygiene boost: Your tray is your space—clean, predictable, and easy to sanitize.
Anatomy of a Great Rolling Tray
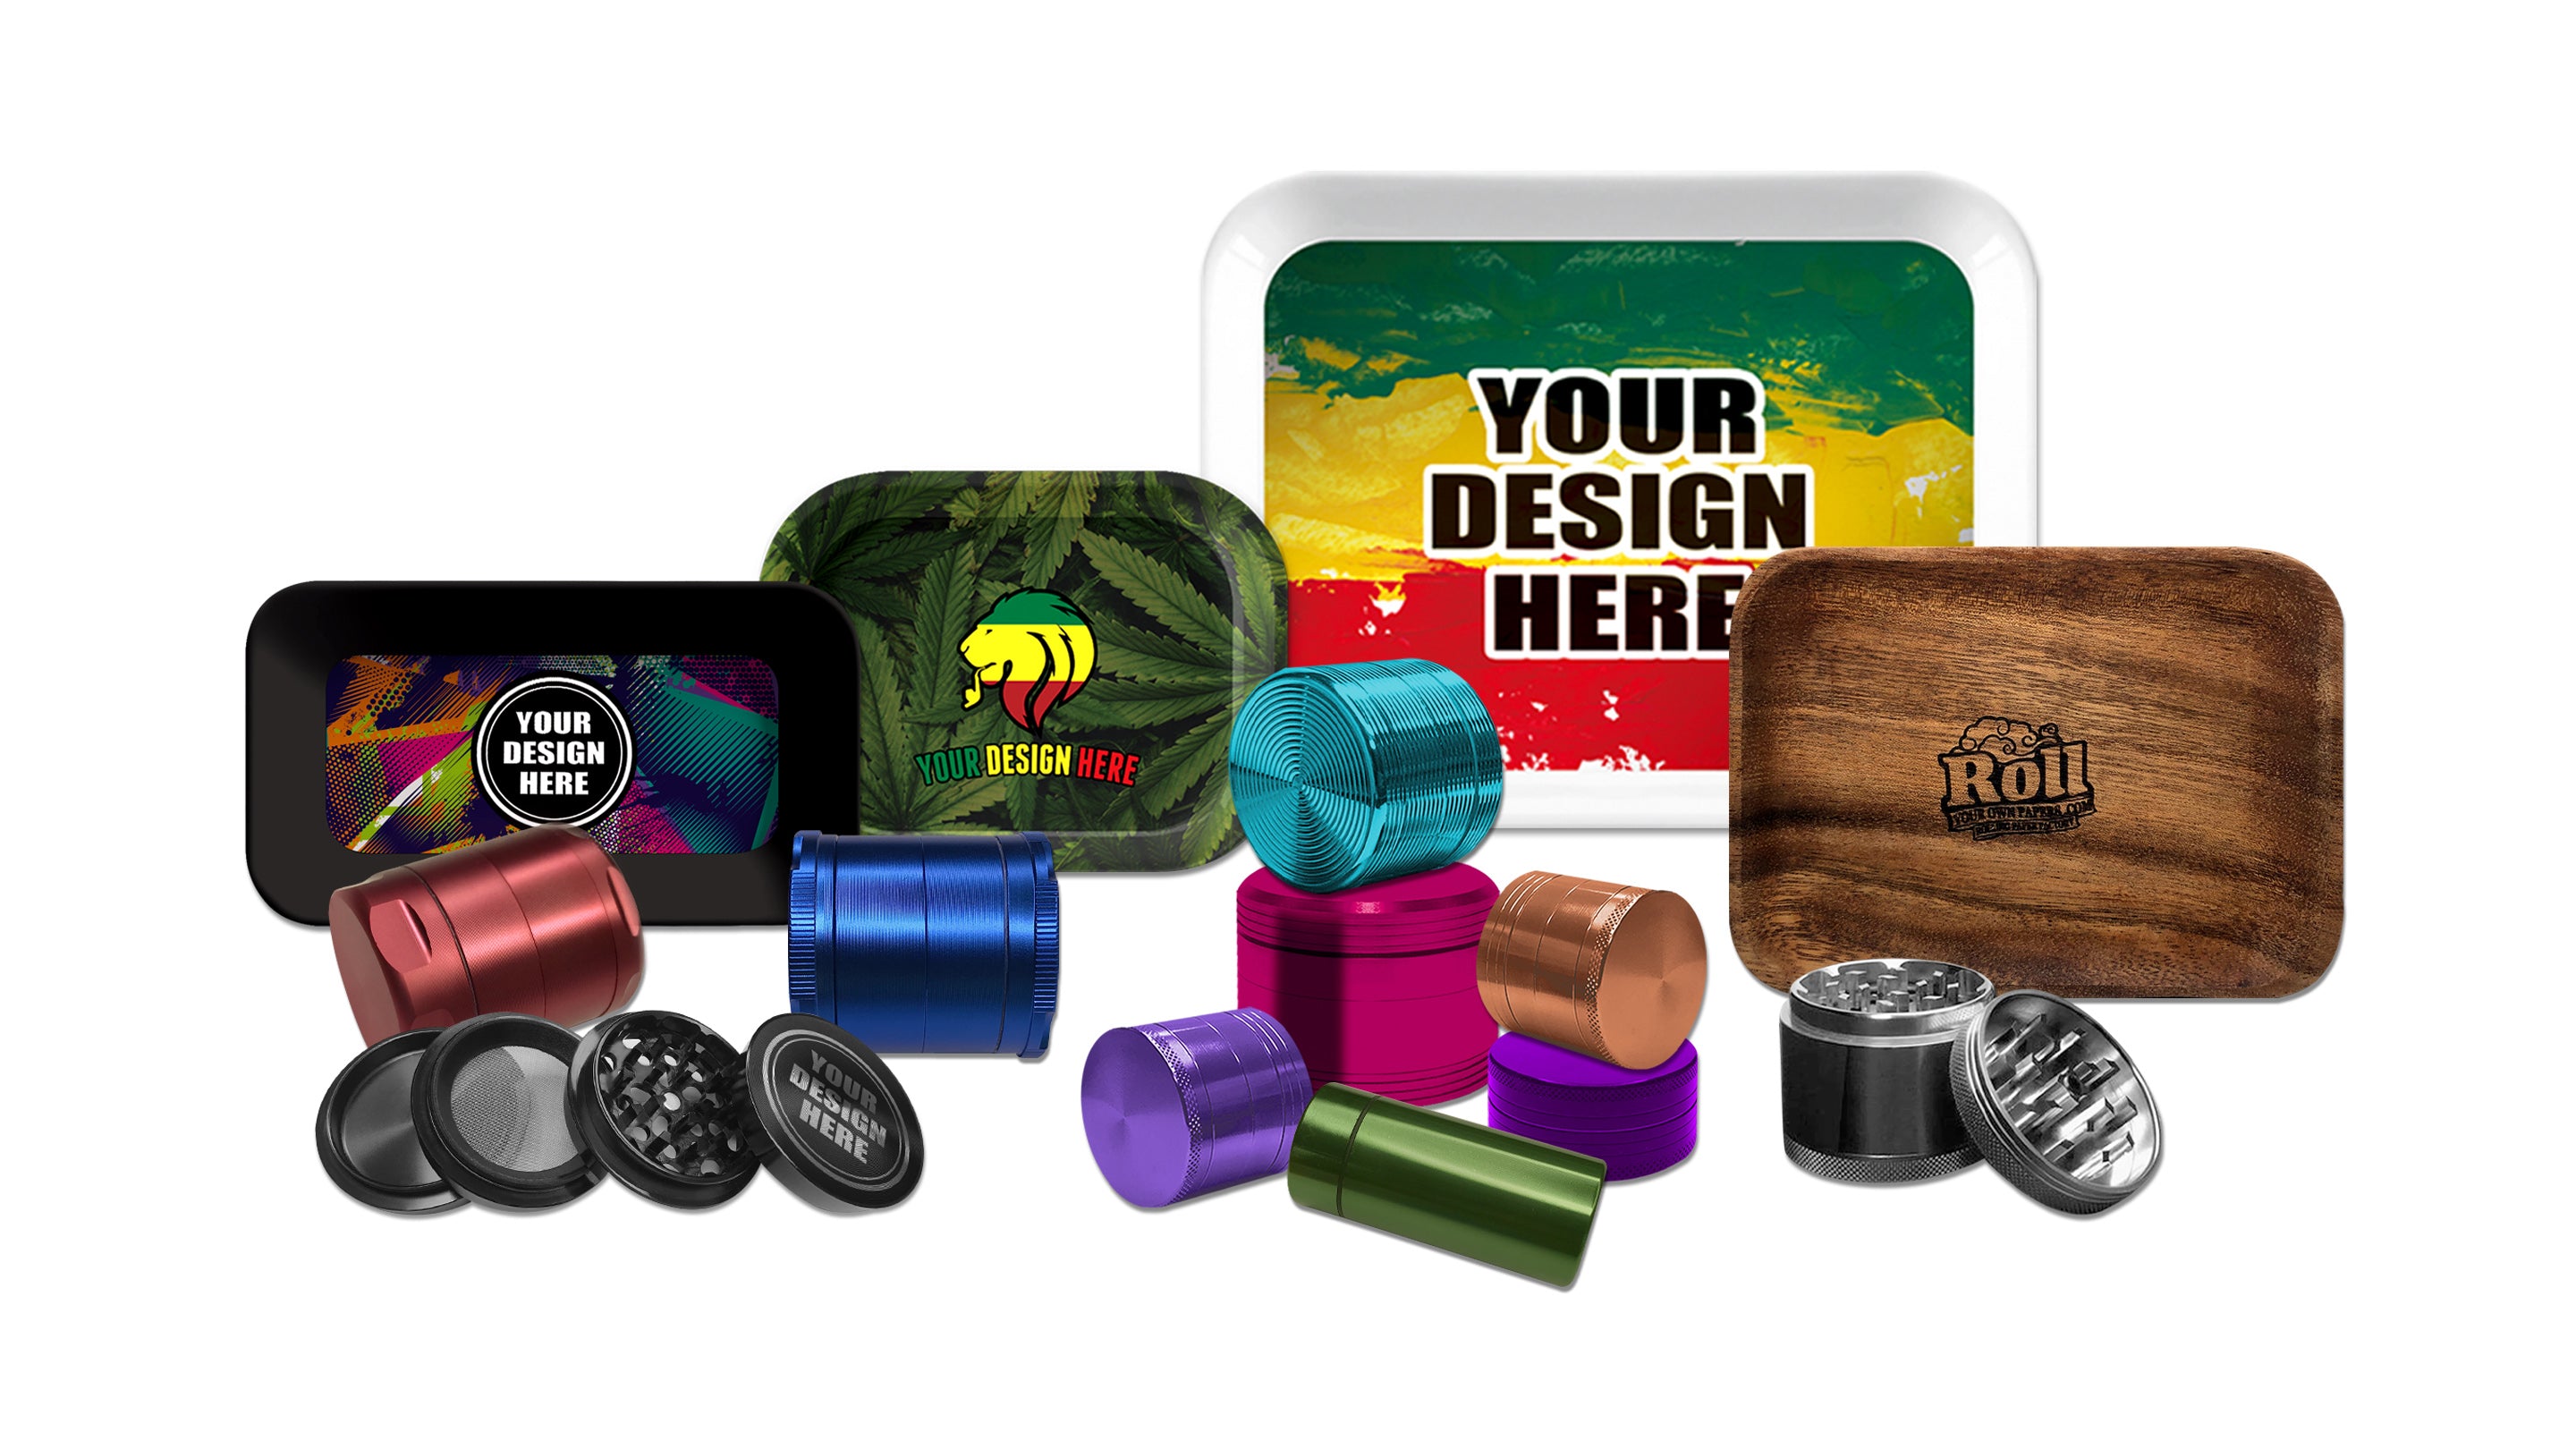
Materials & Feel
| Material | Pros | Considerations | Best For |
|---|---|---|---|
| Metal (tin/aluminum) | Durable, thin, travel-ready, easy to wipe | Can be noisy if you drop tools | Everyday use, backpacks |
| Bamboo/Wood | Premium look, warm feel, optional compartments | Wipe-only care; avoid soaking | At-home setups, display |
| Plastic/Poly | Lightweight, affordable, colorful | Prone to scratches over time | Budget, casual use |
| Silicone mats/inserts | Non-stick, great as liners, easy clean | Flexy feel; pair with a rigid tray | Zero-mess workflows |
Size & Shape 📏
Small: ultra-portable and perfect for solo sessions. Medium: the “do-everything” daily driver. Large: comfortable at a table, great for groups or complex setups.
Edges, Corners & Compartments
- Rounded corners: make scooping and cleanup easier.
- Moderate lip height: enough to contain crumbs without blocking your hands.
- Compartments: helpful for tips, cones, or a mini tool—but not required.
How to Use a Rolling Tray Step-by-Step 🛠️
Quick Start in 60 Seconds ⏱️
- Place the tray on a stable surface (or across your lap if seated).
- Left-to-right layout: grinder → herb → papers → tips → tool → lighter.
- Grind onto the tray, not over the floor; the tray catches everything.
- Build your tip/crutch on the tray edge for support.
- Fill, shape, and finish right over the center of the tray.
- Scoop fallen bits with a card back into your paper or jar.
Pro Workflow (The Left-to-Right Rule) ↔️
Think like a chef: mise en place. Arrange tools so your hands never cross over. Keep your dominant hand free for precision while the other hand feeds materials in a steady rhythm.
Zero-Mess Technique
- Use a thin liner: a silicone mat or parchment-style liner (not for rolling—just to protect the surface) makes cleanup instant.
- Corner scoop: cards push crumbs into the corner; pinch and reload.
- Anti-static brush: a soft brush lifts clingy bits from edges.
Detailed Steps
Step 1: Prep Your Space
Good light, elbow room, and a chair with back support. Wipe the tray with a lightly damp microfiber to remove dust.
Step 2: Lay Out Your Tools
Left: grinder and jar. Center: papers and tips. Right: packer tool, card, lighter. Keep a small bin or dish nearby for scraps.
Step 3: Grind Over the Tray
Open the grinder over the tray, tap gently, and use a card to gather anything that lands outside the paper.
Step 4: Build the Tip/Crutch
Fold tight and consistent. Use the tray edge as a straight reference while rolling the paper around it.
Step 5: Fill, Shape, and Finish
Sprinkle from the center outward, shape evenly, then finish. Any extra falls onto the tray, not your table or clothes.
Step 6: Final Sweep
Push stray crumbs into a corner and funnel back into a jar for next time. Wipe the tray if needed.
💡 Pro Tip: Keep a mini card (old gift card) on the tray. It’s the fastest two-second cleanup tool you’ll ever use.
Cleaning & Care
Daily Quick-Clean (30–60 seconds) ⚡
- Dry brush crumbs toward a corner; funnel back to storage.
- Wipe with a barely damp microfiber; dry immediately.
- For metal/plastic: a tiny splash of mild dish soap on the cloth if needed.
Deep Clean (Weekly or After Spills)
- Metal/Plastic: warm water + mild soap; rinse and dry. For sticky spots, use a small amount of isopropyl on a cloth, then rinse and dry.
- Bamboo/Wood: wipe-only; avoid soaking. Use a wood-safe cleaner, then condition lightly with a food-safe oil to keep it smooth.
- Silicone liners: hand-wash; air-dry.
Advanced Tips & Accessories 🎯
- Magnetic tool strip: park your packer, tweezers, or card so they never walk off.
- Tray cover or sleeve: cap your tray so a prepared setup stays clean between sessions.
- Low-glare lighting: reduces eye strain and improves accuracy.
- Travel pouch: a soft sleeve protects wood finishes; metal trays can drop into backpacks as-is.
- Compartment discipline: one spot per item; move clockwise so nothing gets lost.
- Noise control: place a thin liner on metal to avoid clinks at night.
Common Mistakes & Fixes 🚫✅
- Overcrowding the tray: remove extras; keep only what you’ll use in the next 5 minutes.
- Rolling over the edge: pull your paper back to the center—edges are for catching crumbs, not shaping.
- Grinding off-tray: always grind over the tray; it’s free herb insurance.
- Neglecting cleanup: 30 seconds now saves minutes later and keeps results consistent.
- Wrong size tray: upgrade to medium or large if your hands feel cramped.
Ready-Made Setups You Can Copy 🍱
Minimalist Everyday
- Medium metal tray
- Papers + tips in a tiny pouch
- Grinder + card
- Soft brush
Travel-Light ✈️
- Small tray or tray-lid combo
- Pre-cut tips and a slim pouch
- Silicone liner for instant cleanup
Host Mode
- Large tray
- Compartments for tips, papers, cones
- Two grinders (fine & regular)
- Extra cards for friends
Hygiene & Safety Tips
- Wash hands before handling materials.
- Wipe the tray surface before and after use—especially if shared.
- Don’t use harsh abrasives; they can scratch surfaces and trap residue.
- Let the tray dry fully before storing in a bag or drawer.
❓ Frequently Asked Questions
1) What size rolling tray should I start with?
Medium is the safe bet for most people—big enough to work comfortably, small enough to stash.
2) What’s the easiest tray material to maintain?
Metal or plastic wipe down quickly; bamboo looks premium but prefers gentle, wipe-only care.
3) How do I keep crumbs from escaping?
Use a moderate lip height, a silicone liner, and a mini card to funnel crumbs into a corner.
4) Can I use a tray on my lap?
Yes—pick a medium tray with rounded corners. It’s stable and comfy when seated.
5) What accessories make the biggest difference?
A soft brush, a mini card, and a silicone liner provide 90% of the benefit for minimal cost.
6) How often should I deep clean?
Weekly for heavy use; otherwise, whenever you notice buildup or sticky spots.
7) Do compartments really help?
They’re optional. Great if you like everything locked into place, but a clean flat tray works just as well.
⭐ Meet the ROLLYOUROWNPAPERS.COM Rolling Tray
Want a tray that’s built for real-world use? Our ROLLYOUROWNPAPERS.COM Rolling Tray is designed for clean, fast workflows and long-term durability:
Dialed-in lip height to keep crumbs contained without blocking your hands
Rounded corners for easy scooping and zero dead zones
Easy-clean finish that resists stains and wipes down in seconds
Custom branding options to match your vibe or shop identity
Ready to level up your setup? 🚀
Choose your ideal size and finish, then personalize it. Fast turnaround and friendly MOQs.






Leave a comment