How to Use Tips with Rolling Paper (Step-by-Step) ✨

Looking up “how to use tips with rolling paper”? You’re in the right place. This guide keeps it casual, practical, and absolutely beginner-friendly—while still giving seasoned rollers a few new tricks. We’ll cover why tips matter, the easiest folds, exact sizing, airflow tuning, glass vs paper options, and fast fixes to common problems. No fluff—just smooth, consistent draws and happy sessions. 😌
Quick Answer ✅
Make a small filter from card (or use a pre-rolled tip). Fold a few tight zig-zags to form a “W” or “M,” then roll the rest of the strip around it to create a springy cylinder. Place it at the mouth-end of your paper before you roll, keep the fill even, and maintain light, even pressure. Seal, tap the open end to settle the contents, and you’re set. ✨
Why Tips Matter (Comfort, Airflow, Structure) 🎯
- Comfort: A tip keeps the mouth-end firm, cool, and tidy—no soggy edges or collapsing ends.
- Airflow: The inner “zig-zag” or spiral acts like a tiny spacer that controls draw resistance—smooth, not stuffy.
- Structure: Tips give your roll shape and stability so it holds form and burns more evenly.
- Cleanliness: Less debris reaching your lips. Better for passing around, too.
Choosing the Right Tip: Rolling Paper vs Glass vs Pre-Rolled 🔍
There’s no “best,” only what fits your style. Here’s the vibe:
- Paper tips: Cheap, customizable, and everywhere. Great for learning different folds.
- Glass tips: Reusable and consistent. They stay cool and feel premium on the lips.
- Pre-rolled tips: Fast and uniform. Perfect when you want reliable results with zero fuss.
How to Size Your Tip (No Guesswork) 📐
Width = comfort. Too wide → airy; too narrow → hot and harsh. Try this quick sizing shortcut:
- Short papers: Tip width ~ 6–7 mm
- King size: Tip width ~ 7–8 mm
- Glasses & sensitive lips: Lean wider by +1 mm for cooler, easier draws
DIY gauge: The short side of a credit card is ~54 mm—use that as a visual ruler. Cut your tip strips to ~20–25 mm tall and 45–60 mm long; adjust to taste.
Folding Styles (With Mini Diagrams in Words)
1) Classic “W/M” Fold (Beginner-Friendly) 🙂
How it works: Fold three tight zig-zags (like a tiny accordion), then wrap the rest around it. The inner “W” acts as a spring and spacer.
Best for:
Everyday rolls, consistent airflow, easy to learn.
2) Spiral / Coil (Smooth Draw) 🌀
How it works: Skip the zig-zags and roll the strip into a spiral. Tweak the center opening to adjust airflow.
Best for:
People who prefer minimal resistance and a plush mouth-feel.
3) “S-Curve” Hybrid (Balanced Pull) ⚖️
How it works: Start with one or two small zig-zags, then spiral the rest. You get spring + smoothness.
Best for:
When you want just-right draw resistance without overthinking it.
Step-by-Step: How to Use Tips with Rolling Paper
- Prep your tip. Cut or grab a tip strip (~20–25 mm tall). Choose W/M, spiral, or hybrid. Keep it snug—not crushed.
- Place the tip at the mouth-end. Glue line facing up on the paper; tip sits left or right depending on your dominant hand.
- Distribute the fill. Aim for even consistency. Keep slightly less near the tip so the mouth-end doesn’t balloon.
- Shape the cylinder. Roll the paper back and forth with light pressure until the contents form a uniform tube.
- Tuck & roll. Tuck the edge closest to you under the fill. Roll forward with steady, gentle pressure.
- Seal. Lick (lightly) along the glue line and finish the roll. No need to crush it tight—let the tip do its job.
- Settle the open end. Tap it lightly on a tray or table. This compacts the far end without choking airflow at the tip.
- Final check. Look through the tip; you should see a neat opening, not squeezed shut.
Advanced Airflow Tuning (Pro Tricks) 🛠️
- Two-Finger Draw Test: Hold the roll between two fingers and take a gentle pull. If it feels like sipping through a thick milkshake, widen the tip a touch or loosen the last wrap by a millimeter.
- Tip Density Index (TDI): Count your folds per centimeter. More folds = tighter draw; fewer folds = airier. Dial your TDI to taste.
- Vent Offset: Nudge the tip 1–2 mm inward so the paper edge doesn’t collapse the opening. Tiny tweak, huge difference.
- Heat Guard Orientation: If your lips run warm, aim the zig-zag valleys up (like a mini baffle) to cool each pull. 🔬
- Glass Tip Micro-Adjust: Twist the tip slightly while rolling to “thread” the paper onto the glass for a perfect seal.
Troubleshooting: Runs, Loose Ends, Harsh Pulls 🚑
- One side burns faster: Your fill may be uneven. Repack the open end by tapping and gently tamping with a thin tool (not the tip side).
- Harsh, hot draw: Tip too narrow or folds too tight. Widen by 1 mm or switch to an S-curve hybrid.
- Paper collapsing at the mouth-end: Your tip is too short or too soft. Add one more wrap or use thicker card.
- Debris reaching lips: Add an extra zig-zag inside or switch to a pre-rolled tip with a finer inner coil.
- Gaps around a glass tip: Re-roll the last 1–2 cm to snug the paper onto the glass. A tiny moisture touch can help adhesion.
Hygiene & Sharing Etiquette
- Use personal tips: Keep a few pre-rolled paper tips or a spare glass tip on hand if you’re sharing.
- Quick clean: For glass, a warm soapy rinse works between sessions; deep clean with a safe solvent when needed, then rinse thoroughly.
- Rotation rule: Pass with the mouth-end dry and tidy; wipe if needed. Simple and thoughtful. 👍
Sustainability & Reuse ♻️
Paper tips are compostable in most places (check local rules), and glass tips can last for years. Reuse when you can, and keep a tiny tin for clean, ready-to-go paper tips so you’re not tearing random packaging in a rush.
Upgrade Your Setup: Our Custom Rolling Paper 💚
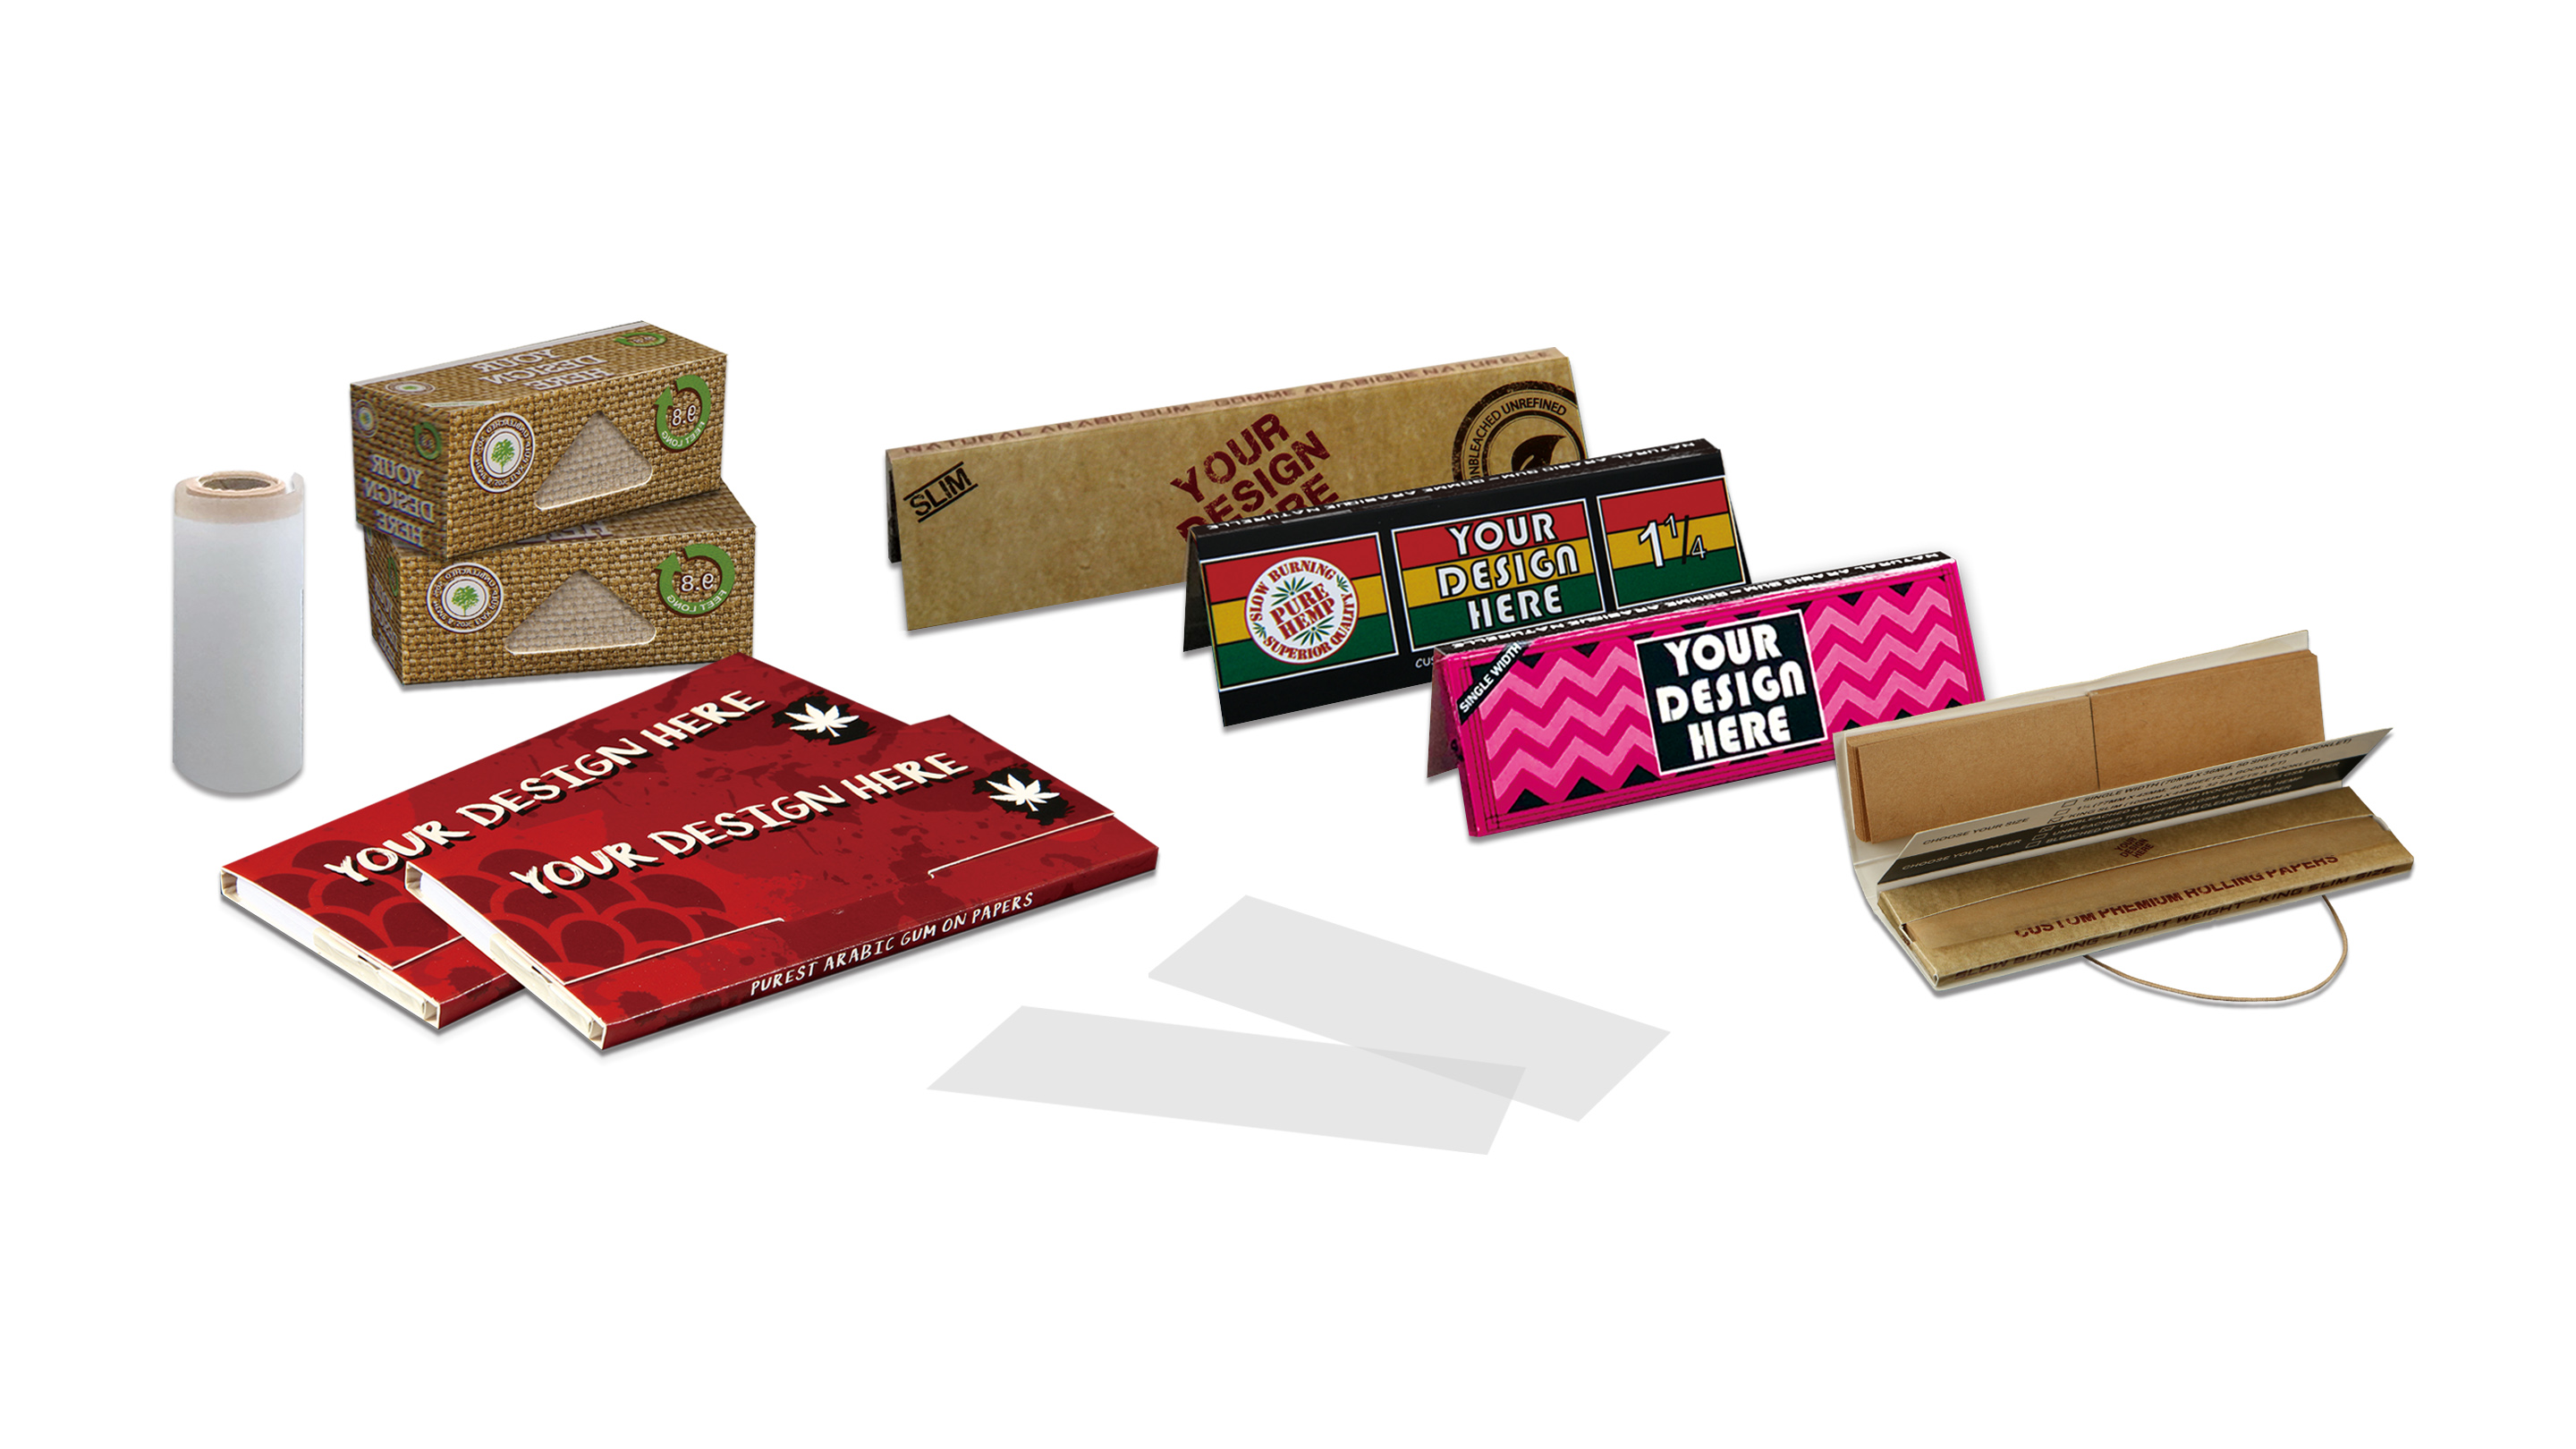
Ready for smoother rolls with fewer do-overs? Pair your favorite tips with our premium Rolling Paper. Designed for clean flavor, reliable glue lines, and consistent burn—plus options for custom prints when you want your branding on point. Your fingertips will notice the difference right away. ✨
Comparison Table: Tip Styles vs Use-Cases 📊
| Tip Style | Draw Feel | Best For | Pros | Watch-outs | Difficulty |
|---|---|---|---|---|---|
| W/M (Accordion) | Balanced | Daily use, beginners | Stable, easy to repeat | Too many folds can choke airflow | Easy |
| Spiral / Coil | Airy, smooth | Cooler draws, sensitive lips | Soft mouth-feel, quick to make | Can get loose if wrapped too lightly | Easy |
| S-Curve Hybrid | Balanced-plus | Consistent sessions, fewer variables | Spring + smoothness combo | Requires a tiny bit of practice | Medium |
| Glass Tip | Consistent, cool | Reusable, premium feel | Durable, easy to clean | Needs snug paper wrap to avoid gaps | Easy |
| Pre-Rolled Paper Tip | Uniform | Fast, on-the-go | Plug-and-play, reliable size | Less customization | Easiest |
FAQs ❓
1) What does a tip actually do?
It reinforces the mouth-end, filters debris, and sets the airflow path so each draw feels consistent and comfortable.
2) Paper or glass—what’s better?
Paper wins for low cost and custom folds. Glass wins for reuse, cooling, and premium feel. Try both; keep what you love.
3) How wide should my tip be?
6–7 mm for short papers, 7–8 mm for king size. Go +1 mm if you want cooler, easier pulls.
4) Should the tip go inside or outside the paper edge?
Inside, at the mouth-end before rolling. Keep it 1–2 mm from the paper edge to prevent pinching.
5) Why does one side burn faster?
Usually uneven packing. Tap the open end to settle the fill and re-shape the cylinder before lighting.
6) Can I reuse paper tips?
Yes—if they’re clean and still springy. Otherwise, recycle and roll a fresh one in seconds.
7) Are pre-rolled tips worth it?
Absolutely if you value speed and uniformity. They save time and reduce beginner errors.




Leave a comment