What Can I Use as a Rolling Tray? 25 Smart Alternatives, Pro Tips, a $10 DIY Blueprint ✨

If you’re asking “what can I use as a rolling tray?” you’re in the right place. This guide covers what actually works (and what to skip), the key traits of a great tray, 25 household alternatives, a $10 DIY tray plan, and cleaning care by material, and a pro workflow so your sessions stay neat and fast. Let’s dial in your setup. 😎
📚 Table of Contents
- 🔍 What Makes a Great Rolling Tray?
- 🏠 25 Household Alternatives You Already Own
- $10 DIY Pro-Level Tray 🧰
- 🧼 Cleaning & Care by Material
- 🔄 Organization: Set Up a Pro Workflow
- 🚫 Common Mistakes to Avoid
- ⭐ When to Upgrade to a Purpose-Built Tray
- 🔥 Our Rolling Tray: Designed for Real-World Use
- ❓ FAQs (7 Questions)
- ✅ Final Thoughts
🔍 What Makes a Great Rolling Tray?
📐 Size & Shape
Ideal everyday footprint: ~18–28 cm x 25–35 cm (about 7–11 in x 10–14 in). Compact travel: ~13–18 cm x 18–23 cm. Rectangles maximize workspace; rounded inner corners make cleanup easier.
Surface Texture & Cleanup
Look for a smooth, non-porous surface that won’t trap residue. Metal, ceramic, glass, hard plastics, and silicone liners are top-tier for wipe-downs. Matte finishes provide a bit more control than ultra-gloss.
🛡️ Lip & Corners
A low-to-medium rim (about 8–15 mm) keeps material on deck without bumping your hands. Rounded corners prevent bits from hiding. If your surface has no rim, pair it with a silicone baking mat or place it inside a shallow tray.
🎒 Portability & Weight
For travel, target <500 g and <15 mm thick. Add a soft pouch or elastic band to hold tools. Magnetic strips for tips/tools are a neat upgrade.
🏠 25 Household Rolling Tray Alternatives You Already Own
Each option includes quick pros/cons and a usage note.
🍽️ Kitchen & Dining
1) Rimmed baking sheet
- Pros: Perfect lip height, huge workspace, ultra-durable.
- Cons: Bulky for travel.
- Use it like this: Add a silicone mat for grip and quiet.
2) Cutting board (bamboo/wood)
- Pros: Stable, easy on tools, looks great.
- Cons: Porous; wipe promptly. Avoid oily finishes that transfer.
- Tip: Place a thin baking mat on top for low-mess cleanup.
3) Cutting board (plastic)
- Pros: Light, non-porous, dishwasher-friendly (check rating).
- Cons: Can warp under heat; stick to flat surfaces.
4) Serving tray (cafeteria or acrylic)
- Pros: Built-in rim, easy wipe-down.
- Cons: Some have slippery gloss—add a mat.
5) Large plate or platter (ceramic)
- Pros: Super cleanable, edges contain everything.
- Cons: Heavier; beware curved centers that make bits drift.
6) Wooden serving board with groove
- Pros: Groove acts like a lip; looks premium.
- Cons: Wipe dry right after use to avoid stains.
7) Food container lid (wide, rigid)
- Pros: Great for travel; easy to replace.
- Cons: Flexy plastic may bow; use on a flat table.
🗂️ Office & Desk
8) Clipboard (flat metal or rigid plastic)
- Pros: Ultra-portable, hard surface.
- Cons: No lip; flip the clip down to keep tools parked.
9) Desk drawer organizer (shallow)
- Pros: Built-in compartments = instant zones.
- Cons: Narrow channels can be fiddly.
10) Laptop lap desk (with rim)
- Pros: Big, comfy, often has a wrist rest as a barrier.
- Cons: Fabric undersides can collect bits—place a liner.
11) Mouse pad + thin tray combo
- Pros: Mouse pad adds grip; tray contains edges.
- Cons: Pure mouse pad alone is too flexible.
🔌 Tech & Household
12) Game console box lid
- Pros: Rigid cardboard with tall walls.
- Cons: Paper fibers—line it with parchment or a mat.
13) Tool tray or magnetic parts tray
- Pros: Incredible for holding metal tools, never lose clips.
- Cons: Some are small; go for the wider versions.
14) Drawer front or shelf board (finished)
- Pros: Flat, smooth, plenty of space.
- Cons: No rim; pair with a silicone mat.
15) Photo frame (glass facing up, backing reattached)
- Pros: Glass = slick and cleanable; frame acts as a lip.
- Cons: Don’t press hard; glass can crack under force.
16) Cat litter mat (unused, of course!)
- Pros: Designed to trap crumbs; easy shake-out.
- Cons: Flexible; place on a rigid surface.
🌍 Outdoors & Travel
17) Plastic cafeteria tray (lightweight)
- Pros: Big, cheap, built-in rim.
- Cons: Can scuff; wipe to keep smooth.
18) Camping mess tray (stainless)
- Pros: Durable, easy to clean, segmented.
- Cons: Segments can be slippery; keep tools in a deeper pocket.
19) Car trunk organizer insert
- Pros: Rigid plastic walls; nice height.
- Cons: Textured bottoms—add a smooth liner.
20) Portable breakfast-in-bed tray
- Pros: Legs fold; roomy workspace.
- Cons: Wobbly on soft surfaces—lock the legs.
Craft & Maker
21) 3D-printed tray (custom)
- Pros: Design your own lip height, corners, and zones.
- Cons: PLA can scratch; PETG/ABS is tougher. Sand for smoothness.
22) Bead sorting tray
- Pros: Micro-compartments = tiny bits stay put.
- Cons: Small; better as a companion tray.
23) Painter’s palette (flat, plastic)
- Pros: Multiple wells for tools and tips.
- Cons: Curved wells—don’t pack material in there.
24) Model-making cutting mat + shallow box
- Pros: Self-healing mat adds grip; box gives you a lip.
- Cons: Mat alone is floppy—always back it.
25) Shallow shadow box (glass removed)
- Pros: Great dimensions; wood frame = instant rim.
- Cons: Finish can be delicate—line with parchment or a mat.
$10 DIY Pro-Level Tray
Materials
- 1x thin rimmed baking sheet (quarter-sheet pan works great)
- 1x silicone baking mat cut to fit (noise + grip + easy cleanup)
- Optional: magnetic tool strip, tiny funnel, small silicone pinch bowls
📏 Measurements
A quarter-sheet pan is typically ~9.5" × 13" (24 × 33 cm) with a ~1" (2.5 cm) rim. That rim is perfect for keeping things contained while giving your hands room.
🛠️ Steps
- Wash/dry the pan; cut the silicone mat to the inner footprint.
- Place the mat inside; it reduces rattling and adds traction.
- Add a small magnetic strip on the outer rim for tools.
- Place a mini funnel in one corner as your “return chute.”
- Use pinch bowls as removable “prep” and “waste” zones.
🚀 Upgrades
- Cable clip on the rim to hold a packer or stick.
- Corner scoop (3D print or buy a tiny metal scoop) for zero-loss cleanup.
- Elastic loop handle for on-the-go carry.
Rolling Tray Cleaning & Care by Material
Metal (aluminum, stainless)
Do
- Wipe with microfiber after each use.
- For stubborn spots, a drop of dish soap + warm water, then dry fully.
Don’t
- Avoid steel wool on coated aluminum; it can scratch.
🌲 Wood & Bamboo
Do
- Use a dry brush or slightly damp cloth.
- Refresh with a tiny amount of food-safe wood conditioner if needed.
Don’t
- Don’t soak; prolonged moisture can swell fibers.
♻️ Plastic & Acrylic
Do
- Use mild soap and lukewarm water.
- Microfiber to avoid micro-scratches.
Don’t
- No harsh solvents; they can haze the surface.
Glass & Ceramic
Do
- Wipe with glass cleaner or soap + water.
- Squeegee moisture to avoid water spots.
Don’t
- Don’t press hard directly on thin glass—support it on a rigid table.
Silicone (liners, mats)
Do
- Remove and rinse under warm water; air dry flat.
Don’t
- Avoid sharp scraping tools that can nick the surface.
🔄 Organization: Set Up a Pro Workflow
🗺️ Create Zones
- Prep zone: where you grind/portion.
- Pack zone: main working area.
- Tool strip: packer, scoop, filters.
- Waste pocket: stems, wrappers, odd bits.
- Return corner: funnel + card for collecting leftovers.
🧠 Micro-Tweaks That Add Up
Use a parchment square
Park a small parchment square in the return corner; fold to funnel leftovers back into your container with zero mess.
Go vertical with magnets
Attach tiny magnets to tools so they snap to a rim strip—no more hunting.
Lighting matters
Even desk lighting reduces spills and speeds up packing.
🚫 Common Mistakes to Avoid
- Too small: cramped trays cause spills.
- Too glossy: super-slick surfaces send bits sliding.
- No rim: great for photos, not for daily use.
- Fabric or soft foam: traps crumbs, hard to clean.
- Heavy stone: looks luxe, but tiring to move and cold to the touch.
⭐ When to Upgrade to a Purpose-Built Rolling Tray
If you’re using your setup weekly (or daily), a dedicated tray saves time and mess. Look for: dialed-in lip height, rounded corners, non-stick or easy-clean finish, tool parking, and travel-friendly weight. Bonus points for custom branding if this is for a lounge or shop.
🔥 Our Rolling Tray: Designed for Real-World Use
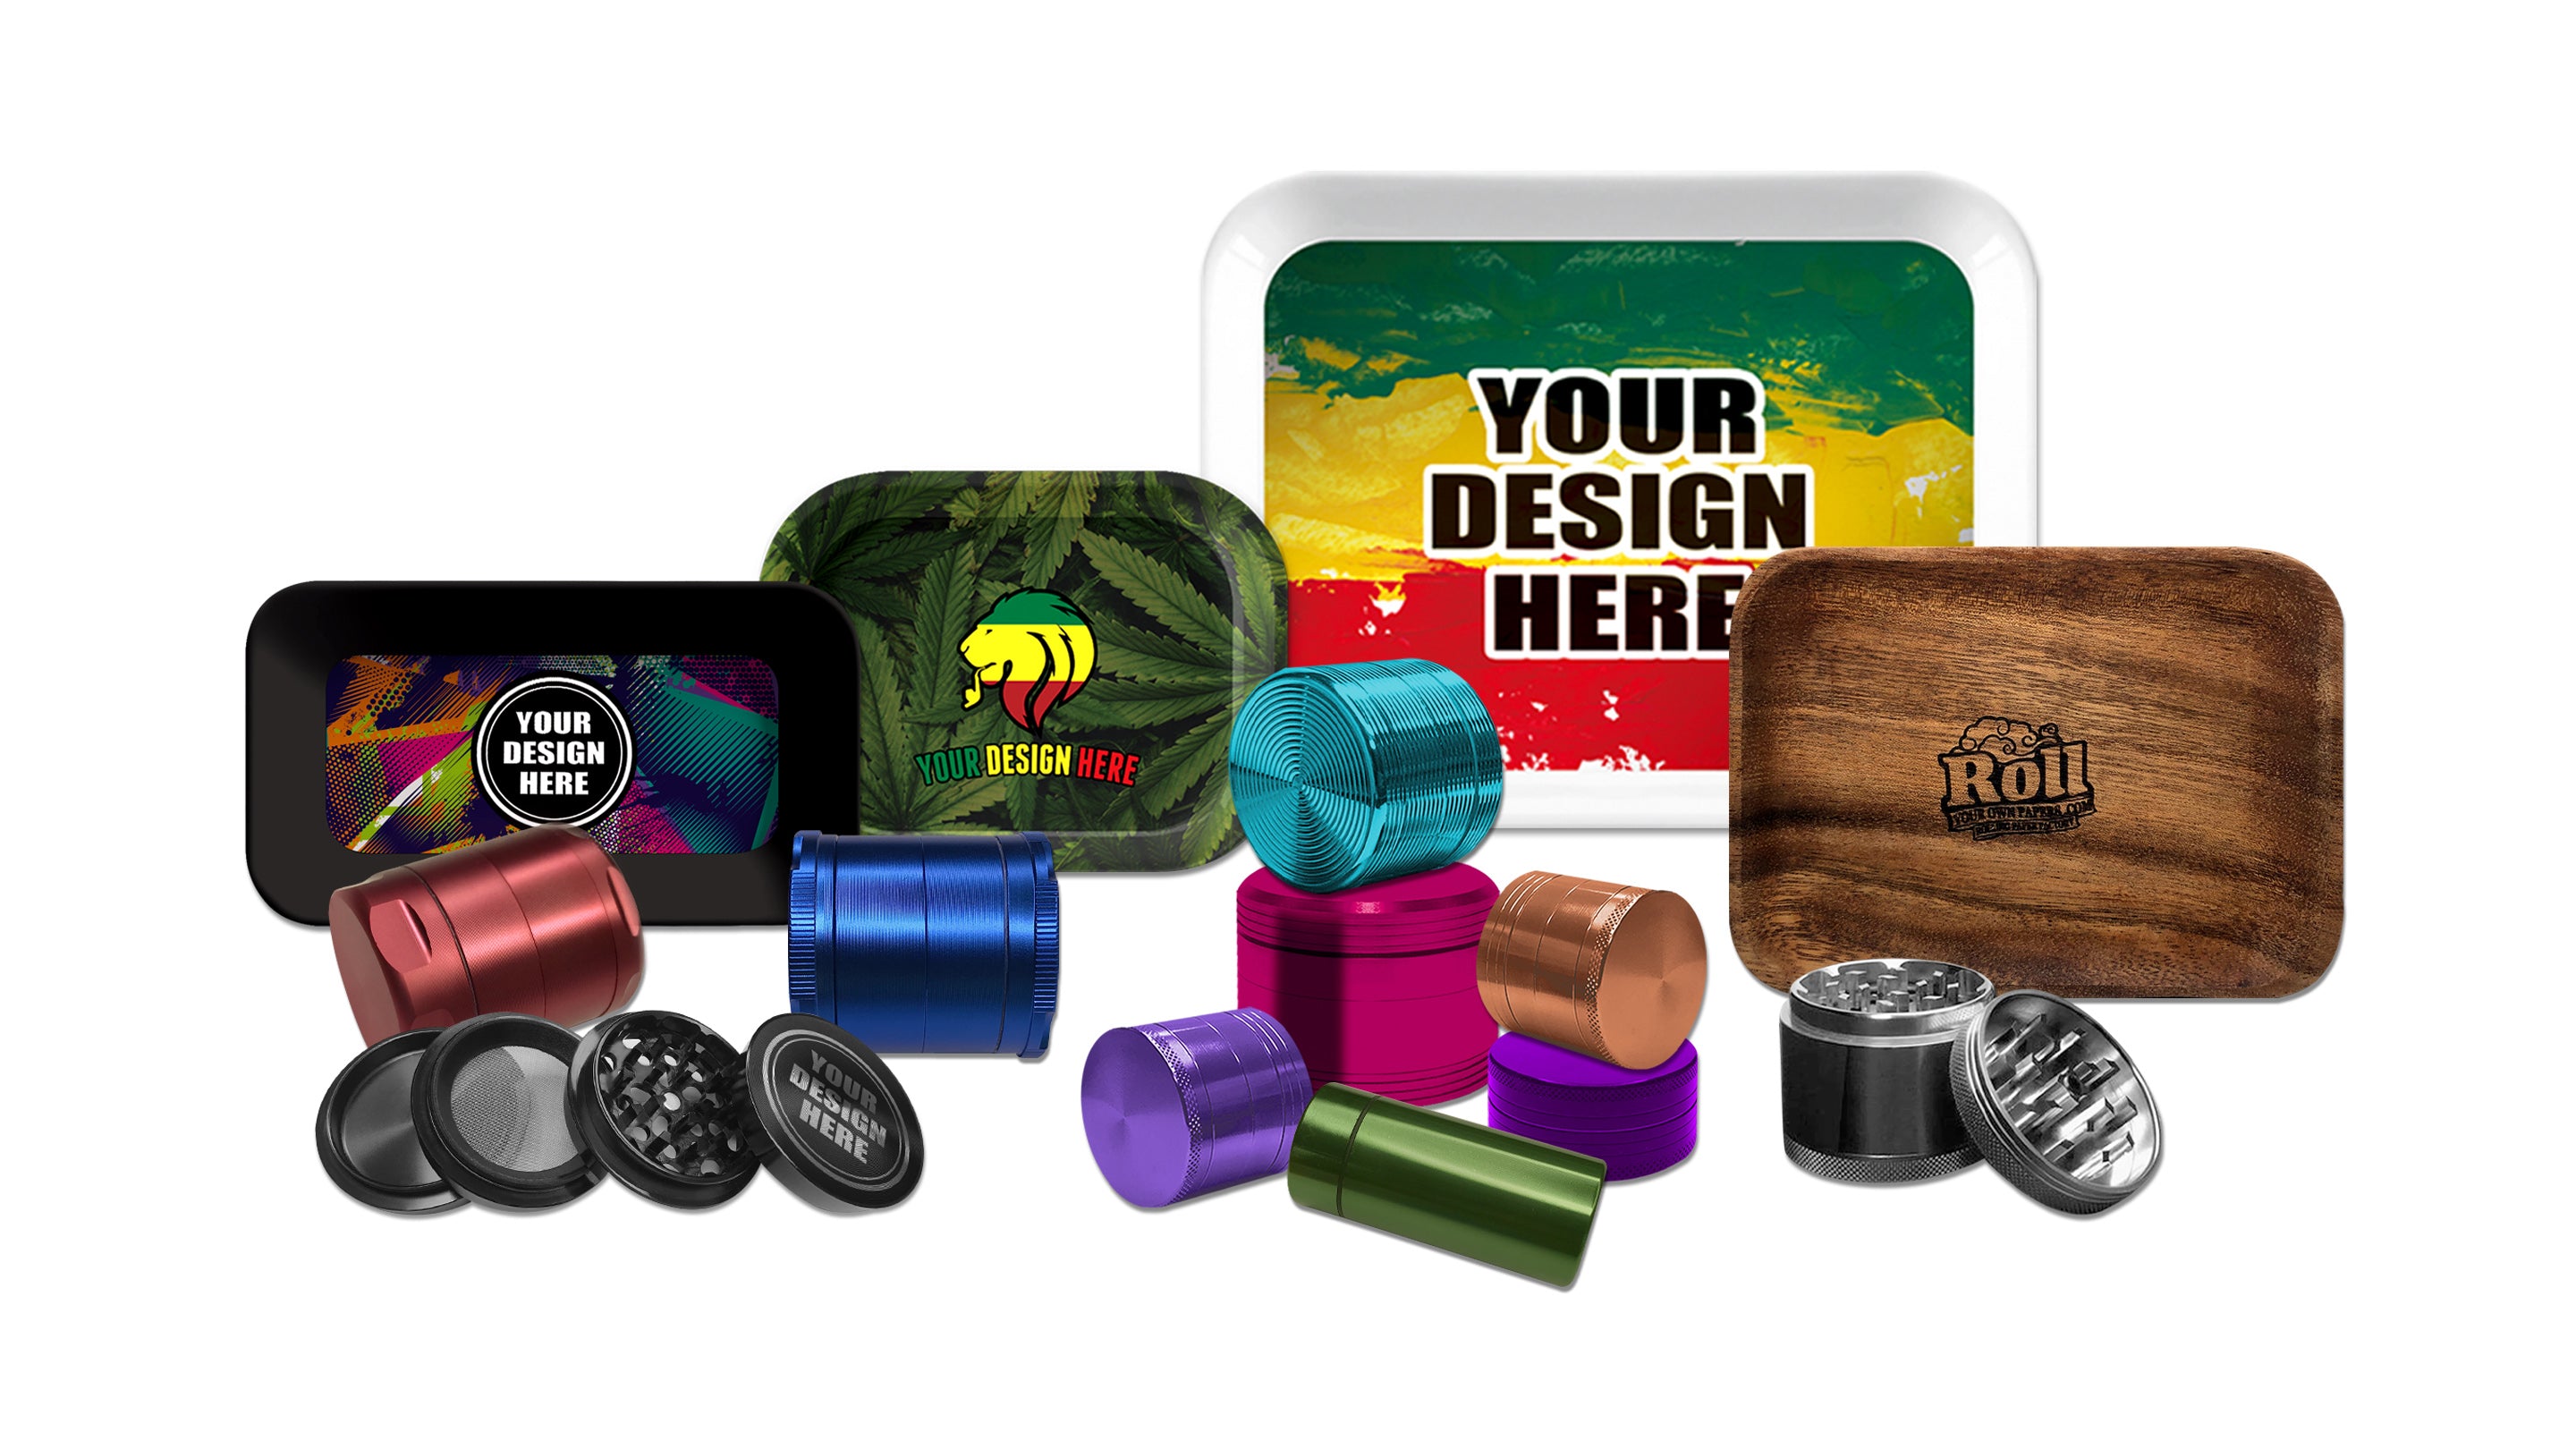
Ready for a tray that just works? Our ROLLYOUROWNPAPERS.COM Rolling Tray is built for clean, fast workflows and long-term durability:
- Dialed-in lip height to keep crumbs contained without blocking your hands
- Rounded corners for easy scooping and zero dead zones
- Easy-clean finish that resists stains and wipes down in seconds
- Low minimums and custom branding options to match your vibe or shop identity
Level up your setup—shop the Rolling Tray now 🚀
❓ FAQs (7 Questions)
1) What can I use as a rolling tray in a pinch? 🆘
Go for a flat, rigid surface with a mild rim: a rimmed baking sheet, plastic serving tray, or even a wide food-container lid lined with parchment. Avoid soft fabrics that trap crumbs.
2) What size works best for everyday use? 📐
Around 7–11 in × 10–14 in (18–28 cm × 25–35 cm) gives room for tools and a return corner without hogging desk space.
3) How do I keep tiny bits from escaping? 🧲
Choose a tray with a lip, add a silicone liner for grip, and establish a “return corner” with a parchment square and mini funnel. Rounded corners help big time.
4) Can I 3D print a tray? 🧱
Absolutely. PETG or ABS is tougher than PLA. Sand lightly for a smoother surface and design rounded inner corners plus a 10–12 mm lip.
5) What’s the easiest way to clean a tray fast? ⚡
Keep a microfiber cloth handy for quick wipes. For deeper cleans, mild dish soap + warm water works for metal, plastic, and glass. Wood prefers a dry brush or slightly damp cloth—dry promptly.
6) Are wooden trays okay long-term? 🌲
Yes, if you keep them dry and wipe them down. Use a thin silicone mat on top to protect the finish and simplify cleanup.
7) How can I make a travel-friendly kit? ✈️
Use a small cafeteria tray or plastic cutting board, elastic band for tools, one silicone pinch bowl, and a parchment square. Keep total weight under ~500 g.
✅ Final Thoughts
For anyone wondering what can I use as a rolling tray, the answer is simple: pick a flat, easy-clean surface with a bit of containment, set clear zones, and add a return corner for mess-free wrap-ups. Start with what you have, then upgrade to a purpose-built tray when you want faster, cleaner sessions—every single time.
Short answer: use any flat, rigid surface with a raised lip if possible—something easy to clean, with corners that keep crumbs and tools from escaping. Kitchen items (like a rimmed baking sheet or cutting board), office items (clipboard, lap desk), and household lids and trays work great in a pinch.






Leave a comment