How to Grind Weed Without Grinder: 12 Genius Hacks You Need to Know ✨

Last updated: November 2025
📖 Table of Contents
- Why Grinding Matters (And What to Do When You're Grinder-Less)
- Kitchen Warriors: 5 Household Heroes
- On-the-Go Solutions: Travel-Friendly Tricks
- Next Level: Creative Solutions You Haven't Tried
- Getting the Perfect Grind: Texture & Consistency Guide
- 7 Mistakes Everyone Makes (And How to Avoid Them)
- Storing Your Freshly Ground Herb
- When It's Time to Actually Buy a Grinder
- Upgrade Your Experience: Our Premium Weed Grinder
- Frequently Asked Questions
- Final Thoughts
Why Grinding Matters (And What to Do When You're Grinder-Less) 🌿
Look, we've all been there. You've got some premium flower, you're ready to chill, and then... where the heck is your grinder? Maybe it's at a friend's place, buried in your closet, or you just never bought one in the first place. Whatever the reason, you're sitting there with chunky buds wondering how to grind weed without grinder.
Here's the thing: grinding isn't just some fancy ritual stoners made up to feel sophisticated. When you break down your herb properly, you're actually creating more surface area, which means better airflow, more even burning, and honestly, a way better experience overall. Trying to pack a bowl with whole nuggets? You're basically wasting your stash and getting frustrated in the process.
But don't stress! Before humans invented specialized grinders, people were getting creative with everyday objects. And guess what? Some of these DIY methods actually work incredibly well. In fact, you probably have at least three different tools in your house right now that can get the job done.
This guide is going to walk you through every legitimate method for grinding your herb without a traditional grinder. We're talking kitchen appliances, pocket tricks, and some creative solutions you definitely haven't thought of. Plus, we'll cover the common mistakes people make (so you don't have to learn the hard way), and give you some pro tips that'll make you look like a grinding genius.
Ready to become a master of improvisation? Let's dive in! 🚀
Kitchen Warriors: 5 Household Heroes 🏠
Your kitchen is basically a treasure trove of grinding tools disguised as cooking equipment. These methods work great when you're at home and have access to your normal stuff. Just remember: cleanliness is everything! Nobody wants their herb tasting like yesterday's garlic or coffee. Trust me on this one.
1. Scissors + Shot Glass Method ✂️🥃
Why This Rocks:
Honestly? This is probably the best DIY method out there. It's precise, gives you total control over consistency, and you can literally watch your progress the whole time. No weird surprises, no over-grinding, just you and your scissors getting cozy with a shot glass.
Step-by-Step:
- Clean your shot glass - I'm serious. Rinse it out and dry it completely. Leftover tequila residue is not the flavor profile you're going for.
- Drop your bud in - Don't overfill! About halfway is perfect. You need room to actually work the scissors.
- Insert scissors and start snipping - Hold the glass steady with one hand and keep those scissors moving in a circular motion. Pretend you're Edward Scissorhands, but like, in a shot glass.
- Check every 15-20 seconds - Rotate the glass, check your progress. Keep snipping until you hit your desired texture.
- Dump it out - Use a piece of paper or directly into your bowl. Easy peasy!
Best For:
Single servings, precise control, when you're hanging at someone's place
2. Coffee Grinder Technique ☕
Why This Rocks:
Got a lot to grind? Coffee grinder's your best friend. It's fast, efficient, and can handle bigger quantities without breaking a sweat. Just be warned: it's powerful, so you need to keep an eye on it.
Step-by-Step:
- Clean it thoroughly - Seriously, run it empty a few times, wipe it down, maybe run some rice through it to absorb any coffee oils. Your herb shouldn't taste like last week's French roast.
- Break buds into smaller chunks first - Don't toss whole nuggets in there. Break them into popcorn-sized pieces with your fingers.
- Don't overfill - Fill it about 1/3 to 1/2 full max. You need room for the pieces to move around.
- Pulse, don't hold - Use 1-2 second pulses. Check after each pulse. This thing will turn your herb into powder if you're not careful.
- Tap and shake between pulses - This redistributes everything so you get an even grind.
- Clean immediately after - Unless you want your morning brew to taste... interesting.
Best For:
Large quantities, when you need it done fast, preparing for group sessions
3. Knife & Cutting Board Approach 🔪
Why This Rocks:
If you can chop vegetables, you can chop herb. This method is super straightforward and you have complete control. Plus, it's kind of therapeutic in that same way meal prep is - just you, your knife, and some good vibes.
Step-by-Step:
- Use a clean, dry cutting board - Preferably one you don't mind dedicating to this purpose. Wood or plastic both work fine.
- Sharp knife is key - A sharp chef's knife or a small paring knife works best. Dull knives will just smash your buds.
- Place buds on the board - Spread them out a bit, don't pile them on top of each other.
- Rock-chop technique - Use a rocking motion with your knife, just like you're chopping herbs or garlic. Keep one hand on the back of the blade for control.
- Gather and repeat - Use your knife to gather everything into a pile, then chop again. Repeat until you hit your desired consistency.
- Scrape it up - Use the knife blade to scoop everything into your bowl or paper.
Best For:
Medium amounts, when you want control, therapeutic chopping sessions
4. Cheese Grater Method 🧀
Why This Rocks:
This one's definitely unconventional, but it works! It's especially good if your buds are a bit dry. Just watch your knuckles - graters don't discriminate between plant material and skin.
Step-by-Step:
- Clean your grater - Make sure it's spotless and dry.
- Set up a catch container - Put a plate, bowl, or paper underneath to catch everything.
- Hold bud firmly - Use your fingers or even tweezers if the piece is small.
- Gentle, downward strokes - Rub the bud against the grater using medium-sized holes. Not the tiny ones, not the huge ones - the middle size.
- Rotate as you go - This helps you use the whole bud without grinding your fingers.
- Check the grater teeth - Bits will get stuck in there. Use a toothpick or brush to get it all out.
Best For:
Drier buds, when you've got nothing else, small to medium amounts
5. Mortar & Pestle Classic 🗿
Why This Rocks:
Going old school! This is how people have been grinding herbs (of all kinds) for literally thousands of years. It's gentle, effective, and honestly kind of feels like you're some ancient herbalist mixing up potions.
Step-by-Step:
- Clean and dry your mortar and pestle - If you use it for cooking, make sure there's no garlic or spice residue.
- Optional: let buds dry a bit - This method works better with slightly drier material. Leave them out for 30-60 minutes if they're super fresh.
- Place buds in the mortar - Don't overload it. About 1/4 full is good.
- Press and twist - Use the pestle to press down and twist in circular motions. Think of it like you're grinding peppercorns, but gentler.
- Don't smash too hard - Gentle, consistent pressure is better than aggressive pounding. You're grinding, not making guacamole.
- Scrape sides periodically - Use the pestle to push everything back to the center.
Best For:
Small to medium amounts, achieving fluffy texture, when you want to feel like a wizard
On-the-Go Solutions: Travel-Friendly Tricks 🎒
Not at home? No problem! These methods use items you can carry in your pocket, backpack, or car. Perfect for road trips, camping, festivals, or when you're crashing at a friend's place.
6. Pill Bottle Shake Method 💊
Why This Rocks:
This is the ultimate portable solution. It's like having a grinder in your pocket, except it's just a pill bottle and some coins. Simple, effective, and surprisingly fun once you get into a rhythm.
Step-by-Step:
- Get a clean pill bottle - Those orange prescription bottles work perfectly. Make sure it's empty and rinsed out.
- Sanitize your coins - Coins are gross. Like, really gross. Wipe them down with alcohol wipes or soap and water. Let them dry completely.
- Break buds into smaller pieces - Thumbnail-sized chunks work best.
- Add buds to bottle - Fill it about 1/3 full. You need room for everything to move around.
- Drop in 2-3 coins - Nickels and quarters work best because they're heavier. Dimes are too light, pennies are too gross.
- Secure the cap - Make sure it's on tight!
- Shake vigorously - We're talking maracas-style shaking. Get into it! 30-60 seconds should do it.
- Check your progress - Open it up and take a look every 20 seconds or so.
Best For:
Travel, festivals, when you're not at home, building those forearm muscles
7. Credit Card Technique 💳
Why This Rocks:
You always have a card on you, right? This method is super discrete and works anywhere you have a flat surface. It's basically the same concept as using a knife, but way more portable.
Step-by-Step:
- Find a clean, hard surface - Your phone screen (protected with a case), a hardcover book, a clean plate, whatever works.
- Place bud on surface - Spread it out a bit.
- Use card edge to chop - Hold the card at a 45-degree angle and use a rocking/chopping motion, similar to using a knife.
- Scrape and repeat - Use the card to gather everything into a pile, then chop again.
- Keep going - This method takes a bit longer, but you'll get there. Usually 2-3 minutes of work.
Best For:
Super portable situations, when you literally have nothing else, stealth mode
8. The OG Hand-Breaking Method 👐
Why This Rocks:
Sometimes the simplest solution is the best one. This is how people did it before grinders were even invented, and you know what? It still works! Zero equipment needed - just you and your buds getting intimate.
Step-by-Step:
- Make sure hands are clean and dry - Wash them if needed, but make sure they're completely dry. Moisture is the enemy here.
- Hold bud between thumb and fingers - Gently but firmly.
- Pick and pull - Use your fingernails and fingertips to pull the bud apart into smaller pieces. Work your way around the whole nug.
- Break down further - Keep picking and breaking until pieces are small and relatively consistent.
- Collect from fingers - Some sticky stuff will be left on your fingers - scrape it off and add it to your pile.
- Wash your hands - Trust me, you'll want to.
Best For:
Emergency situations, when you're in nature, absolute last resort, building character
Next Level: Creative Solutions You Haven't Tried 🎨
Alright, you've mastered the basics. Now let's get weird (in a good way). These methods are less common but can be super effective in specific situations.
9. The Blender Method (Use with Extreme Caution!) 🌪️
The Deal:
Blenders are powerful - like, really powerful. This is only for when you need to grind a LOT at once. We're talking batch prep here.
How To Do It:
- Clean your blender thoroughly
- Add broken-up buds (fill it max 1/4 full)
- Use PULSE mode only
- Do 1-2 second pulses maximum
- Check after EVERY pulse
- Stop before it turns to dust
Why it's risky: Blenders can turn your premium herb into powder in literally 3 seconds if you're not watching carefully. Only use this if you're confident and need quantity over perfection.
10. The Pizza Cutter Method 🍕
The Deal:
Got a clean pizza cutter? It's basically a knife on wheels. This method combines the control of a knife with the rolling action that makes grinding easier on your wrist.
How To Do It:
- Place buds on a clean cutting board
- Roll the pizza cutter over them repeatedly
- Use a back-and-forth motion, changing directions
- Gather and repeat until desired consistency
Perfect for: When your wrist is tired from chopping, medium quantities, satisfying rolling action
11. The Microplane/Zester Method 🧂
The Deal:
If you've got a microplane or fine zester (the thing you use for lemon zest or hard cheese), it can work in a pinch. Just be gentle!
How To Do It:
- Make sure your microplane is clean and dry
- Hold bud firmly (or use tweezers for safety)
- Very light pressure - let the grater do the work
- Move in one direction only
- Results in a superfine grind
Best for: When you need a really fine, almost powdery consistency (though this isn't always ideal)
12. The Pill Crusher Method 💊
The Deal:
Those manual pill crushers that pharmacies sell? They're basically miniature mortar and pestles designed for portability. Perfect travel companion!
How To Do It:
- Break bud into small pieces first
- Place in the crusher chamber
- Twist and press gently
- Check every few twists
- Empty and repeat as needed
Perfect for: Travel, small amounts, discrete grinding on the go
Getting the Perfect Grind: Texture & Consistency Guide 🎯
Not all grinds are created equal! Depending on what you're doing, you'll want different textures. Here's your guide to grinding perfection:
Coarse Grind 🌾
Looks like: Small pebbles, chunky pieces, can see individual flower structures
Best for: Bongs, bubblers, larger pipes
Why: Better airflow, less likely to get sucked through, easier to pack
Medium Grind 🍃
Looks like: Dried oregano, consistent pieces, fluffy texture
Best for: Regular bowls, most pipes, vaporizers
Why: Perfect balance of surface area and airflow, most versatile consistency
Fine Grind ✨
Looks like: Ground black pepper, small consistent pieces
Best for: Rolling papers, blunts, some vaporizers
Why: Rolls better, burns more evenly in joints, maximizes surface area
Extra Fine/Powder (Generally Avoid) 💨
Looks like: Dust, powder, very fine particles
Warning: Too fine! Will burn too fast, taste harsh, might get inhaled or fall through bowls
If it happens: Mix it with some coarser pieces to balance it out
7 Mistakes Everyone Makes (And How to Avoid Them) 🚫
Mistake #1: Using Dirty Tools
The problem: Your herb picks up flavors and bacteria from whatever tool you use. Old coffee, garlic residue, or just general kitchen gunk? Gross.
The fix: Always clean and dry your tools before and after grinding. It takes 30 seconds and makes a huge difference in taste and safety.
Mistake #2: Over-Grinding into Powder
The problem: Too fine = harsh experience, difficult to work with, falls through bowls, burns too fast
The fix: Check your progress frequently. Stop when you hit your target consistency. Remember: you can always grind more, but you can't undo powder.
Mistake #3: Wet Hands or Tools
The problem: Moisture makes everything sticky, clumpy, and harder to work with. Plus it can affect potency and freshness.
The fix: Make sure everything is bone dry before you start. If your buds are too moist, let them air out for 15-30 minutes first.
Mistake #4: Handling It Too Roughly
The problem: Aggressive handling crushes trichomes and wastes the good stuff. Those little crystals are delicate!
The fix: Be gentle but firm. Think of it like handling fresh herbs in cooking - you want to break them down, not destroy them.
Mistake #5: Not Cleaning Up Immediately
The problem: Sticky residue hardens and becomes a pain to clean. Plus, it wastes product and looks sketchy if someone else uses the tool.
The fix: Clean your tools right after using them. A quick rinse and wipe takes 60 seconds. Your future self will thank you.
Mistake #6: Forgetting About Collected Resin
The problem: Sticky stuff accumulates on your fingers, tools, and surfaces. That's basically free product going to waste!
The fix: Scrape tools with a card or toothpick to collect buildup. Wash your hands over your stash to let particles fall back in. Every bit counts!
Mistake #7: Using the Wrong Method for Your Situation
The problem: Trying to use a cheese grater when you're camping, or hand-breaking when you need to prep a large amount.
The fix: Match your method to your situation. At home with time? Go for the scissors method. Need it quick and have quantity? Coffee grinder. Traveling light? Pill bottle and coins. Work smarter, not harder!
Storing Your Freshly Ground Herb 💾
Okay, so you've ground your herb like a pro. Now what? Proper storage is crucial because ground flower loses potency and freshness faster than whole buds.
Immediate Use (Within a Few Hours) ⏰
- Just leave it in your rolling tray or on parchment paper
- Cover with a clean surface if pets or dust are concerns
- No special storage needed for same-day use
Short-Term Storage (1-3 Days) 📦
- Small glass jar or airtight container
- Keep in a cool, dark place
- Avoid plastic bags - they create static and steal trichomes
- Don't pack it down - let it stay fluffy
Why You Shouldn't Store Ground Herb Long-Term 🤔
Ground herb has way more surface area exposed to air, which means:
- Faster degradation of active compounds
- Terpenes (flavor/aroma compounds) evaporate quicker
- Dries out faster, becoming harsh
- More vulnerable to mold if any moisture present
When It's Time to Actually Buy a Grinder 🛒
Look, these DIY methods are awesome in a pinch, and honestly some of them work really well. But let's be real: if you're regularly finding yourself needing to grind your herb, it might be time to invest in an actual grinder. Here's when to make the leap:
Signs You Need a Real Grinder:
- You're doing this daily - If you're grinding multiple times a week, a real grinder will save you time and hassle
- Your hands hurt - All that scissoring and chopping adds up! Grinders are way easier on your wrists and fingers
- You want consistency - DIY methods work, but grinders give you perfect, consistent results every single time
- You value your time - A grinder takes 10 seconds. The methods above? 2-10 minutes. Do the math!
- You're tired of cleaning kitchen tools - Let's face it, having dedicated equipment just makes life easier
- You want to collect kief - Most quality grinders have a kief catcher (that's the powdery stuff that falls through - basically concentrated goodness). DIY methods don't give you this bonus!
What Makes a Good Grinder:
- Multiple chambers (at least 3, including kief catcher)
- Sharp, diamond-shaped teeth
- Smooth threading that won't get stuck
- Strong magnetic lid
- Easy to clean
- Durable materials (metal > plastic)
✨ Upgrade Your Experience: Our Premium Weed Grinder
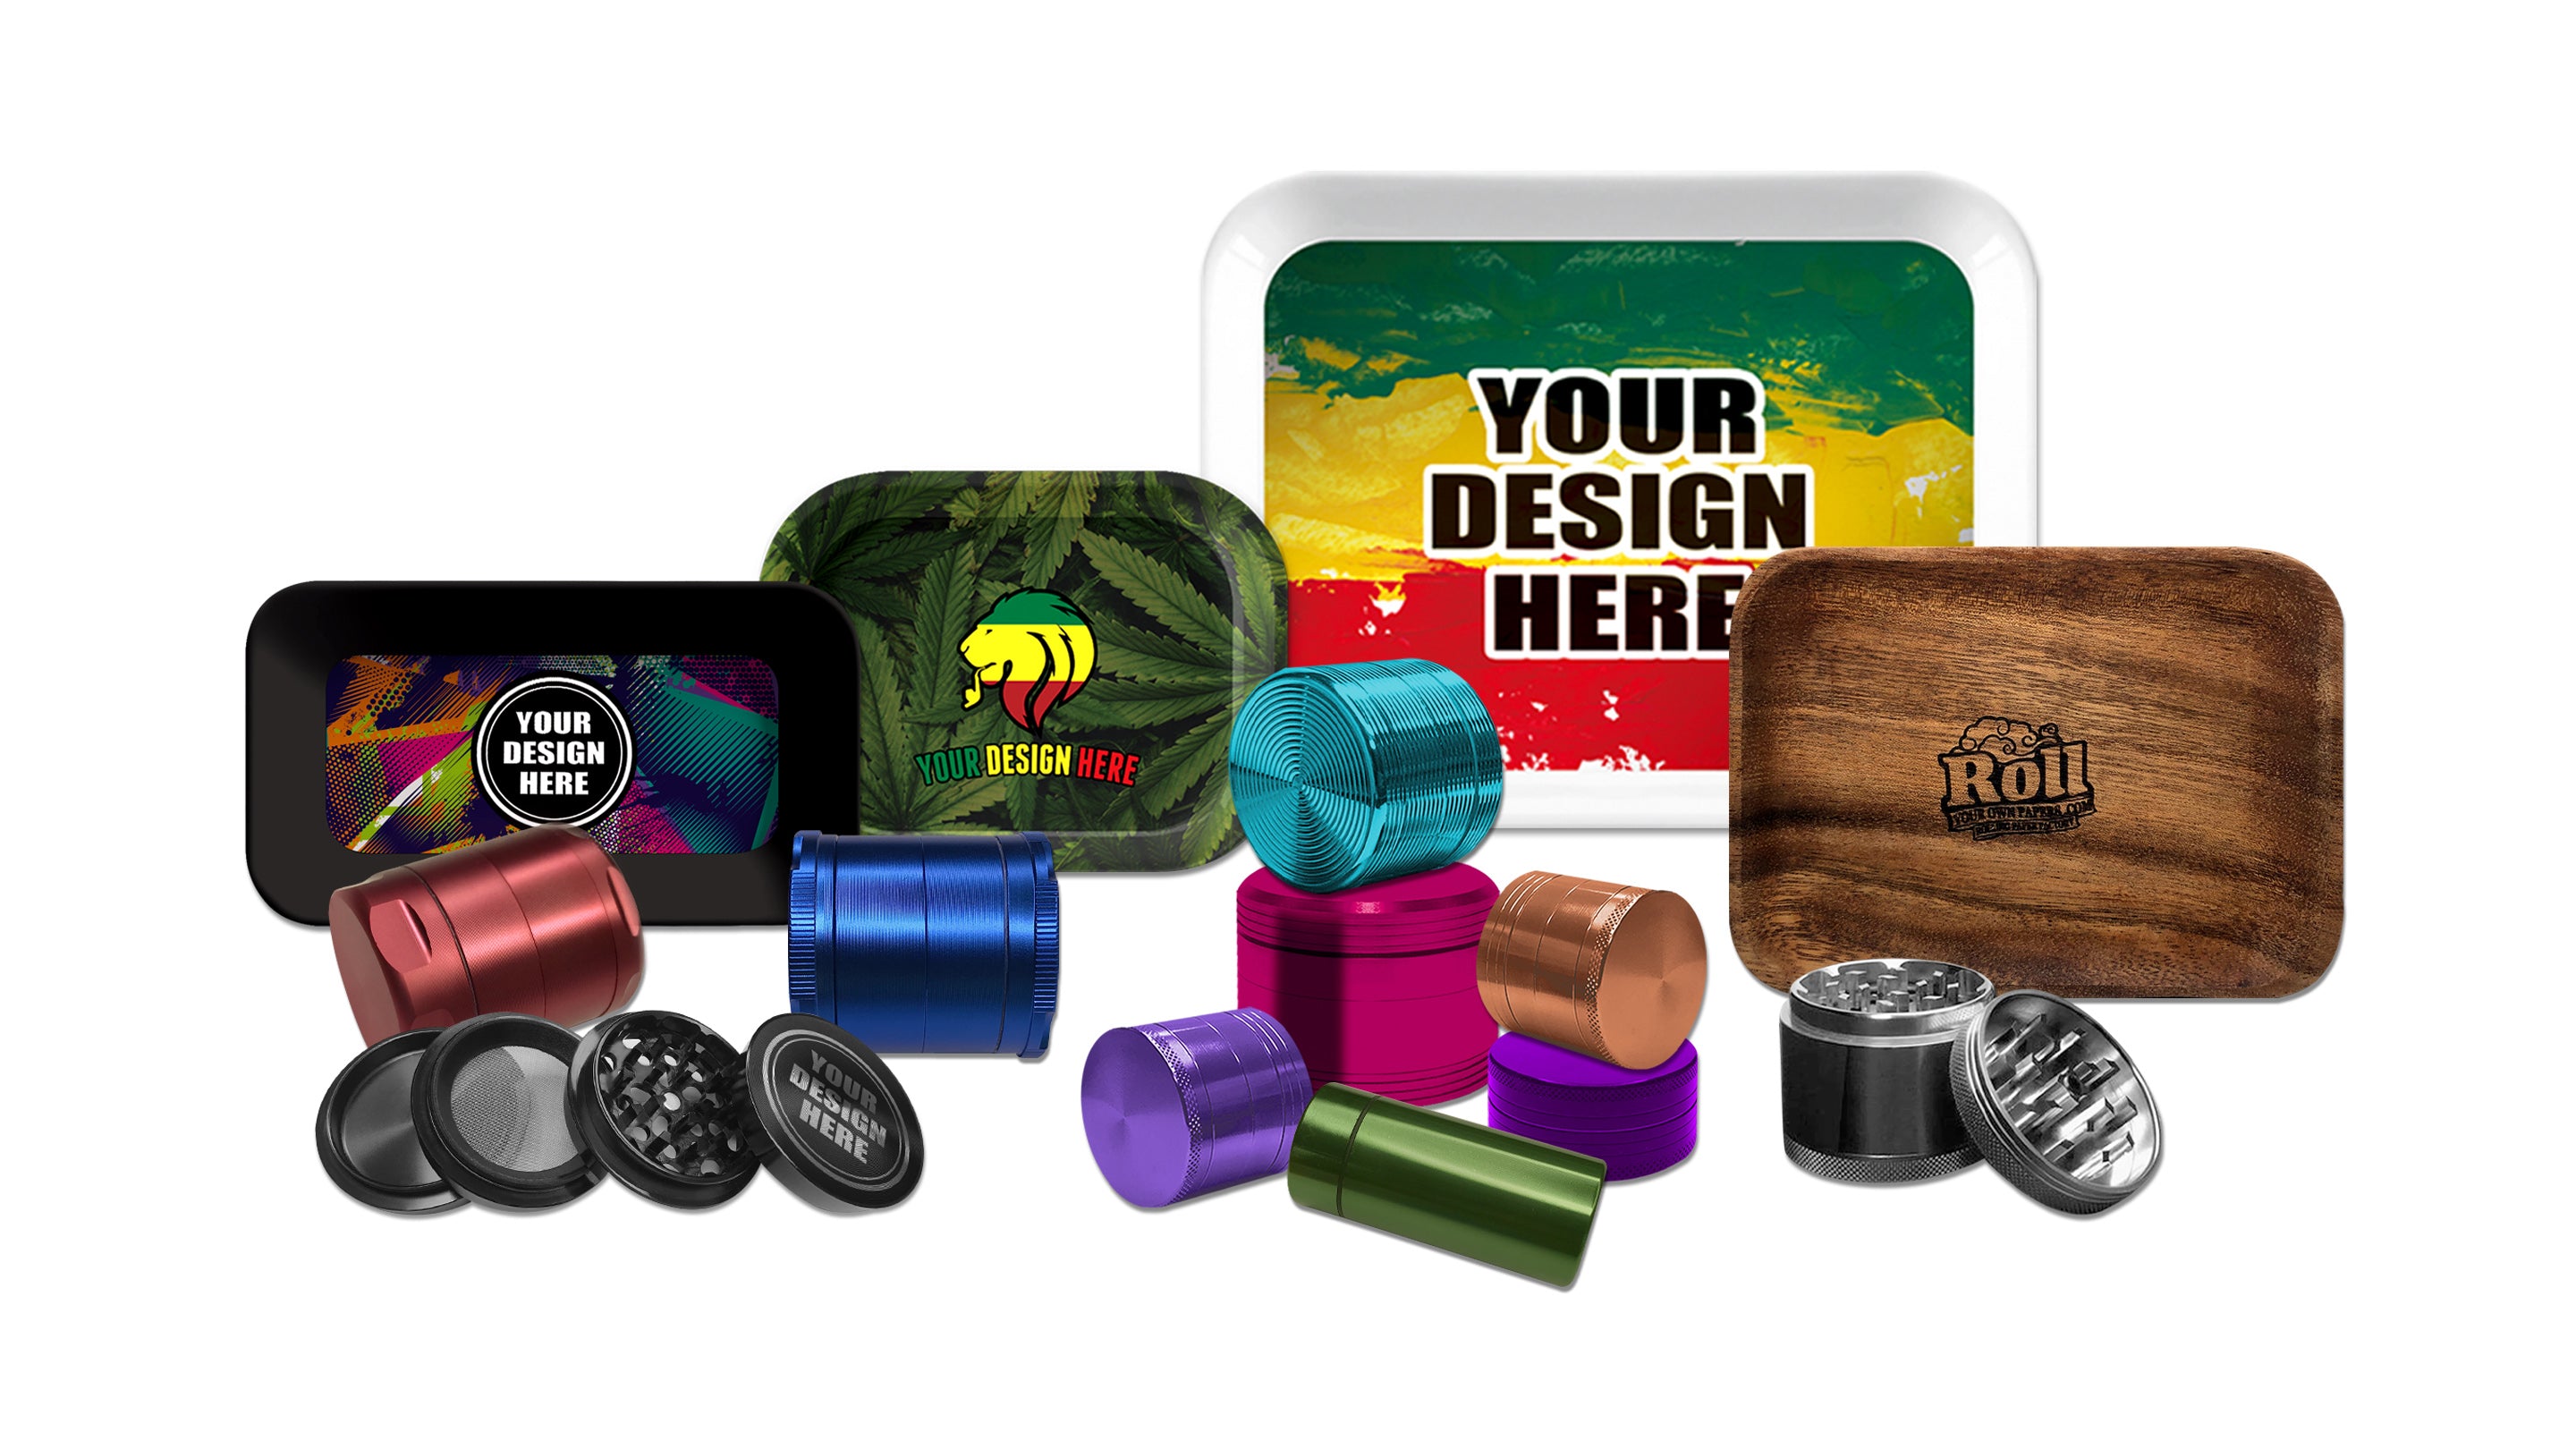
Tired of MacGyvering your way through grinding? We've got you covered! Our premium weed grinder is designed by people who actually use the product (imagine that!) and built to last a lifetime.
Why Our Grinder Rocks:
- 🔪 Razor-Sharp Teeth: 50 diamond-shaped teeth that slice through even the stickiest buds effortlessly
- 💎 4-Chamber Design: Separate compartments for grinding, storage, and kief collection - maximize every bit of your herb
- 🧲 Industrial-Strength Magnets: The lid stays on tight, but opens smoothly every time - no more spills in your bag
- 🛡️ Aircraft-Grade Aluminum: This thing will outlive your car. Scratch-resistant, durable, and looks gorgeous
- 🧼 Easy to Clean: Smooth surfaces and threaded design make cleaning a breeze. No sticky corners or hard-to-reach spots
- 📏 Perfect Size: 2.5" diameter - fits in your pocket but handles enough for group sessions
- 🎨 Beautiful Finish: Multiple color options with anodized coating that won't chip or fade
- ✅ Lifetime Warranty: We stand behind our product. If it breaks (it won't), we'll replace it. No questions asked.
The Bottom Line: Yes, the DIY methods in this article work great. But if you're serious about your experience, a quality grinder is a game-changer. It's faster, more consistent, collects kief, and will last you years. Think of it as investing in your future self!
Ready to upgrade? Check out our premium grinder collection and stop improvising with shot glasses (unless you're into that - no judgment!). 😎
Frequently Asked Questions 🤔
Final Thoughts 💭
So there you have it - your complete guide to grinding herb without a traditional grinder! Whether you're using scissors and a shot glass, shaking coins in a pill bottle, or getting fancy with a mortar and pestle, you now have at least a dozen different methods at your disposal.
The key takeaways? Keep your tools clean, don't over-grind, and match your method to your situation. At home with time? Go for precision with scissors or a knife. Need it done fast? Coffee grinder has your back. Traveling or at a friend's place? Pill bottle method is clutch. In an absolute emergency? Your hands will work just fine.
Remember, while these DIY methods are fantastic for those "oh crap" moments (we've all been there!), investing in a quality grinder is worth it if you're a regular user. It saves time, gives you consistent results, collects that precious kief, and honestly just makes life easier. Think of all these methods as your backup plan - good to know, handy to use, but maybe not your forever solution.
Whatever method you choose, the most important thing is that you're getting the consistency you need for the experience you want. Every technique in this guide works - some better than others in certain situations - but they all get the job done when you need them to.
Now get out there and grind like a pro! And hey, if you discover a new method we didn't cover here, you're basically a pioneer. Just maybe test it on a small amount first. 😄
Happy grinding, friends! ✌️🌿







Leave a comment