🤩 How to Make a Homemade Weed Grinder (12 Safe & Clever Methods) 💡

Stuck without your grinder? No stress. This friendly, step-by-step guide shows you how to make a homemade weed grinder using safe, household tools—plus how to keep things clean, consistent, and session-ready. We’ll also flag what not to do (for real-world safety) and when it’s smarter to upgrade to purpose-built weed grinders ⚙️.
Safety First ☑️
- Food-safe contact only. Stick to glass, stainless steel, ceramic, silicone, or clean wood. Avoid painted/coated items that can flake.
- No shavings or filings. If a method might shed metal/plastic (e.g., drilling, screws), skip it.
- Clean before & after. Wash and dry anything that touches herb. Keep the taste neutral and the grind debris-free.
- Mind your hands. Use stable surfaces, slow motions, and protective mitts if needed 🧤.
Prep Tips for a Cleaner Weed Grinder ✨
Before you start:
- De-stem & pre-break: Pinch off stems and break larger pieces to almond-size chunks—your grind gets more even.
- Chill 10 minutes: Pop the herb (in a dry jar) into the fridge or freezer for 5–10 minutes. Slightly firmer pieces = less stickiness and cleaner cuts ❄️.
- Small batches: Overfilling any DIY tool makes a mess. Work in rounds for control.
12 DIY Methods (Ranked by Ease) 🏆
1) Shot Glass + Small Scissors ✂️🥃
Drop herb into a clean shot glass. Use small, sharp scissors to snip slowly, letting pieces fall to the bottom. The glass walls keep everything contained, and you control texture easily.
Pro Tips
- Angle the scissors and rotate the glass as you cut for a uniform chop.
- Wipe the inside of the glass afterward so nothing clings.
2) Mortar & Pestle (Old-School Precision) ⚗️
For dry herb, a ceramic or stone mortar delivers a consistent, fluffy grind. Press and twist—don’t pound.
Pro Tips
- Short, gentle circles prevent over-powdering.
- Rinse and fully dry to keep flavors clean.
3) Micro-Plane/Zester or Fine Grater 🧀
Move herb lightly across a fine grater over a plate. Great for dry material when you need a quick, even shred.
Pro Tips
- Use gentle passes—don’t mash into the teeth.
- Brush away clingy particles with a soft pastry brush.
4) Knife + Cutting Board (Chef’s Dice) 🔪
Use a sharp chef’s knife and a stable wooden board. Rock the blade in a rhythmic motion to “dice” evenly—like herbs for a salad.
Pro Tips
- Keep fingers tucked; slow is smooth, smooth is fast.
- Re-gather the pile and give it a few final chops for uniformity.
5) Coin-in-Jar Shake (Mess-Free) 🪙🫙
Place herb and a clean, smooth coin into a small glass jar with a tight lid. Shake gently in short bursts. The coin helps break up pieces without blades.
Pro Tips
- Use a polished coin and sanitize it first.
- Check progress every 5–10 shakes to avoid over-shredding.
6) Tea-Infuser Ball + Shake 🎾
Load a stainless tea ball with small pieces and shake over a plate. Works like a mini tumble mill, keeping bits contained.
Pro Tips
- Choose a ball with larger perforations so pieces can break up freely.
- Sanitize and dry thoroughly first.
7) Two Sieve Sandwich + Rub (Gentle & Even) 🧺
Place herb between two fine stainless steel strainers and rub gently in small circles over a bowl. You get consistent size with minimal mess.
Pro Tips
- Light pressure only—let the mesh do the work.
- Tap both sieves over the bowl at the end to collect everything.
8) Silicone Oven Mitt Rub 🧤
Lay a silicone oven mitt (textured side up) on the counter, sprinkle herb on top, then rub gently with a second silicone mitt or clean card. The micro-texture helps break things down.
Pro Tips
- Keep pressure light and steady—think “massage,” not “press.”
- Wipe the mitt with a dry cloth afterward.
9) Mason Jar + Ceramic Ball (Gentle Tumbler) ⚪
Use a clean mason jar and a small, smooth ceramic baking bead (or marble). Shake in 5–10 second sets; the bead nicks pieces into uniform bits.
Pro Tips
- Only use ceramic or glass media—never rough metal that could chip.
- Short bursts + frequent checks = even texture.
10) Salad Chopper/Mezzaluna 🥗
A mezzaluna’s rocking motion makes quick, even work of pre-broken herb on a wooden board.
Pro Tips
- Keep portions small; do two or three passes at most.
- Scrape the board with a bench scraper to gather every last bit.
11) Mini Food Processor (Pulse-Only) ⚙️
Use very small batches and short pulses. Pre-chilling the herb helps prevent paste-y results.
Pro Tips
- 1–2 second pulses; stop as soon as you hit your texture.
- Immediately transfer to a plate to avoid clumping.
12) 3D-Printed Two-Piece Grinder (DIY but Purpose-Built) 🧩
If you have access to a printer, you can model/print a simple two-piece design. Choose a food-contact filament and sand the teeth edges lightly to remove burrs. Clean thoroughly before first use.
Pro Tips
- Pick a filament marketed for food contact; skip anything experimental or brittle.
- Wash with mild soap, rinse well, and fully dry.
What Not to Use ❌
- Power drills, screws, pushpins, or sandpaper rigs: risk of shards, filings, and contamination.
- Painted/coated plastics or flaking metals: particles can end up in your grind.
- Anything rusty, sticky, or scented: off-flavors and hygiene concerns.
When to Upgrade to a Real Grinder ⚙️
DIY is clutch in a pinch. But if you care about consistency, flavor clarity, and easy cleanup, a dedicated grinder is the easy W. Consider stepping up to:
- Precision-cut teeth for fluffy, even results.
- Multi-chamber designs that separate and collect fine particles neatly.
- Durable materials (aircraft aluminum, stainless, or hardwood) for long life.
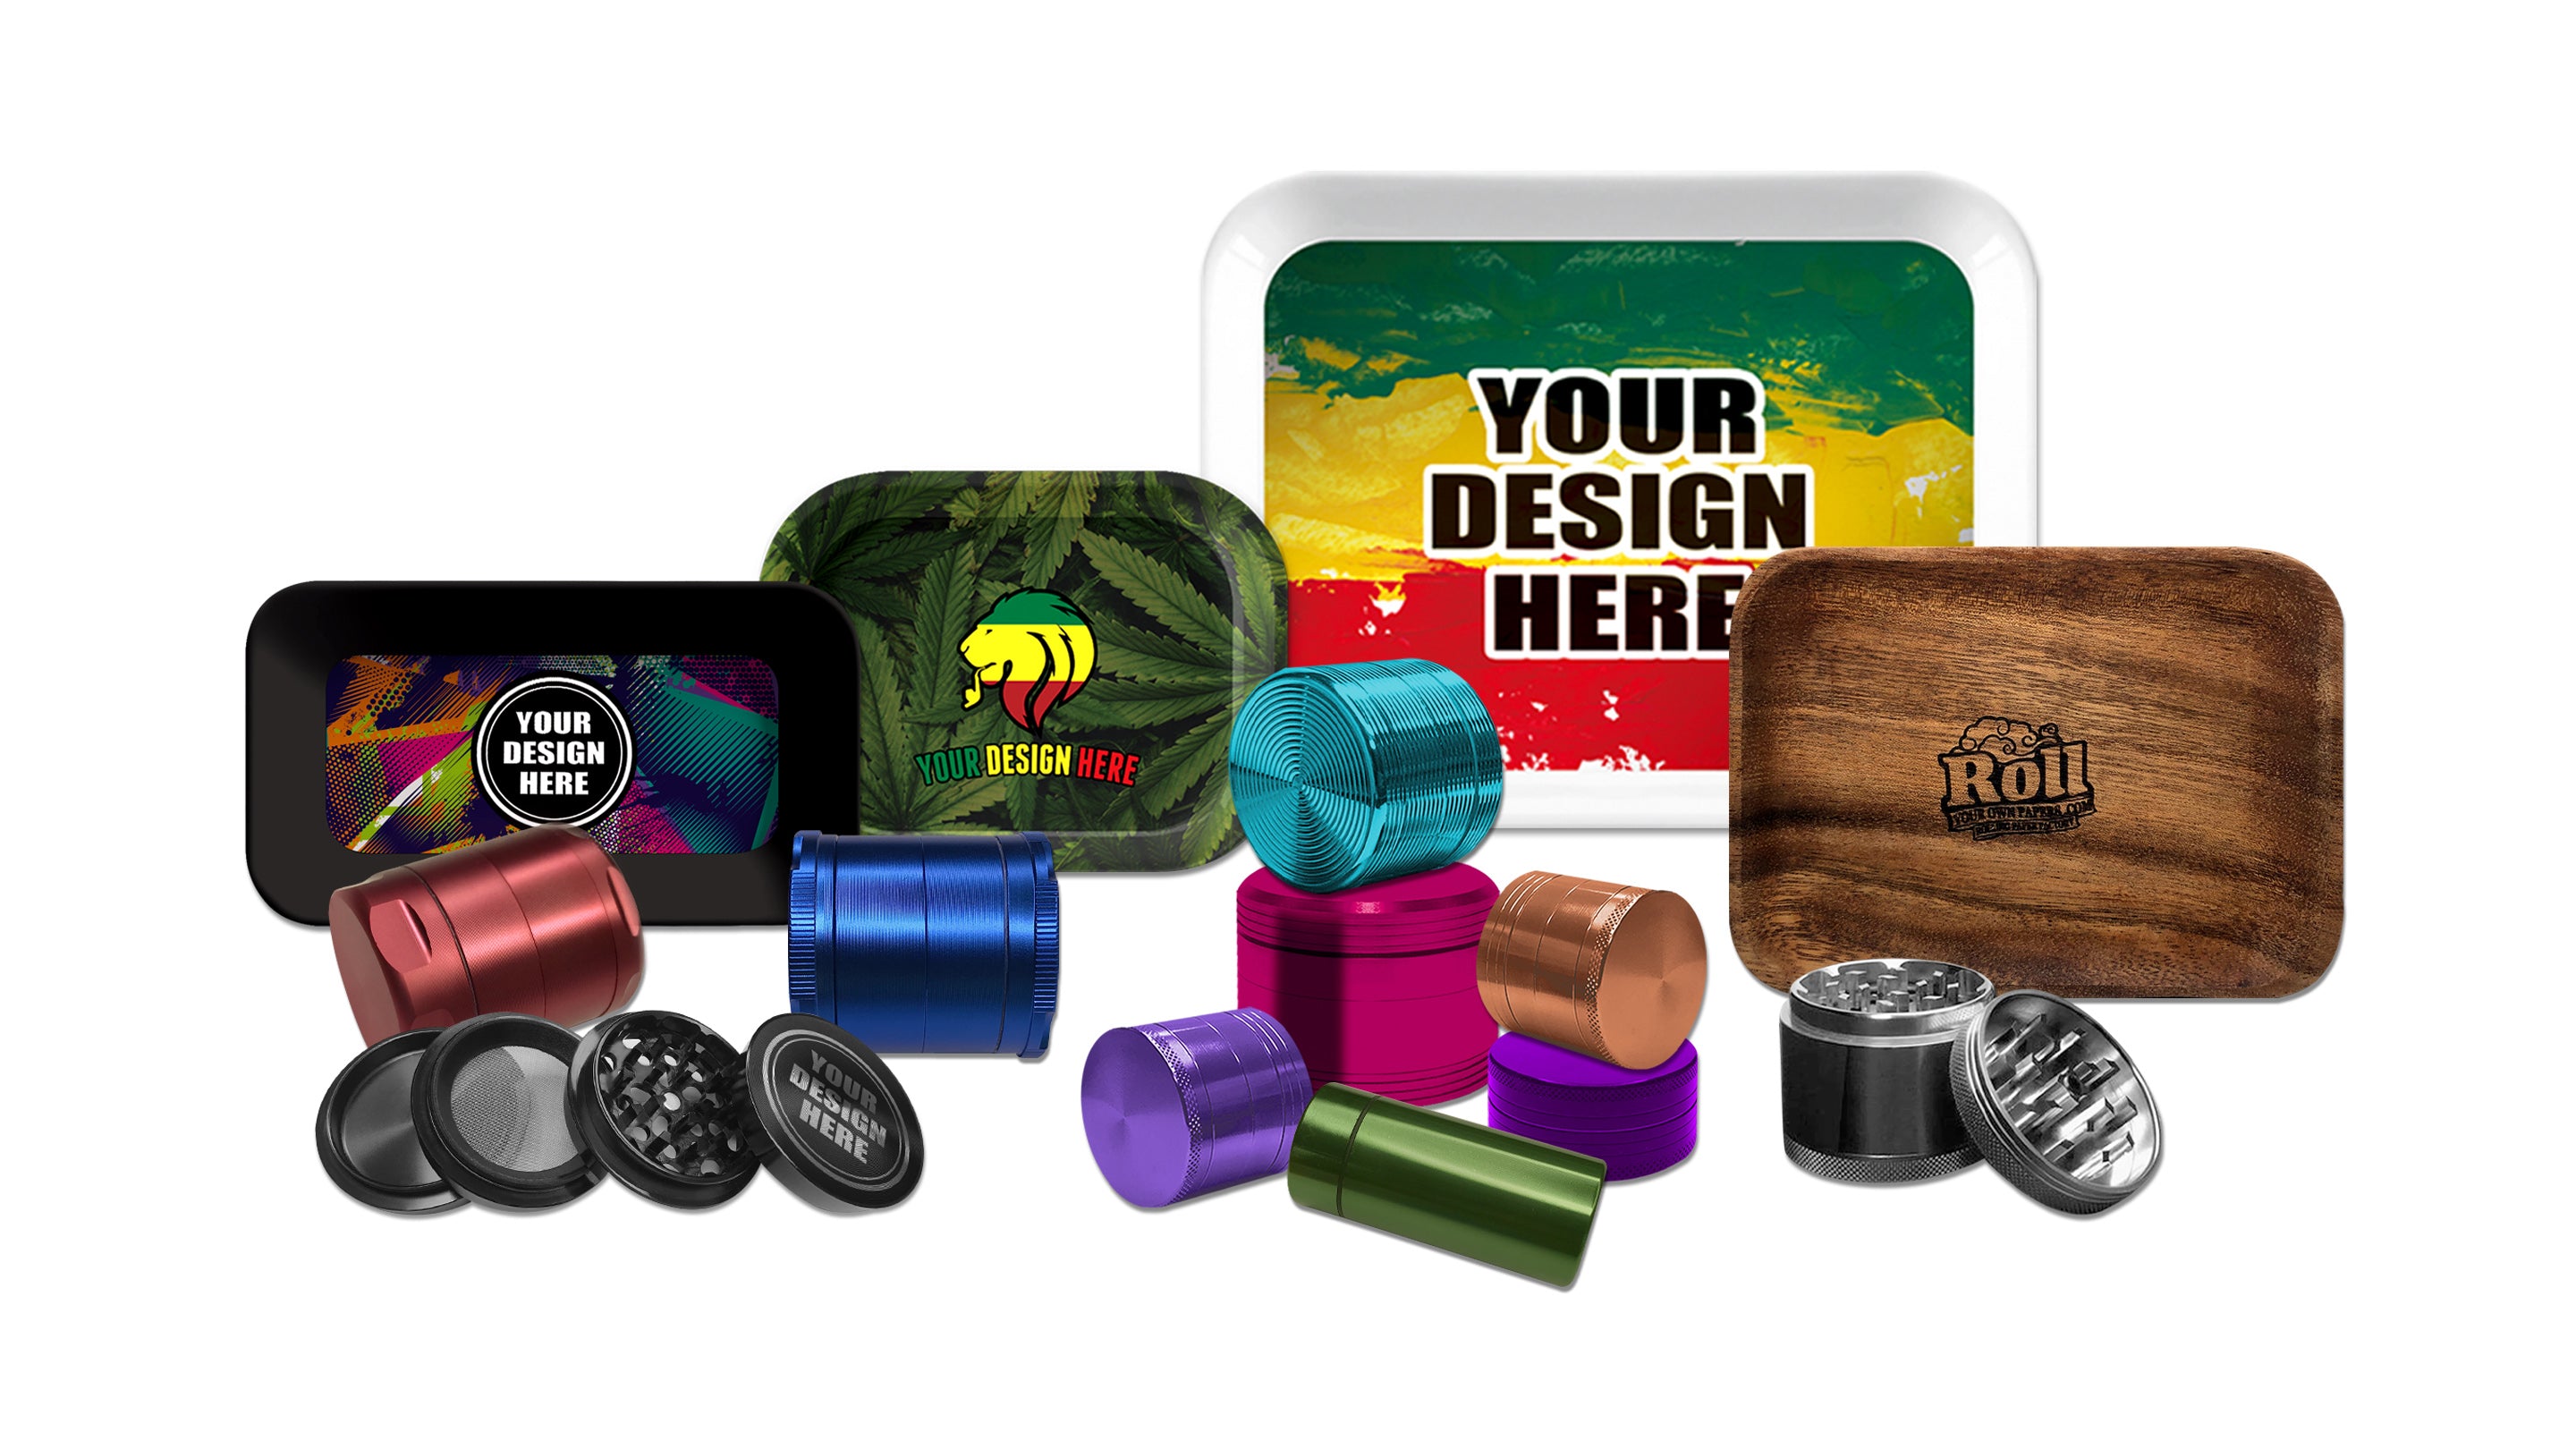
Browse our weed grinders — or design a custom weed grinder that fits your vibe. For brand drops or merch, ask about a custom printed weed grinder with your art 🎨.
A Quick Note on Our Weed Grinder 💚
Ready for consistent, fluffy results with zero hassle? Our go-to grinder features precision-cut teeth, a smooth glide, and a tidy multi-chamber layout—built to last and easy to clean. If you love the DIY spirit but want pro-level consistency, this is the upgrade your kit deserves. Explore weed grinders or design your own custom weed grinder in minutes.
🔥 Ready for Fluffy, Consistent Grinds—Every Time?
DIY hacks are clutch, but nothing beats a purpose-built grinder. If you want clean flavor, perfect texture, and zero mess—this is your upgrade. 🎯
- ✔️ Precision-cut teeth & smooth glide
- ✔️ Multi-chamber design to keep things tidy
- ✔️ Easy to clean, built to last
- ✔️ Option to customize your look & branding
📦 Bulk available | 🚚 Fast shipping | 🎨 Custom printed weed grinder options
FAQ (7 Questions) ❓
1) Is it safe to use kitchen tools to grind herb?
Yes—stick to clean, food-contact materials (glass, stainless, ceramic, silicone, clean wood). Avoid anything that can flake or shed particles.
2) Which DIY method gives the most even texture?
Mortar & pestle and shot-glass + scissors offer excellent control. The sieve-sandwich is great for consistency with minimal mess.
3) How do I prevent stickiness?
Chill small batches for 5–10 minutes, then work quickly. Keep tools dry and clean.
4) Can I use a food processor?
Yes, with short pulses and tiny batches. Stop early and transfer immediately to a plate.
5) Are 3D-printed grinders okay?
They can be, if you use a food-contact filament, sand off burrs, and clean thoroughly. Inspect regularly for wear.
6) What should I never use for a DIY grinder?
Skip anything with screws, pins, sandpaper, or rough/sharp edges that could create shavings. Avoid painted or scented items.
7) When is a real grinder worth it?
If you care about repeatable texture, flavor clarity, and fast cleanup, it’s time. Check out purpose-built weed grinders with multi-chamber designs.


Leave a comment