How to Make a Wooden Rolling Tray: The Ultimate DIY Guide for 2025 🛠️🌳

Hey there, crafty friends! 👋 Ever stared at your cluttered table during a chill session and thought, “Man, I need something sleek and sturdy to keep things tidy”? That’s exactly where a wooden custom rolling tray becomes your new best friend.
And the coolest part? You can totally make one yourself — no fancy workshop required. In this laid-back, super-detailed guide we’re walking you through how to make a wooden rolling tray from start to finish in 2025. Let’s go! 😎
Why Build Your Own Wooden Rolling Tray? 🌳
Nothing beats the vibe of something you built with your own hands. Here’s why thousands of people are ditching store-bought and going DIY:
- Eco-friendly & sustainable (real wood > plastic forever)
- 100 % customizable size, shape, stain, engravings
- Costs $15–30 instead of $50–120 for boutique versions
- Instant “I made this” bragging rights 🎤
Tools and Materials You’ll Need 🔧
| Item | Why You Need It | Budget Option |
|---|---|---|
| Hardwood plank (12×8 in) | Base of your tray | $5–10 |
| Sandpaper 80–220 grit | Smooth finish | $3 pack |
| Wood glue + clamps | For raised lips | $4 |
| Jigsaw or handsaw | Cutting | Borrow or $20 |
| Food-safe stain/sealant | Protection + color | $6/td> |
| Safety gear | No splinters, no dust lungs | $5 |
Choosing the Right Wood for Your Tray 🌿
| Wood | Vibe | Pros | Cons | Best For |
|---|---|---|---|---|
| Oak | Classic & tough | Super durable, gorgeous grain | Medium price | Everyday use |
| Walnut | Luxury dark chocolate | Rich color, moisture resistant | Higher cost | Show pieces |
| Maple | Clean & bright | Hard, stains evenly | Shows scratches | Minimalist lovers |
| Cherry | Warm reddish glow | Ages beautifully | Needs UV protection | Heirloom trays |
Step-by-Step: How to Make a Wooden Rolling Tray 📋
Step 1 – Measure & Cut the Base 🪚
Mark a 10×6 in rectangle (or your preferred size). Cut with a jigsaw or handsaw. Clamp the board so it doesn’t dance on you.
Step 2 – Create Raised Lips (Optional but Awesome)
Cut ½-inch strips, miter the corners at 45°, glue and clamp. Wipe excess glue immediately.
Pro Hack for Beginners:
Don’t want to glue lips? Use a ¼-inch router bit to carve a shallow recess instead — instant containment zone.
Step 3 – Sand Like You Mean It 🏖️
80 grit → 150 grit → 220 grit. Wipe with a tack cloth between passes. Aim for “feels like silk” level.
Step 4 – Stain & Seal 🎨
Apply stain with a rag, wait 10–15 min, wipe off excess. Let dry 1 hr. Brush on 2–3 coats of food-safe polyurethane or beeswax blend, lightly sanding between coats.
Advanced Customizations to Make It Yours 🎨
- Laser or Dremel engrave your initials, logo, or geometric patterns
- Inlay contrasting wood strips for borders
- Drill tiny holes + add battery LED strip underneath for glow
- Mix a drop of cedar essential oil into the final sealant coat — subtle scent every time
Safety First – Keep the Good Vibes Only ⚠️
Wear goggles, mask, gloves. Keep blades sharp (dull = dangerous). Vacuum dust often. Use only non-toxic finishes.
Ready for Pro-Level? Grab Our Custom Rolling Trays 🚀
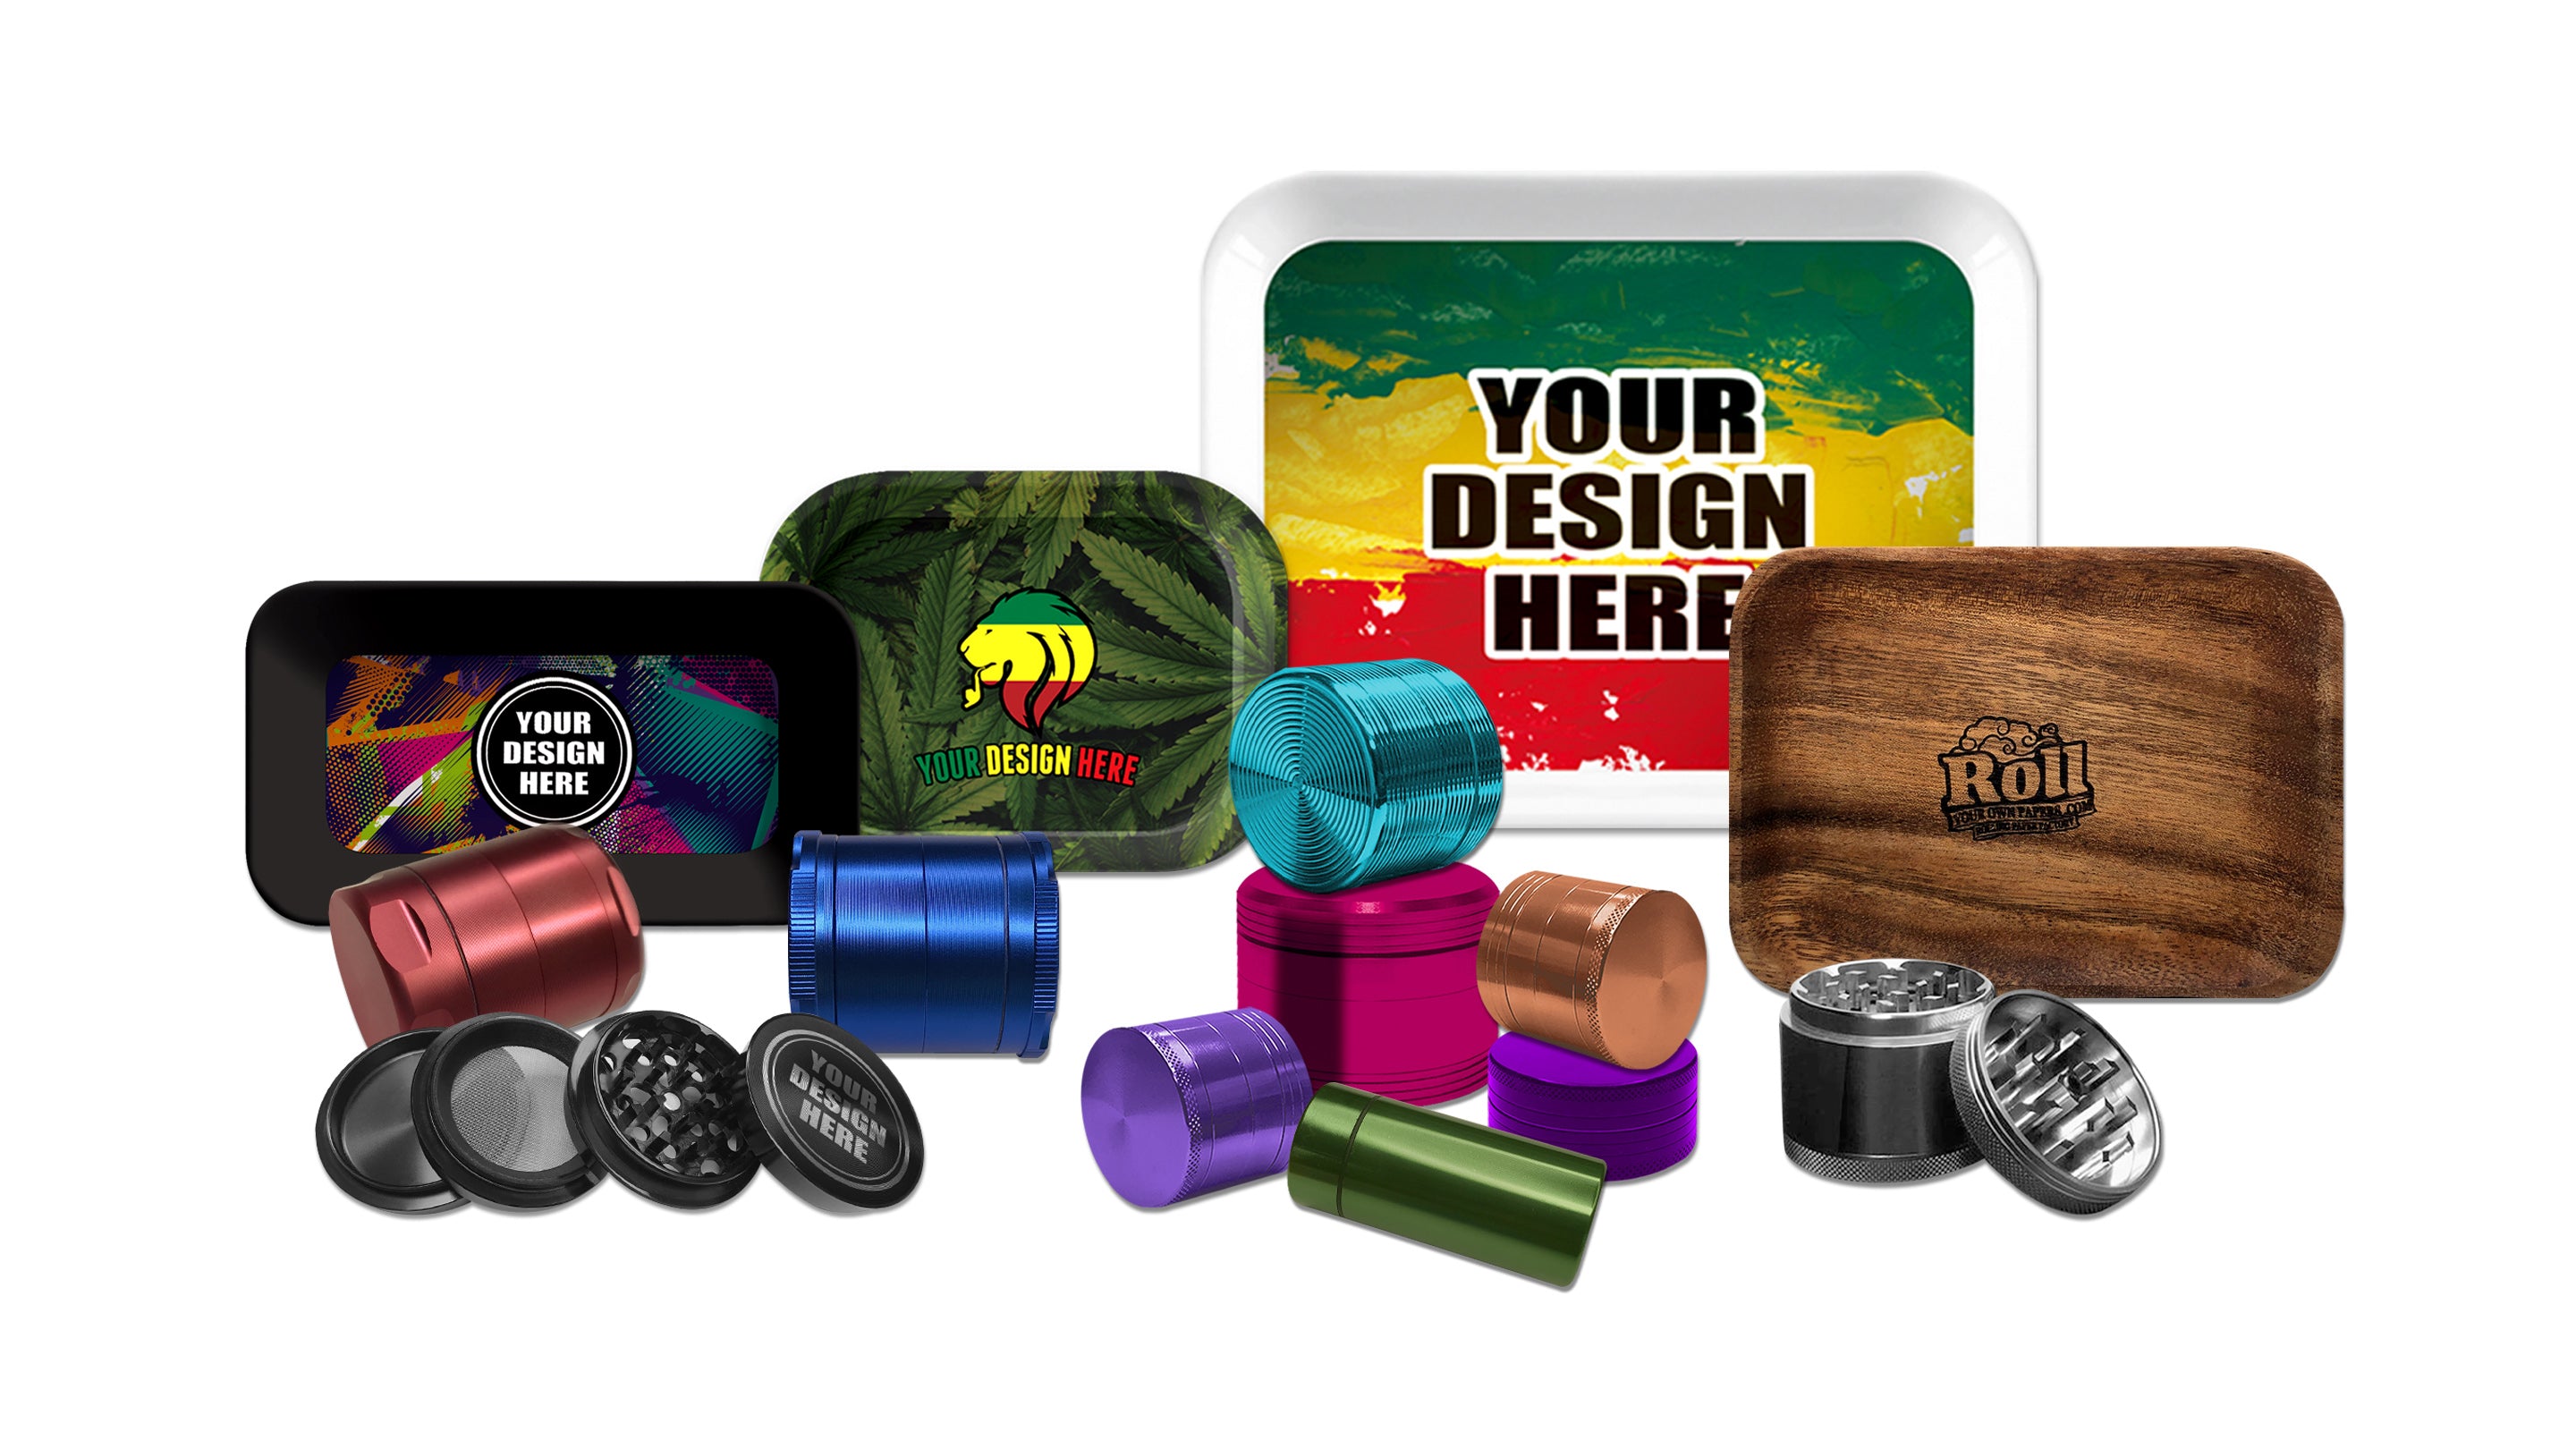
If you love the look but don’t have the time, check out our custom rolling trays. Same premium woods, pro engravings, food-safe finishes — shipped fast and built to last a lifetime.
DIY vs Custom – Quick Comparison Table 🎉
| Factor | DIY Tray | Our Custom Tray |
|---|---|---|
| Cost | $15–30 | From $20 (bulk deals) |
| Time | 3–4 hours + drying | Ships in days |
| Uniqueness | 100 % you | Pro design + your logo |
| Durability | Great if sealed well | Lifetime guarantee |
🔥 Ready to Level Up with Custom Rolling Trays?
Why spend hours sanding when you can get a pro-finished, eco-friendly tray with your own artwork or logo — delivered fast?
- ✔️ Premium sustainable hardwoods
- ✔️ Custom engraving & staining
- ✔️ Food-safe, ultra-durable finish
- ✔️ Your design or ours
📦 Bulk friendly | 🚚 Fast global shipping | 🌲 Always sustainable
Frequently Asked Questions ❓
What’s the easiest wood for beginners?
Maple or pine — soft, cheap, and forgiving. Just seal well!
How long does it take?
2–3 hours active + 24h drying. Weekend project vibes.
Can I do it without power tools?
Yes! Handsaw + elbow grease works perfectly.
Safest sealant?
Food-grade polyurethane or beeswax — 100 % safe.
How to clean it?
Damp cloth, mild soap, dry immediately. No soaking.
DIY vs buying custom?
DIY is cheaper raw cost; custom saves time and looks pro finish.
Can I add colors/patterns?
Stain, paint, engrave — make it uniquely yours.








Leave a comment