How to Make Custom Rolling Trays: The Ultimate DIY Guide in 2025

Ready to roll up your sleeves and get creative? 😎 Making your own custom rolling tray is easier than you might think. If you’re tired of boring store-bought trays or just want something uniquely yours, this guide will walk you through everything you need to know about creating a one-of-a-kind rolling tray. No more spills or bland trays – it’s time to craft a tray that reflects your style and keeps all your rolling supplies neat and tidy.
Why Make Your Own Rolling Tray?
Sure, you could buy a tray, but making your own has perks. First, personalization – you decide exactly how it looks, reflecting your style. Second, it can save money since you can use inexpensive or leftover materials. It’s also a fun project you can brag about (“I made it myself!”), and a cool conversation piece whenever someone sees your handiwork.
Method 1: Paint and Resin – Upcycle an Old Tray 🎨
One of the easiest ways to create a custom tray is to upcycle a metal baking tray (like an old cookie sheet). With some spray paint and epoxy resin, you can turn a plain tray into a personalized masterpiece. This method is great for beginners and only requires a few basic supplies.
What You’ll Need:
-
An old metal tray (e.g. a cookie sheet)
-
Spray paint for the base color
-
Epoxy resin (clear) or clear glue
-
Gloves
-
A brush
-
Mixing cups and sticks
-
Your decorations: stickers, photos, magazine cut-outs, dried leaves, etc.
Steps:
-
Prep and Paint: Make sure your tray is clean and dry. Spray the tray with your chosen base-color spray paint. Do this in a well-ventilated area (use newspaper or a drop cloth to catch overspray). Let the paint dry completely.
-
First Resin Layer: Put on your gloves. Mix a batch of epoxy resin according to the package instructions. Pour a thin layer of clear resin onto the painted tray and use the brush to spread it evenly. This creates a glossy coat to embed decorations in.
-
Place Decorations: While the resin is still tacky (not fully hardened), arrange your decorations on the tray however you like. You can use cool stickers, favorite photos, leaf flakes, magazine cut-outs – whatever fits your vibe. Press them down gently into the resin.
-
Second Resin Layer: Mix up another batch of clear resin. Pour it over the entire tray, fully covering your decorations. Use the brush to make sure everything is coated. This second layer will seal your artwork under a smooth, glassy finish.
-
Let it Cure & Enjoy: Let the tray sit flat and undisturbed for a day or two until the resin is completely hardened. Once it’s fully cured, your custom tray is ready to use – enjoy your beautiful new creation!
Optional: Add Glitter: If you want a blinged-out tray, you can sprinkle some fine glitter onto the tray after Step 2 (when the first resin layer is applied). Then continue with the rest of the steps, adding the second resin layer to seal it in. This adds a sparkly touch to your tray – just make sure the final resin coat fully covers the glitter so it stays put!
Method 3: All-Resin Tray – Create One from Scratch
This advanced method lets you pour an entire tray out of epoxy resin. Using a silicone tray mold, you can make a custom-shaped tray filled with swirly colors and special effects.
Basic Idea: Mix up a batch of epoxy resin (adding a few drops of resin color dye if you want). Then pour the resin into a tray-shaped silicone mold. You can swirl in multiple colors or add fun bits like glitter, metallic foil flakes, or small dried flowers into the liquid resin. Use a heat gun or hair dryer (on low) to pop any bubbles on the surface. Now let the resin cure for about a day (24 hours, or according to your resin’s instructions) until it's fully hardened. Finally, carefully pop your new tray out of the mold. Voila – you have a solid resin rolling tray!
You can get extra creative by layering different colored resin pours or embedding pictures (for example, place a cut-out photo in the mold, then pour clear resin over it to seal it inside). The result is a stunning, glassy tray that’s completely custom. It takes more time and materials, but the payoff is a one-of-a-kind art piece that you can actually use.
Method 4: Customizing a Wooden Tray 🪵
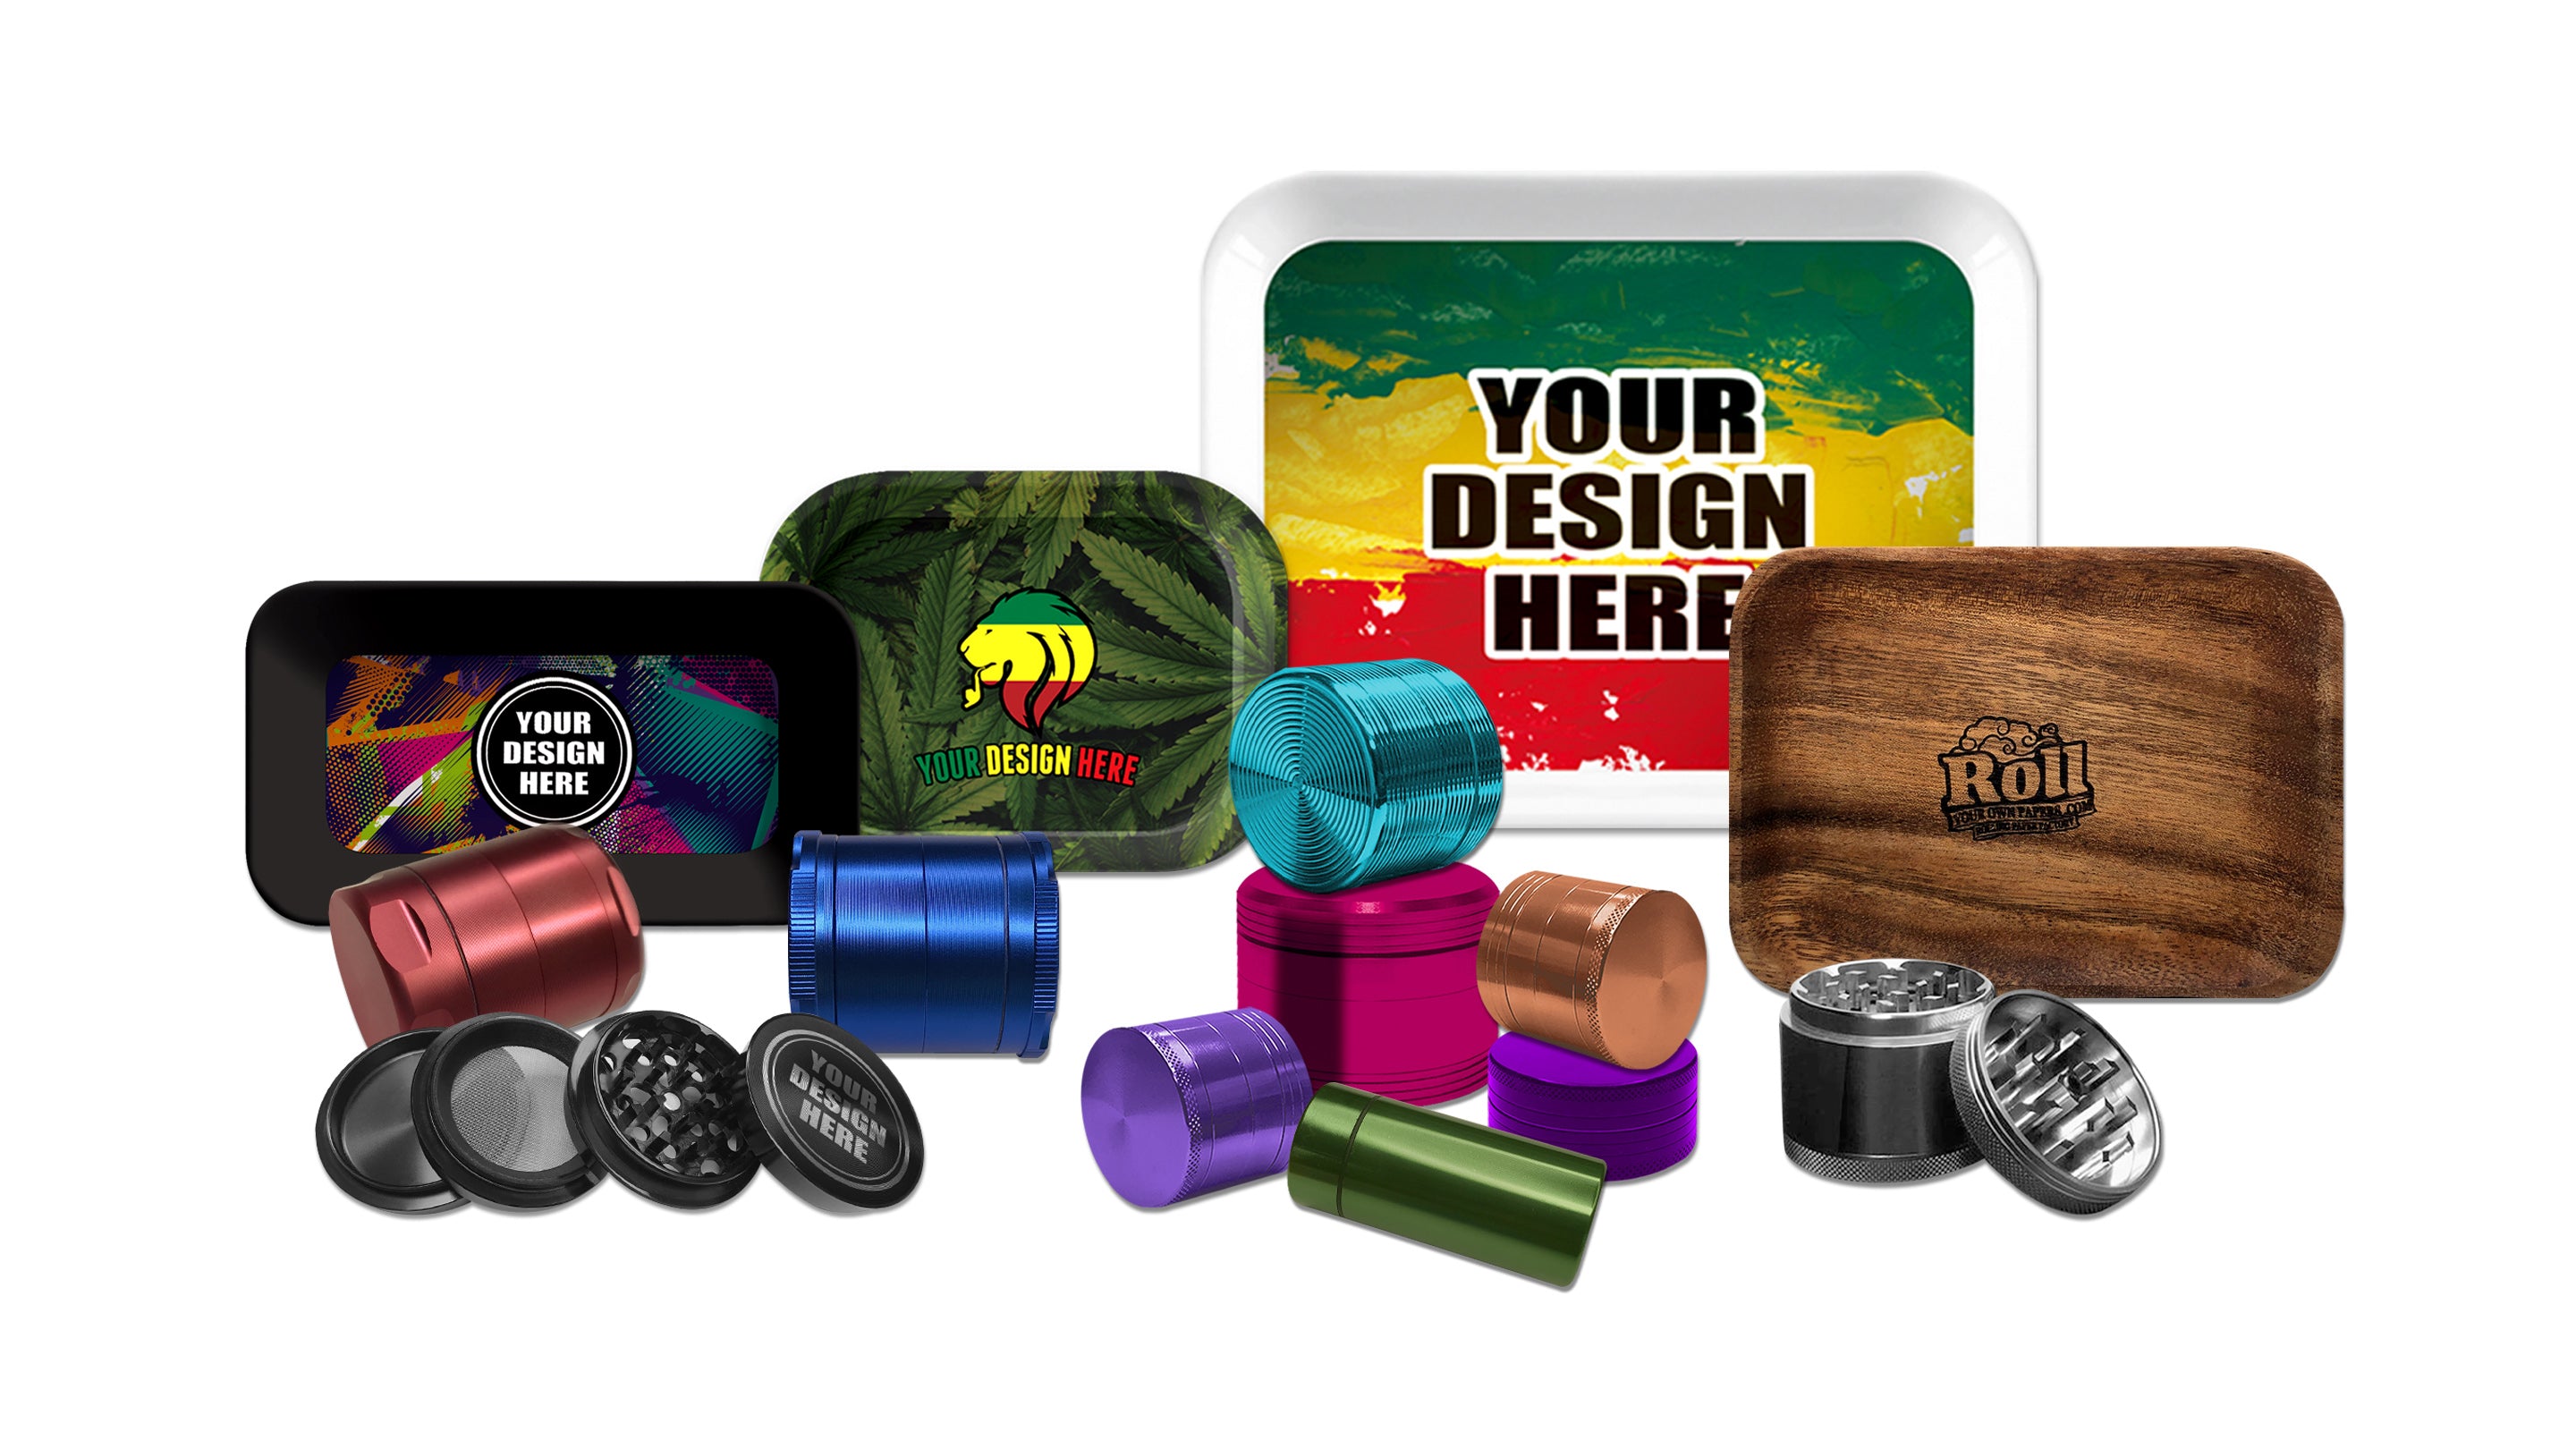
Wooden rolling trays give a timeless, natural vibe. You can easily personalize a plain wooden tray using paint, stain, or even engraving techniques.
Basic Idea: Start by sanding the wood so it's smooth and ready for decoration. Next, paint the tray with your chosen base color or apply a wood stain (for a rustic look that lets the grain show). Once the base is done, add your artwork: you can paint designs, use stencils for neat patterns, or even use a wood-burning tool to etch a design or quote into the tray. Take your time and have fun with it. When your design is complete and dry, finish by sealing the tray with a clear varnish or sealant to protect your artwork.
The result is a personalized wooden tray that looks awesome and is built to last. The wood texture adds an old-school cool factor, and your custom art makes it truly one-of-a-kind.
Method 5: High-Tech Printing (For Perfectionists)
If you want a flawless, factory-grade finish on your custom tray, you can turn to professional methods. Sublimation printing is one popular option – it uses heat to transfer your printed design onto a specially coated metal tray for a vibrant, permanent result. (We have a detailed tutorial on this process in our 6 Easy Steps to Manufacture Your Own Custom Rolling Tray guide, so check that out for the full scoop! 😉) There are also services where you can upload your artwork and have a custom tray made for you and shipped to your door.
These options aren’t as hands-on, but they’re perfect if you want a truly polished look or need multiple identical trays (for example, for gifts or a small business). They do cost more than DIY, but the professional quality and convenience might be worth it – you’ll get exactly what you envisioned without any trial and error.
Tips to Make It Extra Unique 💡
Want to really stand out with your tray? Here are a few bonus ideas:
-
Glow-in-the-dark elements: Mix some glow-in-the-dark powder or use glow paint on parts of your tray. It’ll charge under a lamp and then glow in the dark – super cool for late-night use!
-
LED lights: Add a tiny LED strip around the edge of a clear or resin tray to create a light-up tray. This takes a bit of DIY electronics know-how, but the wow factor is huge.
-
3D-Printed base: If you have access to a 3D printer, you could print your own tray shape (there are free design files online). After printing, decorate it with paint or resin to make it truly custom.
Feel free to combine ideas and get creative. The only limit is your imagination!
How to Care for Your Custom Tray
To keep your custom tray looking great:
-
Keep it clean: Wipe out your tray with a damp cloth after use. A little mild soap is fine, but avoid harsh chemicals that could damage your design.
-
Prevent scratches: Don’t use sharp metal tools on your tray. If something is stuck, use a plastic scraper or your fingernail so you don’t scratch the paint or resin.
-
Beware of heat & water: Extremely high heat or direct sun can warp or fade some tray materials, so don’t leave your tray baking in the sun. And if your tray is wooden, avoid getting it overly wet (water can warp wood) – always dry it thoroughly if it does get damp.
With a little care, your custom creation will stay awesome for a long time. Every time you use it, you’ll be glad you put in the effort to make something so cool!
Conclusion
Making a custom rolling tray is a fun way to express yourself while creating something practical. Whether you keep it simple with paint or go all-out with resin art, you’ll end up with a tray that’s uniquely yours. Every time you use it, you’ll feel that satisfaction of having made it yourself (and you can totally show it off to your friends).
So grab some supplies and give it a try! You can follow our methods or put your own twist on them – either way, you’re bound to create something awesome. Have fun, stay safe with the DIY materials, and enjoy your fresh new rolling tray.
Happy crafting! 🤗
Additional Resources for Custom Rolling Trays ✨
Looking for more tips on creating your perfect custom rolling tray? Check out our 6 Easy Steps to Manufacture Your Own Custom Rolling Tray. This step-by-step guide will walk you through the manufacturing process, making sure you have everything you need to create a functional and stylish tray.







Leave a comment