🔥 How to Roll a Joint with Pre-Rolled Cones 😎

Welcome to the easiest guide on how to roll a perfect joint using pre-rolled cones! 🌟 If you’re new to this, don’t stress – even a total beginner can become a pro. Pre-rolled cones take the tricky part out of rolling, so you can focus on enjoying your session with friends or just chilling solo. Let's break it down step by step, with tips and tricks to make it smooth and fun!
📑 Table of Contents
- Why Use Pre-Rolled Cones?
- What You Need
- Step-by-Step Guide
- Common Mistakes to Avoid
- Bonus Tips & Tricks
- Storing Pre-Rolled Cones
- Frequently Asked Questions
Why Use Pre-Rolled Cones?
Pre-rolled cones are awesome because they make the whole rolling thing a breeze. 🤗 Instead of wrestling with rolling papers and filters, you get a perfectly shaped tube with a filter end already attached. This means your joint stays neat and even. Filling a cone is quick, and you’re guaranteed a consistent, satisfying burn. Plus, cones come in all sizes – from quick solo cones to king-size party cones. If you want a no-fuss experience, pre-roll cones are the way to go!
What You Need
Before you get started, gather these essentials. It’s like setting up your own mini factory – but way cooler! 😎
- Your Favorite Herb: Any dried herb or aromatic blend you enjoy, ground to a fluffy texture. No stems or sticks, please.
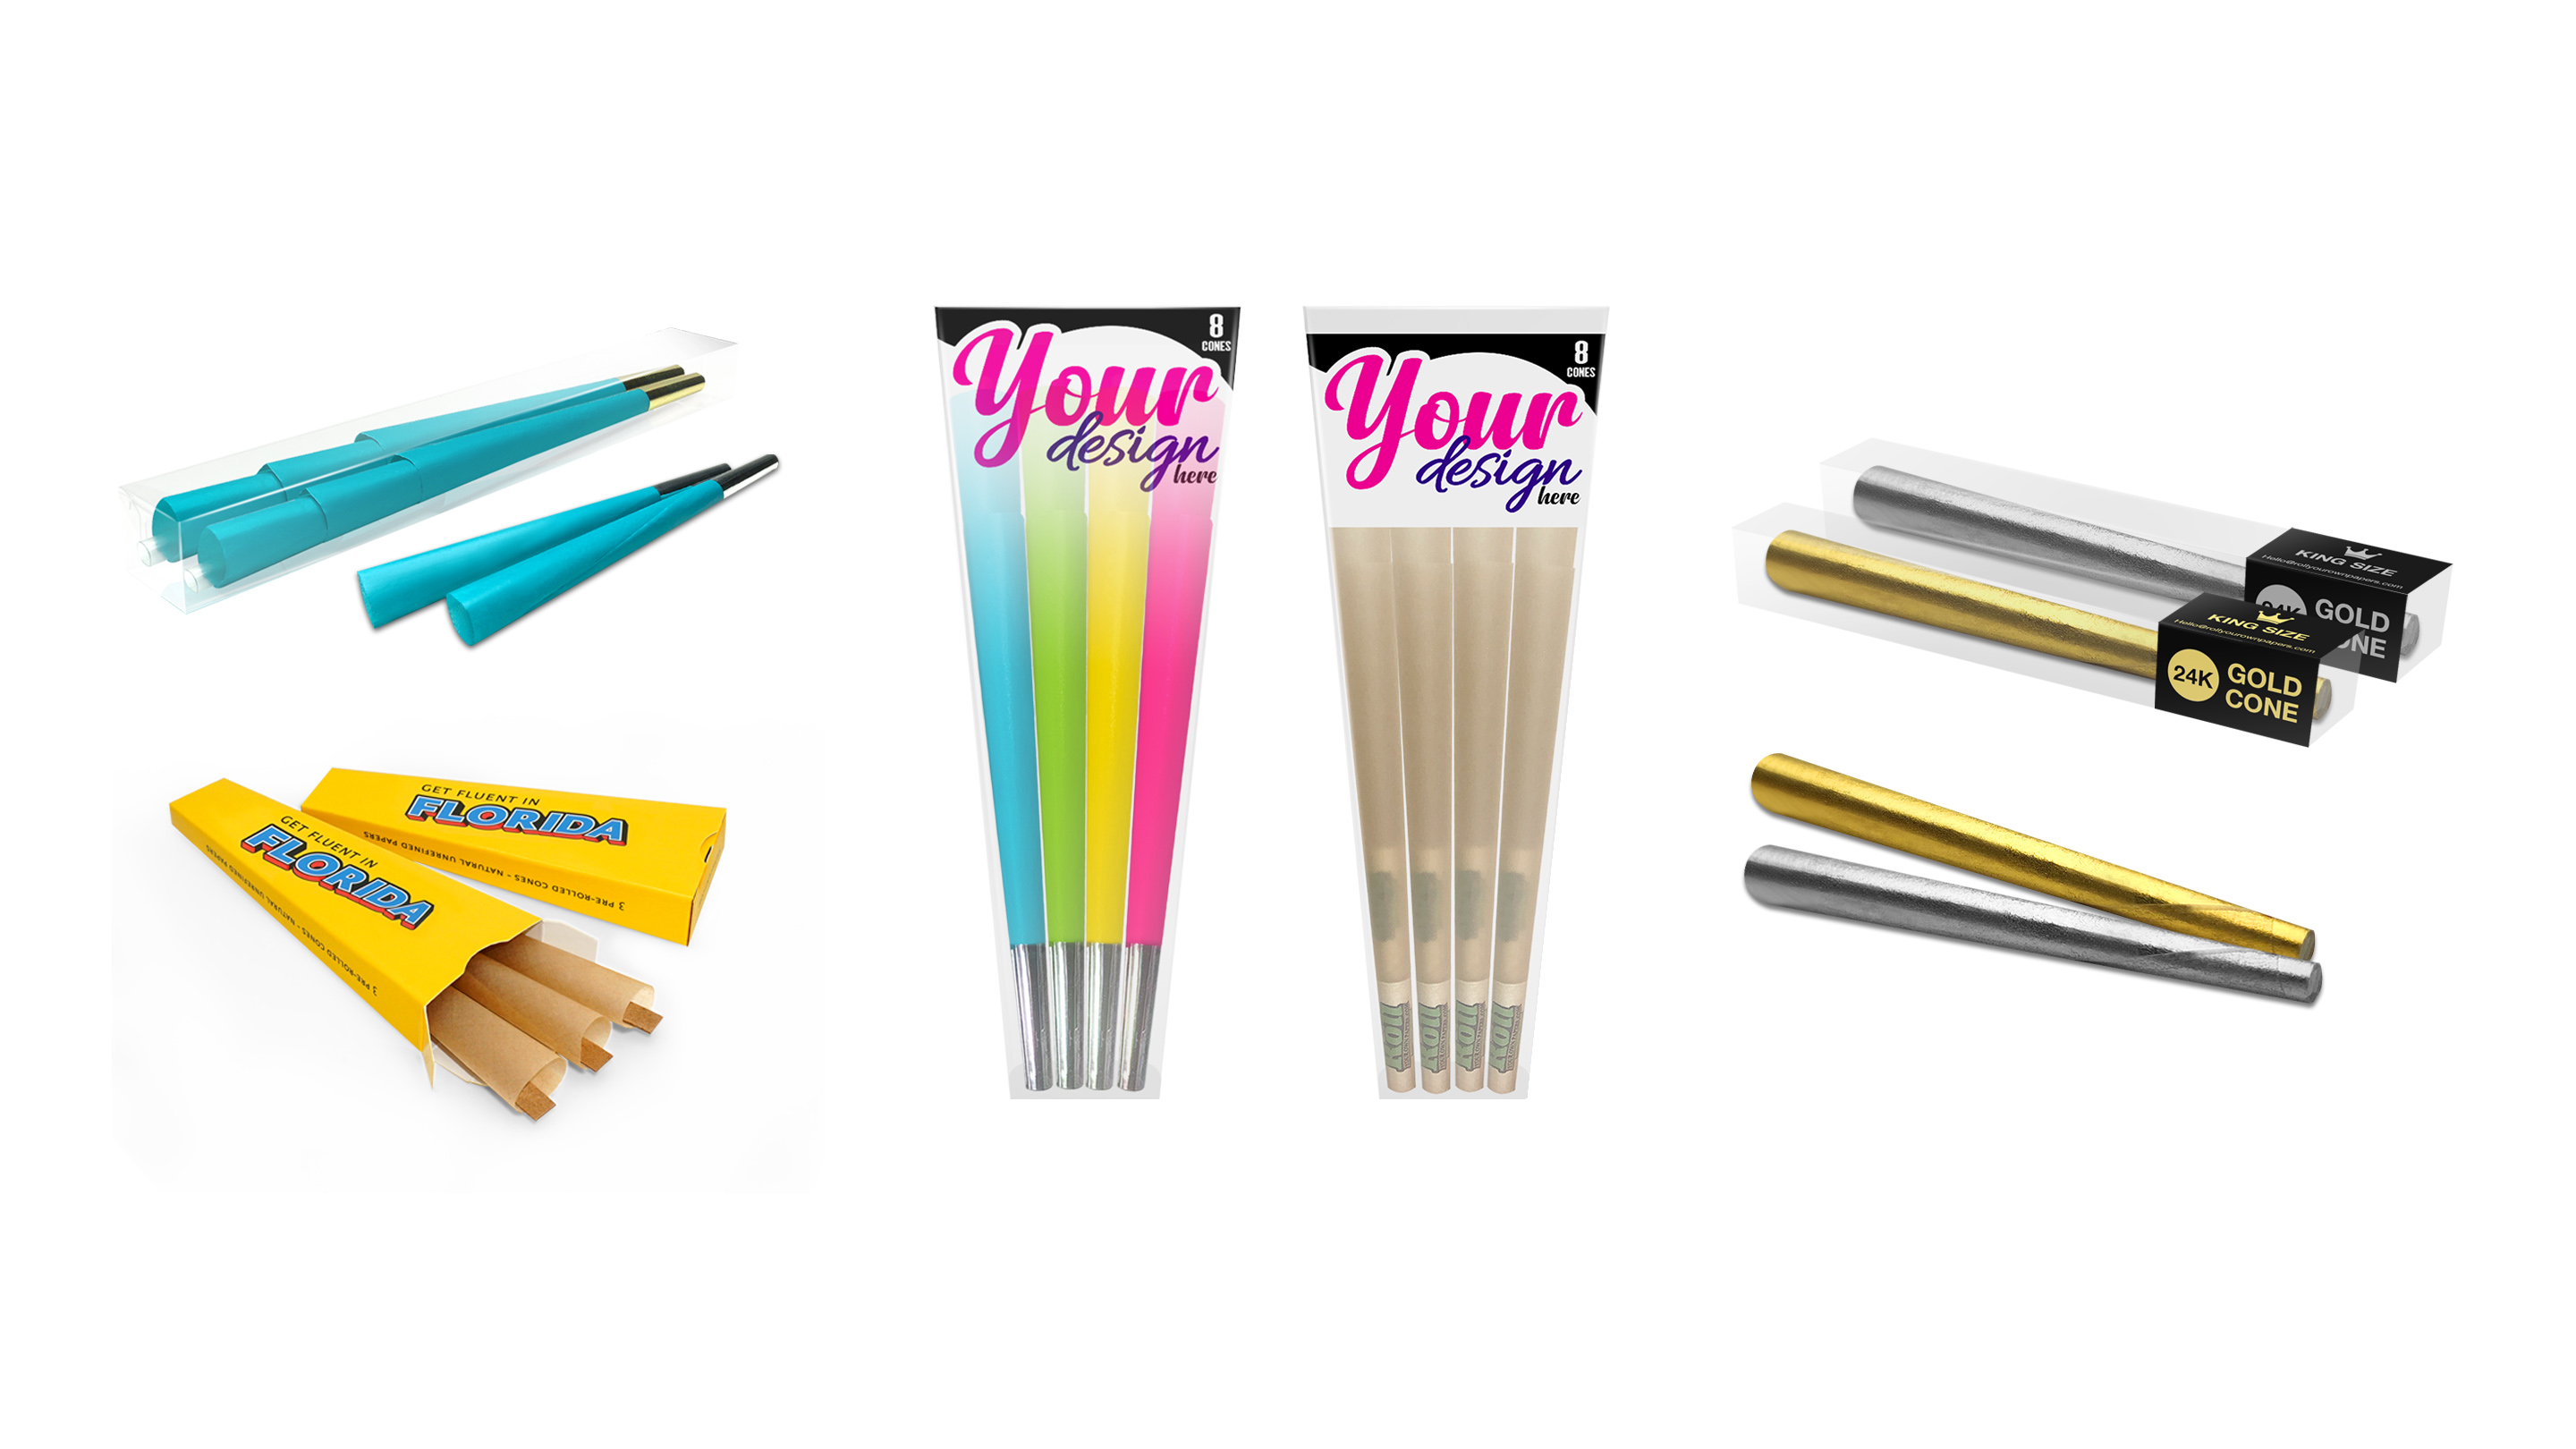
- Pre-Rolled Cones: The main star – available in various sizes (like 1g, 1.25g, etc.). You can even find custom pre-rolled cones with cool designs.
- Grinder (optional): Helps break down the herb evenly. If you don’t have one, your fingers work too – just be gentle and remove any hard bits.
- Packing Tool: A small stick or dowel (the plastic tube from a cone pack works great). You’ll use this to tamp down the fill as you go.
- Tray or Clean Surface: To catch any spills. Keeps things tidy and lets you save leftovers.
- Lighter or Match: To ignite your creation once you’re done filling it.
Step-by-Step Guide
Alright, let’s get down to business. Follow these simple steps, and you'll be packing pre-rolled cones like a champ in no time!
1. Grind Your Herb
Start by grinding your herb to a medium consistency. You want it broken up, but not a fine powder – that can clog the cone. A fluffy, even grind ensures good airflow for an even burn. If you don’t have a grinder, just use your fingers to pull apart any clumps and remove any stems.
2. Fill the Cone
Hold your cone upright (filter end down). Use a small scoop or just your fingers to add the ground herb into the wide end. Go slow and sprinkle a little at a time. Every now and then, gently tap the cone on your surface so the herb settles down. This prevents big air gaps inside.
3. Pack It Gently
Once you’ve added some herb, take your packing tool and lightly press down the contents. The goal is firm but not rock-solid. You want to eliminate big air pockets, but still have a little space so air can flow. Alternate between adding herb and tamping until the pre-rolled cones is nearly full – leave about 1/4 inch at the top empty.
4. Twist the Tip Closed
Now twist the extra paper at the top. Pinch the empty part of the cone and twist it like you’re tying a small candy wrapper. This seals everything inside and creates a little wick at the end. It looks neat and keeps the contents from spilling out. Nice work – you just made a filled cone! ✨
5. Light It Up and Enjoy
Hold the twisted tip to the flame and rotate the cone so the tip burns evenly. Once it’s lit (you’ll see a glowing tip), take a gentle puff to get it going – think of it like inhaling from a straw. Now you’re set for a smooth, even burn. If one side starts burning faster (a “run”), just give it a quick re-light on the slow side. And don’t forget to tap in an ashtray to keep things neat!
Common Mistakes to Avoid
Even experienced rollers slip up sometimes. 🫣 Here are a few rookie mistakes and how to dodge them:
- Overpacking: It’s tempting to stuff as much as possible, but too-tight packing blocks airflow. Aim for a snug pack, but leave a little “give” so you can still draw air.
- Underpacking the Base: If the cone is loose near the filter end, the whole cone can collapse or burn oddly. Make sure to firm up the base area first.
- Grinding Too Fine: A powdery grind sounds good, but it can make pulling air through the cone very hard. Medium grind (slightly coarser than flour) is perfect.
- Skipping the Twist: Leaving the top open can let herb fall out. Don’t forget to twist and seal the tip before lighting.
Bonus Tips & Tricks
Want to go pro? Try these fun ideas and little hacks to make your cone sessions even more enjoyable 😎:
Experiment with Flavored Cones
When plain papers get boring, flavored cones can change things up. 🍒 Berry, mint, or citrus-flavored cones add a sweet or fresh note to each inhale. It’s a simple way to find a new favorite twist.
Add a Pinch of Herbs
Get creative with your fill! Many people add a pinch of dried herbs like lavender, mint, or even chamomile to the mix. 🌿 This can give a pleasant aroma and a unique taste. Just make sure whatever you add is dry and safe to use. A little goes a long way – it’s like adding a spice to a recipe!
Use a Cone Loader
Packing multiple cones? Grab a cone loader. 🎉 These nifty gadgets let you fill several cones quickly and evenly, saving time and ensuring each one is packed just right. Great for parties or batch-prepping your cones.
Try Novelty Cones
Feeling fancy? There are all kinds of specialty cones out there – like extra-long blunts or cones with cool prints. 🎉 Using a stylish cone (think cool colors or patterns) can add flair to your session. It’s also a fun way to impress friends or mark a special occasion.
Storing Pre-Rolled Cones
After you’ve filled your cones, keep them fresh and ready to burn later. Here are some storage tips:
- Keep Them Dry: Moisture can ruin paper cones. Store your filled cones in an airtight container (like a glass jar with a lid) to keep humidity out.
- Avoid Heat and Sun: Direct sunlight or heat can warp cones and ruin your herb. A cool, dark place (room temperature) is ideal.
- Original Tubes: If your cones came with tubes or a resealable pouch, use them! These containers are made to protect the cones’ shape.
- Label Them: If you filled several cones with different herbs or strengths, mark them. Use stickers or a separate tray so you grab the right one later.
By storing cones properly, you’ll keep them tasty and intact whenever you’re ready to light up again. 😊
Frequently Asked Questions
What are pre-rolled cones?
Pre-rolled cones are empty cone-shaped papers with a built-in filter tip. They’re ready for you to fill with ground herb. Think of them as a shortcut: instead of rolling from scratch, you just fill, pack, and light. They save time and give you a perfect shape every time.
Why use pre-rolled cones instead of rolling papers?
Pre-roll cones take the guesswork out of rolling. 🧐 If you’re not confident with rolling papers or just want consistency, cones do the job. They hold their shape, include a tip, and ensure an even burn. For beginners or anyone in a hurry, they’re a total game-changer.
What do I need to fill a pre-rolled cone?
Just a few simple things: your ground herb, a cone, and a small packing tool (the straw or stick in the cone pack works great). A grinder or clean fingers to break up the herb is helpful, and something to catch spills (like a tray or plate). That’s it!
Can I add flavors or extra herbs to my cone?
Absolutely! You can use flavored cones for extra taste or mix in a tiny pinch of aromatic herbs (like mint or lavender) with your main herb. 🌿 Just make sure anything you add is dry and safe to use. A little creativity can make each cone unique and fun.
How do I avoid the cone burning unevenly?
To prevent runs or one-side burns, light the cone by slowly rotating it as you apply flame. 🔄 Take slow, steady puffs (like a gentle inhale). If one side does lag behind, briefly re-light that side. Packing evenly and not overfilling also helps a lot.
How should I store filled cones?
Keep them in an airtight container away from heat and sunlight. 🌡️ A dry glass jar or resealable tube is perfect. Label them if you’ve made different blends, so you grab the right one later. This keeps them fresh and ready whenever you are.
What if I don’t have a grinder?
No problem! You can still fill a cone by gently breaking up the herb with your fingers. Just remove any woody stems and work the pieces to a medium texture. It might take a bit more time, but a careful finger grind + pack still gives a good result.
🔥 Ready to Level Up Your Pre-Roll Game?
Tired of flimsy paper and messy packs? 🎯 Upgrade to top-quality pre-rolled cones for a smooth, hassle-free experience every time.
- ✔️ Made from 100% organic hemp
- ✔️ Printed with food-grade ink
- ✔️ Sealed with 100% natural gum
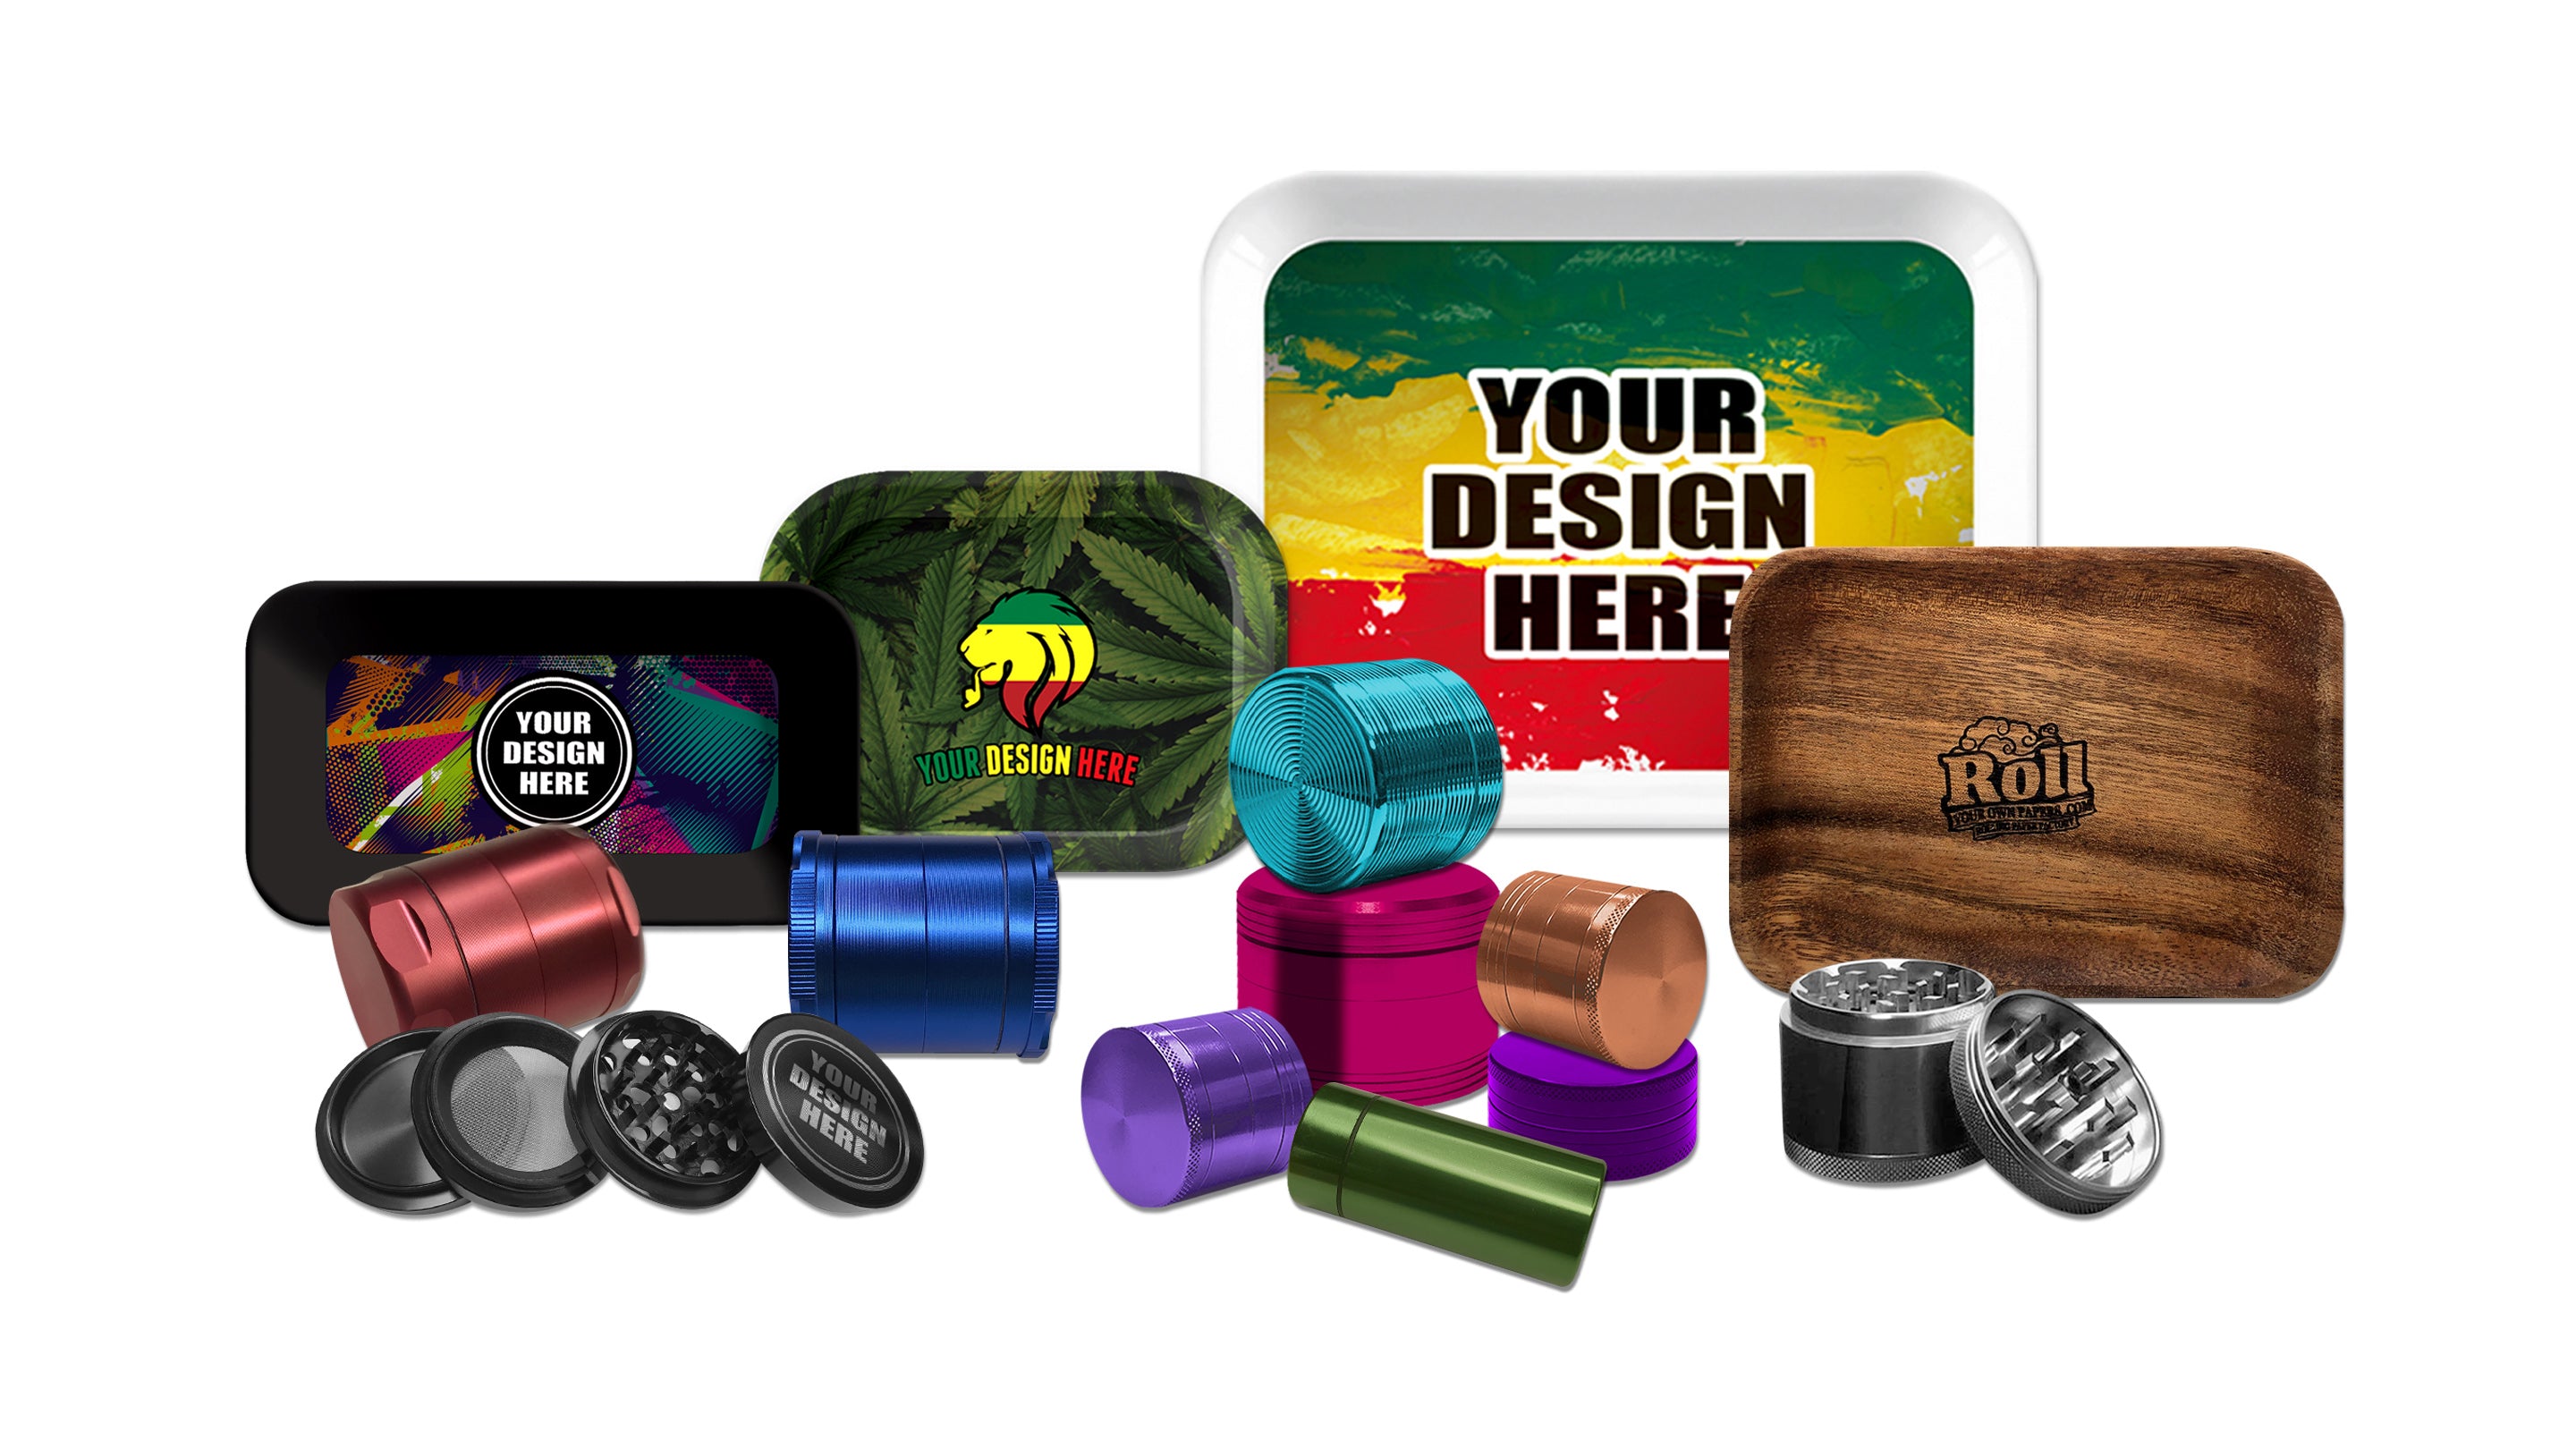
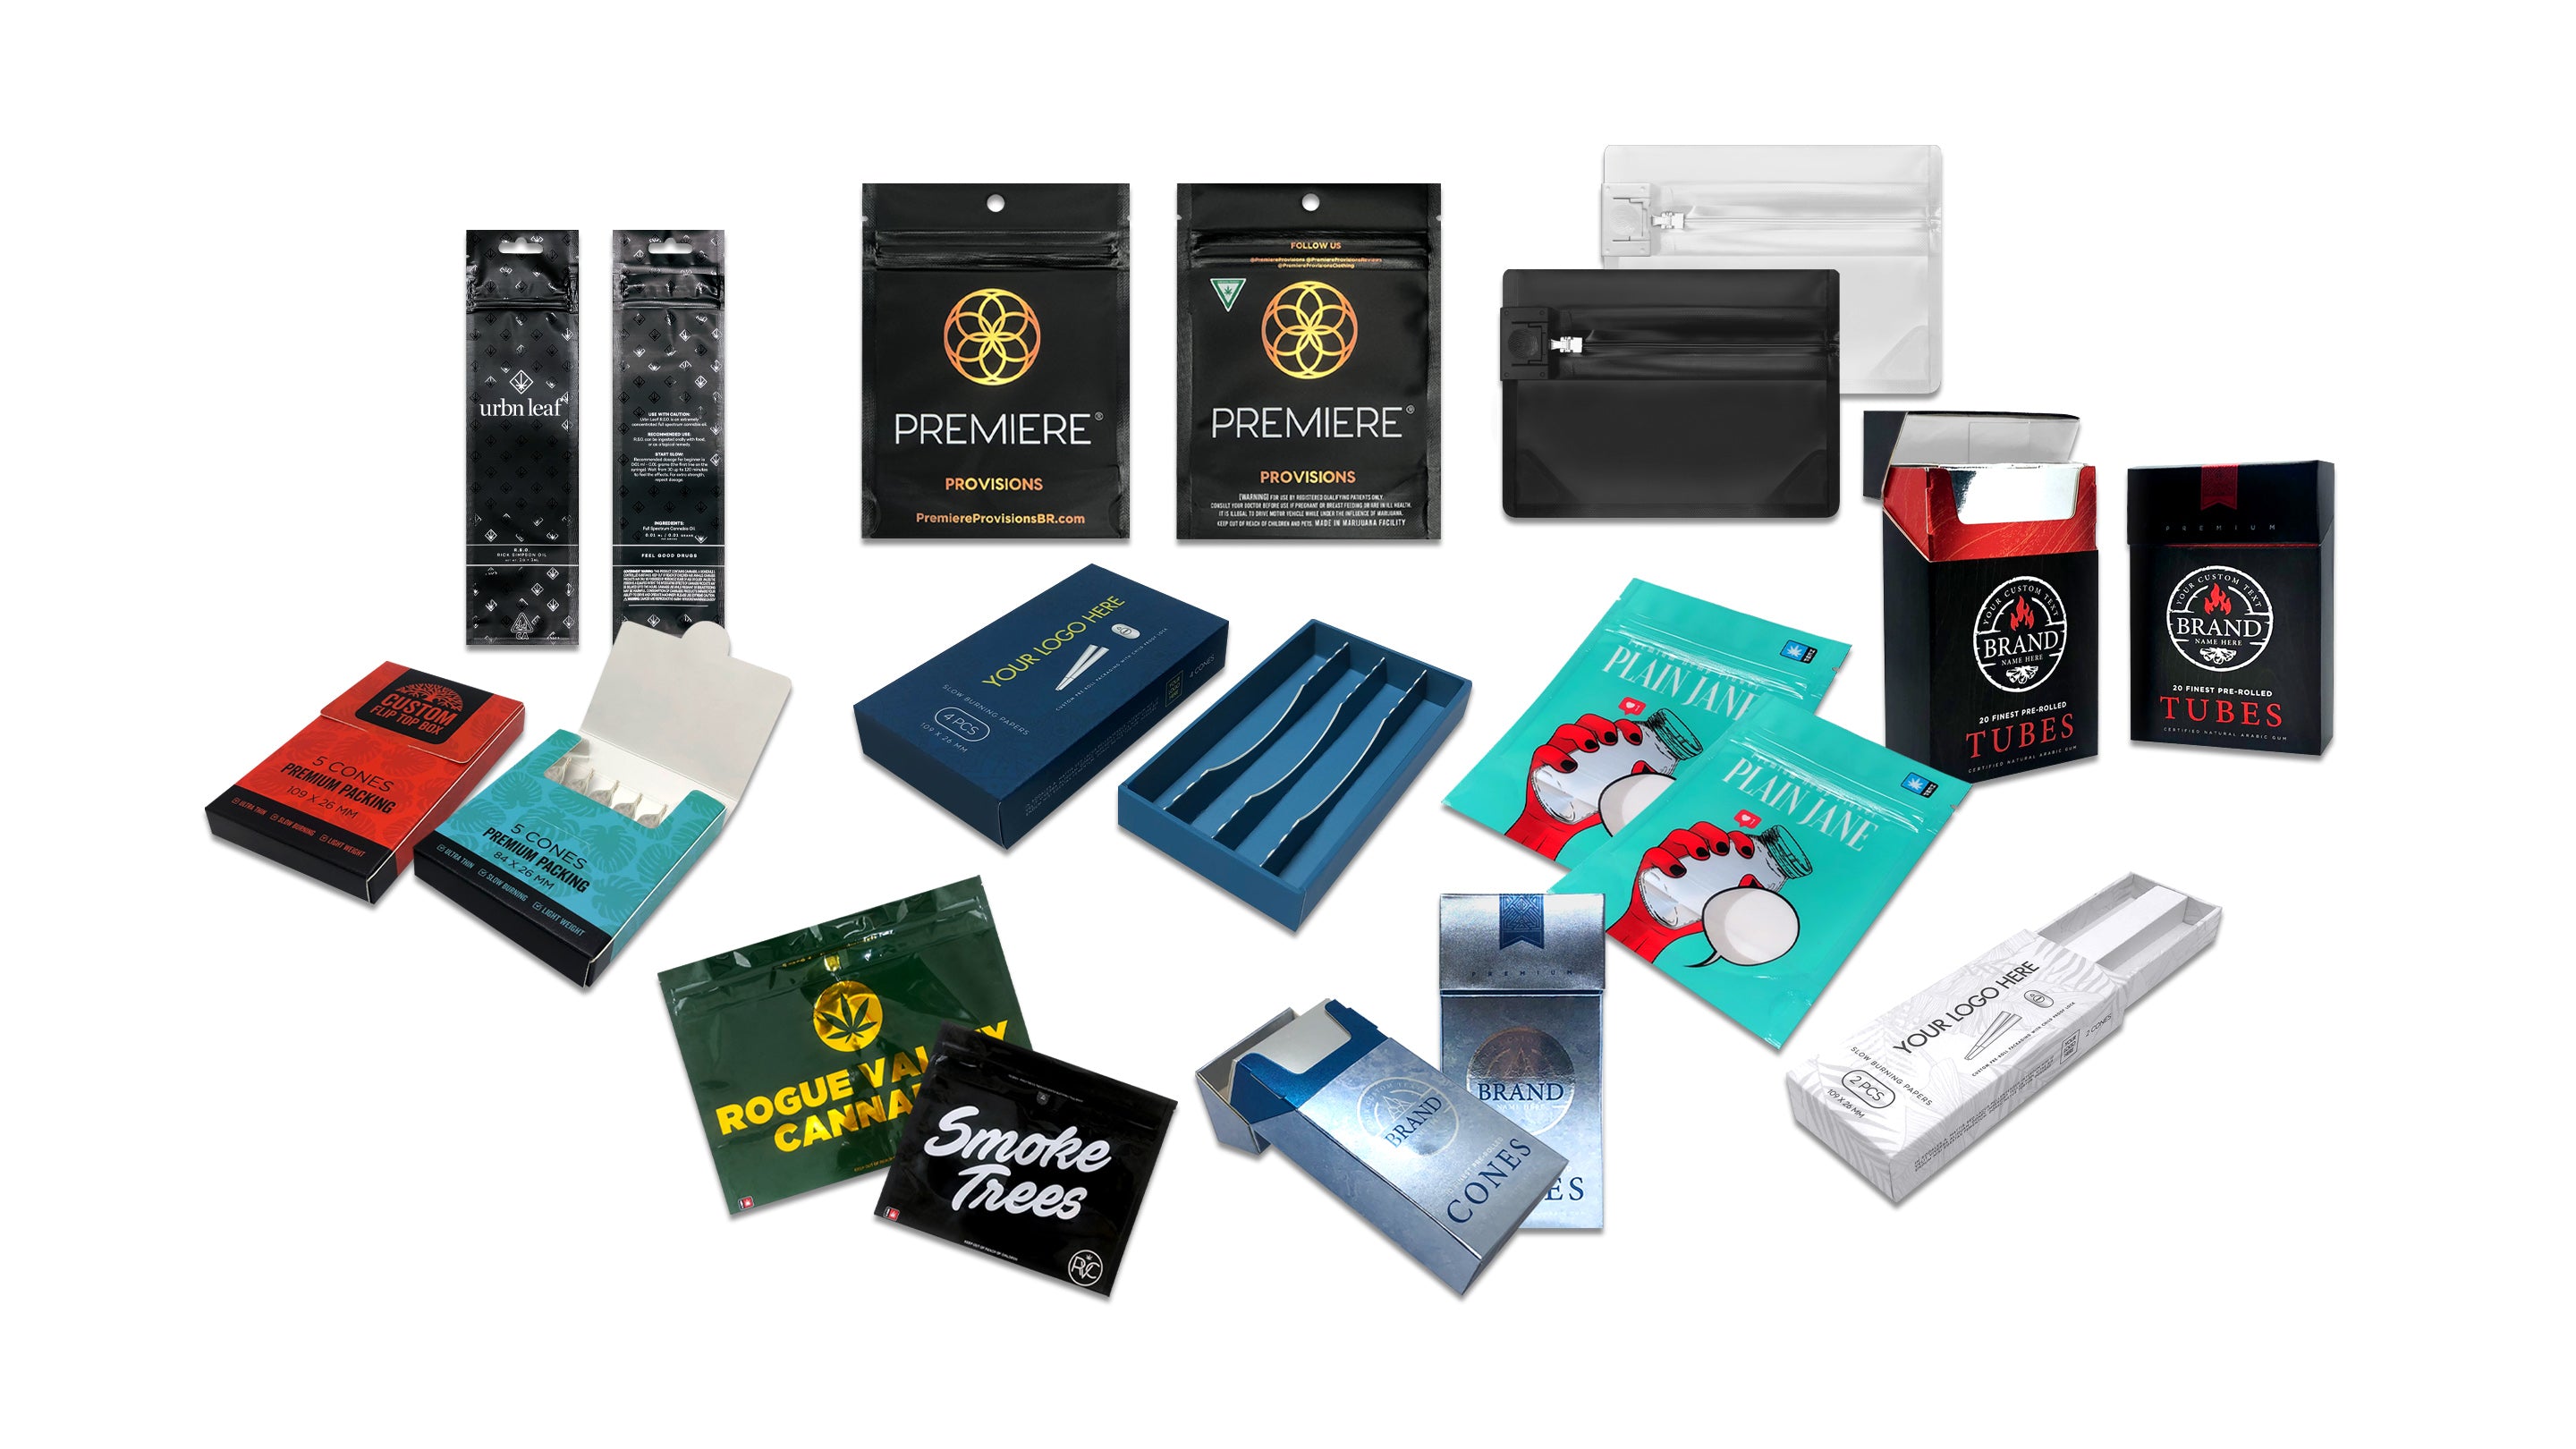
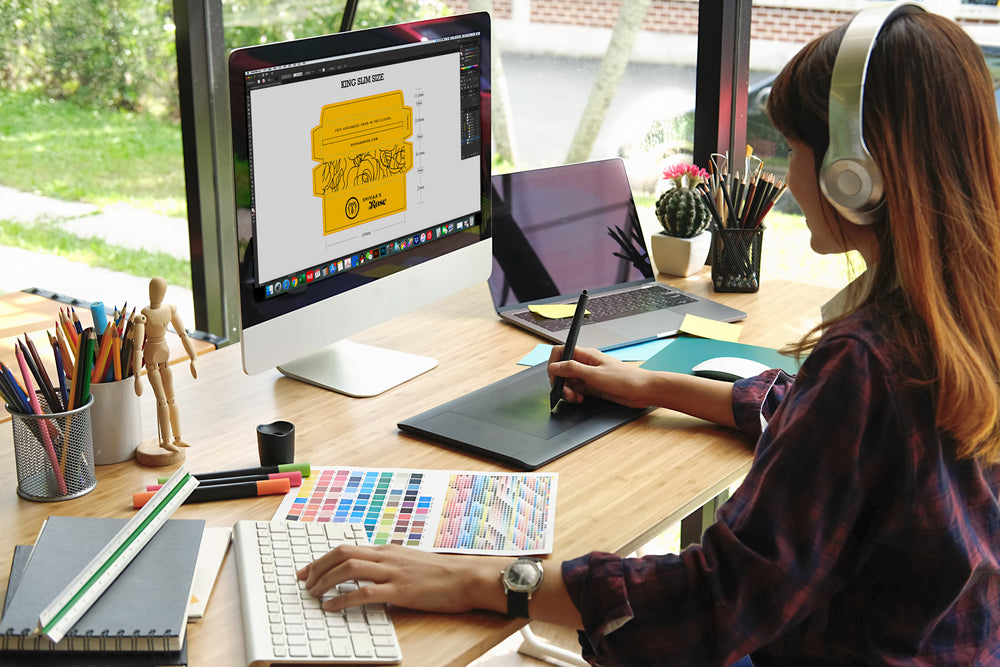
- ✔️ Customize them with your brand, artwork, or vibe
📦 Bulk orders available | 🚚 Fast shipping | 🌱 Always chemical-free




Leave a comment