How to Roll a Rolling Paper: The Ultimate Step-by-Step Guide 🌿✨

Hey there, rolling enthusiast! 👋 Whether you're a complete newbie or someone who's been struggling to get that perfect roll, you've landed in the right place. Rolling is an art form, a ritual, and honestly, one of those life skills that just feels good to master.
In this guide, we're breaking down everything you need to know about how to roll a rolling paper like a pro. No fluff, no confusion—just straightforward tips, insider tricks, and the kind of advice that'll have you rolling like you've been doing it for years. Let's dive in! 🎯
📑 Table of Contents
- Why Learning to Roll Properly Matters
- What You'll Need: Essential Supplies
- Choosing the Right Rolling Paper
- Step-by-Step: How to Roll a Rolling Paper
- Pro Tips for Perfect Rolls Every Time
- Common Mistakes and How to Fix Them
- Advanced Rolling Techniques
- Out of Papers? Here's What to Do
- Frequently Asked Questions
Why Learning to Roll Properly Matters 🎓
Look, we get it. In a world of pre-rolls and cones, you might wonder why bother learning to roll from scratch? Here's the thing: there's something genuinely satisfying about crafting your own roll. It's personal, it's customizable, and honestly? It's a flex. 💪
When you know how to roll a rolling paper properly, you're in complete control. You decide the size, the tightness, and the overall experience. Plus, it's way more economical than constantly buying pre-made options, and you'll never be at the mercy of whatever's available at the store.
What You'll Need: Essential Supplies 🛠️
Before we get rolling (pun intended 😄), let's gather everything you'll need. Having the right tools makes all the difference between a frustrating experience and a smooth one.
The Essentials:
- Rolling papers - Your foundation (we'll talk about choosing the right ones in a sec)
- Your chosen material - Whatever you're rolling with
- A grinder - Makes life SO much easier (trust us on this one)
- Filter tips or cardstock - For creating a crutch/filter
- A flat, clean surface - Your rolling station
- A packing tool - Pen, chopstick, or a dedicated poker works great
Nice-to-Haves:
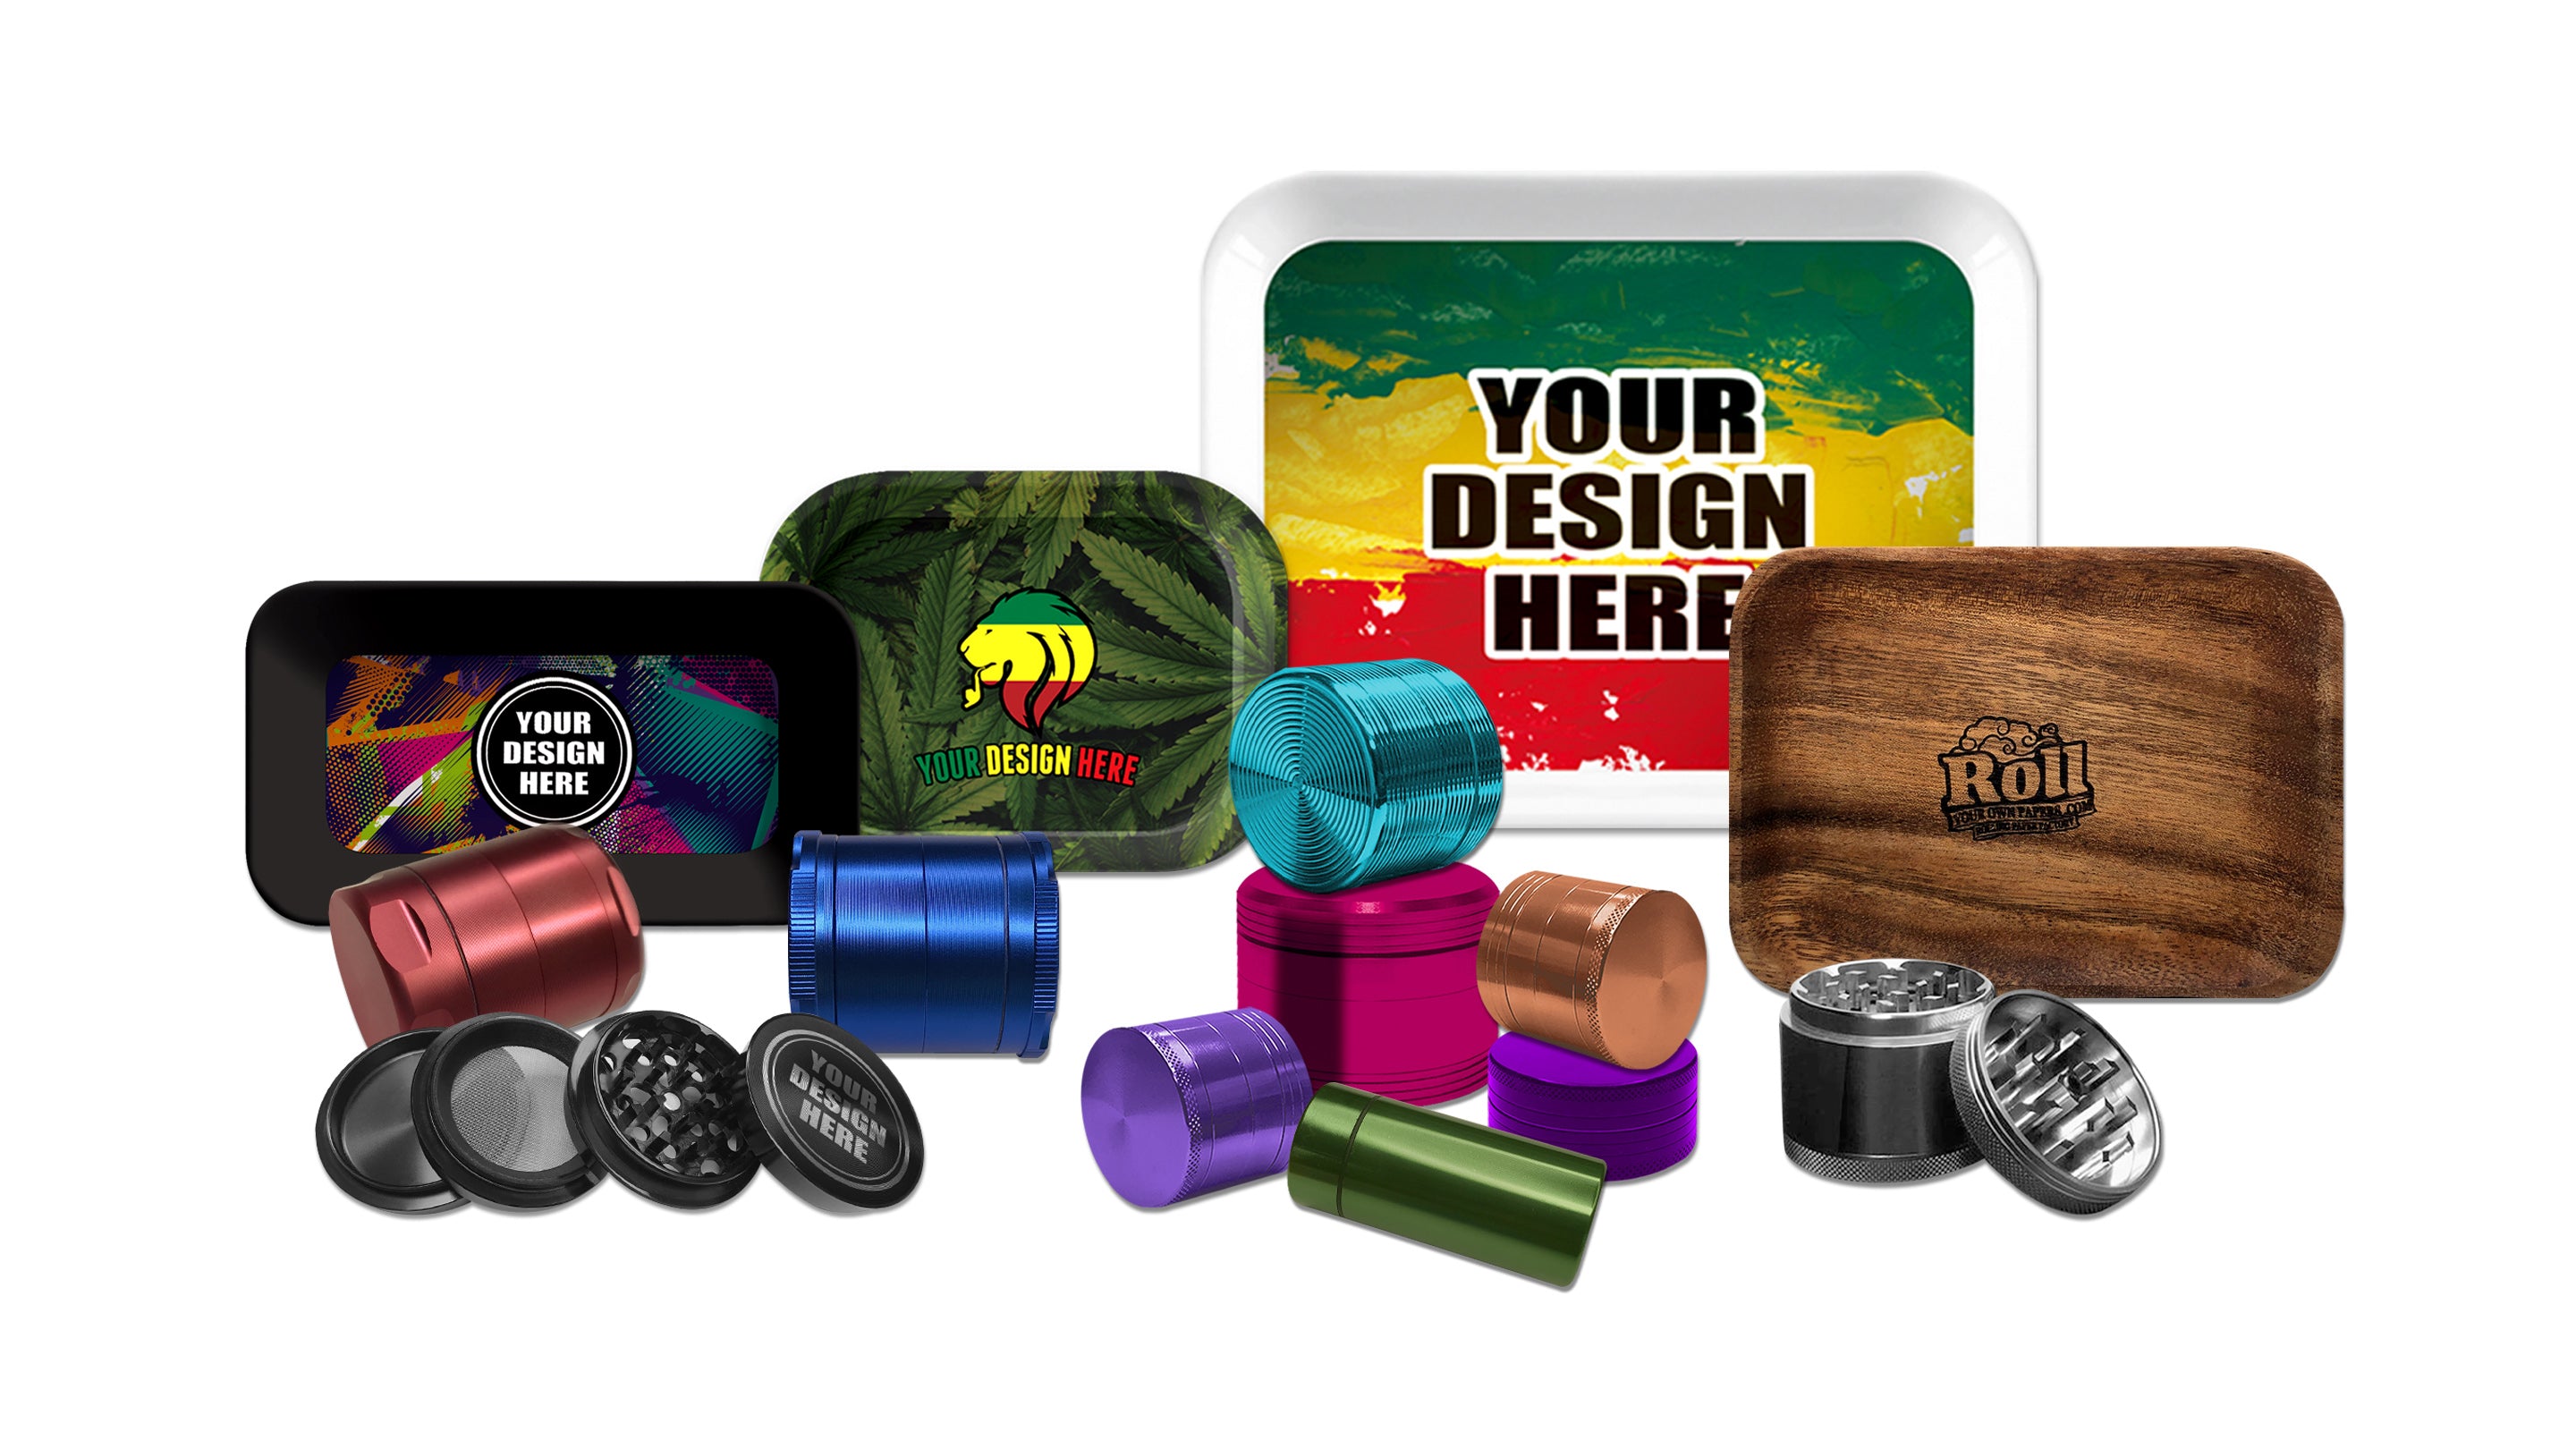
- Rolling tray - Keeps everything contained and organized
- Storage container - Keeps your material fresh
- Scissors - For trimming if needed
- Lighter or matches - For the final test!
Choosing the Right Rolling Paper 📄✨
Not all rolling papers are created equal, my friend. This is where quality really matters. The paper you choose affects everything—taste, burn rate, and how easy it is to roll.
Paper Sizes Explained 📏
Rolling papers come in several standard sizes, each with its own vibe:
Single Wide (68mm × 34mm) 🔹
The OG size. These are compact and great if you're flying solo or want something discreet. They require more finesse to roll but are super portable.
1¼ Size (76mm × 45mm) 🔷
This is the sweet spot for most people. It's the Goldilocks of rolling papers—not too big, not too small. Perfect for beginners because they're forgiving and easy to handle. We recommend starting here! 👍
1½ Size (76mm × 60mm) 🔶
A bit wider than 1¼, allowing for a fatter roll without adding length. Great for when you want a fuller experience but don't need a monster roll.
King Size (110mm × 44mm) 👑
The party size! These bad boys are longer and can hold significantly more. Perfect for sharing with a group or if you just like a longer session. Fair warning: they require more skill to roll evenly.
King Size Slim 🎯
Same length as king size but slimmer, giving you that elegant, sophisticated look. Popular with experienced rollers who want maximum length without the bulk.
Best Materials for Rolling Papers 🌱
The material your paper is made from is HUGE. Here's the breakdown:
Hemp Papers 🌿
Our personal favorite! Hemp rolling papers are durable, eco-friendly, and burn evenly. They have a slightly thicker texture than rice papers, making them easier for beginners. Plus, they're sustainable and don't mess with the taste of your material.
Rice Papers 🍚
Super thin and burn slowly. These are great for purists who want minimal paper taste. The downside? They're more delicate and can rip easily if you're not gentle. Best for intermediate to advanced rollers.
Wood Pulp Papers 🌲
The traditional option. These are the most common and usually the cheapest. They're reliable but can have a more noticeable paper taste. Look for unbleached options to avoid chemicals.
Bamboo Papers 🎋
A newer eco-friendly option. Bamboo papers are similar to hemp—strong, sustainable, and with a neutral taste. They're gaining popularity for good reason!
Thin vs. Regular: What's Better? 🤔
You'll often see papers labeled as "regular" or "slim/thin." Here's the deal:
Regular papers are more forgiving. They're easier to handle, less likely to tear, and great for learning. They do have slightly more paper taste, but it's barely noticeable with quality papers.
Slim/thin papers use less material, which means less paper taste and a "purer" experience. However, they require a gentle touch and more skill. One wrong move and you've got a tear.
Our recommendation? Start with regular hemp or bamboo papers while you're learning. Once you've got the technique down, experiment with thin papers to see if you prefer them. 🎨
Step-by-Step: How to Roll a Rolling Paper 🎬
Alright, here's where the magic happens! We're going to walk through this in detail, so grab your supplies and let's get rolling. Take your time with each step—there's no rush. 😊
1 Prep Your Material 🌿
First things first: preparation is everything. If you're working with herb, break it down with a grinder. You want a consistent, fluffy texture—not too fine (like powder) and not too chunky.
Why grind? A few reasons:
- Even consistency = even burn
- More surface area = better flavor
- Easier to roll and shape
- No surprise stems poking through your paper
Once ground, let it sit for a moment. If it's too sticky or moist, it'll be hard to roll and might not burn well. If this is an issue, spread it out on a clean surface for a few minutes to dry slightly.
2 Create Your Filter/Crutch 🎫
Some people skip this step, but honestly? Don't be those people. A filter (also called a crutch or tip) is a game-changer. Here's why you need one:
- Gives structure to your roll, making it easier to form
- Prevents material from falling out the end
- Stops debris from getting in your mouth
- Allows you to use everything without burning your fingers
- Improves airflow for a smoother draw
How to Make a Filter:
- Tear off a small strip of thin cardboard (about 0.5 inches × 2 inches)
- At one end, make 3-4 small accordion folds (like a "W" or "M" shape)
- From those folds, roll the rest of the strip around them in a spiral
- You should end up with a small cylinder with textured folds in the center
The accordion folds create the perfect airflow while keeping everything contained. You can use pre-made filter tips (sold everywhere), cardboard from your rolling paper package, business cards, or index cards. Just make sure it's not coated or glossy—plain cardstock is best.
3 Position and Fill the Paper 📍
Now we're getting to the actual paper! Here's how to set things up:
- Hold the paper with the gum strip facing up and away from you (at the top edge)
- Place your filter at one end—most people put it on the left if they're right-handed, but go with what feels natural
- Distribute your material along the paper, keeping it in the crease
How Much to Use? 📊
For standard 1¼ papers, start with about 0.5 grams. This is perfect for 1-2 people and much easier to manage as a beginner. You can always use more once you get comfortable.
Don't fill it all the way to the edges! Leave about ¼ inch on both ends. This gives you room to work and prevents spillage.
4 Shape and Form 🎨
This is where the technique comes in. With your material and filter in the paper:
- Pinch the paper between your thumbs and forefingers on both hands
- Use your thumbs to push the material into a cylinder shape
- Gently rock the paper back and forth with your thumbs, applying light pressure
This motion packs the material and forms it into shape. You're essentially massaging it into a nice, even cylinder. Don't rush this step! The better you shape it now, the easier the actual rolling will be.
You'll feel the material start to compact and take shape. The filter end should feel firm and structured, while the rest follows that cylindrical form. If you feel lumps or gaps, redistribute the material by gently massaging it.
The Feel Test 👆
Roll it gently between your fingers. Does it feel even? Can you feel any sticks or hard spots? Now's the time to fix those issues, not after you've sealed it up!
5 The Rolling Motion 🔄
Here we go—the moment of truth! This is what separates the rookies from the pros, but don't worry. With practice, this becomes second nature.
- Continue that pinching and rolling motion from the previous step
- Once it's formed into a nice cylinder, start tucking the non-gummed edge under the material and around it
- Start this tuck from the filter end—the filter helps guide the paper and keeps things tight
- Use your thumbs to tuck and roll, working your way along the length of the paper
- Keep rolling until only the gum strip is left visible
The key here is gentle, consistent pressure. Too hard and you'll rip the paper or pack it too tight. Too soft and it'll be loose and fall apart. You're looking for that Goldilocks zone—firm but not forceful. ⚖️
6 Seal It Up 💧
Almost there! Now you need to seal this baby up:
- With the paper fully tucked and only the gum strip showing, lick the gum strip
- Use your tongue or a slightly damp finger—you need moisture, but not a lot
- Press the gum strip down firmly but gently, sealing the roll closed
- Run your finger along the seal to ensure it's secure from end to end
The gum on rolling papers is usually made from natural gum arabic or similar adhesives. It doesn't need much moisture—over-licking will make the paper soggy and weak. One smooth lick is usually perfect.
7 Pack and Finish 🎯
You're basically done, but this final step ensures a perfect experience:
- Look at the open end—you'll see your material and probably some empty space
- Use a pen, chopstick, or packing tool to gently tamp down the material
- Pack it just enough to remove air pockets, but don't crush it down hard
- If you're not using it right away, give the tip a little twist to close it up
Packing helps ensure an even burn from start to finish. Air pockets can cause uneven burning or canoeing (when one side burns faster than the other). A gentle pack is all you need—think "settling it" rather than "crushing it." 😊
Pro Tips for Perfect Rolls Every Time 🏆
Alright, you've got the basics down. Now let's level up your rolling game with some insider knowledge that'll take you from good to great:
1. The Right Environment Matters 🌡️
Rolling in the rain? Not ideal. Too much humidity makes papers stick together and materials get damp. Too dry? Papers become brittle and crack. Room temperature with moderate humidity is perfect. If your papers feel too dry and are tearing, try breathing on them gently before rolling to add a tiny bit of moisture to the fibers.
2. Master the "Dollar Bill Technique" 💵
Struggling with the manual method? Try this old-school trick: fold a dollar bill (or any similar-sized paper) in half lengthwise. Place your rolling paper inside with your material. Roll the dollar bill back and forth—this does most of the work for you! Then slip the paper out, seal it, and boom. Perfect roll. It's like training wheels for rolling! 🚴
3. The "Backroll" or "Inside-Out" Method 🔄
Once you're comfortable with standard rolling, try this advanced technique: flip your paper so the gum strip is facing DOWN and toward you. Roll as normal, but when it's time to seal, the gum strip will be on the outside. Lick it through the paper, then tear away the excess paper. This uses less paper for a purer taste. Mind = blown. 🤯
4. Temperature Check Your Material 🌡️
If your material is too fresh and moist, it's harder to roll and won't burn well. If it's too dry, it'll be harsh and fall apart. The sweet spot? Slightly springy but not damp. If it's too moist, let it air dry for 10-15 minutes spread out on a clean surface.
5. Practice with Tea or Herbs 🍵
If you're brand new and don't want to waste material while practicing, use dried tea leaves or culinary herbs like oregano or mint. This lets you practice the physical technique without any pressure. Once you can roll these consistently, you'll nail the real thing!
6. The Pencil Method ✏️
Wrap your rolling paper around a pencil with the gum strip on the outside. Seal it to create a tube. Slide out the pencil, insert your filter at one end, and fill from the other end. Pack it down, twist the end, and you're done! This is how cones are pre-made, and you can do it yourself.
7. Keep Your Hands Clean and Dry 🧼
Sticky fingers transfer oils and moisture to your paper, making it harder to work with. Before rolling, wash your hands or use hand sanitizer and dry them completely. This simple step improves your rolling experience dramatically!
8. Store Your Papers Properly 📦
Keep your rolling papers in their original packaging or in a cool, dry place. Humidity is the enemy of good papers. If they get damp, they'll stick together and tear easily. If they get too dry, they'll be brittle and crack.
9. Light It Right 🔥
When it's time to light up, rotate your roll while lighting to get an even burn around the tip. Don't hold the flame directly on it—hover it just above and let it catch naturally. This prevents one side from burning faster than the other.
10. Learn from Every Roll 📚
Every roll is a learning opportunity. Too loose? Use less material or roll tighter next time. Too tight? Ease up on the pressure. Burns unevenly? Check your packing technique. The best rollers are constantly refining their technique based on feedback from each roll.
Common Mistakes and How to Fix Them 🔧
Even experienced rollers mess up sometimes. Here are the most common problems and their solutions:
Problem: The Paper Keeps Ripping 😤
Causes:
- Using too much pressure when rolling
- Papers are too thin for your skill level
- Stems or hard pieces in your material
- Papers are old or stored improperly
Solutions: Use a lighter touch, switch to regular (not slim) papers while learning, carefully inspect and grind your material to remove stems, and always store papers in a cool, dry place.
Problem: It's Too Loose and Falls Apart 😔
Causes:
- Not enough material
- Not applying enough rolling pressure
- Material isn't evenly distributed
- Gum strip wasn't sealed properly
Solutions: Use a bit more material (aim for that 0.5-1g range for standard papers), apply firmer (but not hard) pressure when shaping, make sure material is evenly distributed before rolling, and really press that gum strip down when sealing.
Problem: It's Too Tight and Won't Draw 😰
Causes:
- Packing too much material in
- Rolling with too much pressure
- Material is ground too fine
Solutions: Use less material, roll with a gentler touch, and adjust your grinder to a coarser consistency. You want fluffy, not powder!
Problem: One Side Burns Faster (Canoeing) 🛶
Causes:
- Uneven distribution of material
- Rolling tighter on one side
- Not rotating while lighting
- Wind or airflow hitting one side
Solutions: Take your time distributing and shaping evenly, make sure your rolling pressure is consistent along the entire length, rotate while lighting, and shield from wind or move to a calmer spot.
Problem: The Filter Falls Out or Pushes Through 😬
Causes:
- Filter is too small
- Not rolling tight enough around the filter
- Filter isn't firmly rolled
Solutions: Make your filter slightly larger (it should fit snugly in the paper's width), start your tuck-and-roll from the filter end to secure it first, and roll your filter tighter so it holds its shape better.
Problem: The Seal Won't Stick 😤
Causes:
- Not enough moisture on the gum strip
- Too much moisture (making the paper soggy)
- Old papers with degraded adhesive
- Material or oil on the gum strip
Solutions: Find that Goldilocks moisture amount—one good lick should do it, use fresh papers (they don't last forever), and make sure the gum strip is clean before sealing. If you touched it with sticky fingers, the adhesive might not work properly.
Advanced Rolling Techniques 🎓
Mastered the basics? Ready to impress your friends? Let's explore some advanced rolling techniques that'll take your skills to the next level:
The Cross Roll ✝️
This is exactly what it sounds like—two rolls intersecting in a cross shape with three ends to light. It's more of a novelty than practical, but it's super cool looking and makes for great conversation. You'll need to carefully poke a hole through the center of one roll and insert another perpendicularly. Seal the intersection carefully, and you've got yourself a party trick!
The Tulip or Lollipop 🌷
This involves creating a larger chamber at the end (like a tulip flower) that holds extra material. Roll the chamber separately, attach it to a stem roll, and secure with an extra piece of paper. It's fancy, impressive, and holds a ton of material for group sessions.
The L-Roll or Extendo 📐
Want something that lasts? Roll two papers in an L-shape to create an extra-long roll. Overlap one paper over another at a 90-degree angle, seal them together, then roll as normal. The result? A super-sized experience that's perfect for special occasions.
The Cone Roll 🍦
While we mentioned cone-shaping earlier, you can take this further by making an exaggerated cone with much more material at the end. This creates a slow-burning, increasingly intense experience as you work through it. Start with minimal material near the filter and gradually increase to a fat end.
The Braided Roll 🥨
For the true artist: roll three thin rolls and carefully braid them together. This requires patience and skill, but the result is stunning and burns in interesting patterns. Each strand can even contain different material for varied effects!
Out of Papers? Here's What to Do 🆘
Let's be real—sometimes you find yourself in a situation without proper rolling papers. Before you panic, here are some alternatives (listed from best to worst):
✅ Good Alternatives:
1. Pre-Made Cones 📯
If you've got cones on hand, you're golden! These are basically done for you—just fill, pack, and twist. Many smoke shops and gas stations carry these. Keep some as backup!
2. Corn Husks 🌽
Dried corn husks (like those used for tamales) are a natural, traditional alternative. They're thicker than paper but totally functional. Native Americans used these for centuries! Just make sure they're clean, pesticide-free, and dried properly.
3. Rose Petals 🌹
Sounds fancy? It is! You can actually roll with rose petals. Dry them out in the oven at low temp (around 200°F for 10-15 minutes), and they become pliable enough to roll. They add a subtle floral flavor. Very Instagram-worthy! Just make sure they're organic and pesticide-free.
4. Use a Pipe or Bong Instead 💨
Honestly? This is probably your best bet if you're out of papers. Pipes and bongs require no rolling skills and are reusable. You can even make a quick apple pipe if you're desperate (Google it—it's easier than you think!).
⚠️ Avoid These:
Printer Paper 📄
Nope. Too thick, contains chemicals and bleach, and produces harsh, potentially harmful fumes. Hard pass.
Newspaper 📰
The ink contains toxins you don't want to inhale, and newsprint is full of chemicals. Plus, it tastes terrible. Don't do it.
Bible/Book Pages 📖
While thin, these are usually chemically treated, bleached, and not meant for inhalation. Religious considerations aside, it's just not safe.
Gum Wrappers 🍬
You might see this suggested online, but most gum wrappers have an inner foil layer or plastic coating. Even if you remove it, the paper itself isn't safe for inhalation.
Toilet Paper 🧻
Way too thick, full of additives, and basically impossible to roll with. Just... no. 😬
Why Our Rolling Papers Are Different 🌟
Look, we've talked a lot about technique, but let's be real—you can have perfect rolling skills and still end up with a subpar experience if your papers are garbage. That's where quality really matters, and that's why we're passionate about what we do.
At Roll Your Own Papers, we're not just selling papers—we're selling an experience. Here's what makes our rolling papers stand out from the crowd:
- 🌿 100% Organic Hemp: Our papers are made from sustainably sourced hemp. No trees were harmed, no chemicals were added, just pure, natural fibers that burn clean and slow.
- 🎨 Food-Grade Ink: Want custom designs? We use only food-grade, non-toxic inks. Your health is our priority, and we never cut corners on safety.
- 💚 Natural Gum Arabic: Our seal comes from 100% natural gum arabic—the same stuff used in candy and food products. No synthetic adhesives, no weird chemicals.
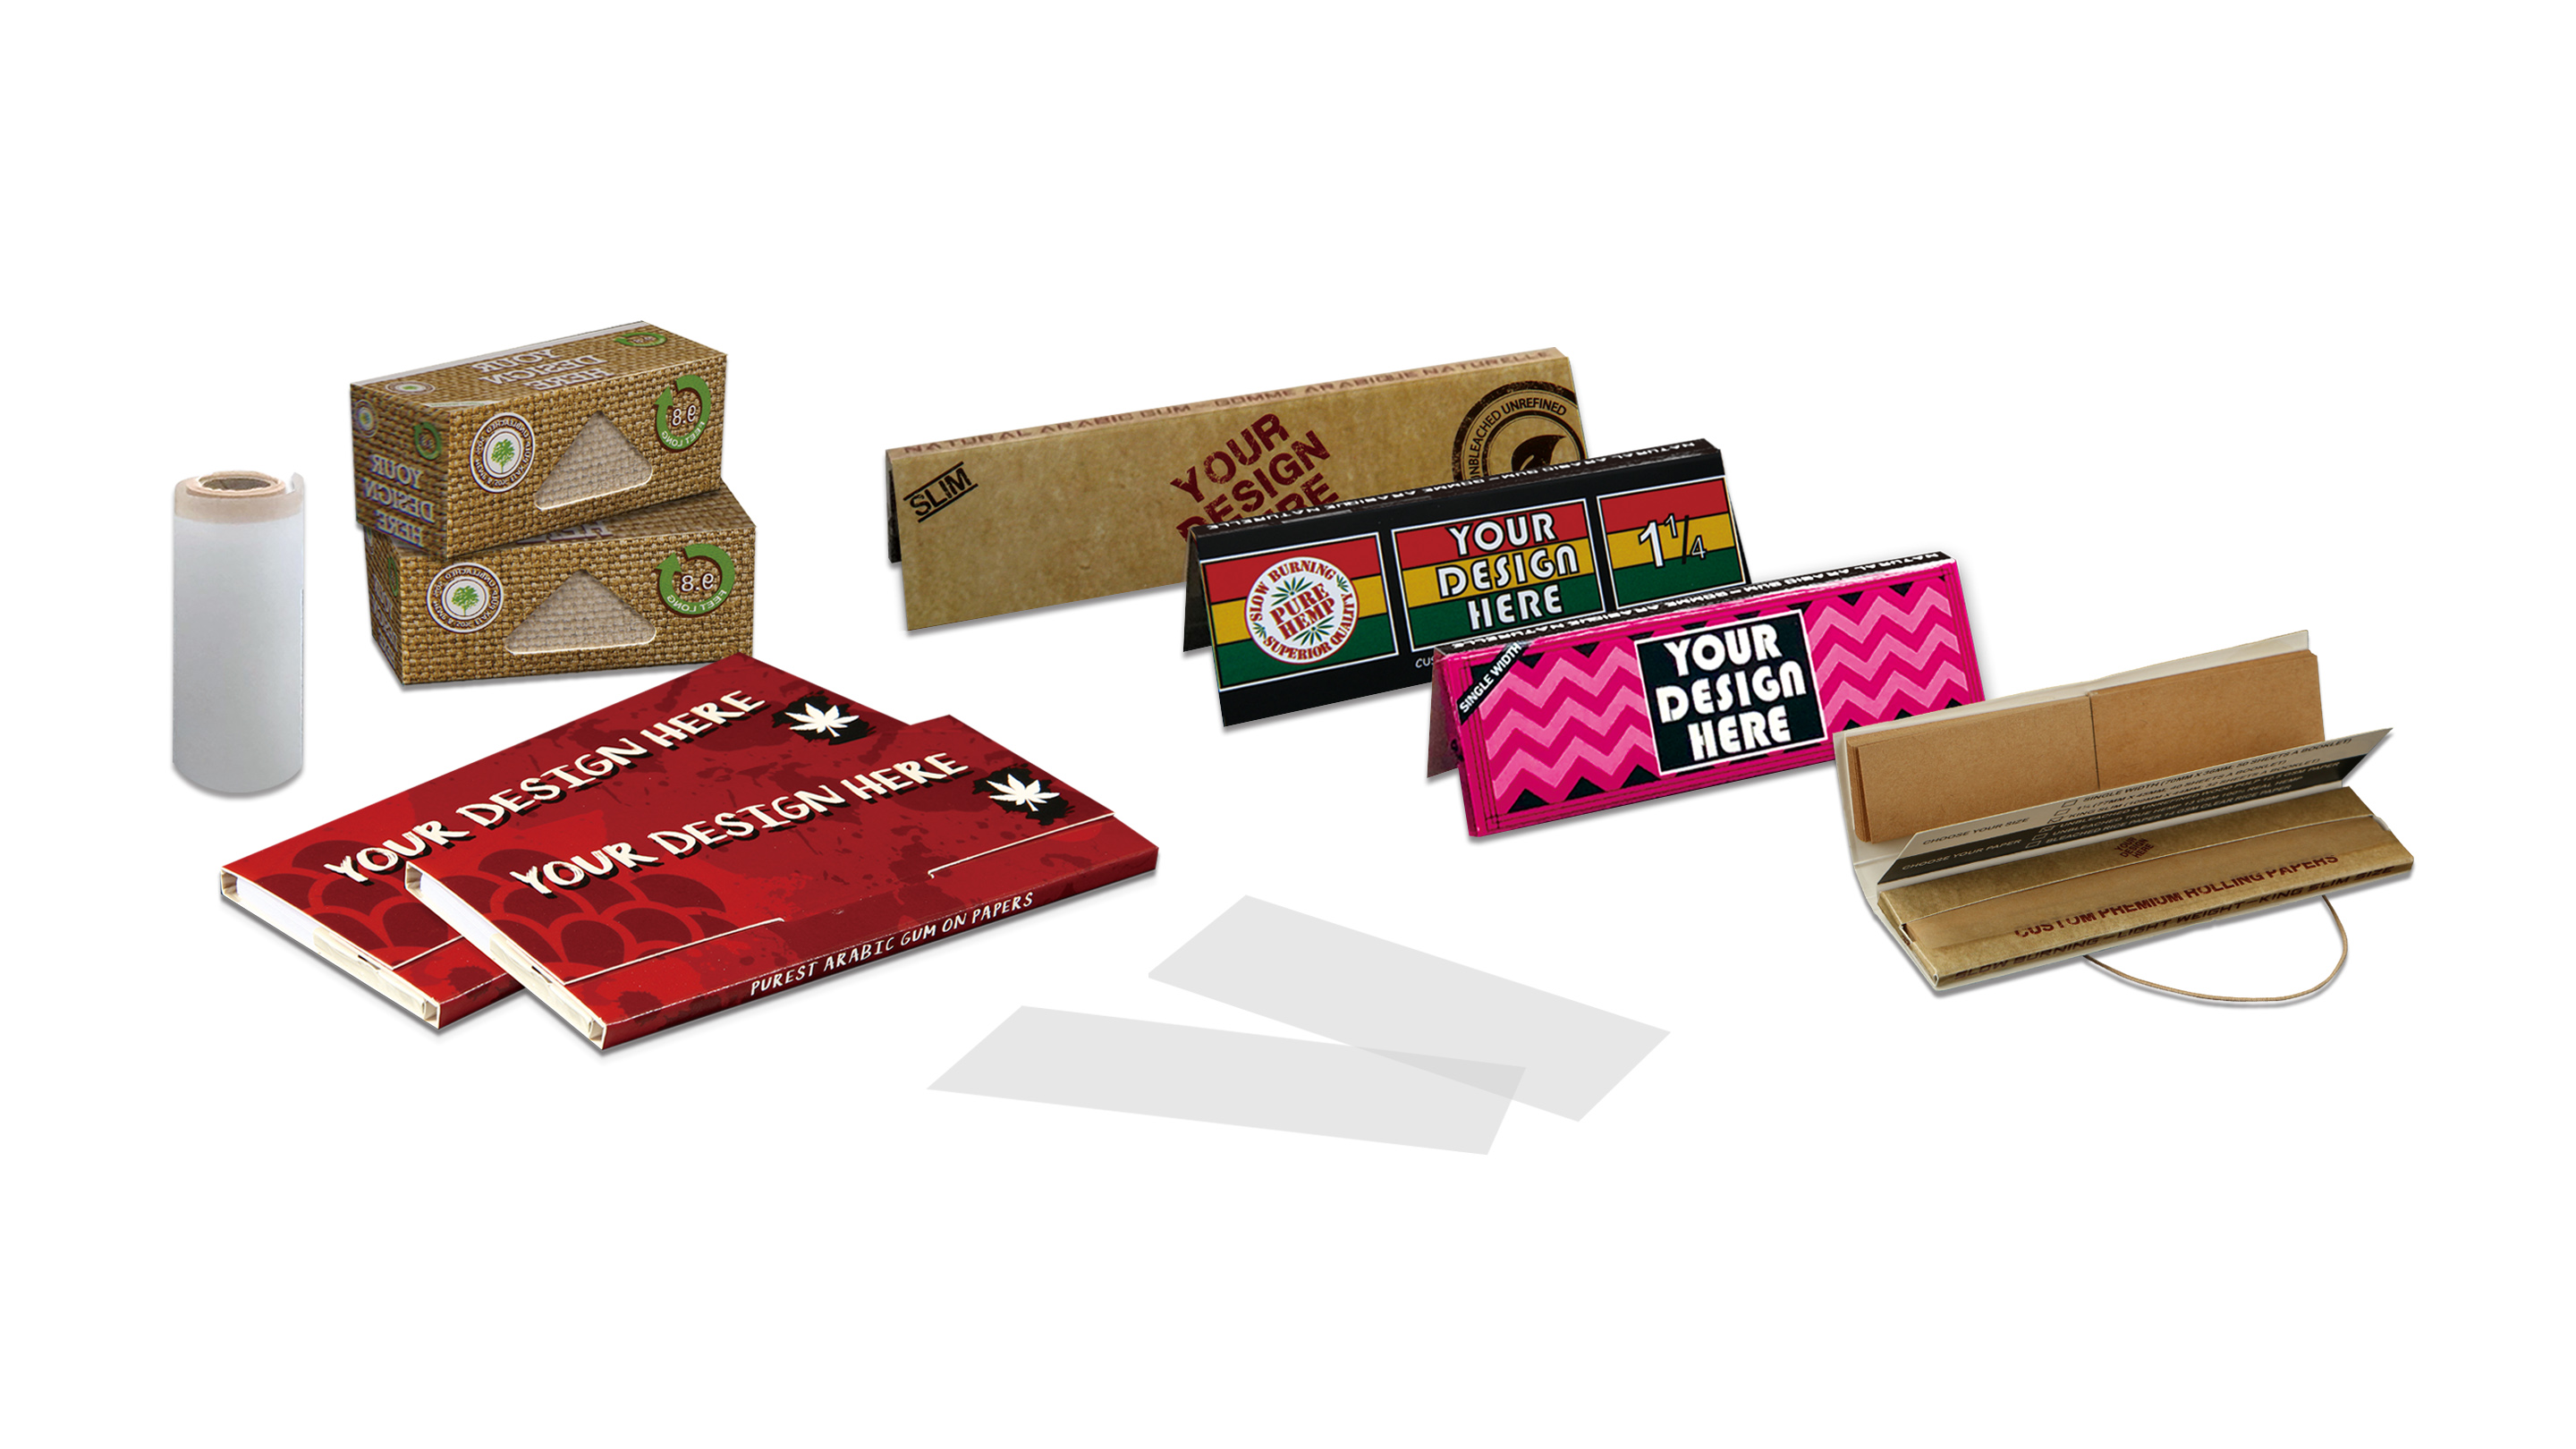
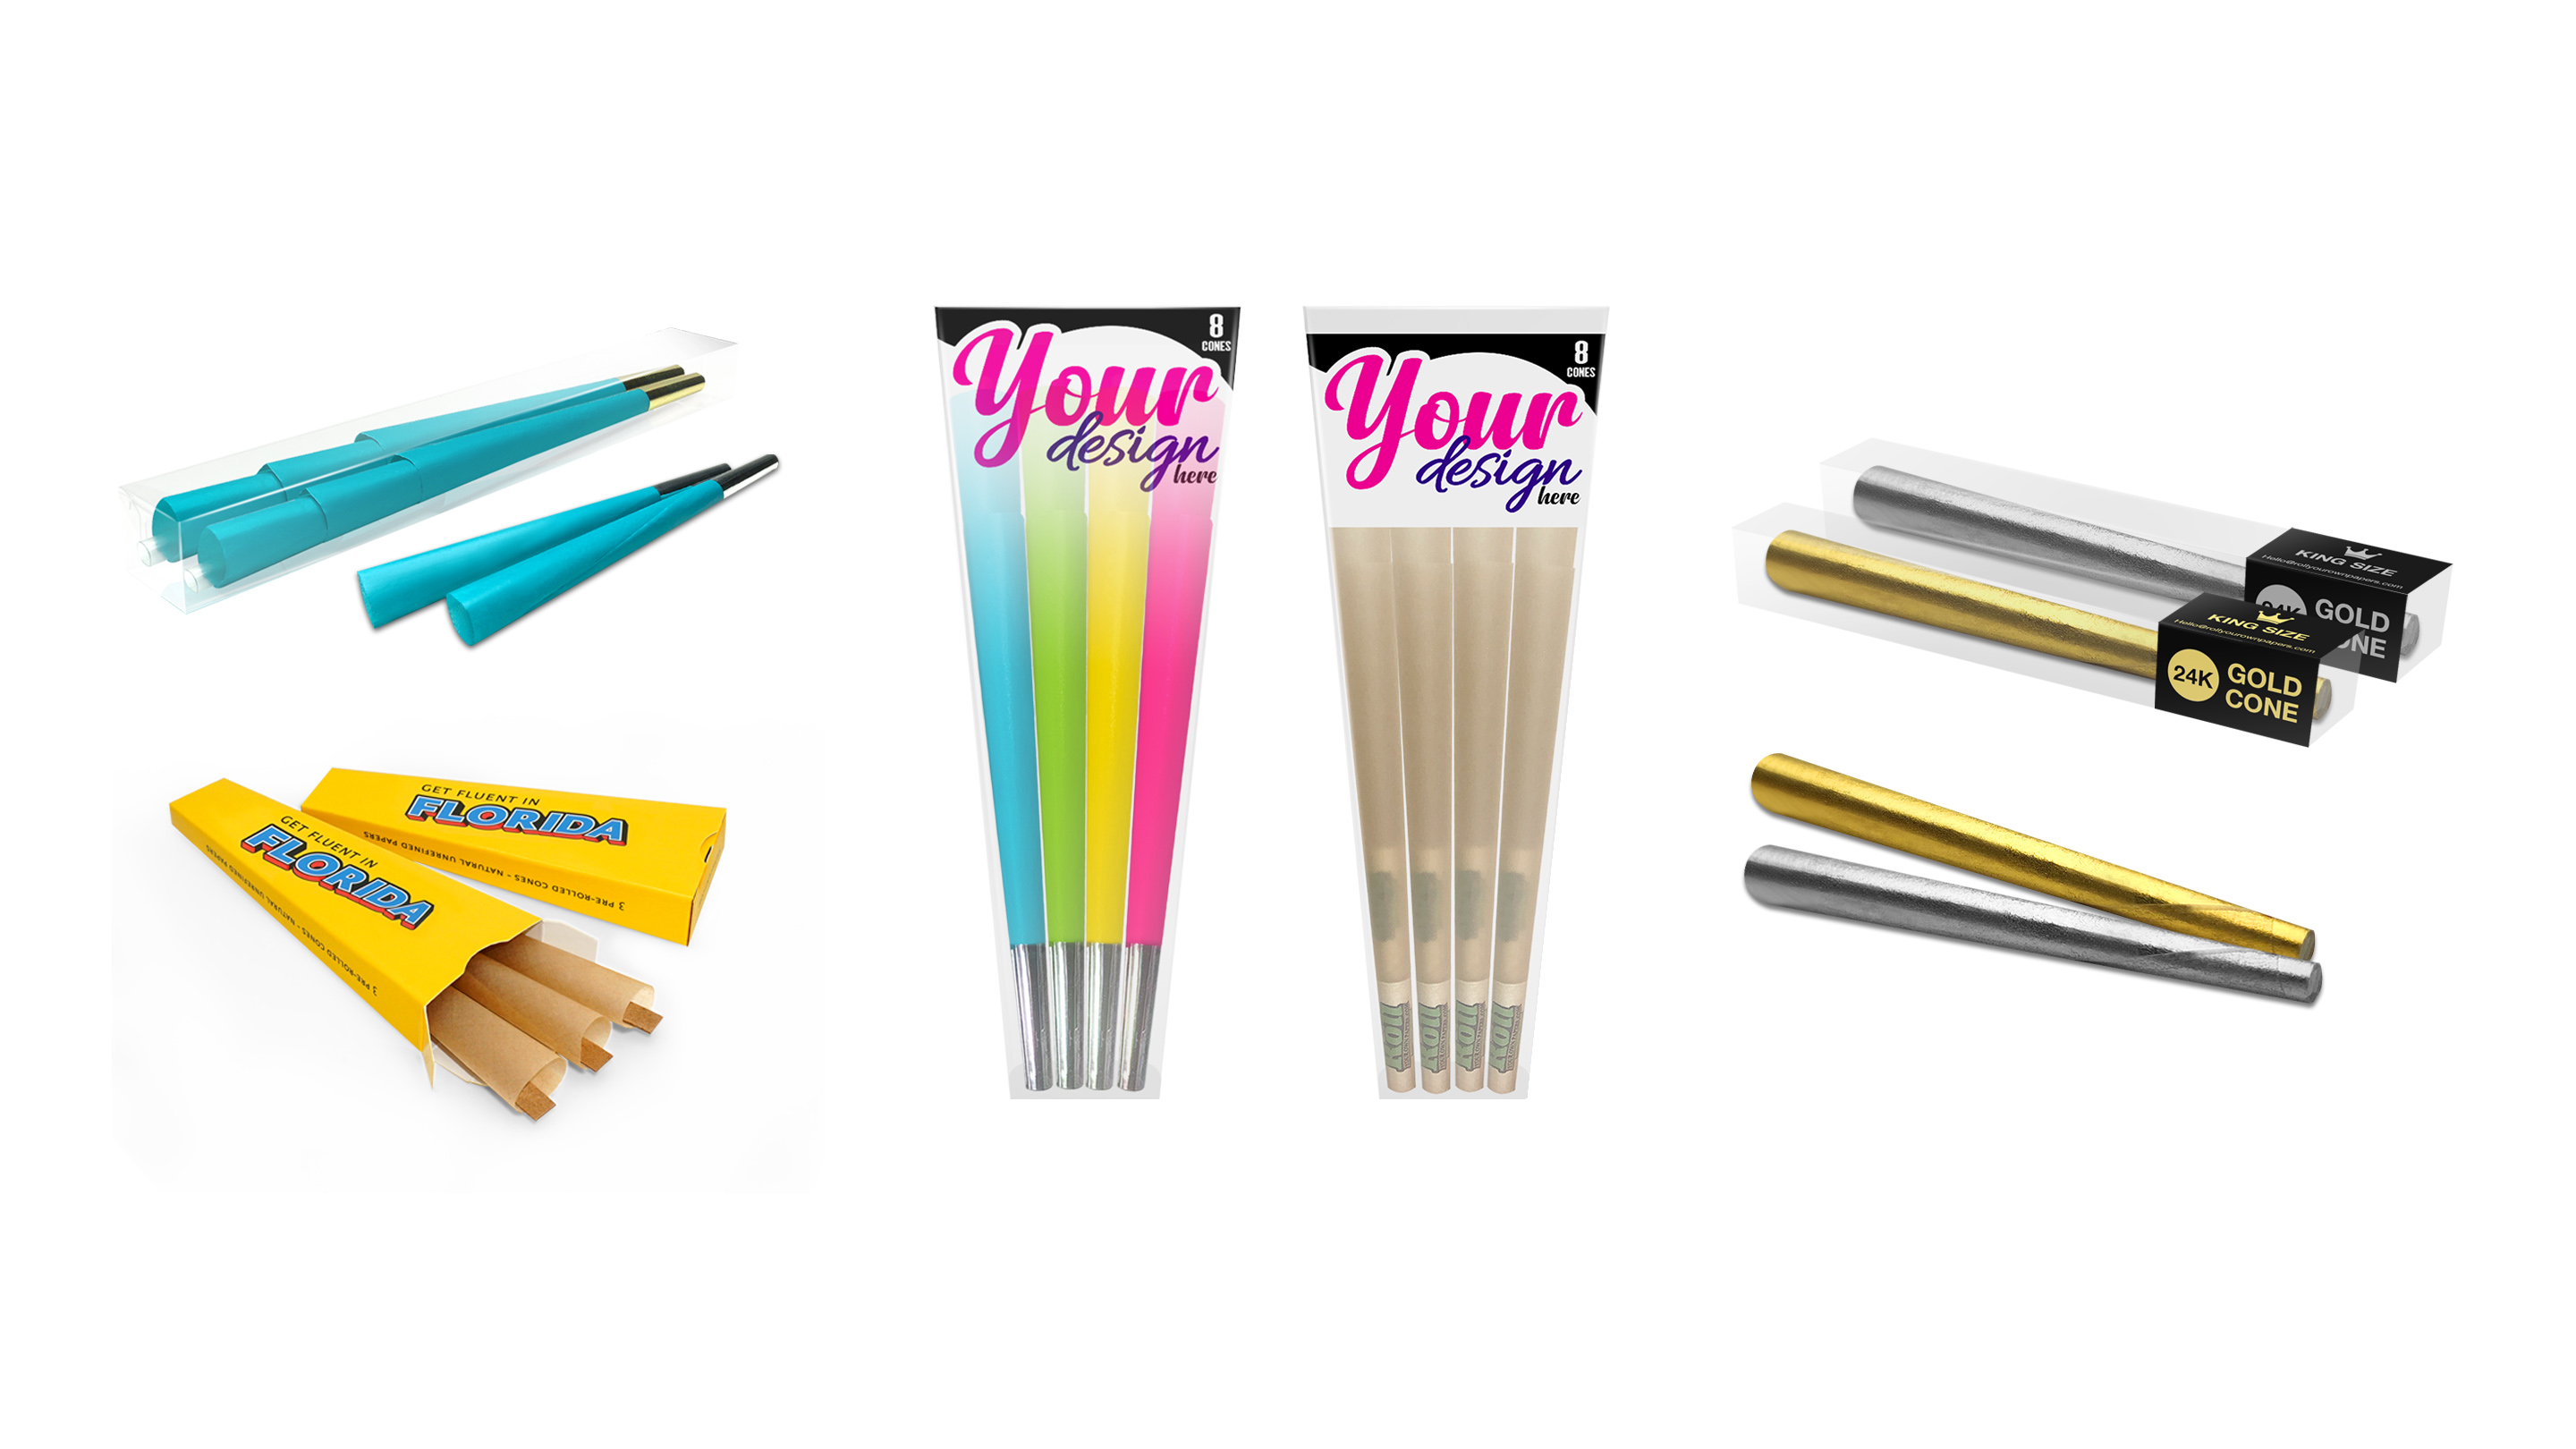
- ✨ Customization Options: Whether you want your brand logo, artwork, or a personalized message, we can print it on your papers. Perfect for businesses, events, or just making your rolls uniquely yours!
- 📦 Bulk Orders Available: Whether you need a few packs or thousands, we've got you covered. Great for retail, events, or promotional purposes.
- 🚚 Fast, Discreet Shipping: We know you don't want to wait. Our shipping is quick, reliable, and discreet.
- 🔬 Lab-Tested: Every batch is tested to ensure it meets our strict quality standards. No surprises, just consistent quality every time.
We've seen too many people struggle with cheap, low-quality papers that rip, burn unevenly, or leave a nasty aftertaste. Life's too short for bad papers! When you use quality rolling papers, you'll notice the difference immediately—easier rolling, better taste, smoother burn, and just an overall better experience. 🎯
Frequently Asked Questions 💭
What is the easiest way to roll a rolling paper for beginners? 🆕
The easiest way for beginners is to use the cone method with a filter tip. Start by creating a small accordion-fold filter, place it at one end of your rolling paper, distribute your material evenly, and roll it into a cone shape. Practice the pinch-and-roll motion slowly, and don't worry if your first few attempts aren't perfect! You can also try the dollar bill technique or pre-made cones while you're building confidence.
How much material should I use in a rolling paper? ⚖️
For beginners using standard 1¼ inch papers, start with about 0.5 grams. This creates a manageable size that's easier to roll and perfect for 1-2 people. As you gain experience, you can use up to 1 gram for standard papers or more for king-size papers. Remember: it's better to start small and work your way up than to overfill and struggle with rolling!
Why does my roll keep falling apart? 😫
Rolls fall apart usually due to uneven distribution of material, insufficient rolling pressure, or not sealing the gum strip properly. Make sure to grind your material to a consistent texture, apply even pressure while rolling (not too hard, not too soft), and use just enough moisture on the gum strip to create a proper seal without over-wetting the paper. Also check that you're not using too little material—underfilled rolls lack structure.
What's the difference between different rolling paper sizes? 📏
Standard sizes include: Single Wide (1 inch wide) for compact rolls, 1¼ inch (most popular, 3 inches long) for regular use, 1½ inch for slightly fatter rolls, and King Size (wider and longer) for sharing. Slim versions of each size are thinner but more delicate, while regular versions are easier to handle for beginners. We recommend starting with 1¼ regular papers—they're the goldilocks of rolling papers!
Do I need a filter or crutch when rolling? 🎫
While not absolutely necessary, a filter (crutch) is highly recommended. It provides structural support making rolling easier, prevents material from falling out or into your mouth, allows you to use everything without burning your fingers, and improves airflow for a smoother experience. Making one takes just 10 seconds and dramatically improves your overall experience. Trust us on this one—always use a filter!
What's the best material for rolling papers? 🌿
Hemp and rice papers are generally considered the best options. Hemp papers are durable, burn evenly, and have minimal taste impact—perfect for beginners! Rice papers are ultra-thin and slow-burning but more delicate. Both are natural options compared to traditional wood pulp papers. Choose unbleached, additive-free papers for the purest experience. Bamboo is also a great eco-friendly option that's gaining popularity!
How long does it take to learn how to roll properly? ⏰
Most people can roll a functional roll within their first few attempts, but mastering the technique typically takes 10-20 practice sessions. The key is consistent practice and not getting discouraged by early imperfect results. Think of it like learning to ride a bike—awkward at first, but eventually it becomes second nature. Many experienced rollers say they're still improving their technique years later! The journey is half the fun. 😊
🔥 Ready to Upgrade Your Rolling Game?
You've got the skills—now get the papers that match! 🎯 If you're tired of dealing with cheap papers that tear, taste weird, or burn unevenly, we've got just what you need for the ultimate rolling experience.
- ✔️ Made from organic hemp
- ✔️ Printed with food-grade ink
- ✔️ Sealed with 100% natural gum
- ✔️ Customize them with your brand, artwork, or vibe
📦 Bulk orders available | 🚚 Fast shipping | 🌱 Always chemical-free
Final Thoughts: Practice Makes Perfect 🎯
Learning how to roll a rolling paper is a journey, not a destination. Your first few attempts might look more like abstract art than functional pieces, and that's totally okay! Every expert roller you've ever met started exactly where you are right now.
The beautiful thing about this skill is that there's always room to improve. Even after years of rolling, you'll discover new techniques, preferences, and tricks that make each roll better than the last. Some days you'll nail it perfectly, other days you'll struggle—and that's all part of the experience.
Remember these key takeaways:
- Quality matters - Good papers and materials make everything easier
- Be patient - Rushing leads to mistakes
- Practice consistently - Muscle memory develops over time
- Learn from each roll - Every attempt teaches you something
- Don't be afraid to experiment - Find what works best for YOU
- Have fun with it! - This should be enjoyable, not stressful 😊
Whether you're rolling for solo sessions, sharing with friends, or just enjoying the meditative ritual of the craft, you're now equipped with all the knowledge you need to succeed. The rest is just practice, practice, practice!
So grab your rolling papers, take your time, and enjoy the process. Before you know it, you'll be rolling perfect ones in your sleep (figuratively speaking—probably don't roll while sleeping 😄).
Now get out there and roll something amazing! 🌿✨
Happy rolling, friends! If you have questions or want to share your rolling journey, we'd love to hear from you. Here's to smooth rolls and good vibes! 🎉





Leave a comment