How to Make a Cute Rolling Tray in 2025 😍 Super Easy & Actually Adorable DIY Ideas

Table of Contents
- Why a Cute Rolling Tray Hits Different ✨
- Must-Have Materials (Budget & Boujee Versions)
- Method 1: Pastel Kawaii Wooden Tray 🌸
- Method 2: Glitter Resin Dream Tray 💖
- Method 3: 20-Minute Picture Frame Hack 🖼️
- Method 4: Vintage-Style Decoupage Magic 🐞
- Extra Cuteness Upgrades That Slap 😽
- Comparison Table – Which Build Is Your Vibe?
- How to Keep Your Tray Looking Cute Forever
- Want One That Looks Pro Without the Effort?
- FAQ – 7 Most Asked Questions
Hey besties 😘
Let’s be real – regular rolling trays are cool, but cute rolling trays? They’re next-level. Every time you pull yours out, people go “wait… did you make that?!” and suddenly you’re the cool crafty friend.
I’ve made like 12 of these this year (yes, I have a problem) and these four methods are the absolute cutest, easiest, and most “wow” worthy. Let’s get into it!
Why a Cute Rolling Tray Hits Different ✨
It’s not just a tray – it’s a whole mood. Pastel colors instantly make you happier, glitter catches the light, little kawaii faces make you smile mid-session. Plus, when it’s handmade, it feels special. You deserve nice things, okay?
Must-Have Materials (All Under $40)
- Base: wooden cutting board, picture frame, altoid tin, or resin mold
- Paint: acrylics in pastel shades or spray paint (Montana Gold or Rust-Oleum 2X pastel line are 🔥)
- Sealer: Odie’s Oil (food-safe), Mod Podge Dishwasher Safe, or epoxy resin top coat
- Cuteness boosters: holographic vinyl, glitter, fake flowers, stickers, tiny gems, polymer clay charms
- Tools: sandpaper, hot glue, painter’s tape, router or Dremel (optional)
Method 1: Pastel Kawaii Wooden Tray 🌸 (My Personal Favorite)
This is the elevated version of that viral Reddit cutting-board tray, but way cuter.
- Buy a $12-18 bamboo or maple cutting board (Target/Walmart)
- Sand the surface lightly
- Tape off sections and paint with pastel acrylics (lavender, mint, baby pink, butter yellow)
- Add kawaii faces with paint pens or vinyl (Cricut users, this is your moment)
- Optional: route small compartments with a 1¼" bowl bit like the Reddit guy – use masking tape as a guide!
- Seal with 3-4 coats of Odie’s Oil or dishwasher-safe Mod Podge
Result? A tray that looks like it costs $120 on Etsy but you made it in an afternoon.
Method 2: Glitter Resin Dream Tray 💖 (Most Photogenic)
People lose their minds over these.
- Get a rectangular silicone mold (8x6" is perfect)
- Mix clear epoxy resin + pastel mica powders
- Add chunky holographic glitter + tiny fake flowers or butterfly confetti
- Pour in layers for depth (let each cure 6-8 hrs)
- Pop out, sand edges, add felt feet on the bottom
Pro tip: embed a printed photo or polaroid under clear resin for the cutest personal touch ever.
Method 3: 20-Minute Picture Frame Hack 🖼️ (Perfect for Beginners)
This is the upgraded version of the famous BoardGameGeek dice tray trick.
- Buy a deep shadowbox picture frame (Michaels $9.99)
- Remove the glass
- Paint frame pastel pink or mint
- Glue in pastel felt or neoprene (the mousepad material works!)
- Add vinyl stars, hearts, or a cute quote
Literally done in one episode of your favorite show.
Method 4: Vintage-Style Decoupage Magic 🐞
Thrift an old wooden tray or box → cover with cute scrapbook paper or napkins → Mod Podge the hell out of it → seal with resin or dishwasher-safe top coat. Looks like your cool grandma made it, but better.
Extra Cuteness Upgrades That Slap 😽
- Add tiny polymer clay mushrooms, strawberries, or cat paws on the edges
- Use glow-in-the-dark paint for stars that light up at night 🌟
- Magnetic strips on the bottom to hold tools
- Rounded corners with a router = luxury feel
- Holographic vinyl border that changes color in the light 🤯
Comparison Table – Which Build Is Your Vibe?
| Method | Difficulty | Cost | Cuteness Peak | Time | Best For |
|---|---|---|---|---|---|
| Pastel Wooden | Medium | $$ | 10/10 (classy cute) | 2-4 hrs | Daily use |
| Glitter Resin | Medium-Hard | $$$ | 12/10 (Instagram queen) | 24 hrs cure | Showing off |
| Picture Frame Hack | Super Easy | $ | 9/10 (minimalist cute) | 20 min | Beginners |
| Decoupage | Easy | $ | 11/10 (vintage vibes) | 1-2 hrs | Gifting |
How to Keep Your Tray Looking Cute Forever 💕
Use coasters for drinks, wipe with damp cloth (no soaking), re-oil wooden ones every 6 months, keep resin out of direct sun to prevent yellowing.
Want One That Looks Pro Without the Effort? 😏
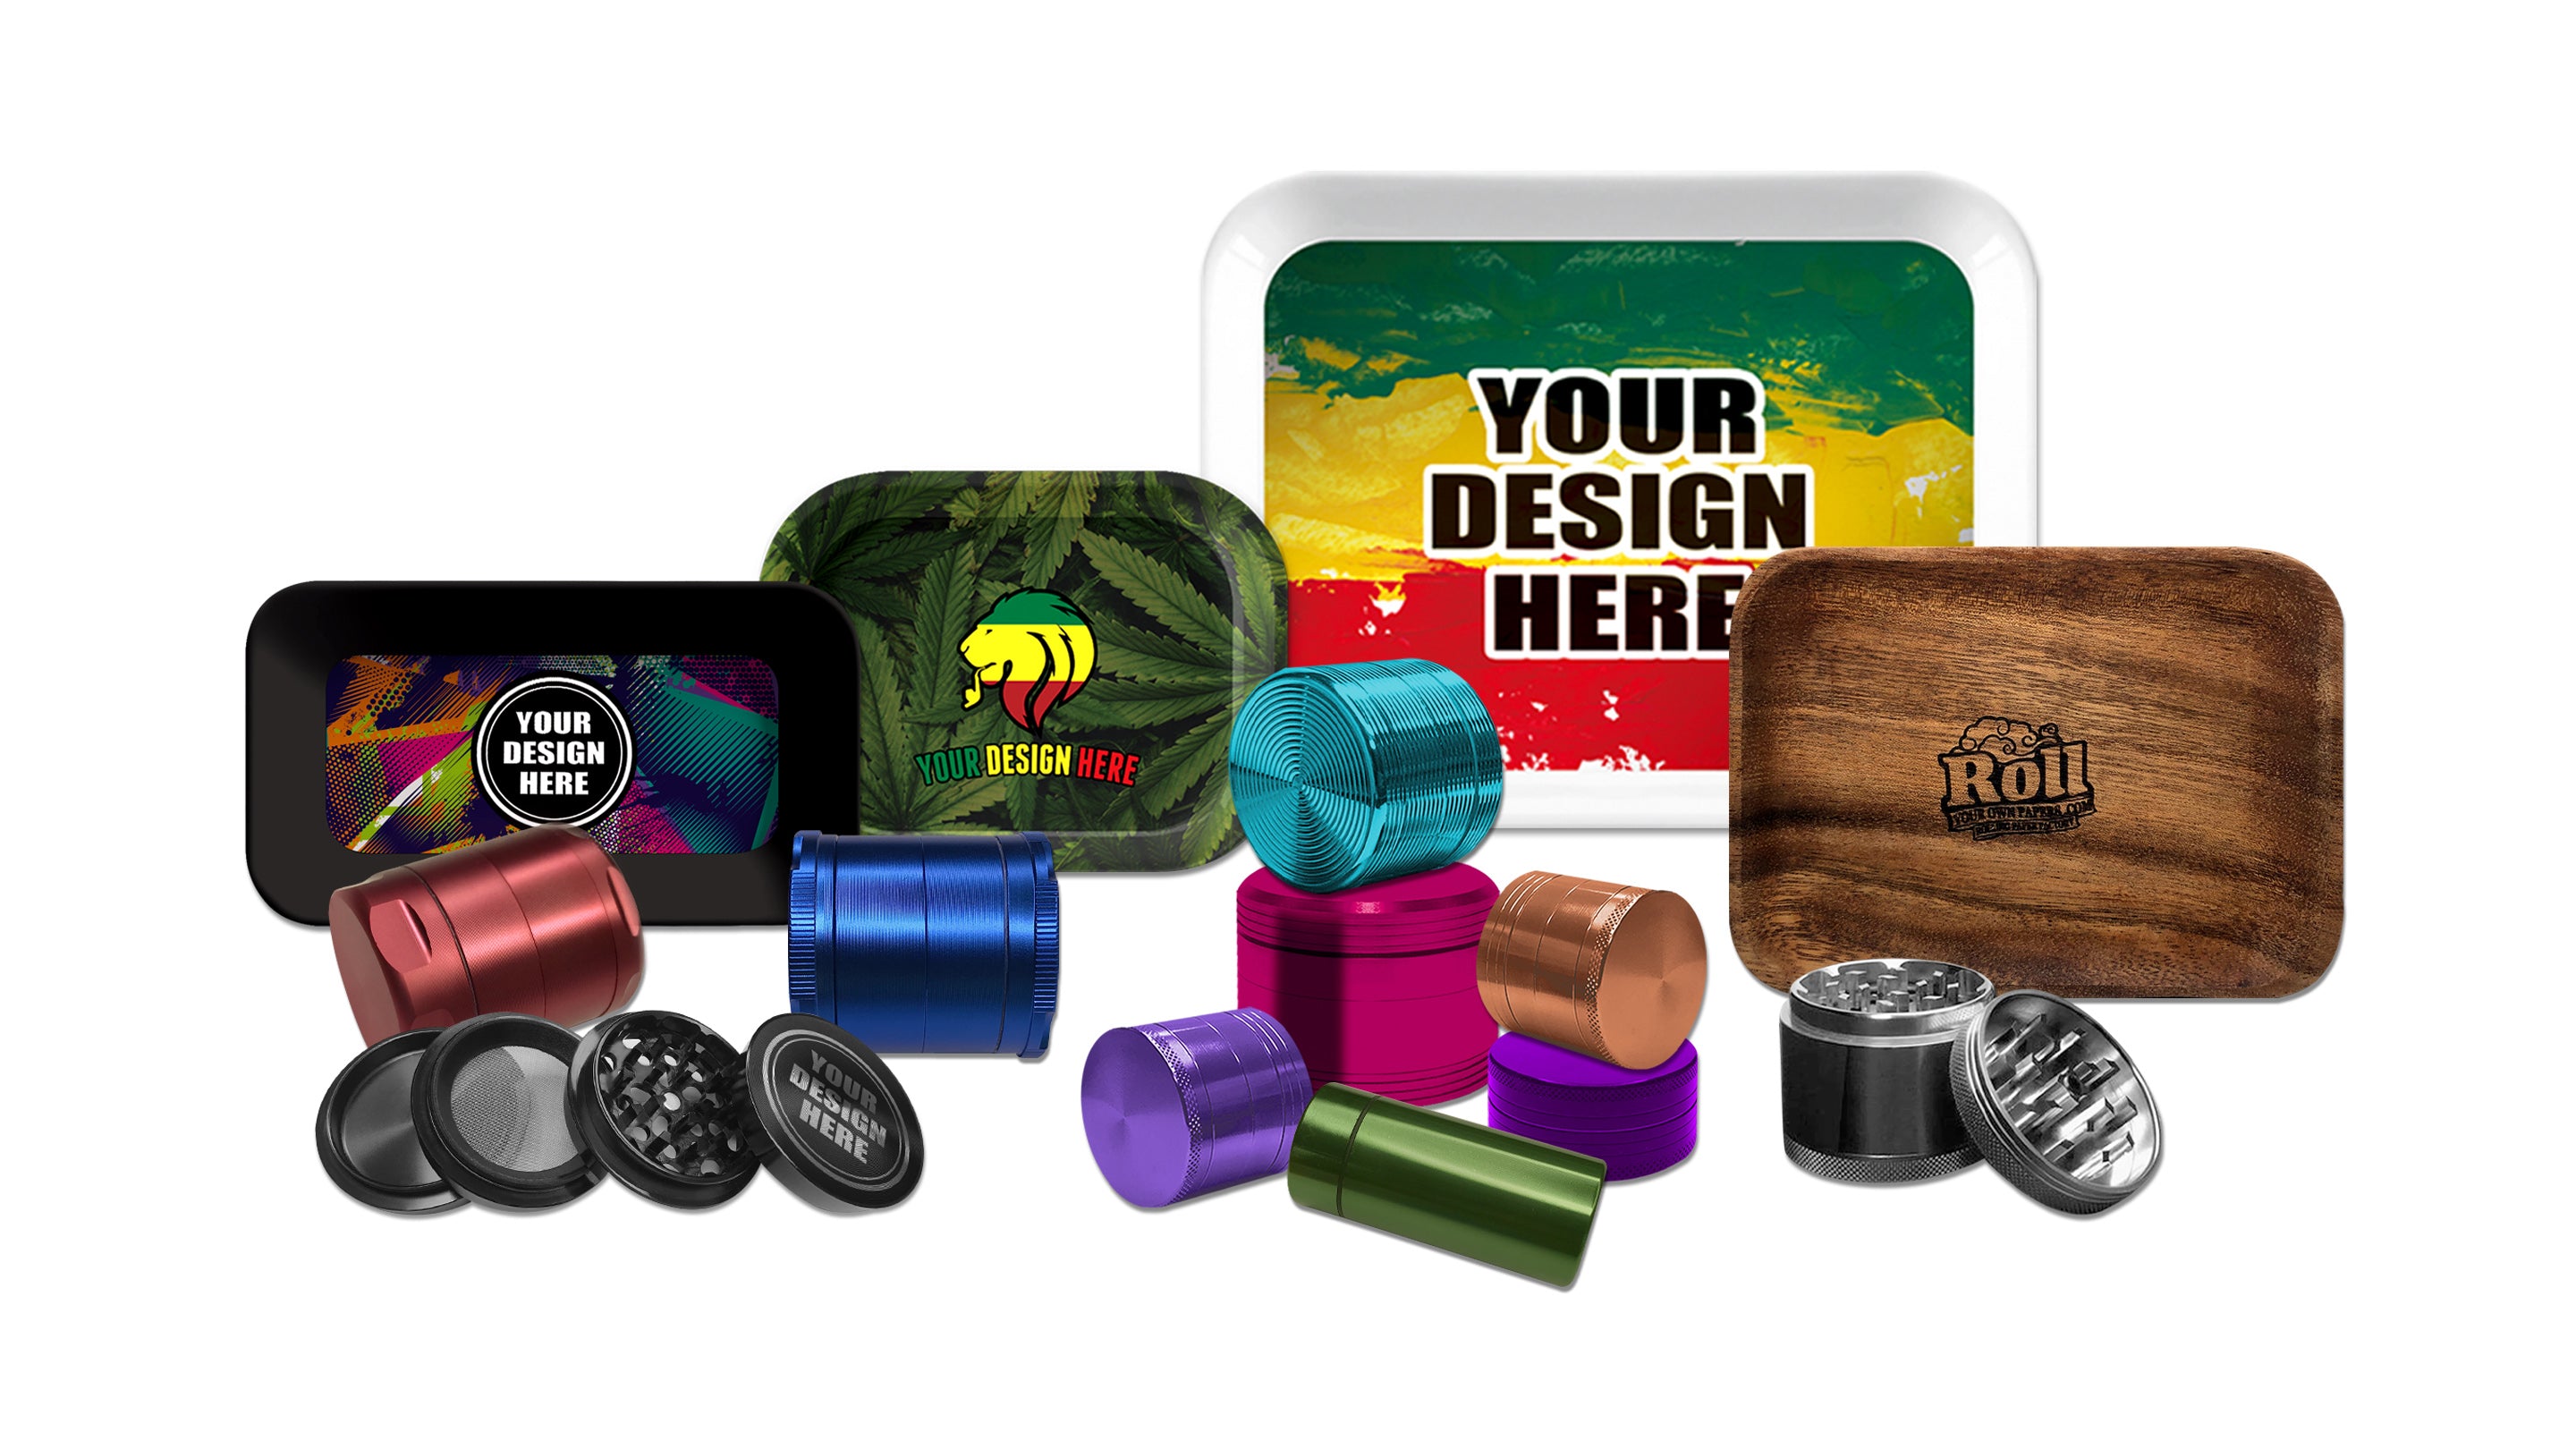
I love DIY, but sometimes you just want something that looks custom-made from day one. That’s why we’re obsessed with our custom rolling trays – you upload your art (or choose from thousands of designs), we print on metal, wood, or bamboo with food-safe finishes. Low minimums, fast shipping, and they’re honestly prettier than anything I’ve made myself 😅 Check out the full collection of rolling trays here.
FAQ – How to Make a Cute Rolling Tray (7 Most Asked Questions)
1. How long does it take to make a cute rolling tray?
The picture frame hack takes literally 20 minutes. Pastel wooden ones take 2–4 hours + drying time. Resin needs 24–48 hours to fully cure (but you can binge a whole series while waiting).
2. What’s the cheapest way to make one that still looks insanely cute?
Picture frame + pastel felt or scrapbook paper = under $15 and looks like you spent $80. People will think you bought it from a boutique.
3. Can I make a mini travel-size cute rolling tray?
YES! Altoids tin + pastel spray paint + kawaii stickers + tiny polymer clay charms = the cutest pocket tray on earth. I bring mine everywhere.
4. What sealers are actually safe (and won’t ruin the vibe)?
Odie’s Oil, Walrus Oil, or Mod Podge Dishwasher-Safe are all food-safe once fully cured. I’ve been using Odie’s for years — zero issues and it makes wood look expensive.
5. How do I make it glow in the dark??
Mix glow-in-the-dark powder into your resin or paint little stars/moons with glow paint. Looks completely normal in daylight, then you turn off the lights and everyone loses their mind 🌙✨
6. Is resin actually hard for beginners?
Nope. Get JDiction or Let’s Resin (low odor, 1:1 ratio, forgiving). Watch one YouTube tutorial and you’re golden. My first one came out perfect.
7. Okay but I suck at crafts… where do I get one that looks this cute without trying?
Right here → custom rolling trays with thousands of adorable designs (or upload your own art). They look professionally made, ship fast, and people always ask where I got mine 😏
See also: How to Make a Rolling Tray (DIY) 🛠️ + How Rolling Trays Are Made Industrially 🏭 (2025 Update)
🔥 Ready to Have the Cutest Rolling Tray on the Block?
DIY is fun, but sometimes you just want it to look perfect straight out of the box – with your art, your colors, your vibe.
- ✔️ Full-color printing on metal, bamboo or wood
- ✔️ Food-safe & scratch-resistant coating
- ✔️ Low minimums – start with just 1 piece
- ✔️ Thousands of cute designs or upload your own
📦 Worldwide shipping | 🚚 Fast turnaround | 🎨 100% your style







Leave a comment