


CUSTOM ROLLING TRAYS FOR YOUR BRAND
Whether you're stocking a dispensary shelf, building out a merch line, or ordering branded accessories for an event — custom rolling trays get your logo in front of customers every single session.
We manufacture directly. No middlemen, no setup fees, no design fees. Choose from tin, wood, stainless steel, vegan leather, bamboo, glass, or melamine — with free worldwide shipping on every order.
Why Brands Choose RYOP for Custom Trays
- No minimum order — start with a single tray if you need to
- Free worldwide shipping on every order
- Unlimited design revisions — our team refines your artwork until it's right
- 7 materials — tin, wood, melamine, glass, stainless steel, vegan leather, bamboo
- Multiple sizes — small carry trays to large desktop formats
- No design fees, no setup fees — upload your logo and we handle the rest
- Wholesale pricing — manufacturer direct means no middleman markup
- Blind shipping available — for resellers and distributors
Who Orders Custom Rolling Trays
Custom rolling trays are popular with dispensaries adding branded accessories to their retail floor, cannabis brands building a full product line, smoke shops stocking house-brand merchandise, lifestyle and streetwear brands creating smoking accessories as merch, and event or festival promoters making premium giveaways.
Want to see your logo on a tray before ordering? Request a free mockup — no commitment required.
Custom Rolling Trays — Frequently Asked Questions
What materials are available for custom rolling trays?
We offer 7 materials: tin, wood, stainless steel, vegan leather, bamboo, glass (UV printing), and melamine. Each has different price points and finishes — so there's an option for every budget and use case.
Can I order custom rolling trays wholesale?
Yes. We're a direct manufacturer, so wholesale pricing is built in. The more you order, the lower your per-unit cost. Blind shipping is available for resellers and distributors who don't want our branding on the packaging.
Do you charge setup or design fees?
Never. No setup fees, no design fees, no shipping fees — ever. The price you see is the price you pay. We include free artwork support and unlimited revisions until you're happy with the mockup.
How do I get started?
Request a free mockup — share your logo or design idea and we'll show you exactly what it looks like on the tray before you place an order. No purchase required.
Do you ship to Canada and the US?
Yes — free worldwide shipping on every order, including the US, Canada, UK, and Australia.


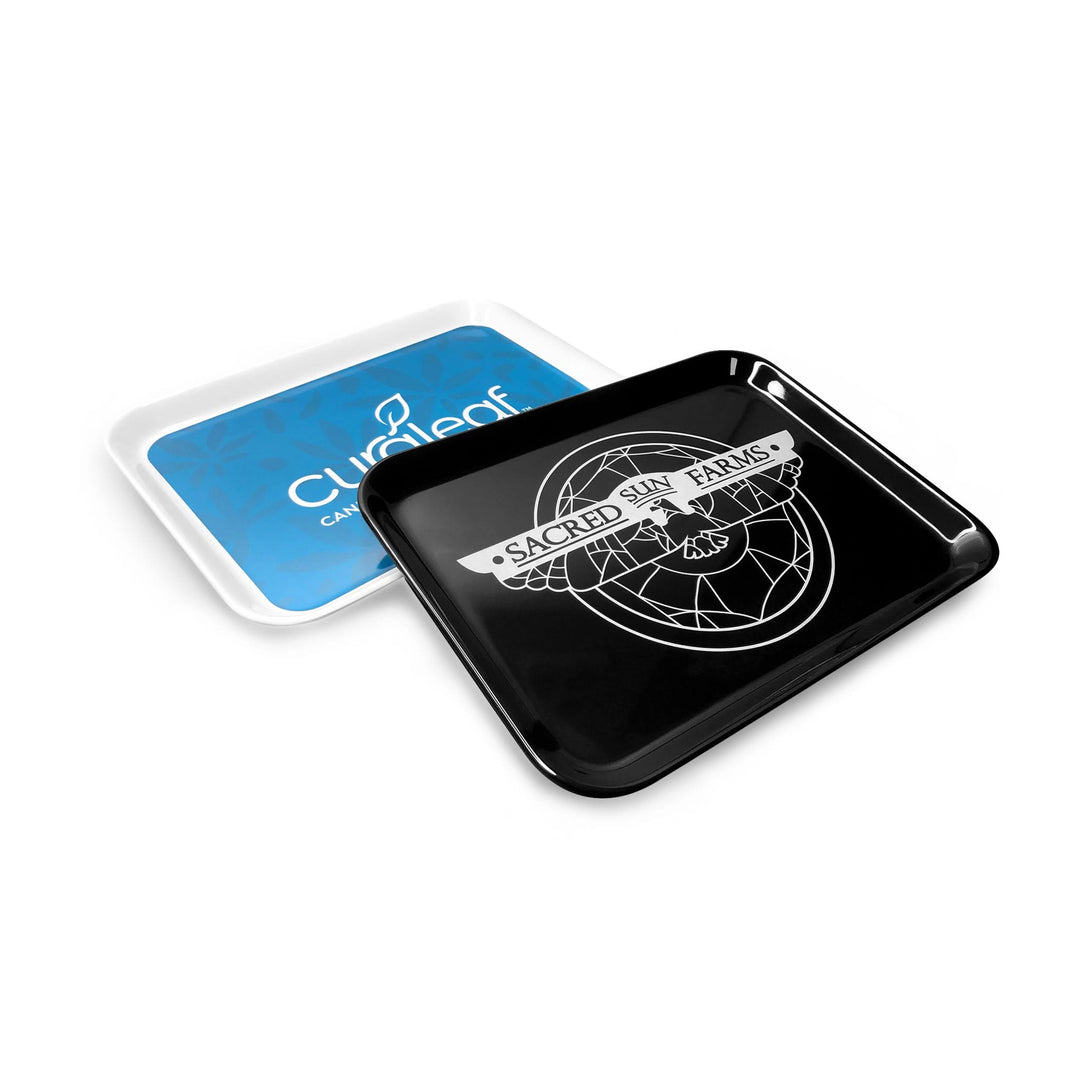
CUSTOM ROLLING TRAYS
Custom Rolling Trays - the ultimate swag item for your dispensary or brand promotion. Our trays are made from 100% premium materials, customizable to your unique design needs, and shipped free worldwide! Whether you're looking for a small-batch run or a large order, our low minimum order requirement makes it easy to create your custom rolling trays.
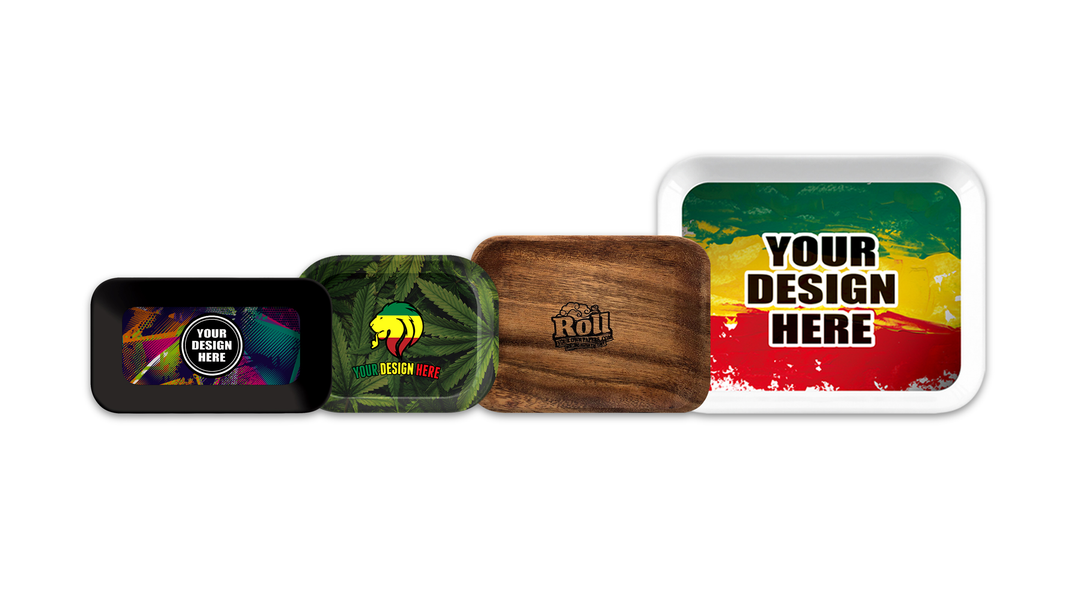
OUR CUSTOM ROLLING TRAY MATERIALS
Custom Tin Rolling Tray
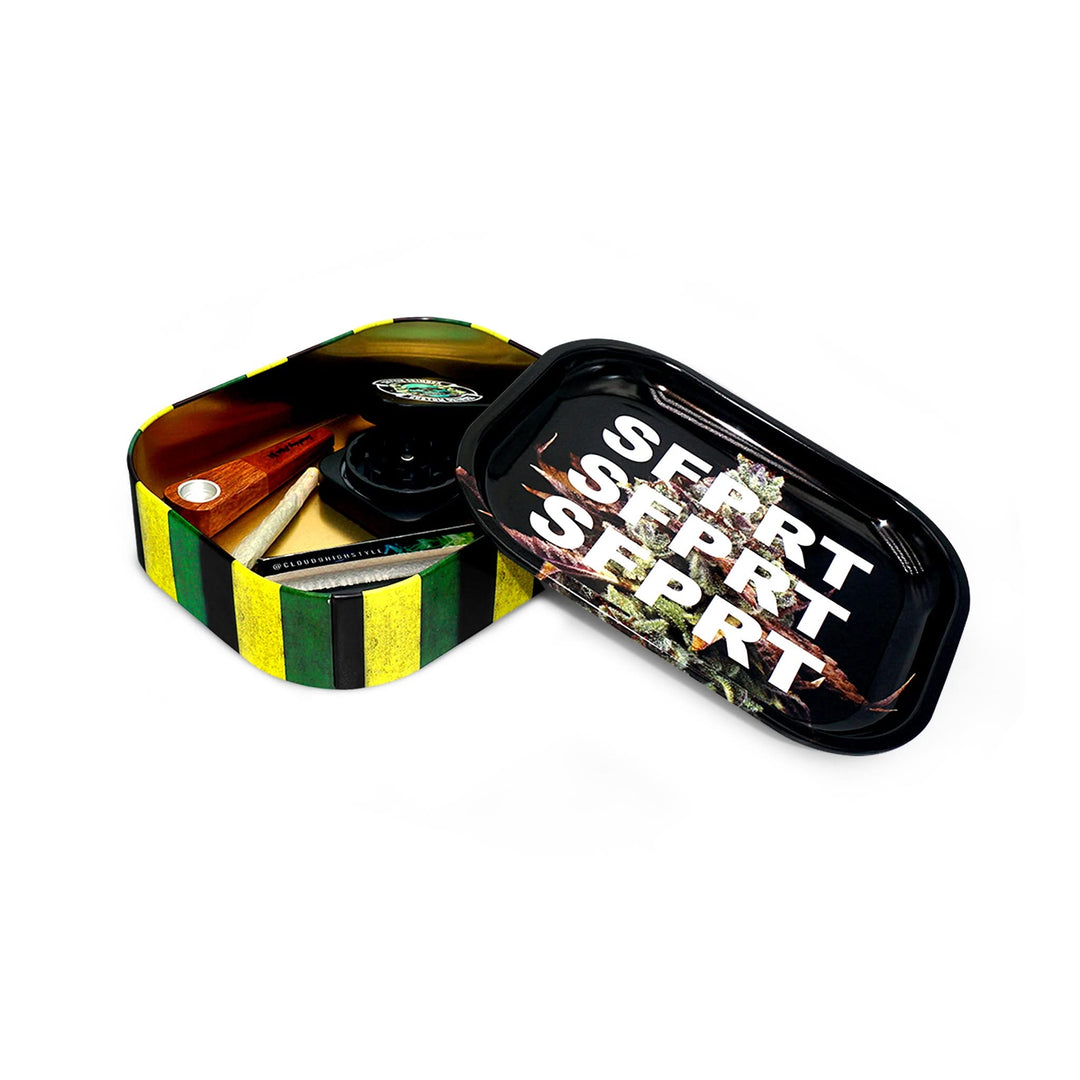
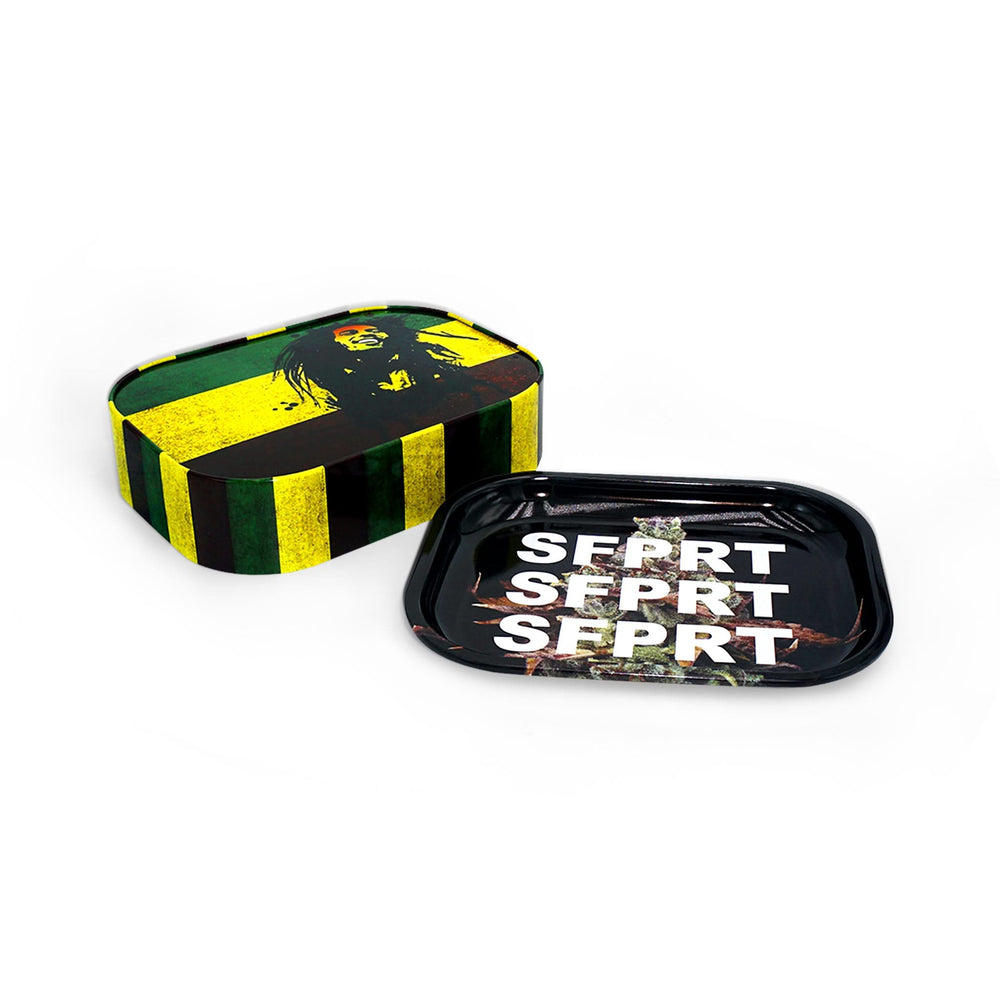
Tin custom rolling trays are perfect-affordable, light, durable, and designed for the needs of daily practical use. Easy to clean with a bright surface so your design pops. Recyclable to enhance an eco-friendly factor. A perfect accessory providing style and being utilitarian, matching with the accessible cost.
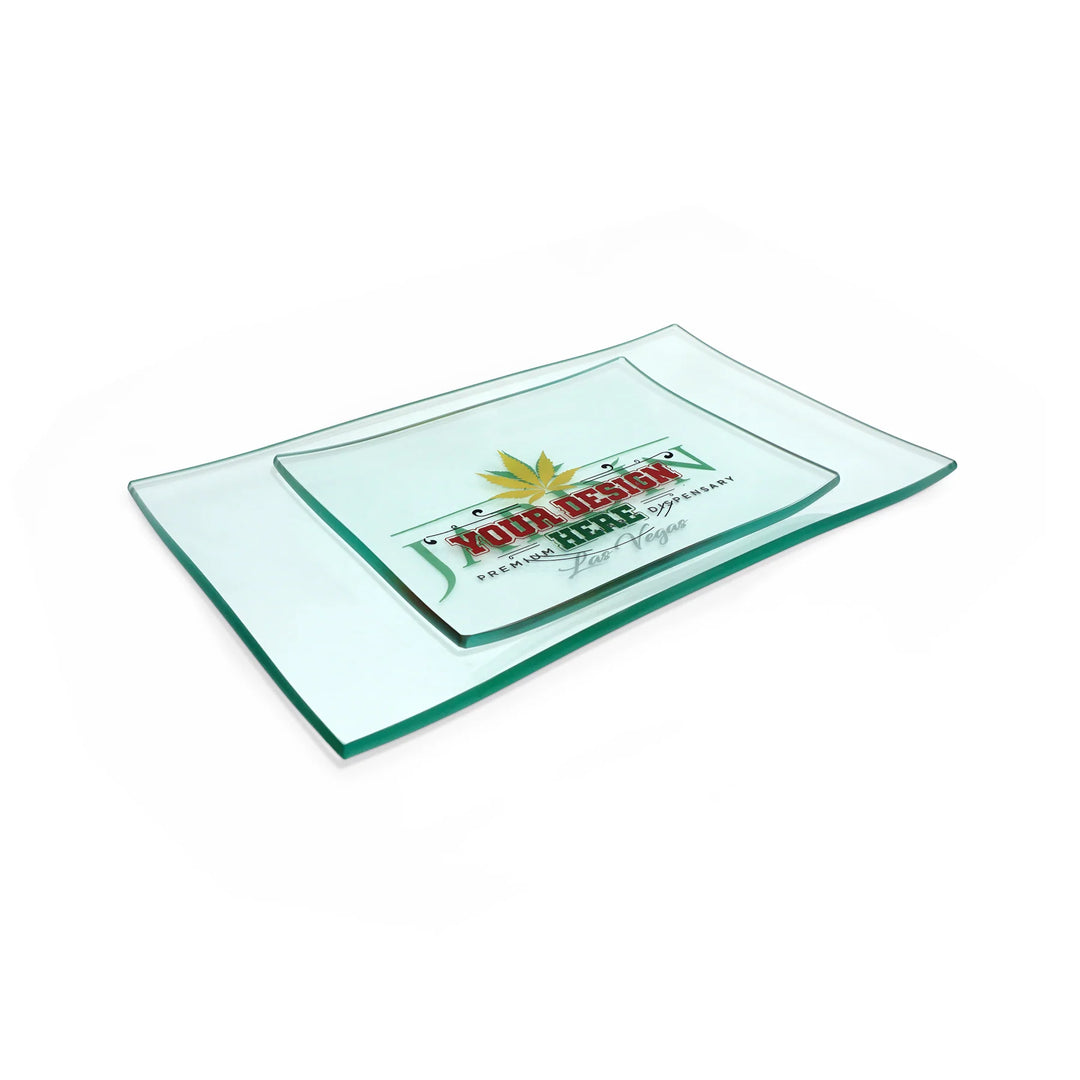
Custom Glass Rolling Tray
Glass custom rolling trays offer elegance and durability, with a non-reactive surface preserving material taste. Easy to clean and recyclable, they're environmentally friendly but may be heavier and costlier. Their functionality and aesthetic appeal make them a top choice for those valuing quality accessories.

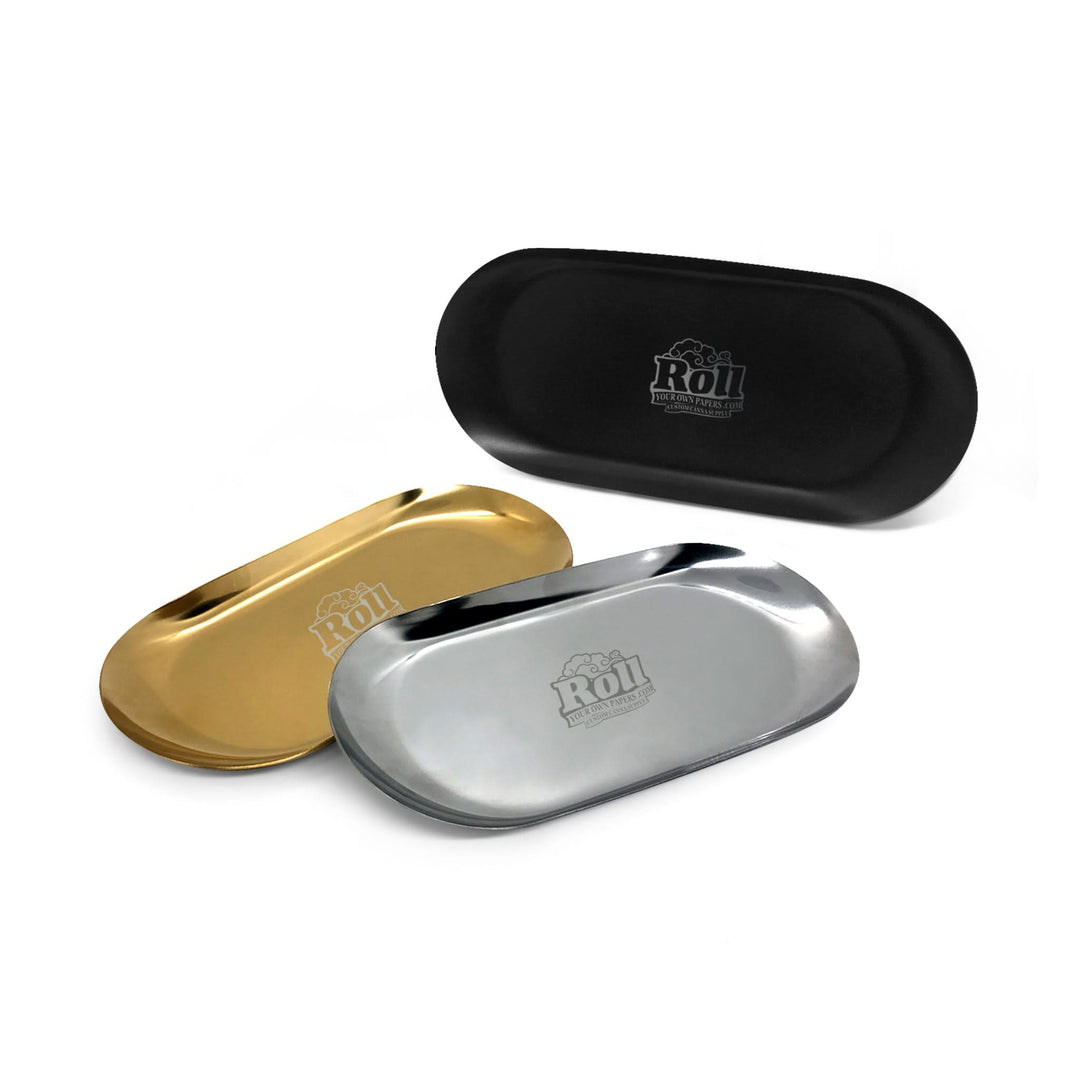
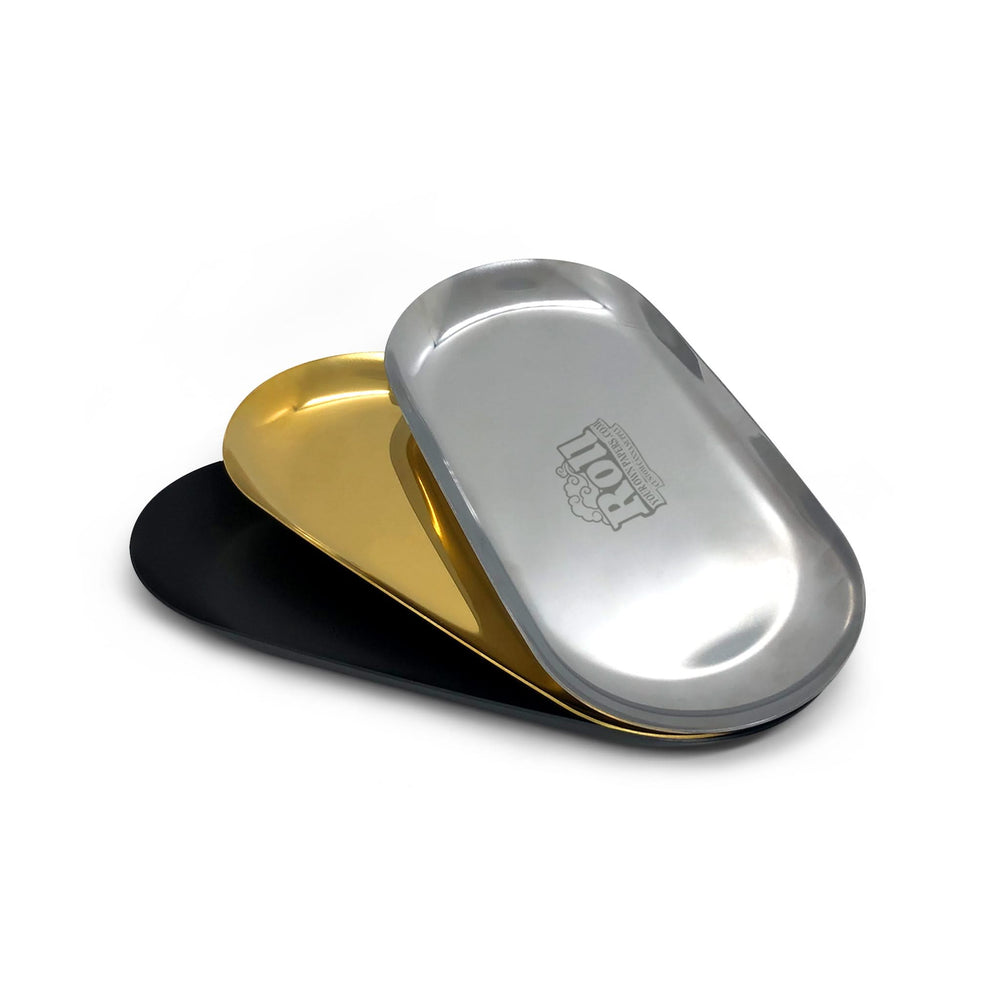
Custom Stainless Steel Rolling Tray
Stainless steel rolling trays are durable, classic, resist corrosion, and are sleek at the same time. That leaves the tray very strong, easy to clean, and highly hygienic. They are environmentally friendly by reuse and very hygienic because of its easy-to-clean nature. Though heavy, yet strong and modern, they are surely chosen by people who appreciate durability and modern design in their accessories.

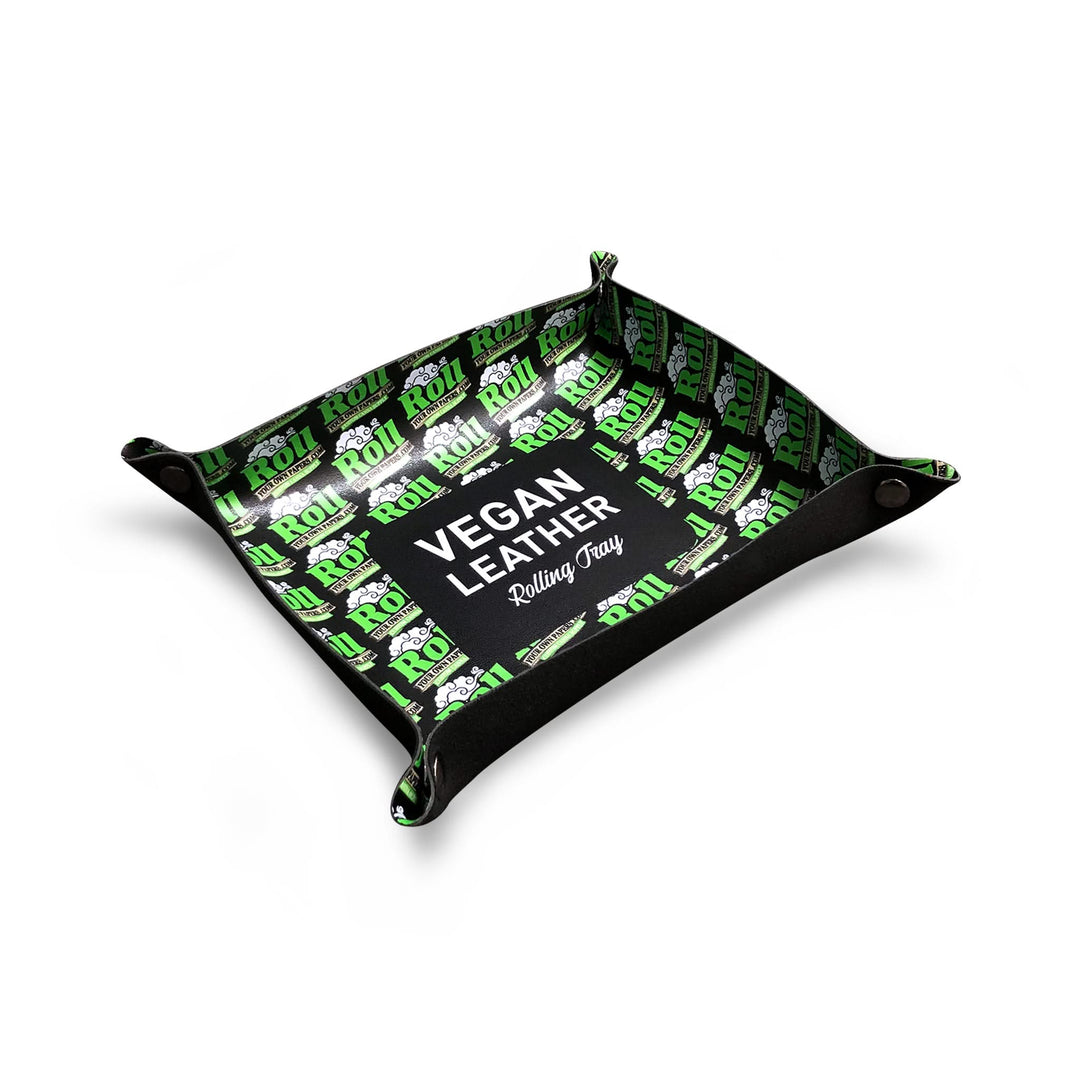
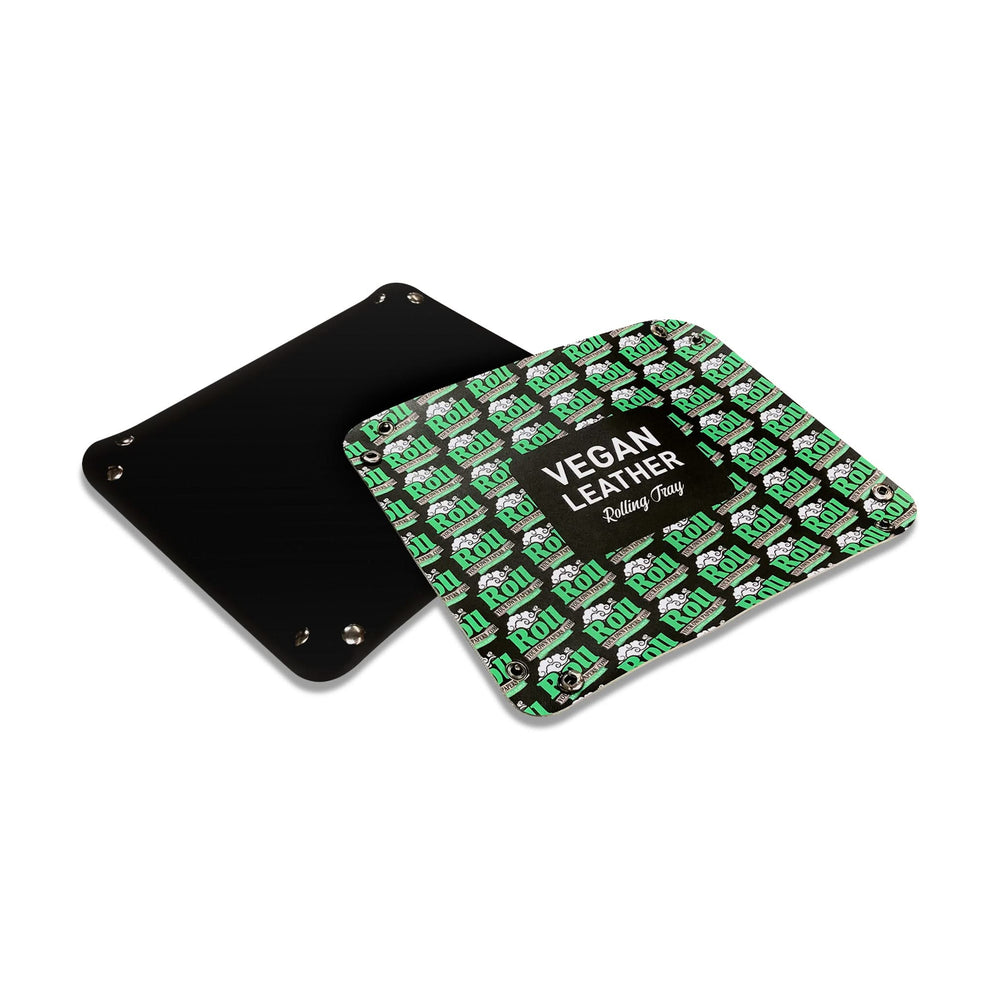
Custom Vegan Leather Rolling Tay
Vegan leather custom rolling trays offer style and functionality without animal products. They provide durability, easy maintenance, and an eco-friendly choice made from sustainable materials. Despite potential cost considerations, their ethical appeal and practicality make them a preferred choice for conscious consumers.
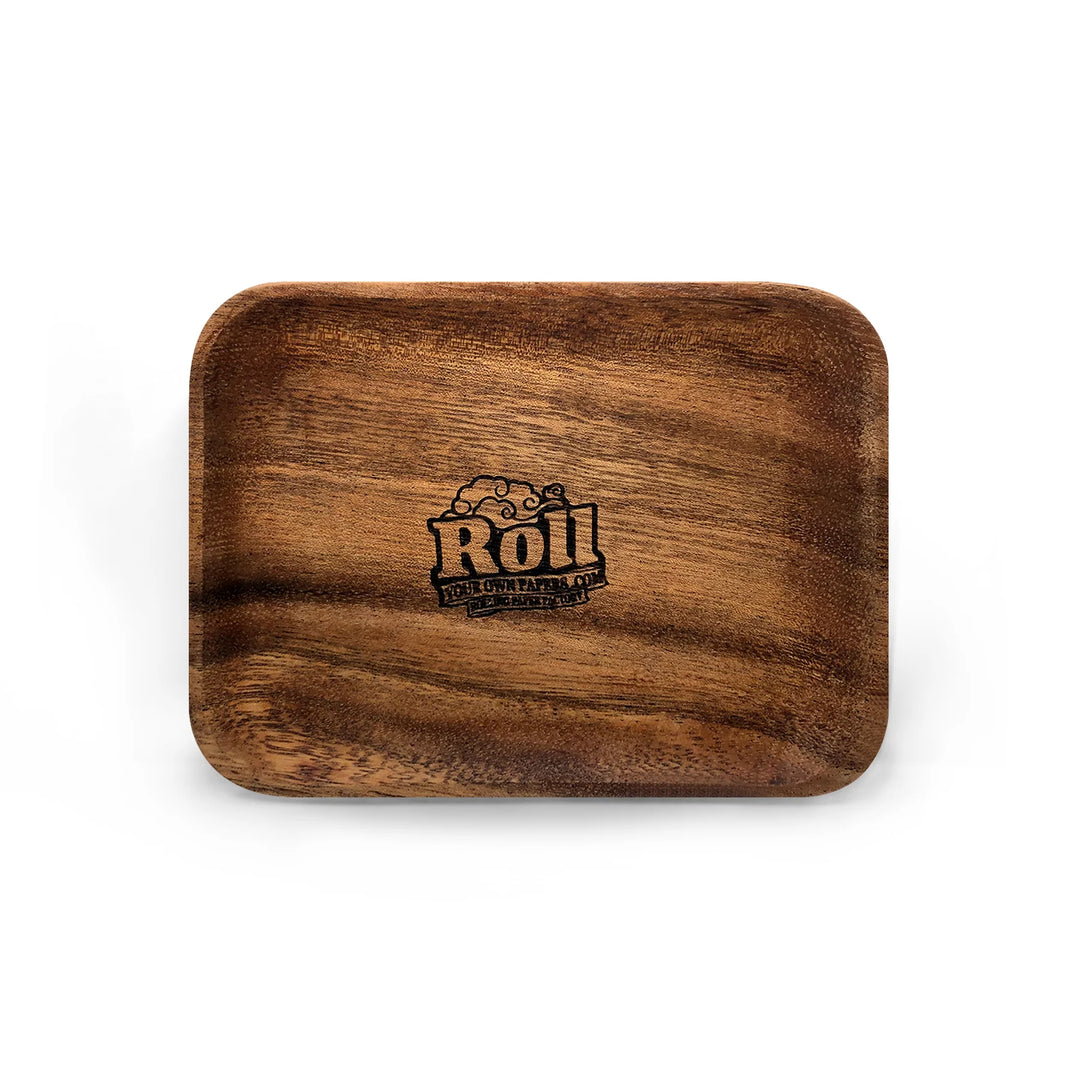
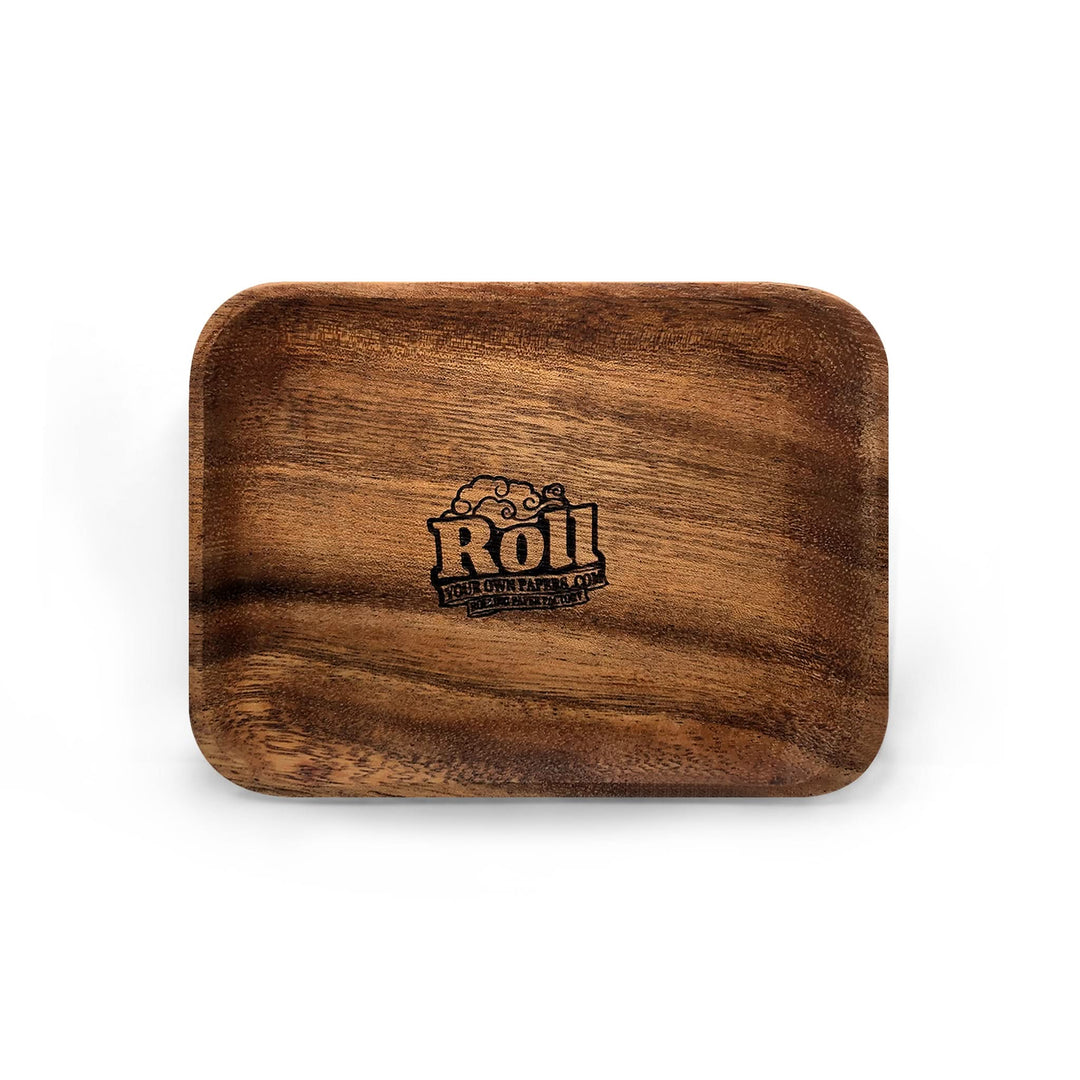
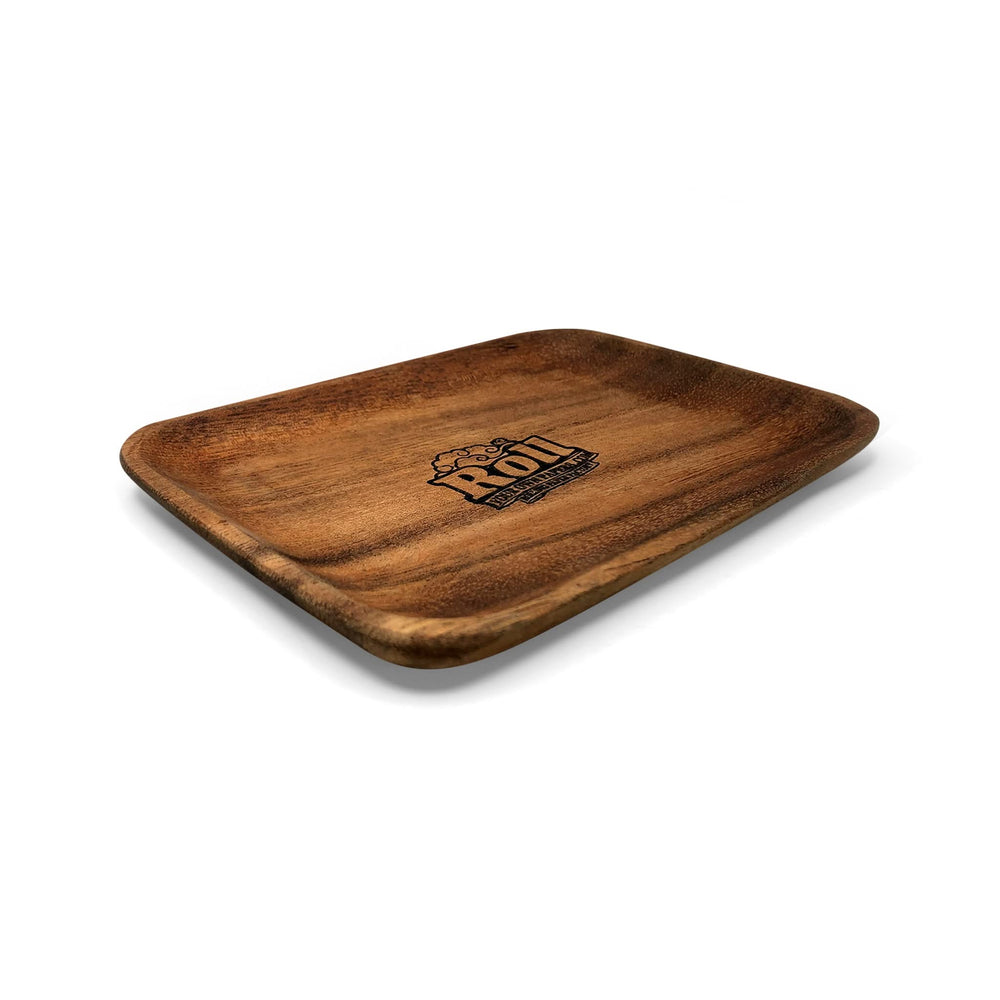
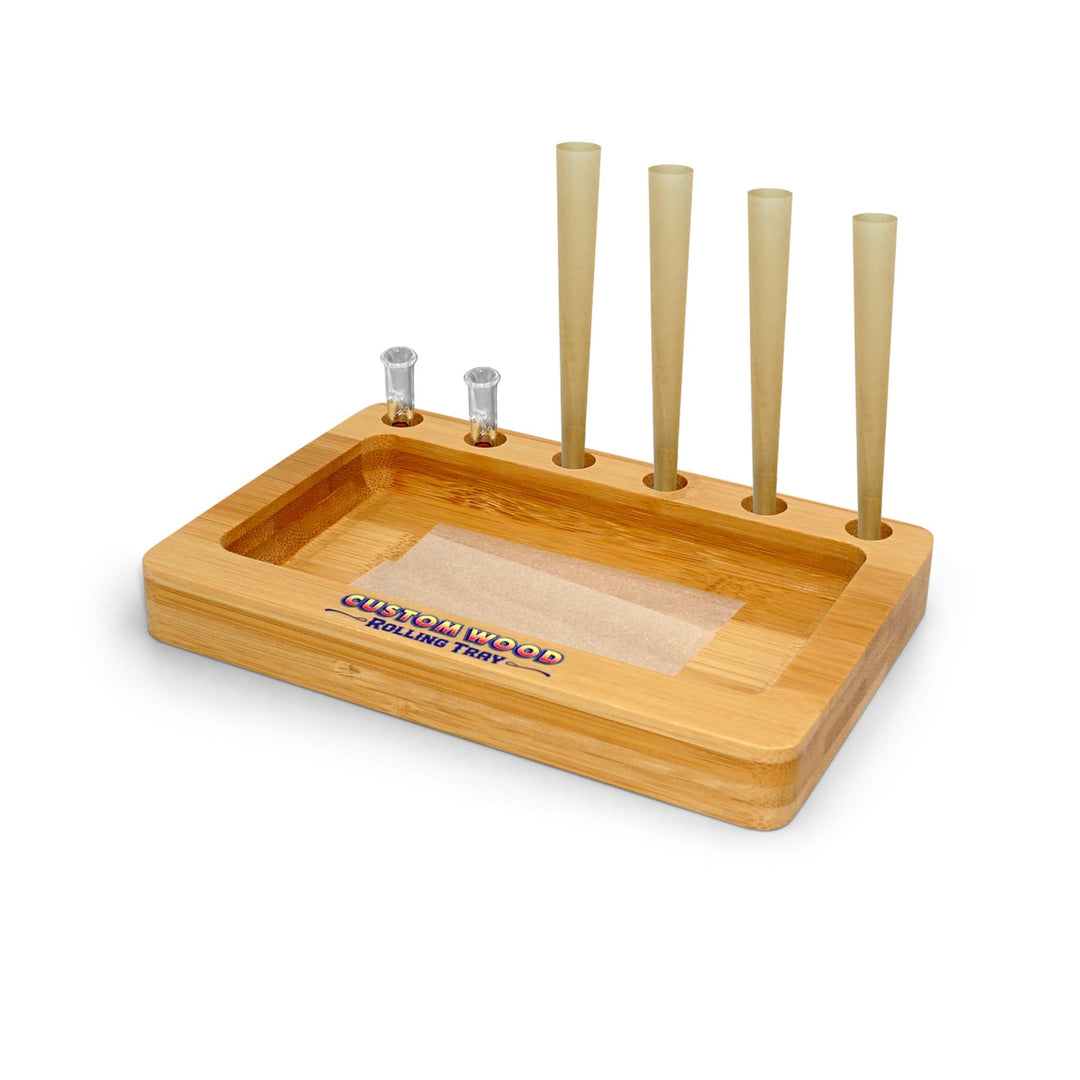
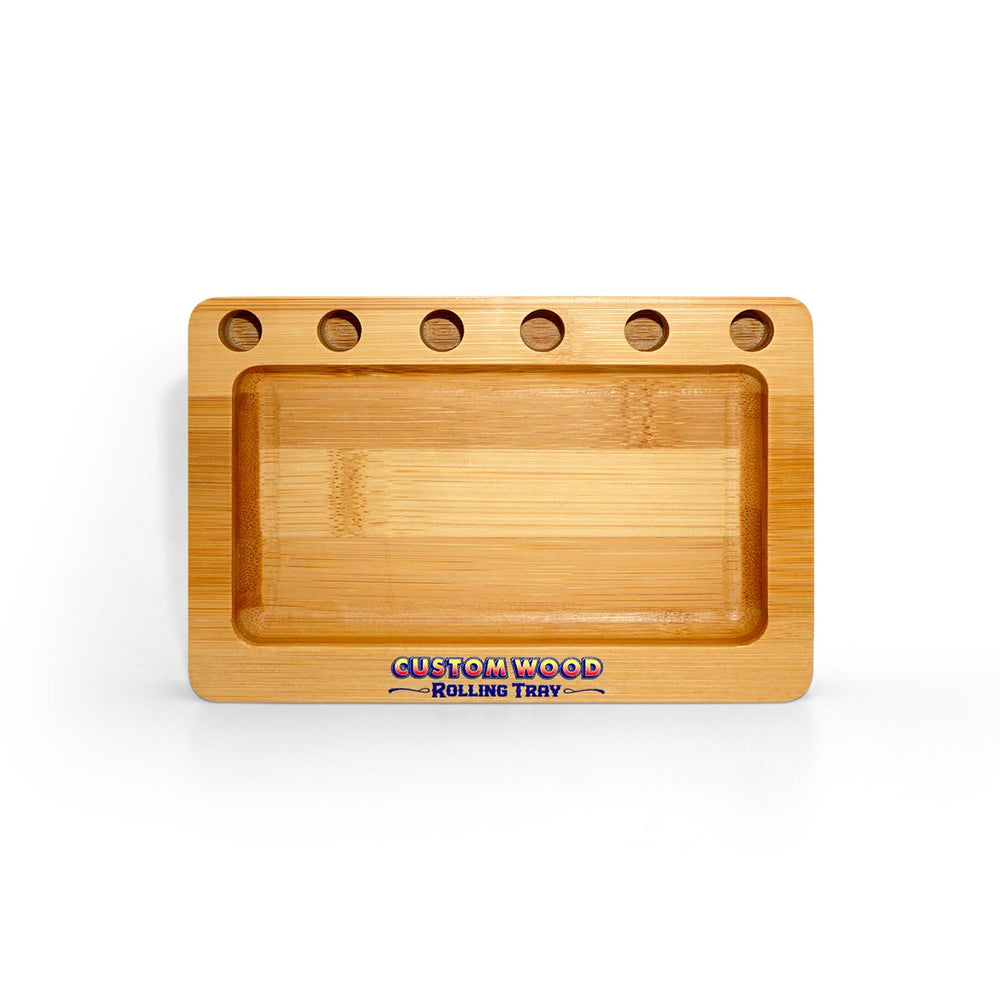
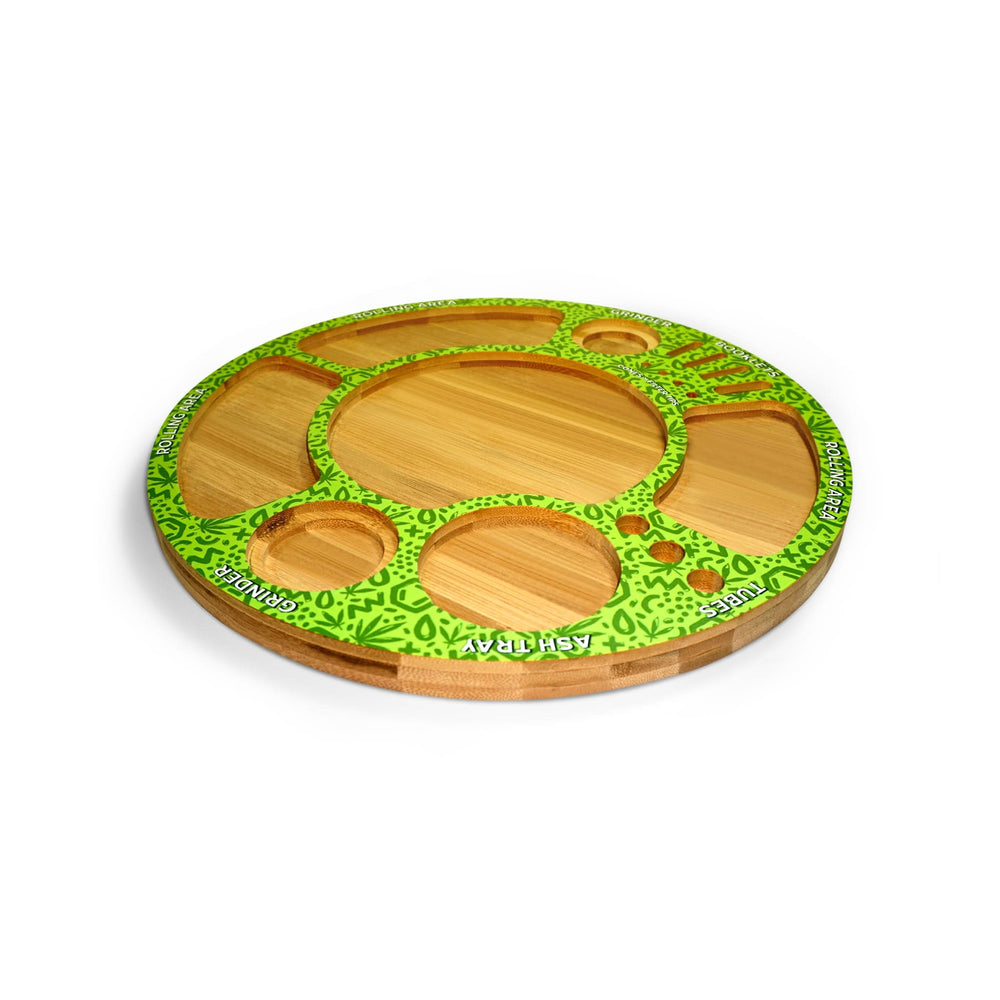
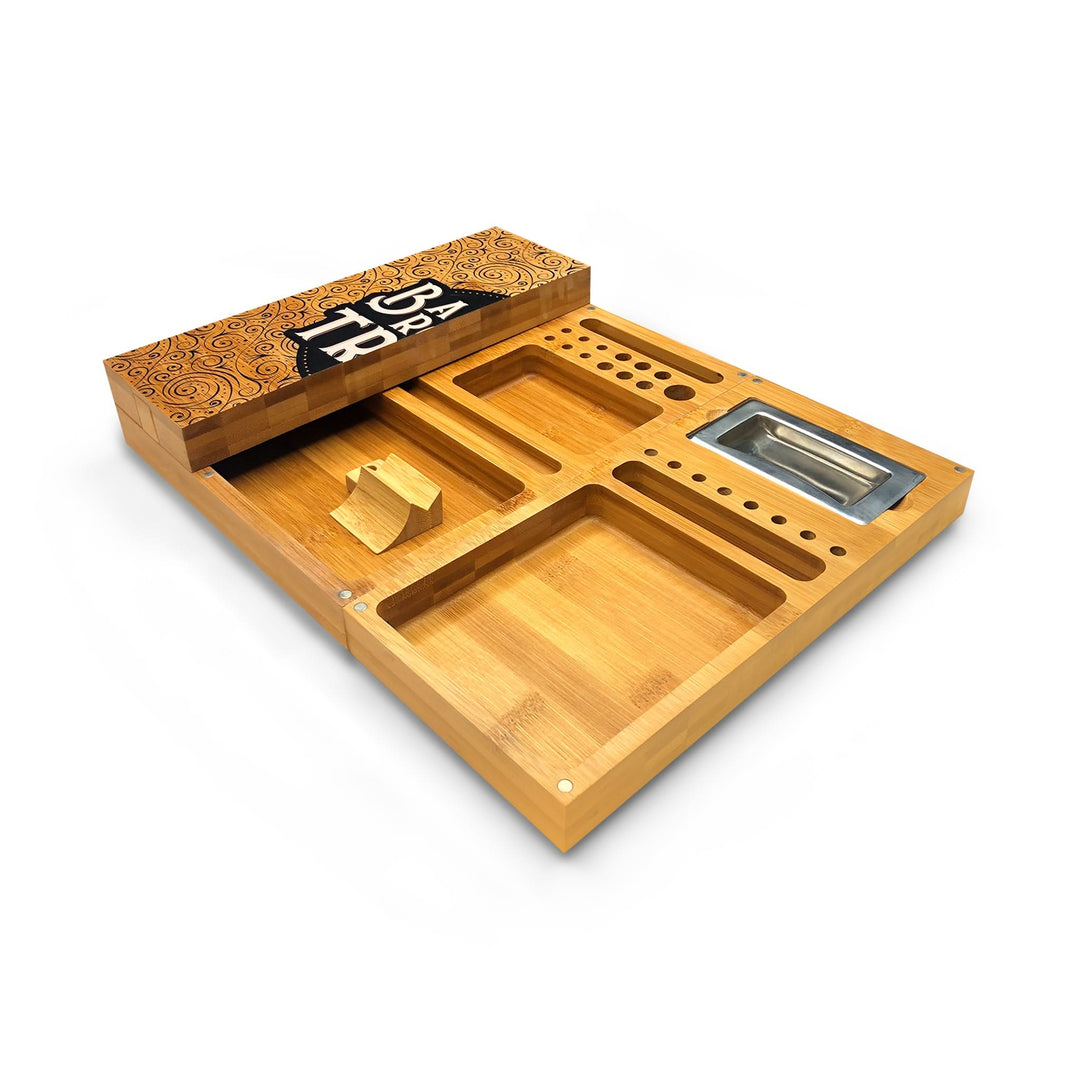
Custom Wood Rolling Tray
Wood custom rolling trays offer timeless beauty and durability. Each tray boasts unique grain patterns and textures, adding a touch of natural elegance. Environmentally friendly and long-lasting, they provide a warm, comfortable surface and customizable features. Ideal for those seeking both functionality and aesthetics in their accessories.
Custom Plastic & Bio Degradable Plastic Rolling Tray
Plastic custom rolling trays offer affordability and lightweight convenience. They are durable and easy to clean, making them practical for daily use. While they lack the natural appeal of other materials, plastic trays often come in a variety of colors and designs, catering to diverse preferences and styles.
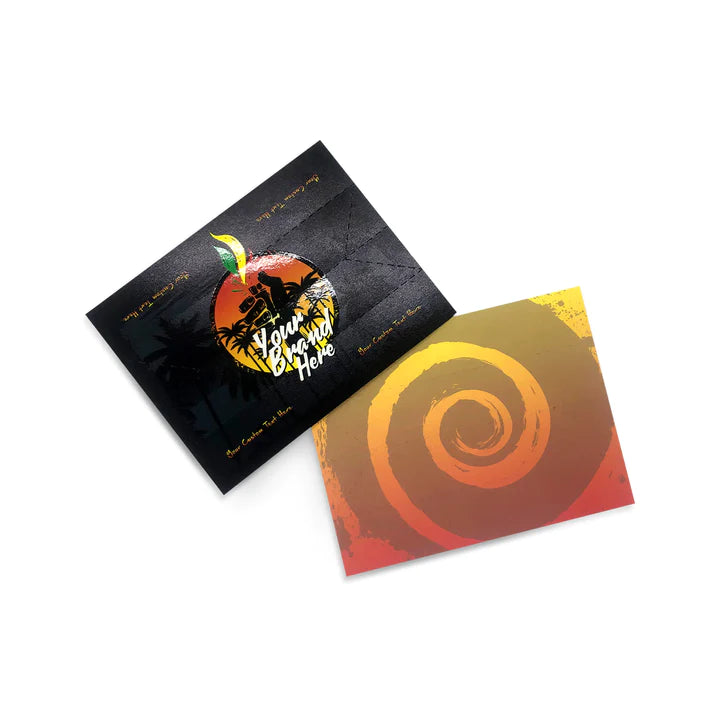
Custom Paper Rolling Tray
Paper custom rolling trays provide an eco-friendly and disposable option. They are portable and light hence convenient for mobile application. Though not as durable as the other materials, paper trays are cheap and easily recyclable, a reason being a good alternative for temporary use.

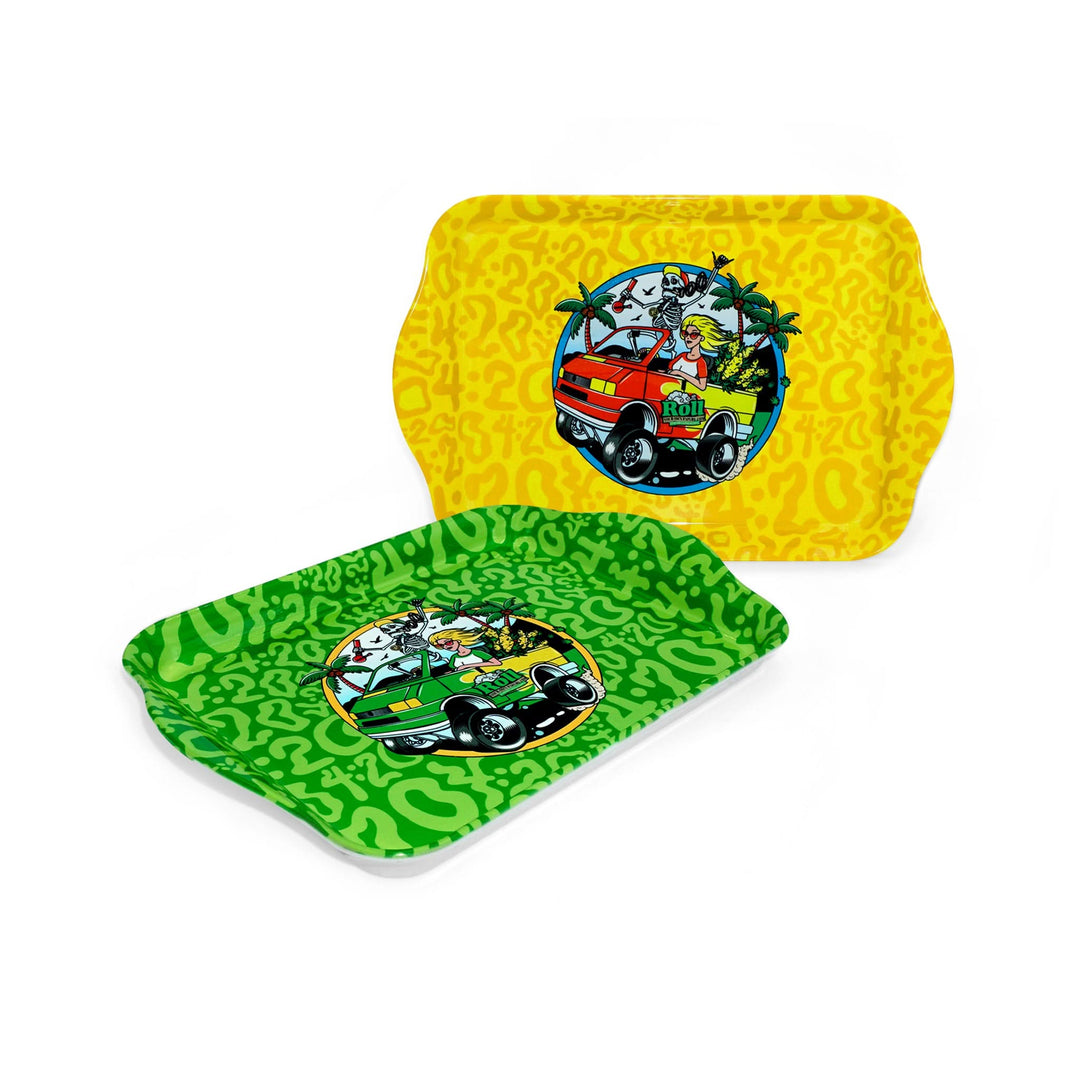
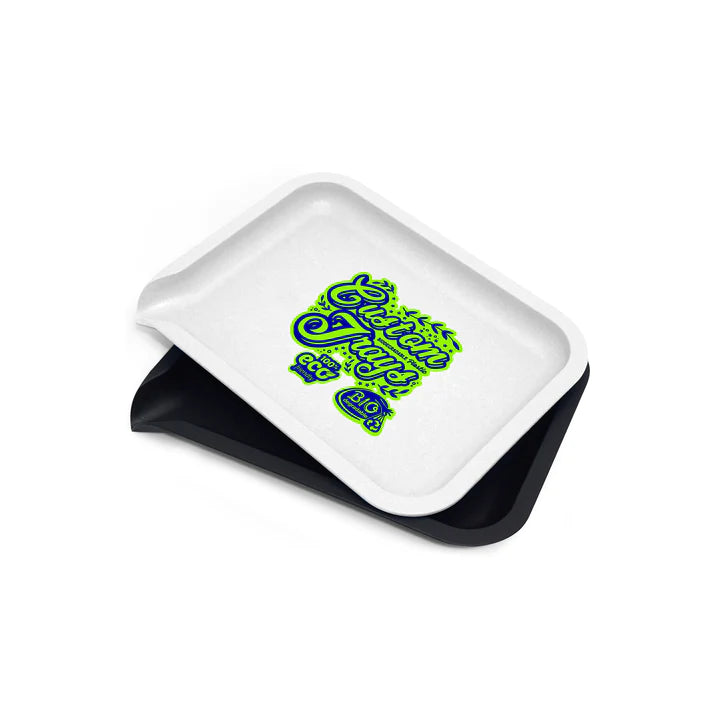
Custom Melamine Rolling Tray
Melamine rolling trays are rather durable, thus resistant to scratches and heat. They are easy to clean and maintain, hence a long-term solution for every day. Though a little bit heavier than some materials, the trays are stylish and quite strong, hence preferred by most individuals who value durability as well as appearance.
About Custom Rolling Tray Materials: Exploring Your Options
Tin Custom Rolling Trays
Tin trays are affordable, lightweight, and durable. The smooth surface of tin trays makes them easy to clean, and they’re excellent for printing high-resolution designs that stand out. Additionally, tin is recyclable, making it an eco-friendly option.
Melamine Custom Rolling Trays
Melamine is known for its durability and resistance to heat and scratches, making it ideal for everyday use. Although heavier than tin, melamine rolling trays are stylish and long-lasting. These trays are often chosen by people who value both appearance and durability in their accessories.
Wood Custom Rolling Trays
Wooden rolling trays exude natural beauty, with each tray featuring unique grain patterns and textures. They are environmentally friendly and durable, providing a warm and comfortable surface for rolling. Wood trays are perfect for those who appreciate a blend of functionality and aesthetics in their accessories.
Glass Custom Rolling Trays
For a touch of elegance, glass rolling trays are the perfect choice. They are durable and easy to clean, with a non-reactive surface that helps preserve the flavor of your materials. While heavier and potentially more expensive than other options, glass trays are a top choice for those who prioritize aesthetic appeal.
Plastic & Biodegradable Plastic Custom Rolling Trays
Plastic rolling trays are popular due to their affordability and lightweight nature. While not as durable or elegant as tin or wood, plastic trays come in various colors and designs, allowing for a high level of customization. Biodegradable plastic is also available, offering an eco-friendly alternative.
Stainless Steel Custom Rolling Trays
Stainless steel trays combine modern design with unmatched durability. They are corrosion-resistant, easy to clean, and incredibly strong. Although they are heavier than other options, stainless steel trays are ideal for those who prioritize hygiene and longevity.
Vegan Leather Custom Rolling Trays
Vegan leather trays offer a stylish and ethical alternative for those who want a cruelty-free option. Made from sustainable, animal-free materials, these trays are durable and easy to maintain, combining practicality with eco-consciousness.
Paper Custom Rolling Trays
Paper rolling trays are the ultimate eco-friendly option, perfect for temporary or disposable use. Lightweight and portable, they are ideal for on-the-go rolling or events where a disposable solution is needed. While not as durable as other materials, paper trays are easily recyclable and cost-effective.
Why Choose Our Custom Rolling Trays?
Free Design Services
Upload your logo, and we’ll handle the design for free.
Premium Material
From durable tin to eco-friendly biodegradable plastic, we offer a variety of materials to suit your needs.
Fully Customizable
Personalize your tray with various sizes, shapes, and prints.
Low Minimums
You can order as few as 100 trays, making it accessible for all businesses.
Worldwide Free Shipping
We deliver globally at no extra cost, via trusted carriers like FedEx or DHL.
Q&A for Custom Rolling Trays
Use this text to answer questions in as much detail as possible for your customers.
A: No, there are no additional screen charges.
A: It's excellent! We ensure that your design pops with vibrant, high-quality printing.
A: The minimum run is 100 trays.
A: Production typically takes 4 weeks, with shipping adding an additional 1 week. However, timelines may vary depending on the specific product.
A: Yes! We use flexographic printing for a high-quality finish.
A: Yes, we do! Contact us at hello@rollyourownpapers.com for more information.
A: Unfortunately, custom dimensions are not available as we stock standard sizes for quicker production.
A: Yes, shipping is free worldwide with no hidden fees!
A: We ship using reliable carriers like FedEx and DHL.
A: Our small tin rolling tray is the most popular choice.
What Are Custom Rolling Trays?
A rolling tray is a flat, often rectangular surface designed to make the rolling process easier and more efficient. It helps to keep all of your materials—rolling papers, grinders, and filters—organized and in one place. A custom rolling tray takes things a step further by allowing you to personalize it with your unique designs, logos, colors, and patterns. This not only makes it an excellent branding tool but also provides a touch of personal style for individual users.
The Importance of Rolling Trays in Herb Culture
Rolling trays have always played an important role in herb culture. The tray’s functionality stems from its ability to minimize mess and streamline the rolling process. Without a tray, ground herb can easily spill on tables, floors, or other surfaces, leading to waste and frustration. By containing all the essentials in one spot, a rolling tray prevents loss of material and ensures a clean, organized experience.
For businesses and dispensaries, custom rolling trays offer an opportunity to extend brand visibility. Whether you’re handing them out as promotional items, selling them as part of your merchandise, or using them as giveaways at trade shows, they provide an affordable yet highly effective way to keep your brand in front of customers.
Why Choose Custom Rolling Trays?
Custom rolling trays are more than just functional tools; they’re a way to express personal style or reinforce your brand’s identity. Here are some of the reasons why custom rolling trays are a must-have for both individuals and businesses:
Promotional Potential
For businesses, custom rolling trays serve as a powerful promotional tool. By printing your logo, slogan, or artwork on a tray, you can increase brand visibility and create a lasting impression. Whether you're a dispensary, farm, or café, custom rolling trays make fantastic promotional giveaways or merchandise items.
Personalized Style
For individual users, custom rolling trays allow for complete personalization. Whether you want a tray featuring your favorite artwork, a specific color scheme, or a meaningful logo, custom trays offer a unique way to express yourself.
Practicality
Rolling trays simplify the rolling process by keeping all your materials organized. A custom tray makes rolling not only easier but also more enjoyable, as you get to use a tray that reflects your taste or brand.
Brand Recognition
For businesses in the industry, brand recognition is everything. Custom rolling trays are a subtle but effective way to keep your brand top of mind. Each time your customers use the tray, they’re reminded of your business, which helps build brand loyalty over time.
Cost-Effective Marketing
Compared to other promotional items, custom rolling trays offer a high return on investment. They are relatively inexpensive to produce and ship, especially when ordered in bulk, making them a cost-effective marketing tool.
Versatility
Custom rolling trays are versatile and can be used for more than just rolling. They can serve as storage for small accessories, make great gifts, and are excellent for display purposes.
Customization Options for Rolling Trays
One of the best features of custom rolling trays is the ability to tailor them to your specific needs. Here are some of the ways you can customize your tray:
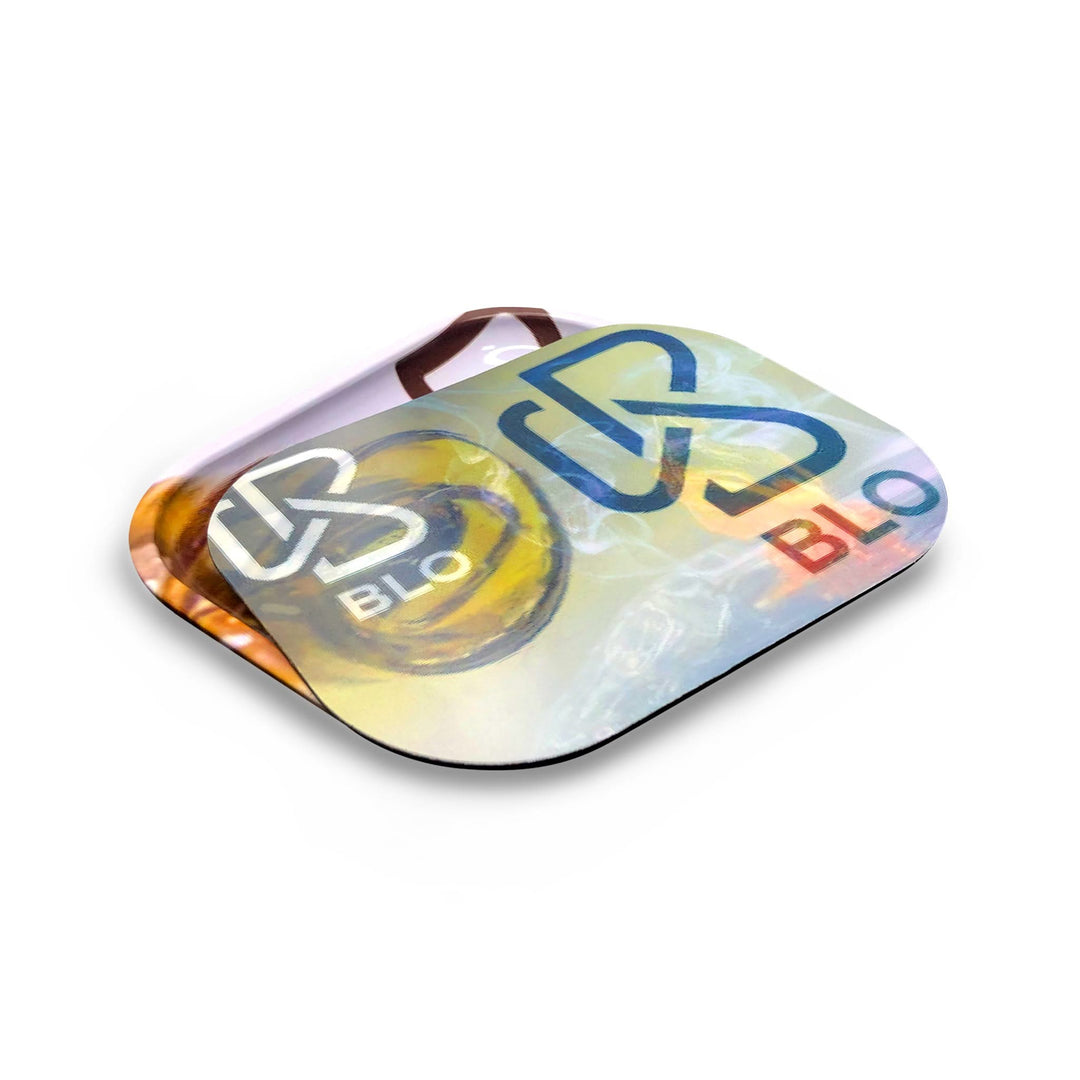
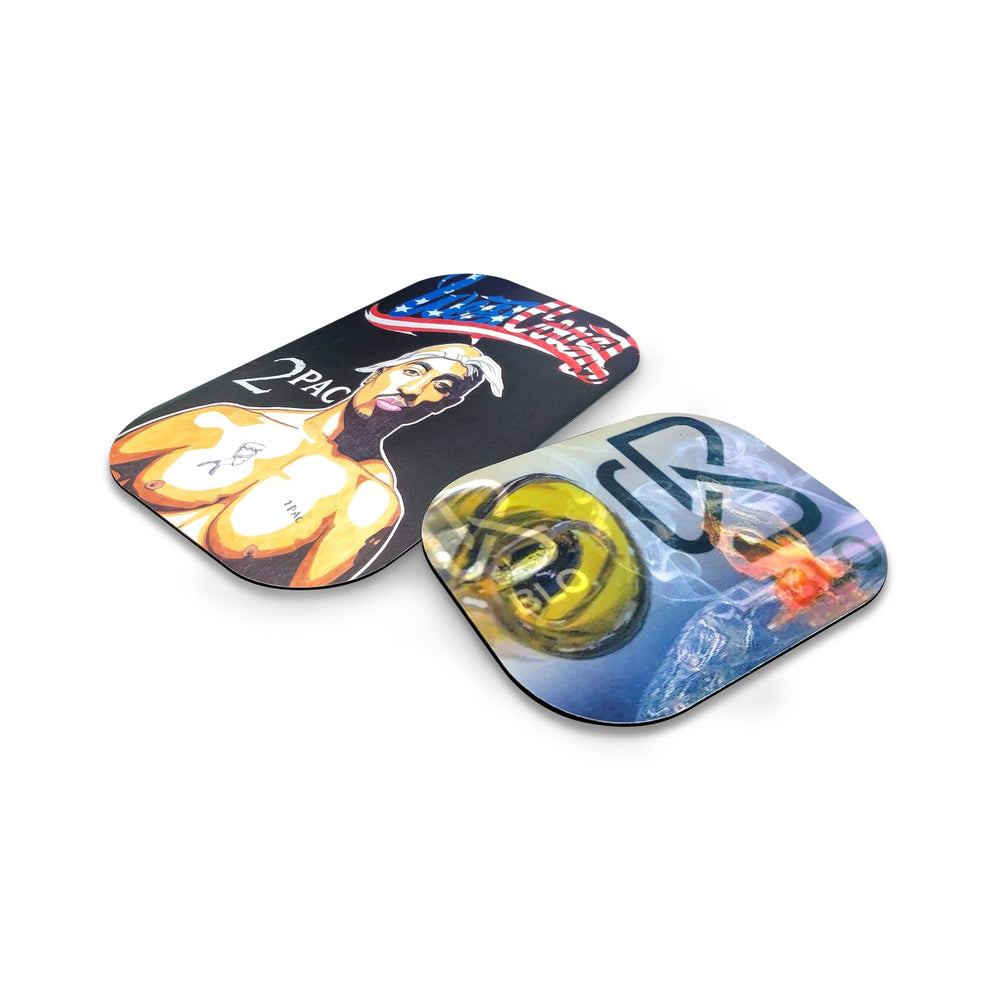
Design & Logo
Upload your own artwork or logo, and bring your vision to life. High-quality printing techniques like flexographic or screen printing ensure that your designs pop and look great on your chosen tray material.
Colors & Patterns
Choose from a wide variety of colors, patterns, and finishes to create a tray that aligns with your personal taste or brand’s aesthetic.
Shapes & Sizes
While the classic rectangular shape is most popular, custom rolling trays can come in various shapes and sizes to meet your preferences or business needs.
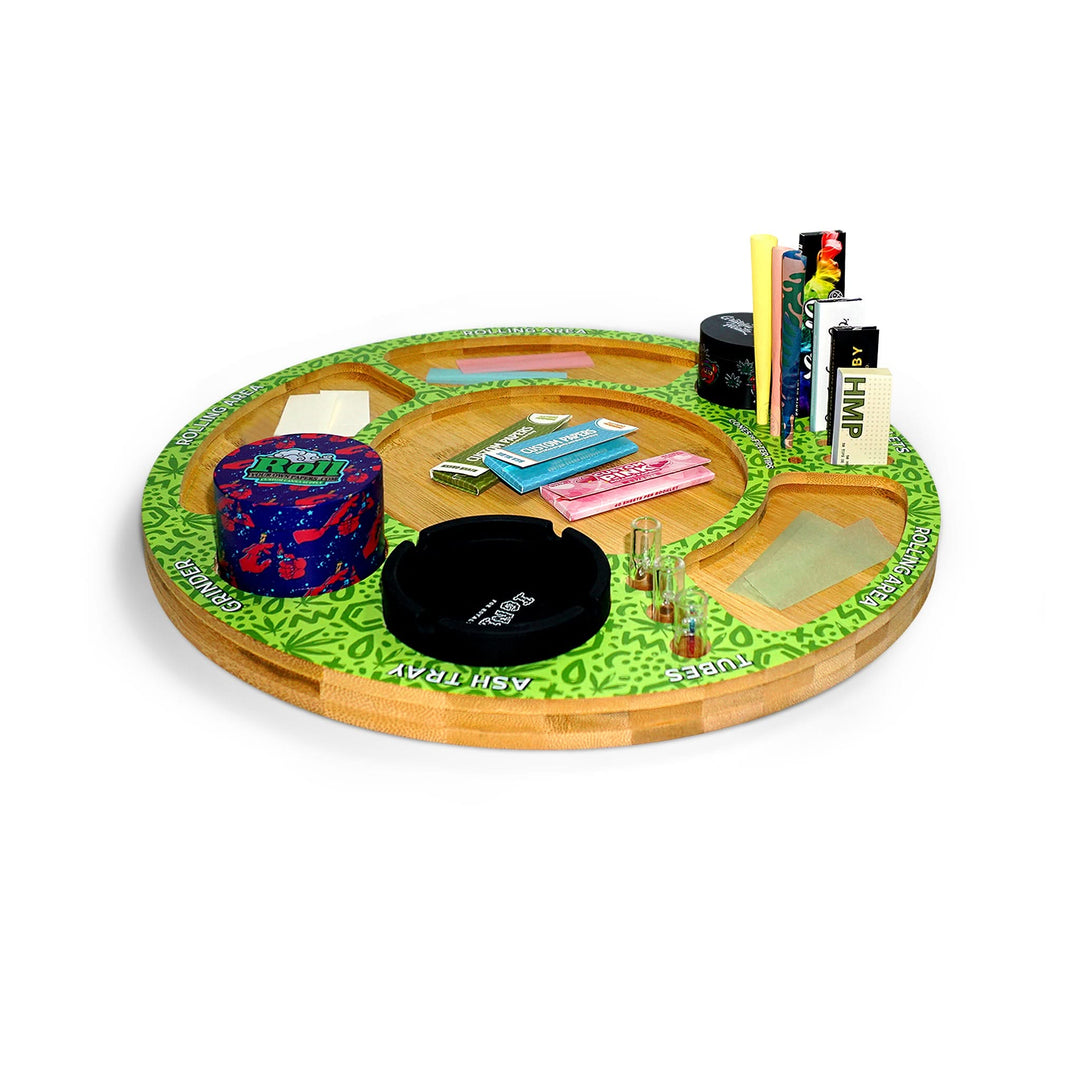
Additional Features
Consider adding custom features like compartments for holding rolling papers or accessories, magnetic lids for portability, or non-slip surfaces for added functionality.
How to Order Custom Rolling Trays
Ordering custom rolling trays is a straightforward process, and most suppliers offer a user-friendly online experience. Here are the general steps involved:
- Choose Your Material: Start by selecting the material that best suits your needs, whether it’s tin, wood, plastic, or something else.
- Upload Your Design: If you have a design ready, simply upload it to the supplier’s website. If not, many companies offer free design services to help bring your vision to life.
- Select Quantity: Most suppliers have a minimum order requirement (often 100 trays). Be sure to check for volume discounts if you're placing a larger order.
- Confirm Details: Double-check all the details of your order, including design placement, material, size, and any additional features.
- Place Your Order: Once you’re satisfied, place your order and wait for your custom trays to be produced and shipped to you.
Final Thoughts
Custom rolling trays are the perfect combination of functionality, style, and promotional potential. Whether you’re a enthusiast looking for a personalized accessory or a business aiming to promote your brand, custom rolling trays are a valuable investment. Start designing your custom tray today and enjoy the benefits of a well-crafted, personalized product!


