How to Put a Picture on a Rolling Tray 🎨 5 Easy Methods That Actually Work!

Quick Answer: Want to jazz up your rolling tray with your favorite pic? You've got options! From quick DIY tricks using Mod Podge to professional sublimation printing, we're breaking down every method to put a picture on a rolling tray. Whether you're crafting one for yourself or starting a side hustle, this guide has you covered. Let's make that tray uniquely yours! ✨
📋 Table of Contents
- Why Put a Picture on Your Rolling Tray?
- Method 1: DIY Mod Podge Magic (Easiest!) 🖌️
- Method 2: Resin Art Perfection 💎
- Method 3: Vinyl Sticker Application 🎯
- Method 4: Professional Sublimation Printing 🔥
- Method 5: Order Custom From Pros 🚀
- Quick Comparison: Which Method is Right for You?
- Pro Tips for Long-Lasting Results
- Common Mistakes to Avoid
- How to Care for Your Custom Rolling Tray
- Turn Your Hobby Into a Business
- Frequently Asked Questions
- Final Thoughts
Why Put a Picture on Your Rolling Tray? 🤔
Look, we get it. A plain metal tray gets the job done, but where's the personality? Where's the vibe? Customizing your rolling tray with a picture is like putting a case on your phone or stickers on your laptop – it's about making it yours.
Here's why people are obsessed with custom rolling trays:
- Express Your Personality: Whether it's your pet, your art, your favorite meme, or a photo from that epic trip – your tray tells your story
- Gift-Worthy: Seriously, imagine gifting someone a tray with a meaningful photo. Mind. Blown. 🎁
- Stand Out at Sessions: No more "which tray is mine?" confusion when everyone's got the same basic setup
- Business Branding: If you're in the game, branded trays are walking advertisements for your business
- Conversation Starter: Your custom tray becomes the focal point of your setup
Plus, let's be real – there's something satisfying about creating something with your own two hands (or ordering something perfectly made). Now let's dive into exactly how to make it happen.
Method 1: DIY Mod Podge Magic (Easiest!) 🖌️
This is hands-down the easiest way to get started if you're on a budget and love getting crafty. Mod Podge is basically magic glue that acts as both adhesive and sealant. It's been around forever and it works.
What You'll Need 🛠️
- A flat metal, wood, or ceramic tray (clean and dry!)
- Your printed picture (regular photo paper or magazine cutouts work great)
- Mod Podge (matte or glossy finish – your choice)
- Foam brush or sponge brush
- Scissors or craft knife
- Clear acrylic sealer spray (optional but recommended)
- Damp cloth for wiping
Step-by-Step Process 📝
Step 1: Prep Your Materials
Clean your tray thoroughly with rubbing alcohol to remove any oils or residue. Let it dry completely. Meanwhile, trim your photo to fit the tray – you can cover the whole surface or just a section. Get creative with your layout!
Step 2: Apply the First Coat
Brush a thin, even layer of Mod Podge onto the area where your picture will go. Don't glob it on – thin and even is the way. Work quickly because it dries fast!
Step 3: Place Your Picture
Carefully position your photo face-up on the wet Mod Podge. Start from one edge and slowly lay it down to avoid trapping air bubbles underneath.
Step 4: Smooth It Out
Using your finger or a credit card, gently smooth from the center outward to push out any bubbles or wrinkles. Work carefully – the paper can tear if you're too aggressive.
Step 5: Seal the Deal
Once your photo is in place, brush 2-3 thin coats of Mod Podge over the top. Let each coat dry for about 15-20 minutes before adding the next. The more coats, the more protection!
Step 6: Final Protection (Optional but Smart)
After everything's dry (give it 24 hours to be safe), spray with a clear acrylic sealer for extra durability. This makes it more water-resistant and easier to clean.
Pros and Cons of the Mod Podge Method
Pros ✅
- Super affordable (under $15 total if you have the tray)
- Easy for beginners – no special equipment needed
- Works on almost any surface
- Great for experimenting and testing designs
- Kid-friendly craft project
Cons ❌
- Not as durable as professional methods
- May wear down with heavy daily use
- Water-resistant but not totally waterproof
- Takes time to fully cure (24 hours)
Method 2: Resin Art Perfection 💎
Want that glass-like, crystal-clear finish that looks professionally done? Epoxy resin is your answer. This method takes a bit more skill and patience, but the results are absolutely stunning. Your picture will look like it's floating under a thick layer of glass.
What You'll Need 🛠️
- Clean flat tray
- Two-part epoxy resin kit (look for food-safe options)
- Your picture (printed on regular photo paper)
- Mod Podge or spray adhesive
- Mixing cups and stir sticks
- Heat gun or torch (for removing bubbles)
- Gloves and protective gear
- Level surface to work on
- Cardboard or plastic sheeting (resin can drip!)
Step-by-Step Process 📝
Step 1: Attach Your Picture First
Use the Mod Podge method above to secure your photo to the tray first. Let it dry completely. This prevents the photo from floating or moving when you pour the resin.
Step 2: Prep Your Workspace
Work in a well-ventilated area (seriously, open those windows). Make sure your tray is on a perfectly level surface – use a level tool to check. Any tilt and your resin will pool unevenly.
Step 3: Mix Your Resin
Follow the manufacturer's instructions exactly. Typically, it's a 1:1 ratio of resin to hardener. Mix slowly for 3-5 minutes to avoid creating bubbles. Scrape the sides and bottom of your cup as you mix.
Step 4: Pour and Spread
Pour the resin slowly over your picture, starting in the center and working outward. Use a stir stick or brush to spread it evenly across the entire surface. Aim for about 1/8 inch thickness.
Step 5: Remove Those Bubbles
Here's the fun part! Use a heat gun or kitchen torch and quickly pass it over the surface (don't linger in one spot). Watch the bubbles pop and disappear like magic. Do this within the first hour as bubbles keep rising.
Step 6: Cover and Wait
Cover your tray loosely with a cardboard box (to keep dust off but allow air circulation). Let it cure for 24-72 hours depending on your resin brand. Don't touch it – patience, grasshopper!
Pros and Cons of the Resin Method
Pros ✅
- Absolutely gorgeous, professional-looking finish
- Extremely durable and waterproof when cured
- Protects your image from scratches and wear
- You can embed objects (flowers, glitter, etc.) for unique designs
- Creates a smooth, glass-like surface
Cons ❌
- Higher cost (resin kits run $20-40)
- Requires more skill and practice
- Strong fumes – need good ventilation
- Long curing time (up to 3 days)
- Mistakes are hard to fix once resin is poured
Method 3: Vinyl Sticker Application 🎯
This is the route if you want something quick, removable, and super easy to switch up. Print your photo as a vinyl sticker (lots of online services do this), and boom – instant custom tray. It's like putting a fancy decal on your laptop, but for your rolling tray.
What You'll Need 🛠️
- Clean tray
- Custom vinyl sticker (order from StickerMule, VistaPrint, or print at home with printable vinyl sheets)
- Rubbing alcohol
- Credit card or squeegee
- Clear vinyl laminate (optional, for extra protection)
Step-by-Step Process 📝
Step 1: Design and Order Your Sticker
Upload your image to a vinyl printing service. Make sure your image is high-resolution (300 DPI minimum) for crisp results. Choose waterproof vinyl material.
Step 2: Clean the Surface
Wipe down your tray with rubbing alcohol and let it air dry. Even tiny bits of dust or oil will create bubbles under your sticker.
Step 3: Position Carefully
Peel back a corner of the backing and line up your sticker. Once you start laying it down, there's no going back – so take your time getting the position right!
Step 4: Apply and Smooth
Slowly peel the backing while using your credit card to smooth the sticker down from one edge to the other. Push out air bubbles as you go. Work slowly and methodically.
Step 5: Seal the Edges
If your sticker has edges that might lift, you can seal them with a tiny dab of super glue or clear nail polish. Or just apply a clear laminate vinyl over the entire thing for bomb-proof protection.
Pros and Cons of the Vinyl Method
Pros ✅
- Super quick application (literally 5 minutes)
- Changeable – peel off and try a new design anytime
- No mess, no fumes, no drying time
- Professional-looking results
- Great for testing designs before committing
Cons ❌
- Edges can peel over time without proper sealing
- Not as permanent as other methods
- Can scratch if not laminated
- Costs add up if you're ordering multiple custom stickers
Method 4: Professional Sublimation Printing 🔥
Now we're talking serious business. Sublimation printing is what the pros use, and it creates images that are literally bonded into the tray's coating. No peeling, no fading, no scratching. This is the method if you're thinking about making custom rolling trays to sell or if you just want that top-tier quality.
What You'll Need 🛠️
- Sublimation printer (Epson EcoTank or similar, around $300-400)
- Sublimation ink
- Sublimation paper
- Blank white or light-colored metal trays with polymer coating (specifically for sublimation)
- Heat press machine (15x15 inch minimum, $200-300)
- Heat-resistant tape
- Parchment or butcher paper
- Design software (Photoshop, Canva, GIMP)
- Protective gloves
Step-by-Step Process 📝
Step 1: Design Your Artwork
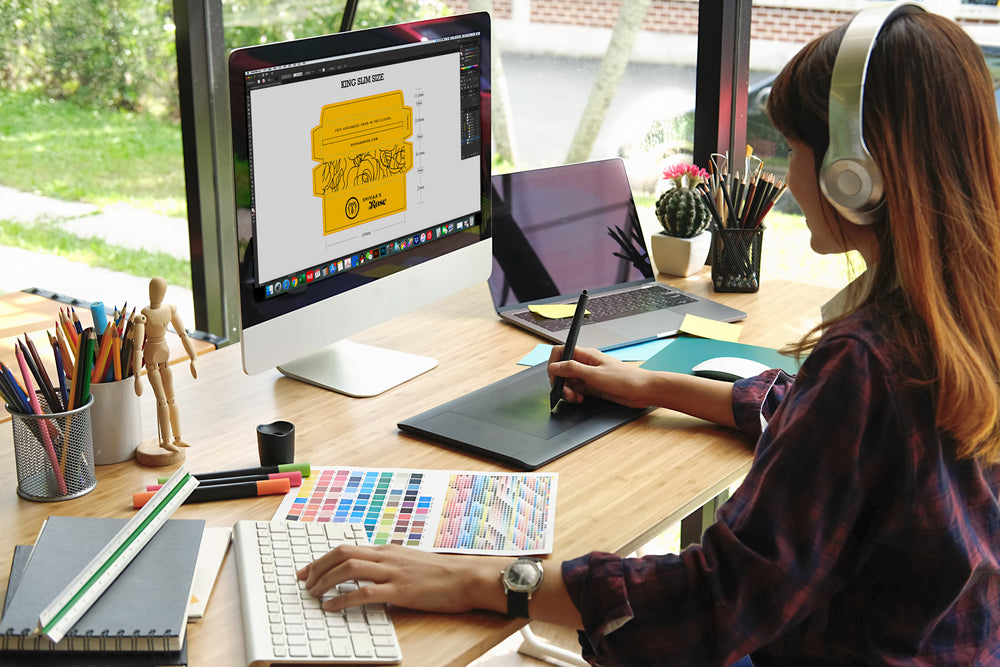
Create your design in Photoshop or Canva. Make sure it's sized exactly to your tray dimensions. Use bright, vibrant colors – they'll dull slightly during the heat process. Mirror your image before printing (it'll flip during transfer).
Step 2: Print on Sublimation Paper
Load your sublimation paper into your printer and print your mirrored design. Let the ink dry for a few minutes. The colors will look weird on paper – that's totally normal!
Step 3: Prepare the Tray
Clean your blank tray with rubbing alcohol. Any oils or fingerprints will show in the final product. Make sure it's bone dry.
Step 4: Position and Tape
Place your printed paper face-down on the tray's white/light surface. The ink side should be touching the tray. Use heat-resistant tape on all edges to prevent shifting. Make sure it's perfectly aligned and flat – no wrinkles!
Step 5: Heat Press Time
Place parchment paper on both sides of your tray. Set your heat press to 380-400°F (193-204°C). Press for 45-60 seconds with medium-firm pressure. The exact time and temp depend on your specific equipment, so test first!
Step 6: The Big Reveal
Carefully remove the tray from the heat press (it's HOT – use gloves!). Let it cool for about 10 seconds, then quickly peel off the sublimation paper in one smooth motion. Boom! Your image is permanently bonded to the tray. 🎉
Pros and Cons of Sublimation Printing
Pros ✅
- Absolutely permanent – won't peel, fade, or scratch off
- Professional, crisp, vibrant results
- Dishwasher safe once cured
- Perfect for business – you can pump out trays fast
- Edge-to-edge coverage possible
- No texture – the image is part of the tray surface
Cons ❌
- High upfront equipment cost ($500+ to start)
- Requires special blank trays (can't use just any tray)
- Learning curve to get settings right
- Limited to light-colored tray surfaces
- Need dedicated space for equipment
Method 5: Order Custom From Pros 🚀
Not feeling the DIY vibes? No shame in that game! Sometimes you just want to upload a pic and have a perfect custom rolling tray show up at your door. Several companies specialize in this exact service.
How It Works
Step 1: Find a Reputable Service
Look for companies with good reviews and example galleries. Check their pricing, turnaround time, and shipping costs.
Step 2: Upload Your Image
Most sites have easy upload tools. Make sure your image is high quality (at least 2000x2000 pixels). Low-res pics will look pixelated and blurry when printed large.
Step 3: Customize and Review
Many services let you add text, adjust colors, or create collages. Use their preview tool to see exactly what your tray will look like. Take your time here!
Step 4: Order and Wait
Place your order and wait for the magic to happen. Production typically takes 5-10 business days, then shipping time on top of that.
What to Look For in a Custom Service
- Printing Method: Ask if they use sublimation, UV printing, or another method
- Material Quality: Metal trays are most durable; plastic can crack over time
- Resolution Requirements: They should specify minimum DPI/resolution
- Return Policy: What if you're not happy with the result?
- Bulk Pricing: Planning to order multiple? Get those discounts!
- Reviews: Check customer photos – do the final products match expectations?
Pros and Cons of Professional Services
Pros ✅
- Zero work on your part – just upload and wait
- Professional quality guaranteed
- No equipment or supplies needed
- Great for gifts – they often ship directly to the recipient
- Consistent results every time
Cons ❌
- More expensive per tray (usually $25-50 each)
- Waiting time for production and shipping
- Less hands-on/creative satisfaction
- May have minimum order requirements for bulk
Quick Comparison: Which Method is Right for You? 🤔
Still not sure which route to take? Here's the quick-decision flowchart:
Choose Mod Podge If...
- You're on a tight budget (under $20)
- You like crafty, hands-on projects
- You want to experiment with designs first
- You're okay with moderate durability
Choose Resin If...
- You want a stunning, glass-like finish
- Durability is your top priority
- You're willing to invest time and money ($30-50)
- You enjoy detailed craft work
Choose Vinyl Stickers If...
- You want instant gratification (done in minutes)
- You like to change designs frequently
- You're making temporary or seasonal trays
- You want a clean, professional look without mess
Choose Sublimation If...
- You're planning to make multiple trays (business purposes)
- You want permanent, fade-proof results
- You're willing to invest in equipment ($500+)
- You value the absolute best quality
Choose Professional Services If...
- You want convenience above all else
- You're ordering one or two as gifts
- You don't have time or space for DIY
- You're willing to pay premium for guaranteed results
Pro Tips for Long-Lasting Results ✨
Regardless of which method you choose, these tips will help your custom tray stand the test of time:
Image Quality Matters
This cannot be stressed enough: high-resolution images are non-negotiable. A blurry, pixelated tray looks cheap and ruins the whole vibe. Aim for at least 300 DPI and 2000x2000 pixels minimum. If your image looks crisp on a computer screen at full size, you're golden.
Prep Like a Pro
Clean surfaces are everything. Any dust, oil, or residue will show up as bubbles or cloudy spots. Use rubbing alcohol, let it evaporate completely, and work in a clean environment. It takes an extra 2 minutes but makes a massive difference.
Seal the Deal
Even if your method includes a sealant, adding an extra protective coat never hurts. Clear acrylic spray, marine polyurethane, or food-safe epoxy all work great. Apply multiple thin coats rather than one thick coat to avoid drips.
Test First
Got a new method you're trying? Don't go all-in on your perfect photo right away. Test on a cheap tray or scrap material first. This is especially crucial for sublimation – settings vary by equipment.
Mind the Edges
Edges and corners are where things start to peel or chip first. Pay extra attention to sealing these areas. For vinyl stickers, consider wrapping edges or using edge sealant. For resin, make sure it flows to all edges.
Cure Time is Real Time
I know waiting sucks, but rushing the curing process leads to sticky, tacky, or easily damaged finishes. When instructions say "wait 24 hours," they mean it. Go watch Netflix or something – your patience will pay off.
Common Mistakes to Avoid ⚠️
Learn from others' pain so you don't have to experience it yourself. Here are the mistakes people make when learning how to put a picture on a rolling tray:
Using Low-Quality Images
We mentioned this already but it deserves repeating: pixelated photos = pixelated trays. Period. If you're screenshotting from Instagram or pulling from Facebook, the resolution probably isn't good enough. Save or download images in their highest quality.
Skipping Surface Prep
Thinking "eh, the tray looks clean enough" is how you end up with bubbles, uneven finishes, and peeling edges. Take the 30 seconds to wipe it down properly. Every. Single. Time.
Rushing the Process
Trying to speed up drying with a hair dryer, or not waiting for full cures, or pressing too hot because "hotter = faster" – all bad moves. Follow the instructions. Trust the process. Good things come to those who wait.
Incorrect Resin Ratios
With epoxy resin, the ratio of hardener to resin is chemistry, not a suggestion. Eyeballing it leads to resin that never fully hardens or hardens with a sticky surface. Measure precisely!
Not Testing Heat Settings
For sublimation, every heat press is different. Don't assume the temperature or timing you read online will work perfectly for your equipment. Run tests until you find your sweet spot.
Choosing the Wrong Base Material
Trying to sublimate on uncoated metal, using Mod Podge on porous wood without sealing first, or applying resin to painted surfaces that aren't fully cured – material compatibility matters!
Forgetting About Copyright
If you're selling custom trays, be really careful about using copyrighted images (movie posters, band logos, cartoon characters, etc.) without permission. This is especially important if you're turning this into a business. Stick to your own photos, licensed stock images, or original artwork.
How to Care for Your Custom Rolling Tray 🧼
You put in all that work – now let's make sure your masterpiece lasts!
Daily Maintenance
- Wipe down gently: Use a soft, damp cloth after each use. Avoid abrasive scrubbers that might scratch the surface
- Avoid harsh chemicals: Stick to mild soap and water. Bleach and harsh cleaners can damage sealants and finishes
- Dry immediately: Don't let water sit on the surface, especially for DIY methods
Long-Term Care
- Store flat: Don't stack heavy items on top of your tray
- Avoid extreme temperatures: Don't leave it in a hot car or expose it to freezing temps
- Reapply sealant annually: For DIY methods, a fresh coat of sealant once a year keeps things fresh
- Handle edges carefully: Be gentle with corners and edges where peeling is most likely
Cleaning by Method
Mod Podge Trays
Wipe gently with damp cloth only. Don't soak or submerge in water. The seal is water-resistant, not waterproof.
Resin Trays
These are the most durable! You can actually hand wash them with soap and water. Just don't put them in the dishwasher or use abrasive scrubbers.
Vinyl Sticker Trays
Wipe gently around the sticker. Avoid excessive scrubbing on the sticker itself. If the edges start lifting, secure with clear nail polish.
Sublimation Trays
These are nearly indestructible! Clean however you want – just avoid metal scrubbers that might scratch the surface coating.
Turn Your Hobby Into a Business 💰
Mastered how to put a picture on a rolling tray? Here's where it gets exciting – people WILL pay for custom work. The market for personalized smoking accessories is booming, and custom rolling trays are hot sellers.
Getting Started
Choose Your Niche
What makes your trays different? Maybe you specialize in pet portraits, anime characters, memorial trays, or psychedelic art. Having a signature style helps you stand out.
Perfect Your Method
For business purposes, sublimation or professional UV printing is the way to go. The upfront investment pays off when you can produce quality trays consistently and quickly.
Price It Right
Factor in materials, time, overhead, and profit margin. Most custom trays sell for $30-60 depending on size and complexity. Don't underprice your work!
Where to Sell
- Etsy: Built-in customer base looking for custom items
- Instagram/TikTok: Show off your work and take DM orders
- Local smoke shops: Offer wholesale pricing for shop owners to stock your trays
- Facebook Marketplace: Great for local sales
- Your own website: Use Shopify or Squarespace for a professional storefront
- Craft fairs and markets: Face-to-face selling builds loyal customers
Business Tips
- Take amazing photos of your finished products – good photography sells
- Offer rush orders for extra fees
- Create package deals (tray + matching accessories)
- Build an email list for repeat customers
- Always have a few ready-made trays with popular designs for immediate purchase
- Consider offering gift wrapping or custom packaging for an upcharge
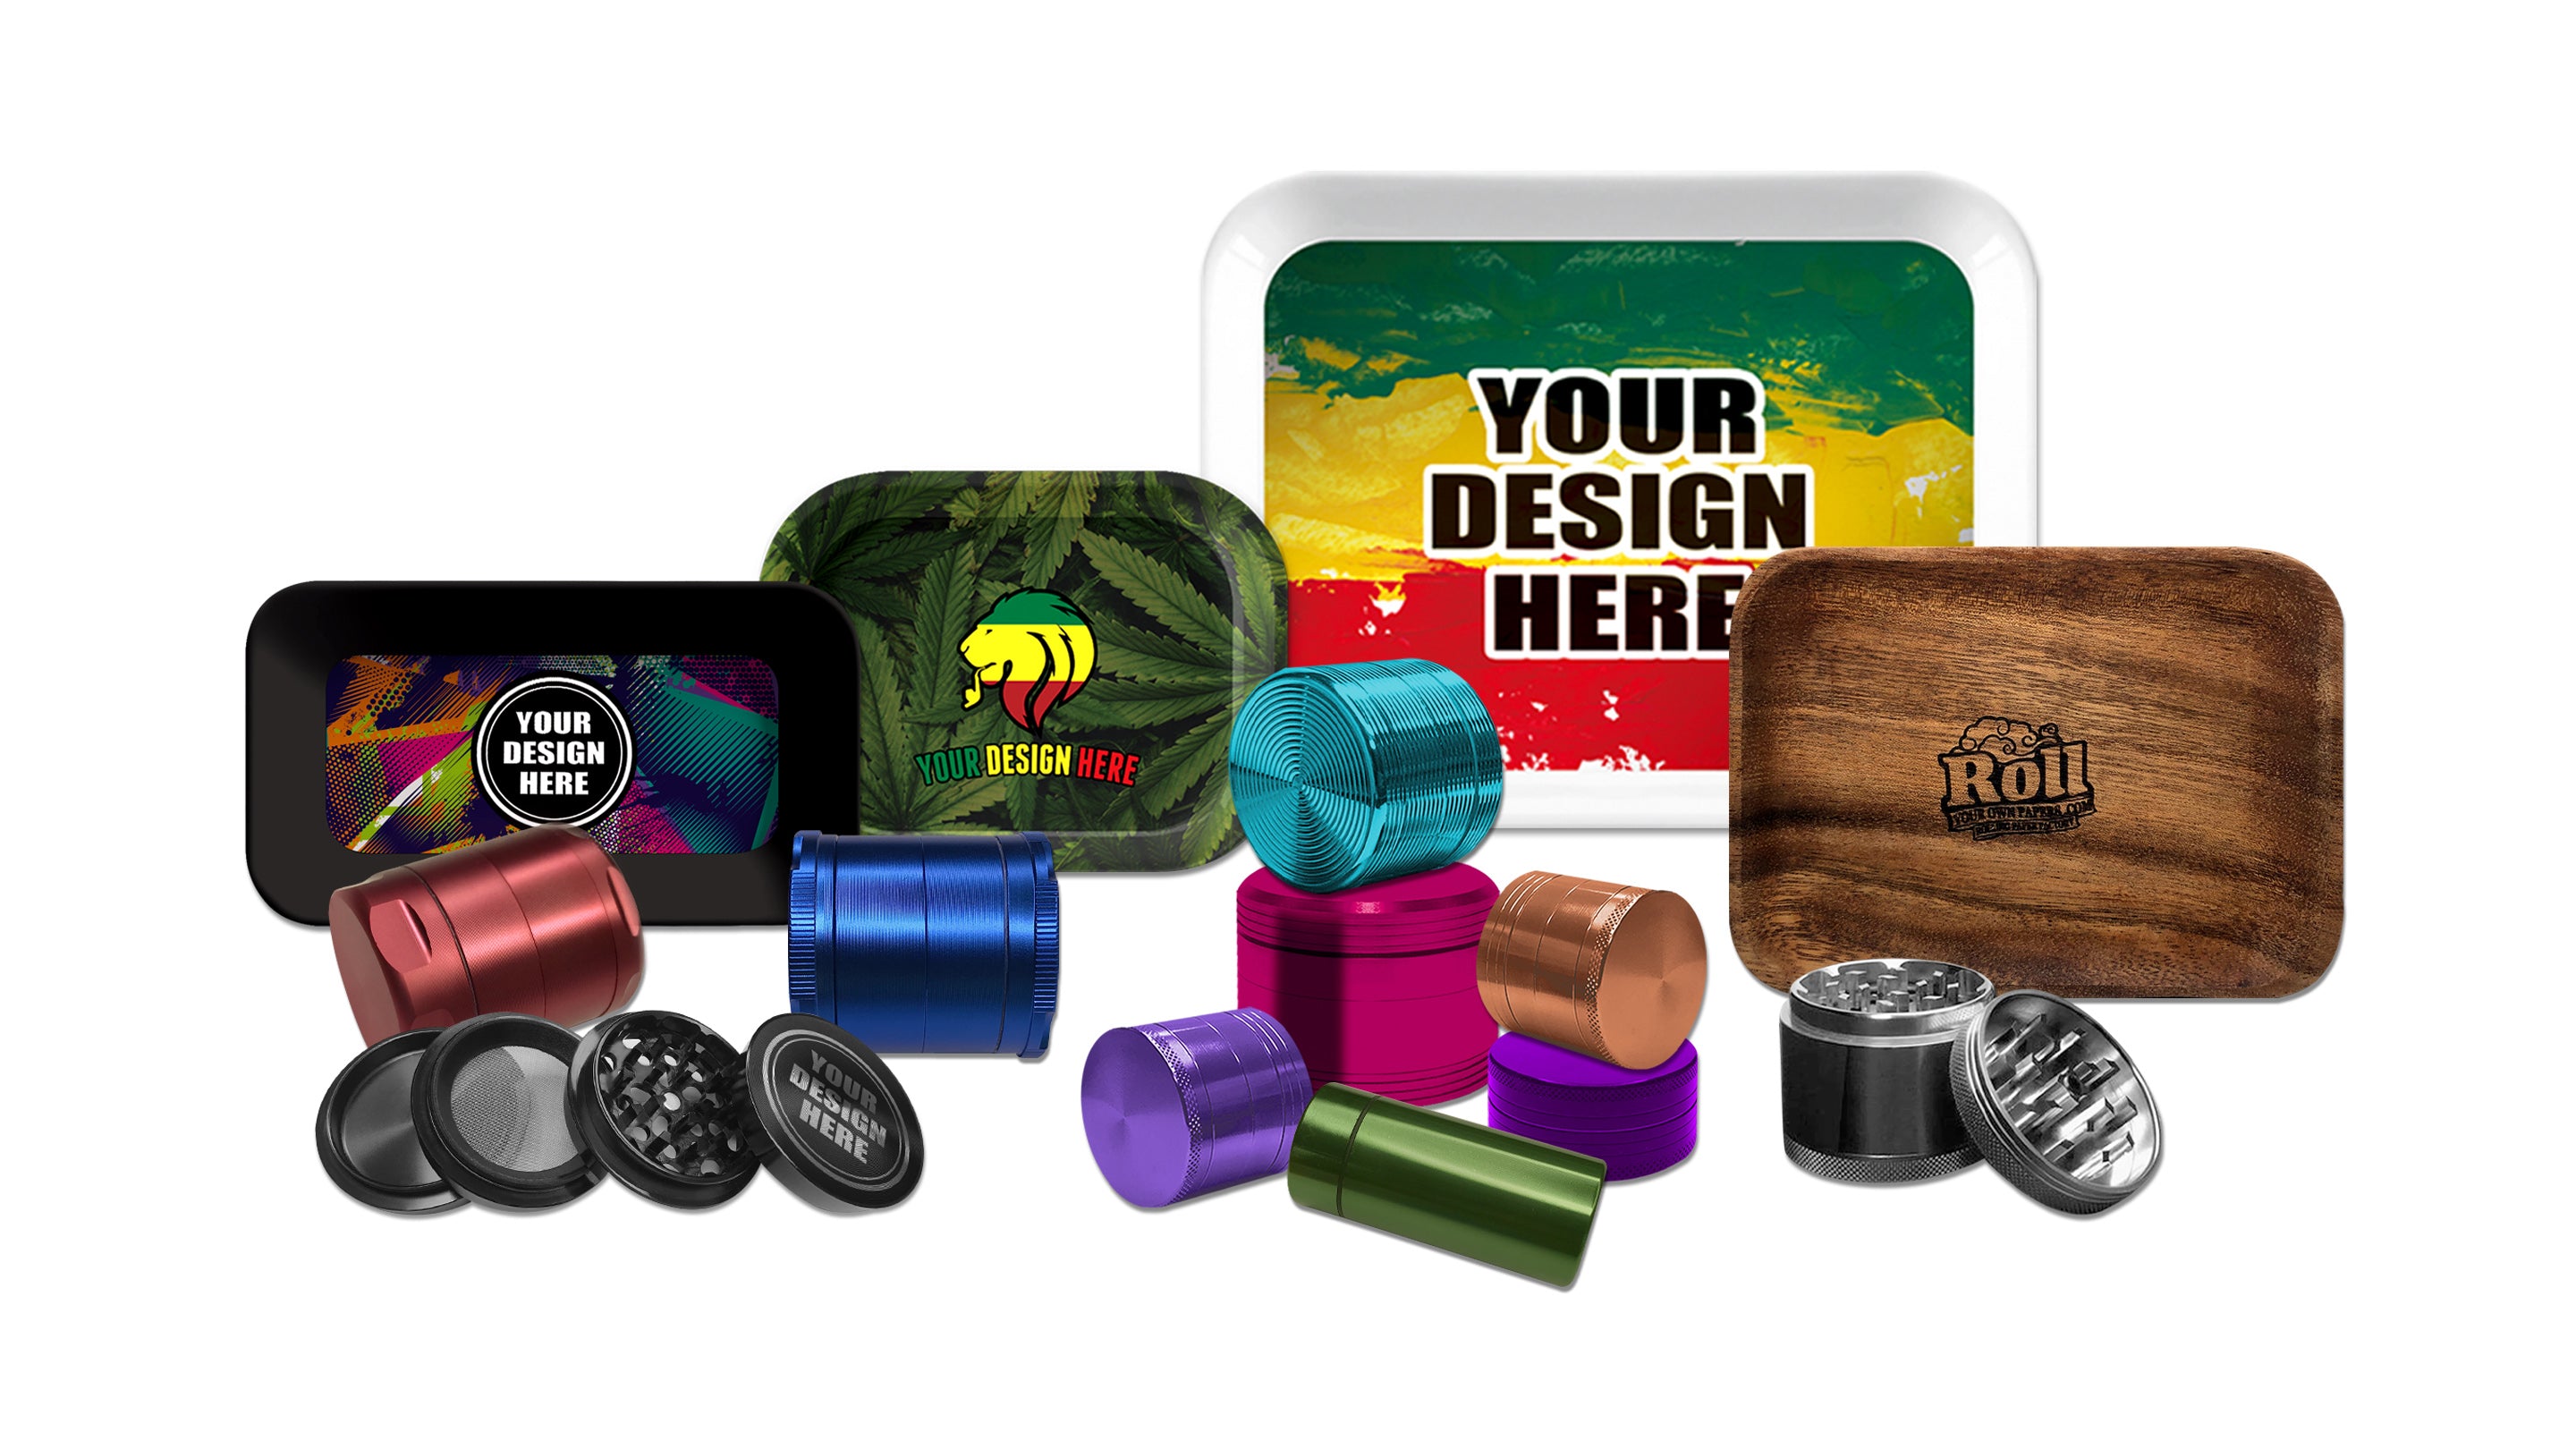
🎨 Why Our Custom Rolling Trays Stand Out
Looking for the perfect canvas for your custom design? Our rolling trays are specifically designed to showcase your pictures beautifully. Whether you're creating one for personal use or starting a custom tray business, here's what makes our trays the go-to choice:
- ✨ Premium sublimation-ready coating – colors pop like nowhere else
- 🛡️ Durable metal construction – built to last years, not months
- 📐 Multiple sizes available – from pocket-sized to party-sized
- 🎨 Perfectly smooth surface – ideal for any customization method
- 💰 Wholesale pricing – scale your business without breaking the bank
Our trays aren't just accessories – they're blank canvases waiting for your creativity. The smooth, quality surface ensures your photos transfer perfectly every time, whether you're using Mod Podge, resin, or professional sublimation printing.
Ready to create something amazing? Check out our collection and get started on your custom masterpiece today! 🚀
Frequently Asked Questions 💭
The easiest DIY method is using Mod Podge decoupage. Simply print your photo, cut it to size, apply Mod Podge to your clean tray, place the photo, smooth out bubbles, and seal with 2-3 more coats. It takes about 30 minutes of active work and 24 hours drying time. Total cost is under $15 if you already have a tray, and the results look pretty darn good for a first attempt!
With proper sealing using epoxy resin or professional sublimation printing, pictures can last for years without fading, peeling, or cracking. DIY methods with Mod Podge typically last 6-12 months with regular use, especially if you add an extra protective sealant coat. The key is proper surface prep and adequate sealing – don't rush these steps!
Most methods work best with metal, wood, or ceramic trays with flat surfaces. For sublimation printing, you need specially coated white or light-colored metal trays. Glass trays work well with vinyl stickers or UV printing, while wooden trays are perfect for decoupage methods. The surface should be smooth, clean, and non-porous for best results.
DIY methods like decoupage or stickers are budget-friendly (under $30) and fun but may wear over time with heavy use. Professional methods like sublimation printing, UV printing, or laser engraving create permanent, high-quality images that won't peel, fade, or scratch. Professional trays also offer better durability, more vivid colors, and a polished finish. If you're making just one for yourself, DIY is perfect. If you're selling or want heirloom quality, go professional.
DIY methods cost between $10-30 depending on supplies you already have. Mod Podge runs about $8, resin kits are $20-40, and vinyl stickers are $5-15 per sheet. Professional custom rolling trays range from $25-50 for single orders, with bulk pricing available. If you're investing in sublimation equipment for making multiple trays, expect to spend $500-700 upfront, but the per-tray cost drops to just a few dollars.
Yes, if properly sealed! Sublimation printing is inherently waterproof since the ink bonds with the tray coating at a molecular level. For DIY methods, seal your design with 3-4 coats of waterproof epoxy resin or marine-grade polyurethane to make it water-resistant and easy to clean. Just Mod Podge alone is water-resistant but not fully waterproof – adding that extra sealant makes all the difference.
Absolutely! Collages look amazing on rolling trays and add a personal scrapbook vibe. For DIY methods, cut multiple printed photos and arrange them before gluing – overlap them for extra style. For professional printing, create your collage design in Photoshop, Canva, or PicCollage first, ensuring the final image is high-resolution (300 DPI minimum). Just remember to seal all edges really well so nothing peels up over time!
🔥 Ready to Create Your Perfect Custom Rolling Tray?
Why settle for a boring, generic tray when you can showcase your personality, memories, or brand? 🎯 Whether you're crafting one for yourself or looking to start a custom tray business – we've got everything you need to make it happen!
- ✔️ Premium metal construction perfect for sublimation
- ✔️ Smooth, flat surface ideal for any customization method
- ✔️ Multiple sizes to fit your exact needs
- ✔️ Wholesale pricing available for bulk orders
- ✔️ Built to last – these trays are seriously durable
📦 Bulk orders available | 🚚 Fast shipping | 🎨 Perfect for customization
Final Thoughts: Make That Tray Uniquely Yours! 🎉
There you have it – five solid methods for how to put a picture on a rolling tray, from quick DIY solutions to professional-grade setups. The method you choose really depends on your budget, time, skill level, and what you're going for.
If you're just dipping your toes in, start with Mod Podge. It's cheap, forgiving, and you'll learn the basics without investing much. Once you've got a feel for it, maybe level up to resin for that gorgeous glossy finish. And if you catch the bug and want to go pro? Sublimation printing is where it's at.
Remember: the key to any great custom rolling tray is starting with a high-quality image and taking your time with each step. Don't rush the process, pay attention to details, and seal everything properly. Your tray should last you years if you do it right.
Most importantly? Have fun with it! This is your chance to express yourself, showcase what you love, and create something totally unique. Whether it's a photo of your best friends, your pet, a sick piece of art, or your brand logo – your tray tells your story.
So what are you waiting for? Grab that perfect photo, pick your method, and let's make some magic happen. Your sessions just got a whole lot more personalized! ✨
Got questions or want to share your custom tray creation? Drop a comment below – we'd love to see what you come up with! And don't forget to tag us when you show off that masterpiece on social media. Happy crafting! 🎨
Leave a comment