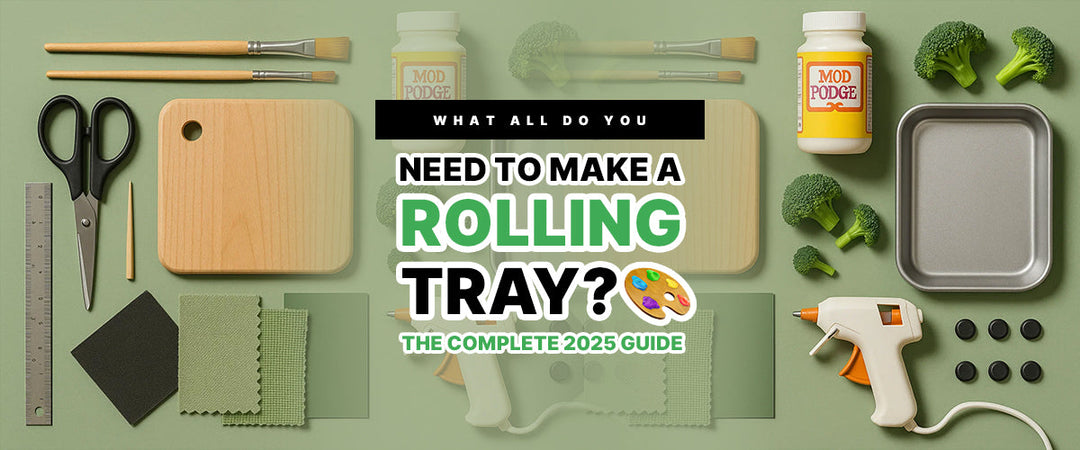
What All Do You Need to Make a Rolling Tray? 🎨 The Complete 2025 Guide

Hey there, creative soul! 👋 So you're ready to make your own rolling tray, huh? Smart move! Whether you want something totally unique, need a project for this weekend, or you're thinking about starting a side hustle, you're in the right place.
Here's the deal: making a rolling tray isn't rocket science, but knowing exactly what you need before you start? That saves you time, money, and a whole lot of frustration. We're talking materials, tools, techniques, costs, and even some secrets the pros use. By the end of this guide, you'll know exactly what you need and how to make it happen. Let's dive in! 💪
📋 Table of Contents
- 🤔 Why Make Your Own Rolling Tray?
- 🛠️ The Essential Materials & Tools You Need
-
🎨 8 Different Methods to Make a Rolling Tray (Ranked by Difficulty)
- Method 1: Upcycled Picture Frame Tray
- Method 2: Simple Cardboard & Fabric Tray
- Method 3: Wooden Cutting Board Conversion
- Method 4: Sublimation Printed Metal Tray
- Method 5: Hand-Routed Wood Tray
- Method 6: Resin Casting with Custom Inlays
- Method 7: 3D Printed Custom Tray
- Method 8: Professional CNC Machined Tray
- ✨ Design Tips for the Perfect Rolling Tray
- 🎭 Customization Options: Make It Yours!
- 💰 Cost Breakdown: What Will You Actually Spend?
- 🔥 Pro Secrets: What the Manufacturers Know
- ⚠️ Common Mistakes (And How to Avoid Them)
- ❓ Frequently Asked Questions
- 🎯 Final Thoughts
🤔 Why Make Your Own Rolling Tray?
Before we get into the nitty-gritty, let's talk about why you'd want to make your own rolling tray instead of just buying one:
- 💰 Save Money: DIY trays can cost anywhere from $5 to $50, while quality store-bought ones run $20-$100+
- 🎨 Total Customization: Your style, your size, your vibe—no compromises
- 🎁 Perfect Gifts: Handmade trays with personal touches make killer presents
- ♻️ Sustainability: Upcycle materials you already have or choose eco-friendly options
- 💼 Business Opportunity: Start small and scale up if you're thinking about selling
- 🧘 Satisfaction: There's something deeply satisfying about using something you made yourself
💡 Quick Reality Check: Not every method suits every person. Got zero woodworking tools? Skip the router method. Want something tonight? Go for the picture frame hack. We'll help you figure out which method matches your skill level, budget, and timeline!
🛠️ The Essential Materials & Tools You Need
Alright, let's break down exactly what you need. Don't worry—you don't need everything on this list! The specific materials and tools depend on which method you choose. Think of this as a master list, and we'll tell you exactly what you need for each method later.
🏗️ Base Materials (Choose Your Fighter)
Your base material is the foundation of your custom rolling tray. Here are your main options:
Wood 🌲
- Types: Maple, walnut, bamboo, birch plywood (¼" to ¾" thick)
- Best for: Natural aesthetics, easy to work with basic tools
- Cost: $10-30 for project-sized pieces
- Pros: Warm look, easy to customize, beginner-friendly
- Cons: Needs sealing, can warp if not finished properly
Metal 🔩
- Types: Aluminum sheet, steel blanks, pre-coated metal trays
- Best for: Durability, modern look, sublimation printing
- Cost: $8-25 for blank trays or sheets
- Pros: Ultra-durable, easy to clean, professional finish
- Cons: Harder to cut/shape without tools, can show scratches
Acrylic/Plexiglass 💎
- Types: Clear, frosted, or colored acrylic (⅛" to ¼" thick)
- Best for: Modern designs, see-through effects, UV printing
- Cost: $12-35 per sheet
- Pros: Lightweight, easy to clean, contemporary look
- Cons: Can crack if dropped, scratches easier than glass
Resin 🌊
- Types: Epoxy resin, polyester resin (with hardener)
- Best for: Artistic designs, embedded objects, unique looks
- Cost: $25-60 for starter kits
- Pros: Unlimited creative possibilities, glossy finish, totally unique
- Cons: Learning curve, needs proper ventilation, longer cure time
Upcycled Materials ♻️
- Types: Picture frames, serving trays, metal lids, cutting boards
- Best for: Budget builds, quick projects, eco-conscious creators
- Cost: $0-15 (often free from thrift stores or home)
- Pros: Cheap/free, sustainable, unique character
- Cons: Limited by what you can find, varying quality
🔧 Basic Tools (The Core Kit)
Every method needs some basic tools. Here's what you'll likely use regardless of your approach:
- ✏️ Measuring & Marking: Ruler, measuring tape, pencil, marker
-
✂️ Cutting Tools:
- For wood: Hand saw, jigsaw, or circular saw
- For metal: Tin snips or angle grinder (or buy pre-cut blanks)
- For acrylic: Score-and-snap cutter or jigsaw
- For fabric/paper: Scissors or rotary cutter
- 🪚 Sanding Supplies: Sandpaper (80, 120, 220 grit minimum), sanding block or electric sander
- 🔨 Fastening: Wood glue, epoxy, hot glue gun, screws/nails (depending on design)
- 🥽 Safety Gear: Safety glasses, dust mask/respirator, work gloves
- 🗜️ Clamping: Bar clamps or quick-grip clamps (if joining pieces)
✨ Finishing Supplies
These supplies take your tray from "meh" to "wow!":
- Sealants & Topcoats: Polyurethane, clear epoxy coating, matte or gloss spray sealant
- Stains & Paints: Wood stain, acrylic paint, spray paint, enamel paint
- Protective Coating: Food-safe wood oil, wax finish, lacquer
- Cleaning Supplies: Tack cloth, denatured alcohol, lint-free cloths
🚀 Optional Upgrades (Level Up Your Tray)
Want to go from good to great? These add-ons make your tray more functional and professional:
- 🦶 Rubber Feet/Bumpers: Prevent slipping and protect surfaces ($3-8 for a set)
- 🧲 Neodymium Magnets: Hold metal tools in place ($5-15 for a strip)
-
🎨 Decoration Supplies:
- Vinyl decals or stickers
- Sublimation paper and ink (for heat press method)
- Stencils for painting
- Laser engraving (if you have access)
- 📦 Corner Guards: Metal or plastic corners for durability
- 🗂️ Built-in Organizers: Small magnets, dividers, or compartments
💎 Pro Tip: Start with the basics and upgrade as you go! Your first tray doesn't need to be perfect. Make a simple version first to understand the process, then add advanced features on your second or third build. Learn by doing! 🎓
🎨 8 Different Methods to Make a Rolling Tray (Ranked by Difficulty)
Now for the fun part! Here are eight proven methods to make your own custom rolling trays, ranked from easiest to most advanced. Each method includes exactly what you need, step-by-step instructions, and realistic time estimates.
Method 1: Upcycled Picture Frame Tray 🖼️
Difficulty: ⭐ Beginner | Time: 20-30 minutes | Cost: $5-15
This is THE method if you want something quick, cheap, and require zero power tools. Perfect for your first rolling tray!
What You Need:
- Picture frame (8x10" or larger, with sturdy frame)
- Replacement backing (cardboard, thin wood, or decorative paper)
- Strong adhesive or hot glue gun
- Rubber feet or felt pads (4 pieces)
- Optional: Fabric, vinyl, or decorative paper for customization
Step-by-Step Process:
- Disassemble the frame: Remove the glass, backing, and any hanging hardware. Keep the frame itself.
- Create your base: Cut your new backing material to fit snugly inside the frame. If using paper/fabric, glue it to a sturdy cardboard base first.
- Customize: This is where you make it yours! Paint the frame, add fabric to the base, or apply vinyl designs.
- Reassemble: Place your decorated backing into the frame and secure it with the original tabs or hot glue.
- Add feet: Attach rubber feet or felt pads to the bottom four corners to prevent sliding.
🎨 Customization Idea: Line the base with cork, felt, or even faux leather for a premium look. Use mod podge to seal decorative paper and make it water-resistant!
Method 2: Simple Cardboard & Fabric Tray 📦
Difficulty: ⭐ Beginner | Time: 30-45 minutes | Cost: $3-10
Got cardboard boxes and fabric scraps? You can make a lightweight, portable rolling tray with stuff from around your house!
What You Need:
- Thick cardboard (from shipping boxes or poster board)
- Fabric (canvas, denim, or decorative cotton)
- Mod Podge or fabric glue
- Ruler and craft knife or scissors
- Optional: Clear acrylic spray sealer
Step-by-Step Process:
- Cut cardboard: Cut a rectangle base (10x8" is a good starter size) and four strips for the lip/sides (1-1.5" tall).
- Create the tray shape: Glue or tape the side strips to the base, creating a shallow box. Reinforce corners with extra glue.
- Cover with fabric: Cut fabric slightly larger than your tray. Apply Mod Podge to the cardboard and smooth fabric over it, folding edges underneath.
- Let dry completely: Weight it down with books while drying to keep it flat (1-2 hours).
- Seal: Apply 2-3 coats of Mod Podge or clear spray sealer for durability and water resistance.
Method 3: Wooden Cutting Board Conversion 🌲
Difficulty: ⭐⭐ Easy-Intermediate | Time: 1-2 hours | Cost: $15-30
Transform a cheap wooden cutting board into a beautiful, functional rolling tray. This method gives you that premium wood feel without advanced woodworking!
What You Need:
- Wooden cutting board (bamboo or hardwood, 10-14" size)
- Sandpaper (120 and 220 grit)
- Wood stain or paint (optional)
- Food-safe wood oil or polyurethane
- Rubber feet (4 pieces)
- Optional: Wood burning tool for designs
Step-by-Step Process:
- Prep the board: Sand the entire surface with 120-grit sandpaper, then finish with 220-grit for smoothness.
- Add design elements: Use a wood burning tool to add patterns, stain to change color, or paint sections for contrast.
- Create raised edges (optional): Glue thin wood strips around the perimeter to create a lip, or leave flat if you prefer.
- Seal thoroughly: Apply 2-3 coats of food-safe oil or polyurethane, sanding lightly between coats with 220-grit paper.
- Attach feet: Screw or glue rubber feet to the bottom corners.
- Final cure: Let it cure for 24 hours before use.
🌟 Why This Method Rocks: Cutting boards already have the perfect size and thickness! Plus, bamboo options are sustainable and naturally antimicrobial. Win-win! 🌱
Method 4: Sublimation Printed Metal Tray 🎯
Difficulty: ⭐⭐ Intermediate | Time: 30-45 minutes | Cost: $15-40 (after initial equipment)
Want photo-quality graphics on your tray? Sublimation printing creates professional-looking rolling trays with vibrant, permanent designs.
What You Need:
- Sublimation printer (or access to one)
- Sublimation ink and paper
- Heat press or portable heat press (375-400°F capable)
- Pre-coated metal tray blank (white polyester coating)
- Heat-resistant tape
- Protective paper (butcher or parchment)
- Design software (Photoshop, Canva, or similar)
Step-by-Step Process:
- Design your artwork: Create or download a design that fits your tray dimensions. Remember to mirror/flip the image!
- Print on sublimation paper: Print your mirrored design using sublimation ink.
- Prep the blank: Clean your metal tray blank with rubbing alcohol to remove oils.
- Position and tape: Place the printed side down on the tray's white surface. Tape all edges with heat-resistant tape.
- Heat press: Set to 375-400°F and press for 45-60 seconds with medium-firm pressure.
- Cool and reveal: Let it cool for 2-3 minutes, then carefully peel away the paper to reveal your design.
- Add feet: Attach rubber feet to the corners.
🔥 Pro Hack: Don't have a heat press? You can use a regular household iron on the highest cotton setting, but results won't be quite as vibrant. Apply firm, even pressure for 60-90 seconds instead. A heat press gives much better results though!
Method 5: Hand-Routed Wood Tray 🛠️
Difficulty: ⭐⭐⭐ Intermediate | Time: 2-4 hours | Cost: $25-50
Ready to make a truly custom wooden tray? This method requires a router but gives you complete control over size, depth, and features.
What You Need:
- Hardwood board (maple, walnut, or oak; ¾"-1" thick)
- Router with ¼" or ½" straight bit
- Router template or guide (optional but helpful)
- Sandpaper (80, 120, 220 grit progression)
- Wood stain (optional)
- Food-safe finish (oil, wax, or polyurethane)
- Rubber feet
- Safety equipment (goggles, dust mask, hearing protection)
Step-by-Step Process:
- Cut your blank: Cut wood to desired size (12x8" is popular). Sand the edges smooth.
- Mark your pocket: Draw guidelines for where you'll route, leaving a ½"-¾" border for the lip.
- Route the pocket: Set router depth to ¼"-⅜" deep. Make multiple passes, starting shallow and going deeper. Take your time!
- Round the corners: Use a roundover bit or sand corners smooth by hand.
- Sand everything: Progress through 80→120→220 grit sandpaper until silky smooth.
- Apply finish: Stain if desired, then seal with 2-3 coats of your chosen finish, sanding lightly between coats.
- Add optional features: Drill small holes for compartments, add a magnet strip, or burn designs.
- Attach feet and cure: Add rubber feet and let cure for 24-48 hours.
Method 6: Resin Casting with Custom Inlays 🌊
Difficulty: ⭐⭐⭐ Intermediate-Advanced | Time: 3-5 hours + 24-48hr cure | Cost: $40-70
Want something that looks like art? Resin rolling trays are stunning, unique, and totally customizable with embedded objects, colors, and effects.
What You Need:
- Epoxy resin kit (with hardener) - 32oz minimum
- Silicone mold or DIY mold box (10x7x1" interior)
- Mold release spray
- Resin colorants or mica powders
- Embedded items (flowers, glitter, photos, etc.)
- Heat gun or torch (for bubbles)
- Mixing cups, stir sticks, gloves
- Level surface for curing
- Sandpaper (220-400 grit for finishing)
Step-by-Step Process:
- Prep your workspace: Work in a well-ventilated area. Cover surface with plastic. Get everything ready before mixing resin.
- Prep the mold: Apply mold release spray and ensure it's perfectly level.
- Mix first layer: Follow resin mixing ratios exactly (usually 1:1 or 2:1). Mix slowly to minimize bubbles.
- Pour base layer: Pour a thin layer (¼") into mold. Pop surface bubbles with heat gun.
- Add inlays: Once base starts to gel (30-60 min), add your embedded items. Arrange carefully!
- Pour top layers: Mix and pour remaining resin in 1-2 more pours. Remove bubbles between layers.
- Cure: Cover with a box to keep dust off. Let cure per instructions (usually 24-48 hours).
- Demold and finish: Carefully remove from mold. Sand edges if needed. Optional: apply clear topcoat for extra gloss.
- Add feet: Attach rubber feet with strong adhesive.
⚠️ Safety First: Work with resin in a well-ventilated space (open windows or use a fan). Wear gloves and consider a respirator mask. Some resins give off fumes during curing. Follow manufacturer safety guidelines! 🥽
Method 7: 3D Printed Custom Tray 🖨️
Difficulty: ⭐⭐⭐⭐ Advanced | Time: 8-15 hours print + finishing | Cost: $5-20 per tray (after printer investment)
Have access to a 3D printer? You can design and print completely custom trays with built-in features that would be impossible otherwise!
What You Need:
- 3D printer (FDM printer, minimum 200x200mm bed)
- Filament (PETG recommended, or PLA/ABS)
- 3D modeling software (Fusion 360, Tinkercad, Blender)
- Sandpaper (220-600 grit)
- Optional: Primer and paint for finishing
- Optional: Epoxy coating for smoothness
- Rubber feet or TPU printed feet
Step-by-Step Process:
- Design your model: Create a tray design with your preferred dimensions. Include raised edges (12-18mm), rounded corners, and any custom features (compartments, magnet slots, etc.).
-
Slice the model: Export as STL and load into your slicer. Set parameters:
- Layer height: 0.2mm
- Wall thickness: 2-3mm (3-4 walls)
- Infill: 15-20%
- Top/bottom layers: 5-6 layers
- Print: This will take 8-15 hours depending on size. Monitor the first few layers to ensure good adhesion.
- Post-processing: Remove from bed carefully. Sand with progressively finer grits (220→400→600) for smooth finish.
- Optional finishing: Prime and paint, or apply thin epoxy coating for glass-smooth surface.
- Add feet: Either print TPU feet separately or glue on rubber feet.
💻 Design Resources: Don't want to design from scratch? Check out Thingiverse, MyMiniFactory, or Printables for free rolling tray models you can download and customize. Many are parametric, so you can adjust dimensions easily! 🎯
Method 8: Professional CNC Machined Tray 🏭
Difficulty: ⭐⭐⭐⭐⭐ Expert | Time: 2-4 hours + setup | Cost: $50-150 (with CNC access)
Got access to a CNC router or planning to outsource? This is how the pros do it—precision-machined perfection every time.
What You Need:
- CNC router (or CNC service like Xometry, SendCutSend)
- CAM software (Fusion 360, VCarve, etc.)
- Premium hardwood or aluminum stock
- End mills (¼" flat end, ⅛" ball nose for details)
- Hold-down clamps or vacuum table
- Finishing supplies appropriate to material
Step-by-Step Process:
- CAD design: Create precise 3D model with all features, fillets, and pockets.
- CAM programming: Generate toolpaths for roughing, finishing, and profiling operations.
- Material prep: Square and surface your stock material. Secure to CNC bed.
- Machine the part: Run your program with appropriate feeds and speeds. Monitor first pass closely!
-
Finishing:
- For wood: Sand, stain/paint, seal
- For metal: Deburr, sandblast or polish, anodize or powder coat
- Add features: Press-fit magnets, install hardware, add decorative elements.
- Final assembly: Attach feet, apply final protective coating.
💰 Cost Note: Don't have a CNC? Many makerspaces offer hourly CNC access for $20-50/hour, or you can outsource the machining through online services and handle the finishing yourself. This keeps costs reasonable while getting pro-level precision! 🎯
✨ Design Tips for the Perfect Rolling Tray
Regardless of which method you choose, following these design principles will ensure your custom rolling tray works great and looks amazing:
📏 Size Matters
| Size Category | Dimensions | Best For |
|---|---|---|
| Small/Portable | 7-9" × 5-6" (180-220mm × 120-150mm) | Travel, personal use, tight spaces |
| Medium/Standard | 10-12" × 6-8" (250-300mm × 160-200mm) | Most popular size, everyday use |
| Large/Group | 12-14" × 8-10" (300-360mm × 200-250mm) | Shared sessions, lots of accessories |
| XL/Station | 14-16"+ × 10-12"+ (360mm+ × 250mm+) | Permanent stations, commercial use |
🏔️ Lip Height Guidelines
- Low lip (8-12mm): Sleek look, easier hand access, less containment
- Standard lip (12-18mm): Best balance—contains mess without blocking movement
- High lip (18-25mm): Maximum containment, great for messy materials, can feel bulky
🎨 Surface Finish Options
- Matte/Satin: Hides scratches, less glare, easier to see materials (recommended!)
- Gloss: Looks premium, easier to clean, shows scratches more
- Textured: Prevents rolling, unique feel, harder to clean
- Natural wood: Warm aesthetic, requires sealing, ages beautifully
📐 Shape & Corner Design
- Rounded corners (14mm+ radius): Easier to sweep clean, safer, modern look
- Sharp corners: Traditional, harder to clean, more likely to catch/snag
- Contoured edges: Comfortable to hold, professional feel
🎯 Functional Features to Consider
- Corner notches: Perfect spots for setting down accessories
- Magnet strip: Keeps metal tools organized and prevents rolling
- Small compartments: Dedicated spots for different materials
- Built-in groove: Channel for cards or tools
- Rubber feet: ESSENTIAL—prevents sliding and noise
- Handle or grip: Makes larger trays easier to carry
🎓 Design Philosophy: Form follows function! Your tray should work perfectly for YOUR needs first, look cool second. A beautiful tray that doesn't work well gets abandoned. A functional tray gets used daily and loved! 💙
🎭 Customization Options: Make It Yours!
This is where your creativity shines! Here are proven ways to customize your rolling tray:
🎨 Graphics & Artwork
- Vinyl Decals: Easy to apply, unlimited designs, removable (Budget: $5-20)
- Sublimation Printing: Photo-quality permanence, vibrant colors (Equipment: $150-400)
- UV Printing: Professional results, works on most materials (Service: $15-40/tray)
- Hand Painting: Unique, artistic, requires skill (Materials: $10-30)
- Laser Engraving: Elegant, permanent, works on wood/metal (Service: $10-30/tray)
- Hydro Dipping: Complex patterns, eye-catching (Materials: $20-40)
- Stenciling: Clean geometric designs, beginner-friendly (Materials: $8-20)
🌈 Color Options
- Natural wood tones: Timeless, warm, pairs with any décor
- Matte black: Sleek, shows materials clearly, hides wear
- White/cream: Clean, modern, shows every mark (needs careful handling)
- Bright colors: Fun, expressive, great for gifts
- Metallic finishes: Luxe look, eye-catching, premium feel
- Gradient/ombre: Artistic, unique, Instagram-worthy
💎 Special Effects
- Resin inclusions: Flowers, glitter, photos, tickets—literally anything flat
- Glow-in-the-dark: Fun party trick, practical for low light (add glow powder to paint/resin)
- LED edge lighting: Ultra-modern, requires battery/USB power
- Holographic film: Rainbow effects, shifting colors
- Wood burning: Rustic designs, personalized messages
✍️ Personalization Ideas
- Names or initials
- Favorite quotes or lyrics
- Zodiac signs or symbols
- Geometric or mandala patterns
- Pop culture references
- Brand logos (for business trays)
- Personal photos or artwork
- Inside jokes with friends
💡 Hot Trend Alert: Minimalist designs with subtle branding are HUGE right now. Think clean matte surfaces with small laser-engraved logos or simple geometric line work. Less is more! 🎯
💰 Cost Breakdown: What Will You Actually Spend?
Let's get real about costs. Here's what you'll actually spend for each method, including everything:
| Method | Initial Investment | Per-Tray Cost | Break-Even Point |
|---|---|---|---|
| Picture Frame Upcycle | $0-15 (basic tools) | $5-15 | Immediate |
| Cardboard & Fabric | $15-25 (supplies) | $3-10 | Immediate |
| Cutting Board Conversion | $30-50 (tools + finish) | $15-30 | 1-2 trays |
| Sublimation Printing | $250-500 (printer + press) | $10-25 | 20-30 trays |
| Hand-Routed Wood | $150-300 (router + tools) | $20-40 | 8-12 trays |
| Resin Casting | $60-100 (materials) | $25-50 | 2-4 trays |
| 3D Printing | $200-500 (printer) | $5-15 | 15-40 trays |
| CNC Machining | $2,000+ (machine) or $0 (service) | $40-100 | Varies widely |
💸 Money-Saving Tips
- Buy in bulk: Get better prices on blanks, resins, and finishes when you buy more
- Thrift first: Check thrift stores for picture frames, cutting boards, and metal trays
- Share equipment: Split costs with friends or use makerspace equipment
- Start simple: Master basic methods before investing in expensive tools
- Upcycle materials: Use scrap wood, leftover resin, or spare hardware
- DIY molds: Make resin molds from wood and tape instead of buying silicone
💎 Premium Upgrades (Worth It!)
- Quality rubber feet: $8-12 vs. $3 cheap ones—totally worth it for grip and durability
- Rare wood species: Spalted maple, purple heart, or figured walnut—$40-80 but stunning
- Professional UV printing: $20-40 per tray but looks absolutely premium
- Neodymium magnets: $10-15 for a strip—game-changer for organization
🔥 Pro Secrets: What the Manufacturers Know
Psst... want to know what separates amateur trays from pro-level products? Here are the insider tips that manufacturers use:
🎯 Quality Control Checkpoints
- Tilt test: Your tray shouldn't slide items at a 7-degree angle
- Corner sweep: You should be able to sweep all debris to corners in one motion
- Adhesion test: Scratch design with fingernail—it shouldn't flake or peel
- Drop test: Drop from 20cm onto a cutting mat—no cracks or deformation
- Wipe test: Damp cloth shouldn't leave streaks or damage finish
- Smell test: Fully cured tray should have no chemical smell
⚡ Manufacturing Shortcuts (The Good Kind)
- Use jigs and templates: Make multiples faster with consistent results
- Batch process: Sand, seal, or paint multiple trays at once
- Pre-made blanks: Buy blanks from suppliers instead of cutting from scratch
- Modular design: Create a base design you can customize quickly
- Finishing schedules: Apply coats on a timeline so you're always productive
🛡️ Durability Hacks
- Multiple thin coats > one thick coat: Sand lightly between coats (220-grit)
- Edge reinforcement: Extra attention to edges prevents chipping
- UV protection: Add UV-resistant topcoat to prevent fading
- Proper cure times: Don't rush it—full cure takes 24-72 hours for most finishes
- Quality feet: Cheap feet fall off; spend the extra $5
📦 If You're Thinking About Selling
- Minimum Order Quantities (MOQs): Industrial manufacturers typically want 100-1,000+ units
- Lead times: Factor 4-8 weeks for custom manufacturing
- Pricing sweet spot: DIY: $30-60 retail / Manufactured: $15-35 retail
- Best sellers: Medium size, matte black or natural wood, simple designs
- Packaging matters: Invest in basic packaging—even a simple kraft box elevates perceived value
🚀 Scale-Up Tip: If you're thinking about selling, start with methods that scale well: sublimation printing, 3D printing, or partnering with a CNC shop. Test market demand with 20-50 trays before investing in tooling for thousands! 📈
⚠️ Common Mistakes (And How to Avoid Them)
Learn from others' mistakes! Here are the most common issues and how to sidestep them:
😤 "My finish is sticky/tacky!"
- Cause: Didn't mix resin/finish properly, applied too thick, or insufficient cure time
- Fix: Follow ratios exactly, apply thin coats, wait full cure time, ensure proper temperature/humidity
😤 "My design is fading/peeling!"
- Cause: Poor surface prep, wrong type of paint/ink, no topcoat protection
- Fix: Sand and clean surface thoroughly, use appropriate materials for substrate, seal with durable topcoat
😤 "My tray warped!"
- Cause: Wood not properly sealed on all sides, uneven finish application, moisture exposure
- Fix: Seal ALL surfaces including bottom, apply finish evenly, let cure completely before use
😤 "My resin has bubbles!"
- Cause: Mixed too vigorously, didn't pop bubbles after pouring, wrong resin type
- Fix: Stir slowly and deliberately, use heat gun to pop bubbles, try a different resin brand
😤 "Everything slides around!"
- Cause: No rubber feet, surface too slick, poor weight distribution
- Fix: Add quality rubber feet to all corners, consider textured surface or add weight to bottom
😤 "The corners are impossible to clean!"
- Cause: Sharp 90-degree corners, no corner radius
- Fix: Round corners to at least 14mm radius—makes a HUGE difference in usability
🎓 Learning Curve Reality: Your first tray probably won't be perfect, and that's totally okay! Every experienced maker has a box of "learning experiences" (failed projects). The point is to learn and improve. Number two will be better than number one, guaranteed! 💪
❓ Frequently Asked Questions
What materials do I need to make a rolling tray?
The essential materials include: a base material (wood, metal, acrylic, or resin), finishing supplies (sandpaper, sealant, protective coating), decorative elements (paint, vinyl, or printing materials), and hardware (rubber feet, magnets, or mounting accessories). The specific materials depend on which method you choose. For a simple upcycled tray, you might only need a picture frame, backing material, and adhesive. For advanced projects like resin casting or CNC machining, you'll need more specialized supplies.
What tools do I need to make a rolling tray at home?
Basic tools include: measuring tape or ruler, cutting tools (saw, rotary cutter, or craft knife), sandpaper (various grits from 80-220), adhesive or fasteners, and safety equipment (gloves, safety glasses). Advanced projects may require power tools like routers, heat presses, or 3D printers. The beauty of DIY trays is that you can start with methods that need almost no tools (like the picture frame method) and work your way up as you gain experience and invest in more equipment.
Can I make a rolling tray without special equipment?
Absolutely! You can make a simple rolling tray using just a picture frame, cardboard or fabric backing, and basic craft supplies. The upcycled frame method requires no power tools and can be completed in under an hour with materials you probably already have at home. Another no-tool option is the cardboard and fabric method, which creates a lightweight, portable tray using scissors, glue, and decorative fabric. These methods are perfect for beginners or anyone who wants to test the waters before investing in equipment.
How much does it cost to make your own rolling tray?
DIY rolling trays can cost anywhere from $5-$100 depending on your method. Simple upcycled trays cost $5-15, wood projects run $20-40, resin trays cost $30-60, and sublimation or 3D printing setups require initial investment of $50-100+ but become cheaper per tray over time. If you're making multiple trays, methods with higher upfront costs (like sublimation or 3D printing) can become more economical per unit. For single trays, stick with lower-cost methods like upcycling or simple wood projects.
What's the easiest way to make a rolling tray for beginners?
The easiest method is the upcycled picture frame tray. Simply replace the glass with acrylic or sturdy cardboard, add a decorative backing, and attach rubber feet. It takes 20-30 minutes, requires no power tools, and costs under $15. This method is perfect if you want something functional tonight without buying special materials. Plus, you can customize it with fabric, vinyl, or even printed designs under the acrylic. It's how many tray makers got started!
How do I customize a rolling tray with my own design?
You can customize rolling trays using several methods: vinyl decals for simple designs (easiest, $5-20), sublimation printing for photo-quality graphics (requires heat press, $10-25 per tray), hand painting with acrylics or enamels (artistic, $10-30), laser engraving for wood or metal (service option, $10-30), or UV printing for professional results (service option, $15-40). Each method offers different levels of durability and detail. For beginners, vinyl decals or hand painting are most accessible. For production-quality results, sublimation or UV printing are worth the investment.
What size should I make my rolling tray?
The most popular sizes are: Small (7-9 inches / 180-220mm) for portability and personal use, Medium (10-12 inches / 250-300mm) for everyday use—this is the most popular size, and Large (12-14 inches / 300-360mm) for group sessions or those who like extra space. Consider where you'll use it most when choosing your size. If you're making multiple trays or selling them, medium size with standard proportions (roughly 3:2 ratio) tends to appeal to the widest audience. When in doubt, go medium!
🔥 Ready to Level Up Your Setup?
DIY is awesome, but sometimes you want that pro-level quality without the hassle! 🎯 If you're looking for premium rolling trays that combine durability, style, and functionality—we've got exactly what you need.
- ✔️ Precision-engineered for perfect functionality
- ✔️ Durable materials that last for years
- ✔️ Professional finishes that resist wear and tear
- ✔️ Fully customizable with your artwork, logo, or design
- ✔️ Bulk options available for resellers and businesses
📦 Low MOQs for custom orders | 🚚 Fast shipping nationwide | 🎨 Professional design support included
🎯 Final Thoughts: Your Rolling Tray Journey Starts Here!
Congratulations! 🎉 You now know exactly what you need to make a rolling tray, from simple upcycled projects to advanced manufacturing methods. Whether you're crafting a single tray for yourself or planning to make dozens for friends (or customers!), you've got the complete roadmap.
Here's your action plan:
- Pick your method based on your skill level, budget, and timeline
- Gather your materials using the specific lists we provided
- Start simple if you're new—you can always level up later!
- Take your time with finishing—it's what separates good from great
- Learn from each tray and don't be afraid to experiment
Remember, the perfect rolling tray isn't necessarily the fanciest or most expensive—it's the one that works for YOUR needs and brings you joy every time you use it. Start where you are, use what you have, and make something awesome! 💪
Got questions or want to share your rolling tray creation? Drop a comment below! We love seeing what you make and hearing about your experiences. Happy crafting! ✨
🚀 Quick Start Recommendation: If you're reading this and thinking "I want to make one NOW," start with the picture frame method. It's quick, cheap, and actually produces a great tray. You can upgrade to more advanced methods once you've proven to yourself that you'll actually use what you make! 😊
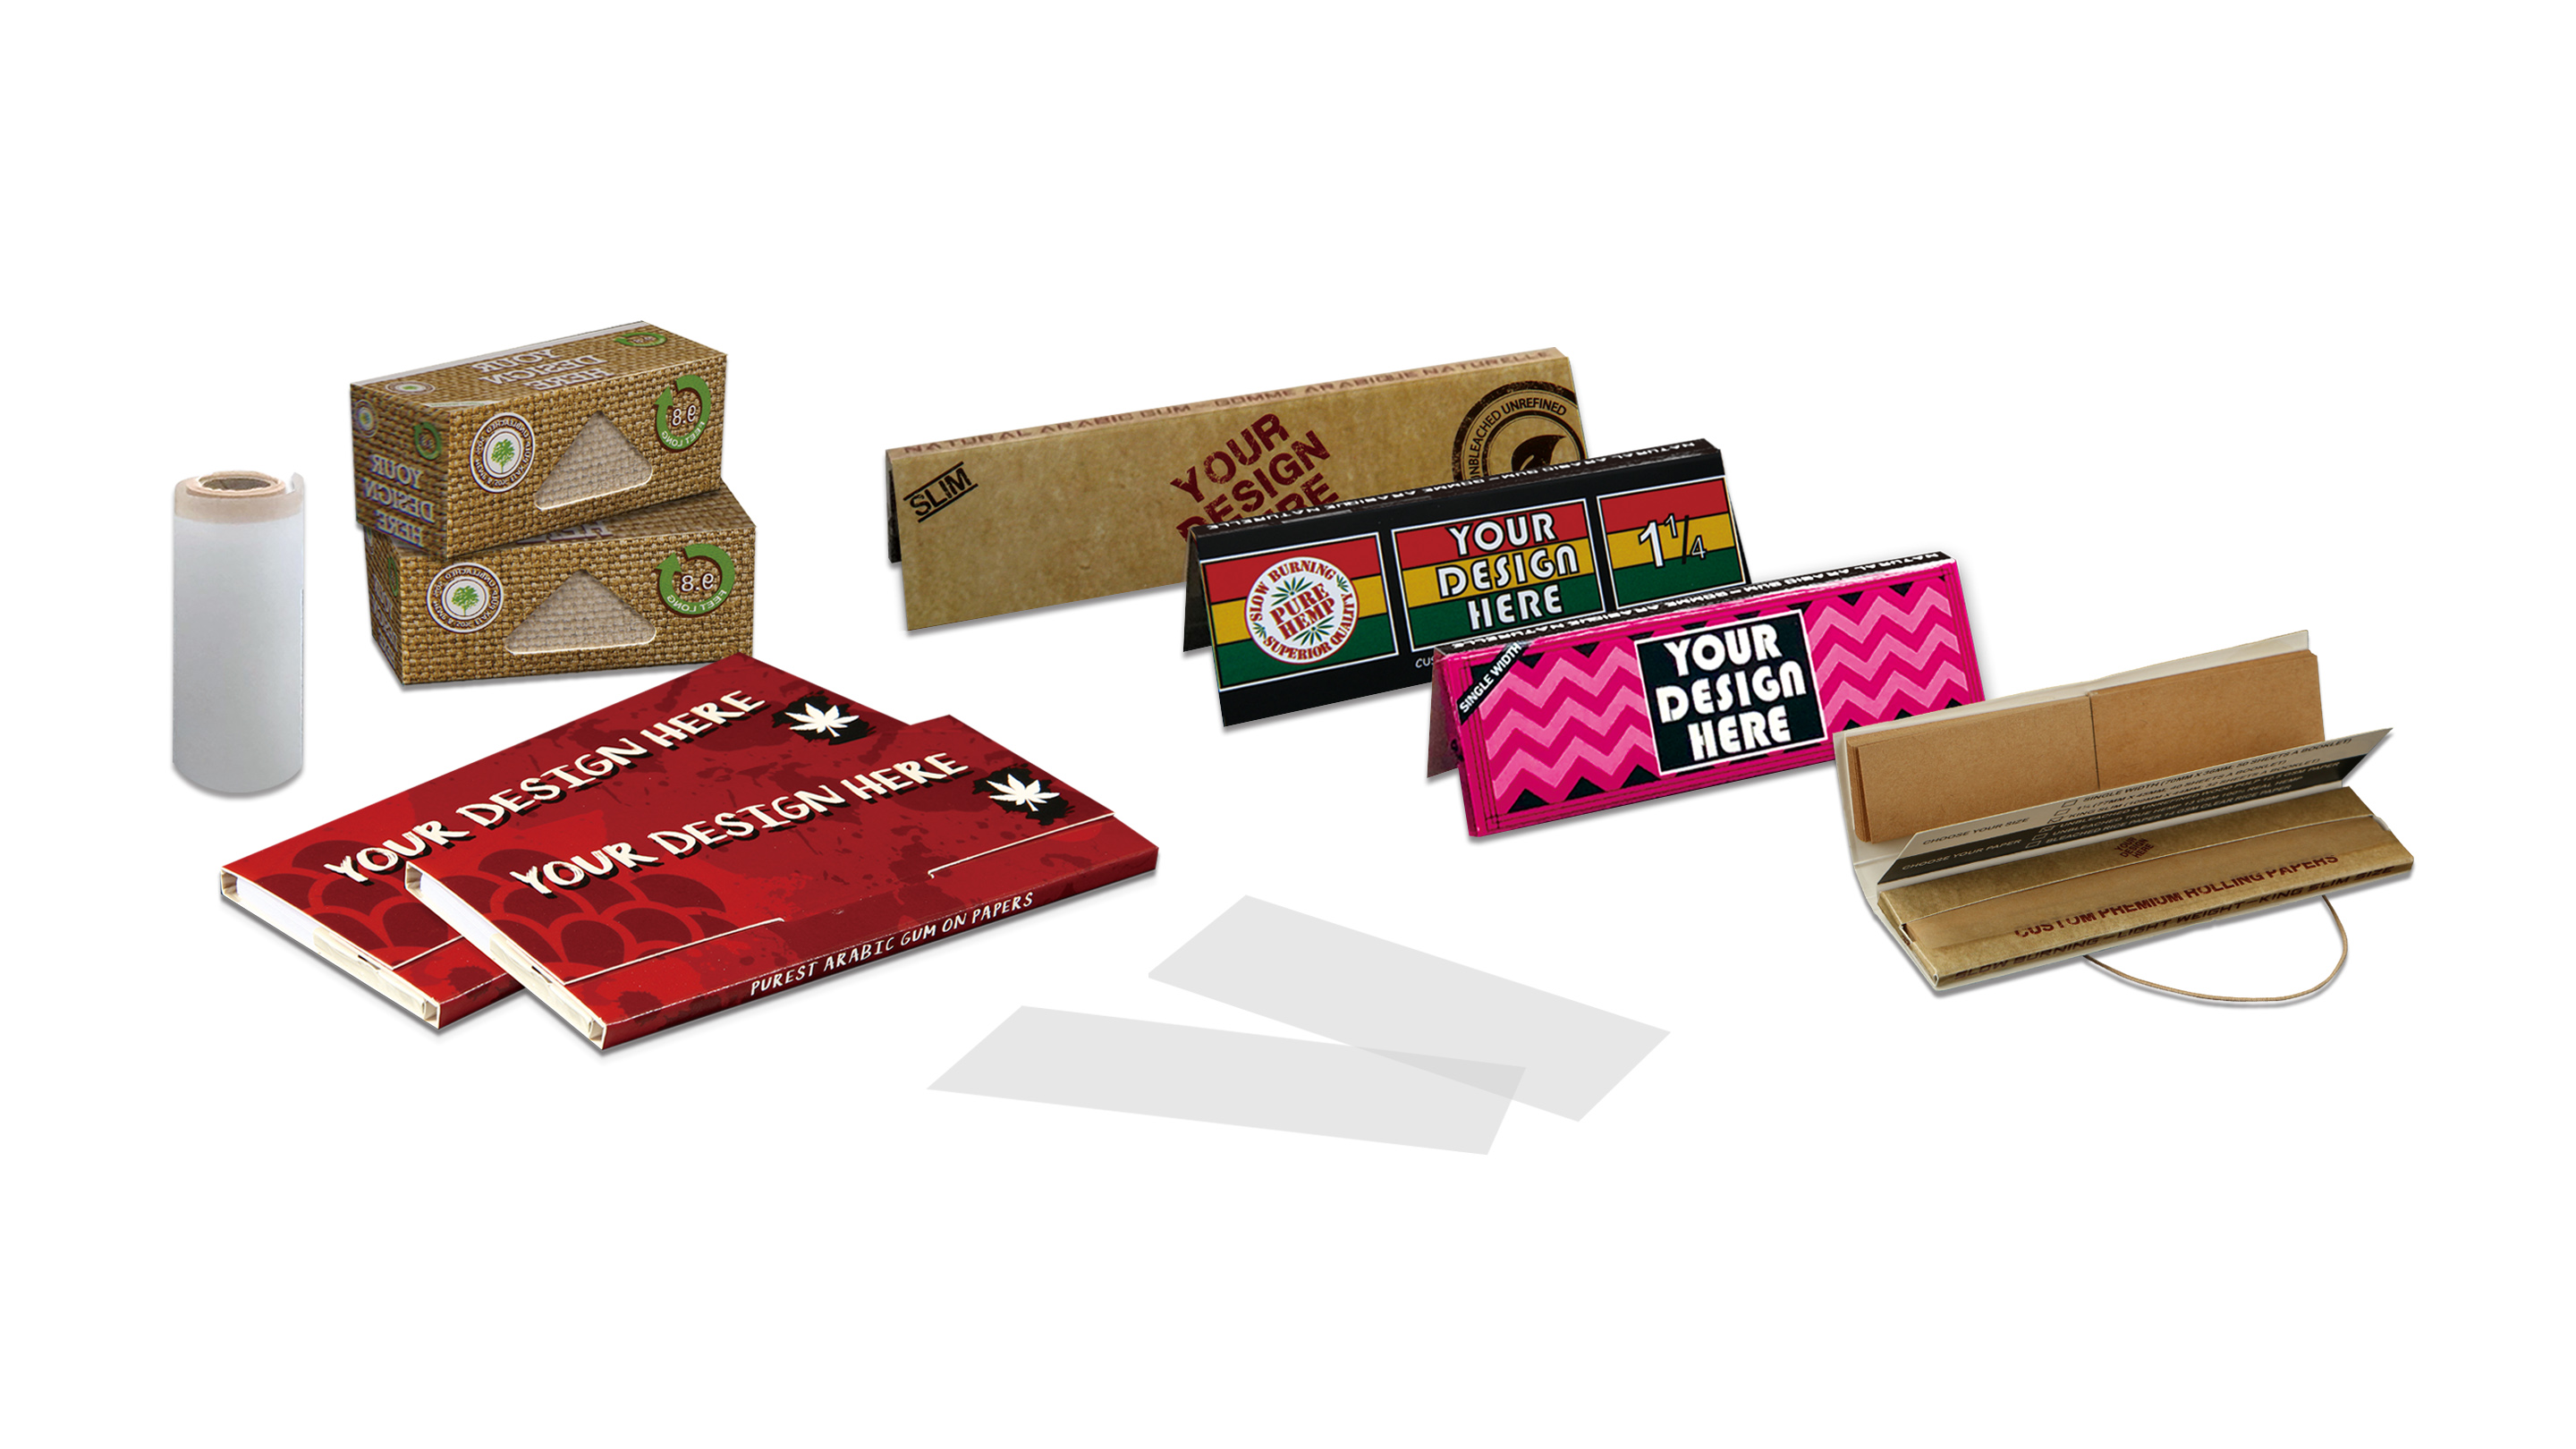
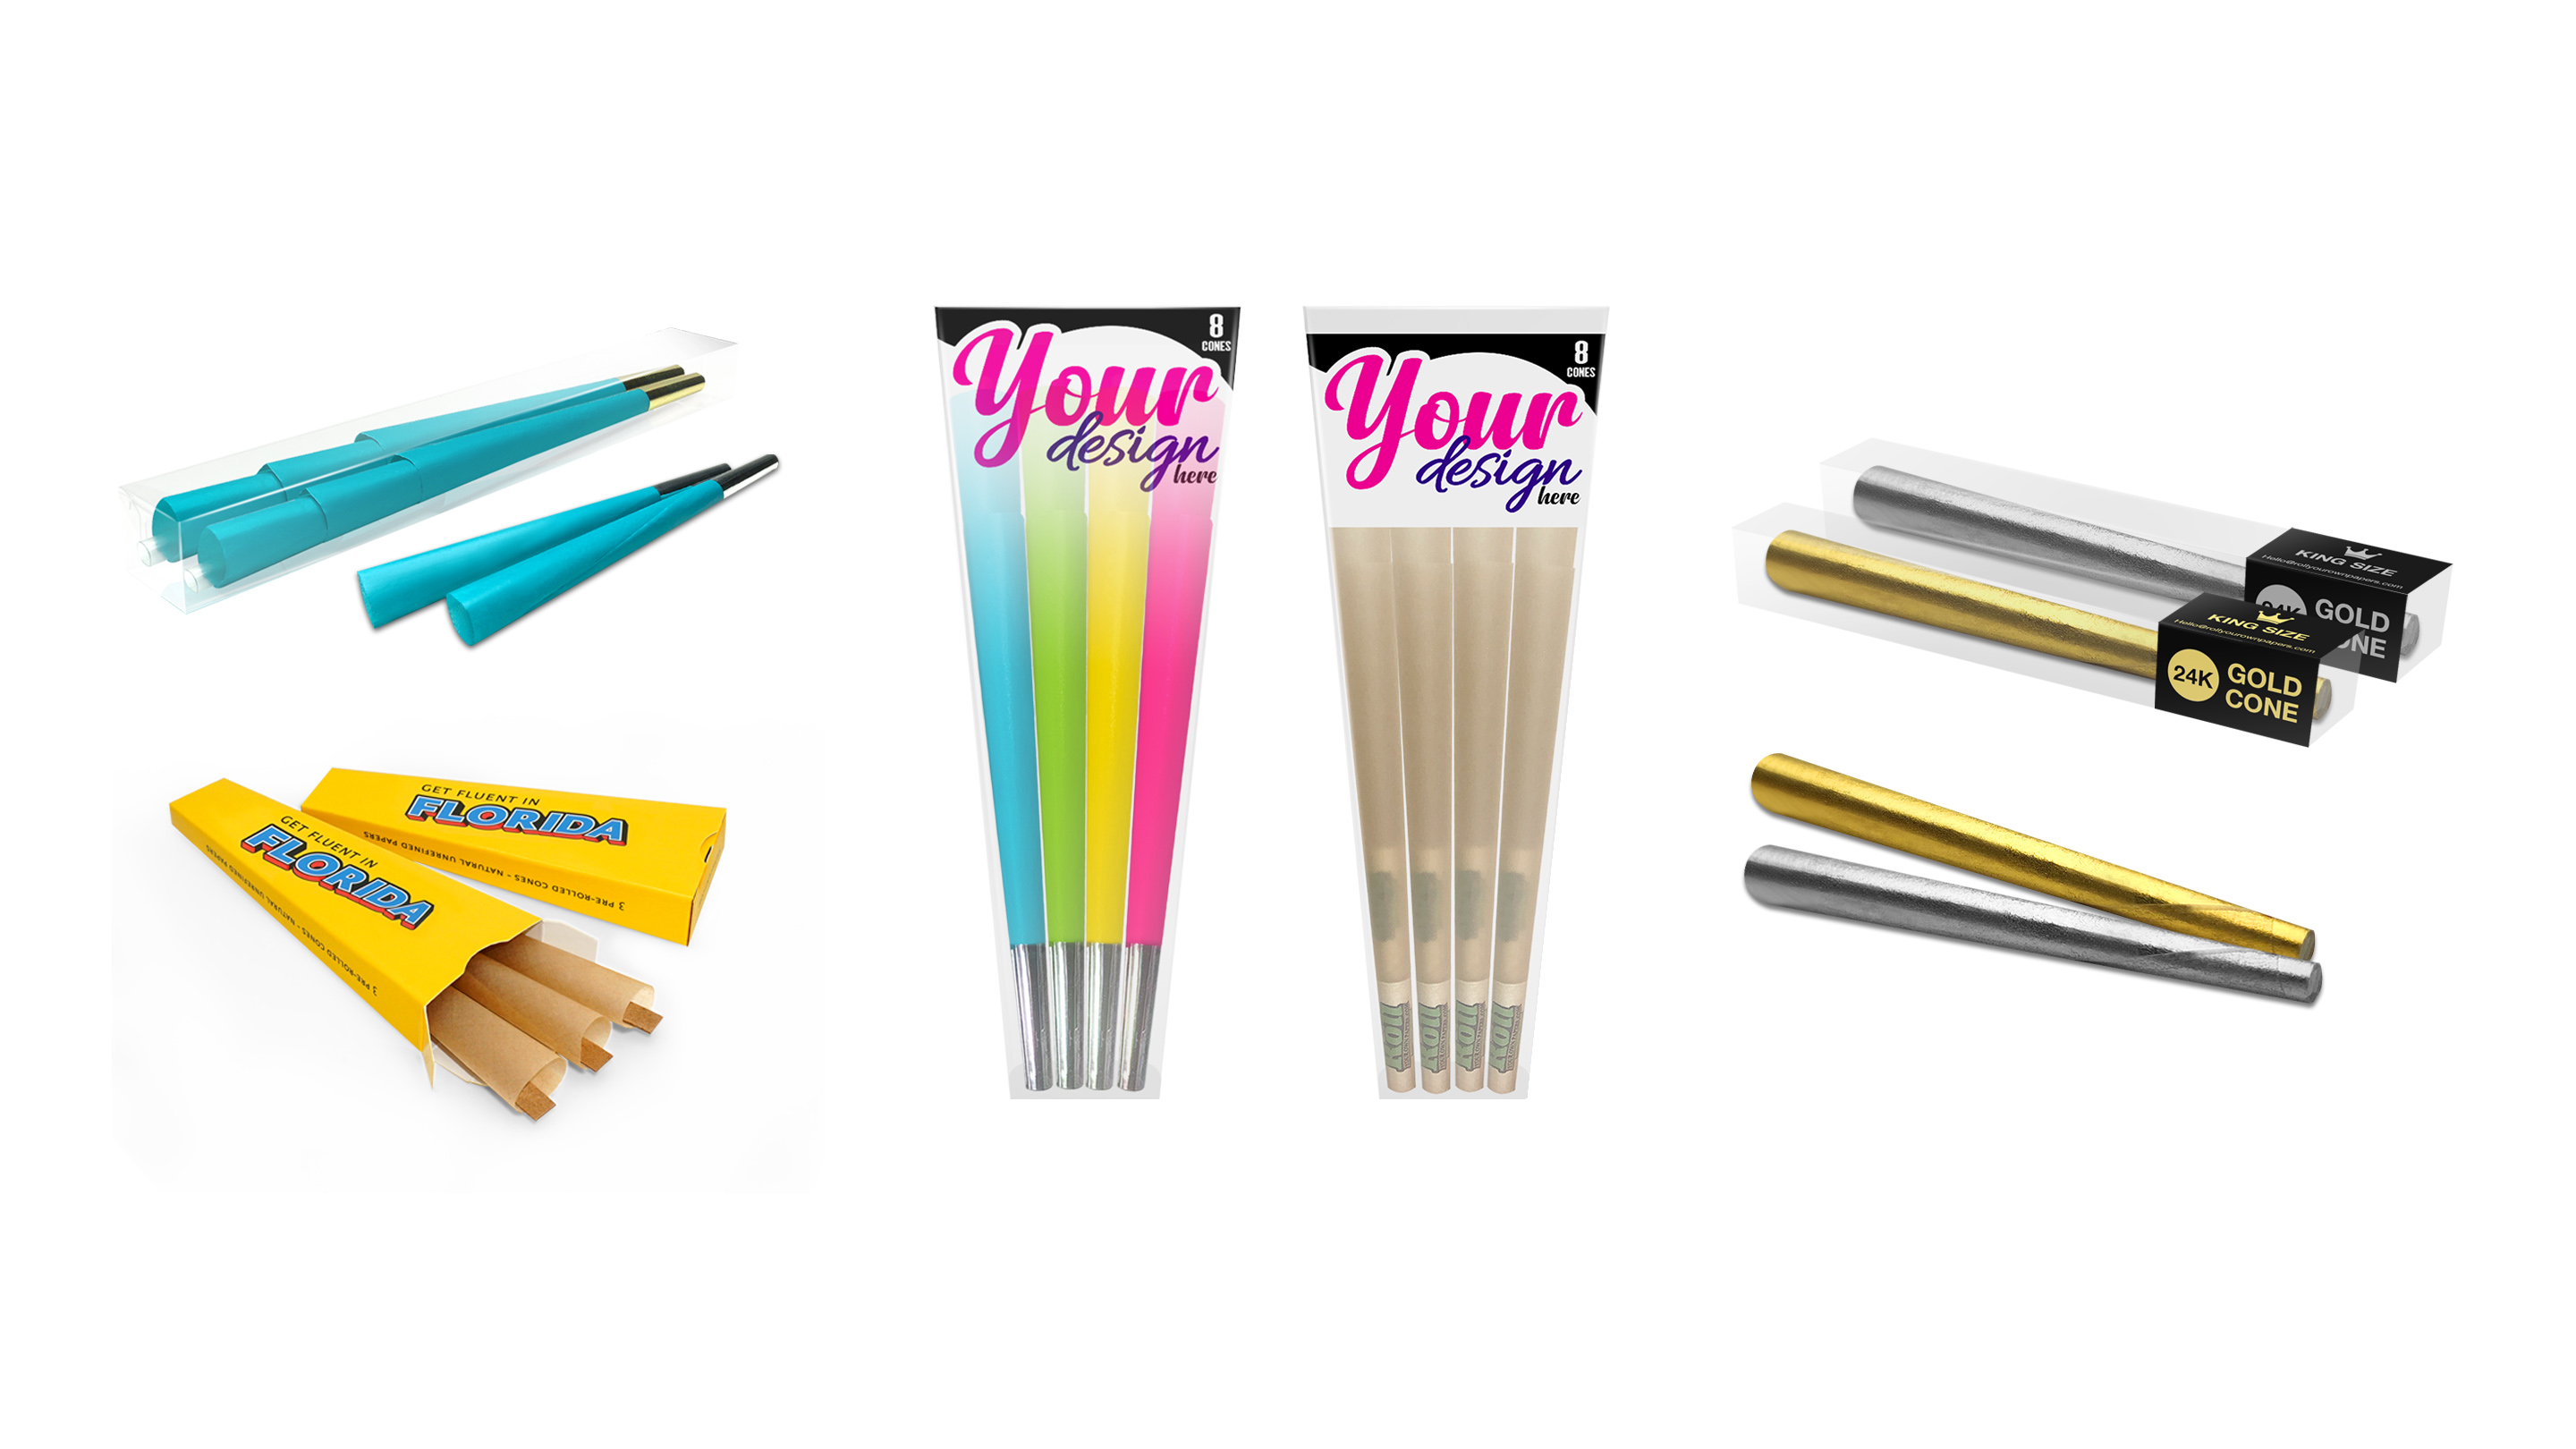
About Roll Your Own Papers: We're your one-stop shop for premium custom rolling trays, rolling papers, and accessories. Whether you're a DIY enthusiast or looking for professional custom products, we've got you covered. Check out our full collection and let us help you create something amazing! 🌟

Leave a comment