What to Use as a Rolling Tray? 7 Creative Household Alternatives ✨ (The Handy Options)

Ready to roll one up, only to realize you don't have a rolling tray handy? Don't worry – we've all been there. The good news is, you can improvise with plenty of common items lying around the house. In fact, almost any flat, sturdy surface with a bit of a lip can serve as a rolling tray in a pinch. So, what to use as a rolling tray when you’re empty-handed? We've got you covered with some clever, household-friendly options and pro tips to keep your session neat and easy. Let's dive in and get rolling 🙂.
Table of Contents
- Quick Answer: Top Rolling Tray Substitutes
- 7 Creative Household Rolling Tray Alternatives
- Pro Tips for Improvising a Tray
- ❓ FAQs
- ✅ Final Thoughts
Quick Answer: Top Rolling Tray Substitutes
In a hurry? Here are some items you can use as an impromptu rolling tray:
- 🥏 Frisbee: The back side of a frisbee has raised edges to catch any fallout.
- 📖 Hardcover Book or Magazine: A large, glossy book works as a flat surface (just use one you don't mind getting a bit messy!).
- 🥧 Pie Tin: An empty pie tin or baking pan has a perfect rim to contain everything.
- 🪞 Small Mirror: A handheld mirror offers a smooth, easy-clean surface (just be gentle so it doesn't slide). Shiny, reflective glass with real drip—drop it on a microfiber cloth or silicone mat so it doesn’t skate, then flex that mirror-finish look.
- 📦 Shoebox Lid: The lid from a shoebox (or board game box) acts like a shallow tray with sides.
These are just a few quick ideas – below, we’ll explore these and more custom rolling tray alternatives in detail, plus tips to use them effectively.
7 Creative Household Rolling Tray Alternatives
You might be surprised how many everyday items can double as a makeshift rolling tray. Here are seven of our favorite household alternatives, with a cool, casual spin 😉:
1. 🥏 Frisbee (Flying Disc)
A trusty frisbee isn’t just for the park – it can catch more than air. Flip a frisbee upside down, and the curved rim becomes a perfect barrier to keep those pesky crumbs contained. The surface is usually smooth plastic, which makes it easy to wipe clean when you’re done. Plus, it’s light and portable. Just give it a quick wash if it’s been outside (no one wants grass in their mix), and you're good to go!
2. 📖 Hardcover Book or Magazine
Got a big hardcover book or a thick fashion magazine nearby? These make excellent flat rolling surfaces. The hard cover or glossy pages provide a slick, even area to work on. Many of us have used a yearbook or coffee table book in a pinch – it's a classic move. One tip: choose a book you don’t mind getting a little dusty or one without sentimental value, and maybe avoid the library books (we’re being cool, not reckless 😅). If it’s a magazine, the glossy cover works best; you can even fold a few pages up at the edges to create a temporary “wall” so nothing escapes.
3. 🥧 Pie Tin or Cake Pan
That aluminum pie tin from last night’s dessert? Instant rolling tray. Pie pans (or even a cake pan) have nicely raised edges all around, which is basically exactly what you need. They’re lightweight and usually lying around the kitchen. Just make sure it’s clean (wash out any cherry pie remnants first!). The metallic surface is super smooth, so it’s easy to gather every last bit when you’re done. If the pan is a bit large, you can place a piece of parchment paper inside to cover more area and make cleanup even easier.
4. 🪞 Small Mirror or Handheld Mirror
A small mirror can double as a sleek rolling surface. Mirrors are perfectly flat and often made of glass – meaning your mix won’t stick and it’s a breeze to wipe off. The cool thing about using a mirror is it gives off retro rolling vibes (think classic movies 🎞️). However, keep in mind most mirrors don’t have a lip. Work a little slower and more carefully so you don’t chase bits of material off the edge. Also, choose a sturdy one (maybe a vanity tray or a handheld mirror with a frame) so you don’t accidentally crack it while you’re packing. Safety first, even when we’re improvising.
5. 📦 Shoebox or Board Game Box Lid
Time to raid your closet or game shelf! A shoebox lid is practically a ready-made rolling tray. It’s flat, it has raised sides, and it’s disposable (or at least easily replaceable). The cardboard provides a decent grip so things won’t slide around too much. Similarly, the top of a board game box (like that Monopoly set collecting dust) works great – just don’t be surprised if you find an old die or token in the corner. You might want to lay down a clean sheet of paper inside the lid to act as a liner; this keeps any tiny crumbs from getting stuck in the cardboard texture and makes pouring leftovers back a cinch. Pro tip: when you’re done, you can stash all your supplies right in the box lid and put it away discreetly. 👍
6. 📁 DIY Cardboard Tray
Feeling a bit crafty? You can actually fashion a custom tray out of plain cardboard. Grab some thick cardboard from a shipping box or cereal box. Cut a rectangle to your desired size. Then fold up the edges about an inch (2-3 cm) all around and tape the corners – boom, you’ve got a homemade tray!
It won’t be that pretty in the world, but it sure does get the job done when in a jam. Best of all, you can design it the way you prefer: as big or small as needed, even shaping the corners. If you have aluminum foil or parchment paper, line the bottom for an even smoother surface. This DIY choice goes to show that sometimes the best rolling tray is the one you make.
7. 🎵 Vinyl Record Cover (Old LP Sleeve)
For the music lovers out there, an old vinyl record sleeve can step in as a makeshift rolling tray. It’s large, flat, and usually made of semi-glossy cardboard – not too different from a book or magazine cover. Plus, you get some style points using your favorite album art as part of your rolling ritual. Choose a record sleeve that’s not a collector’s item (maybe that thrift-store find or an album you’ve got duplicates of) and ensure there’s no record inside, of course. The square shape gives you plenty of room to work. Again, there's no built-in rim, so you might use the vinyl’s inner sleeve or a piece of paper as a liner to gather any stray bits. It’s a vibe, just handle it gently so you don’t crease the cover more than it already is.
Pro Tips for Improvising a Tray
Using household items can be a lifesaver, but there are a few tricks to make the experience even smoother:
- Line it up: If your surface is porous or has creases (like a book or cardboard), lay down a clean piece of paper or parchment paper first. This creates a smooth layer and makes transferring leftovers back into a container super easy.
- Mind the mess: No raised edges? No problem – just go slow and steady. You can also improvise a lip by placing rolled-up towels or even your forearms around the edges of a flat surface (hey, whatever works to catch the crumbs!).
- Keep tools handy: and for that, we draw on whatever’s in our pockets: a card, or key, or something that’s straight-edged, to scoop and collect materials when you’re on your tray substitute. A tiny makeshift scraper can do much to keep things in order.
- Clean up ASAP once you are done, give your DIY tray a quick wipe. Brush off crumbs into the garbage or back into your stash jar. That way, nothing gets left behind (or starts to smell), and your item is good as new the next time you need it for that impromptu sesh. Simple and affordable, these hacks are great at helping out in an emergency, but if rolling is something you do often, you should upgrade sooner or later to the real thing.
- Upgrade when you can: These hacks are awesome in a pinch, but if rolling is a regular thing for you, consider eventually treating yourself to a real tray. Many folks customize theirs – and you know where to find custom rolling trays when you're ready 😉.
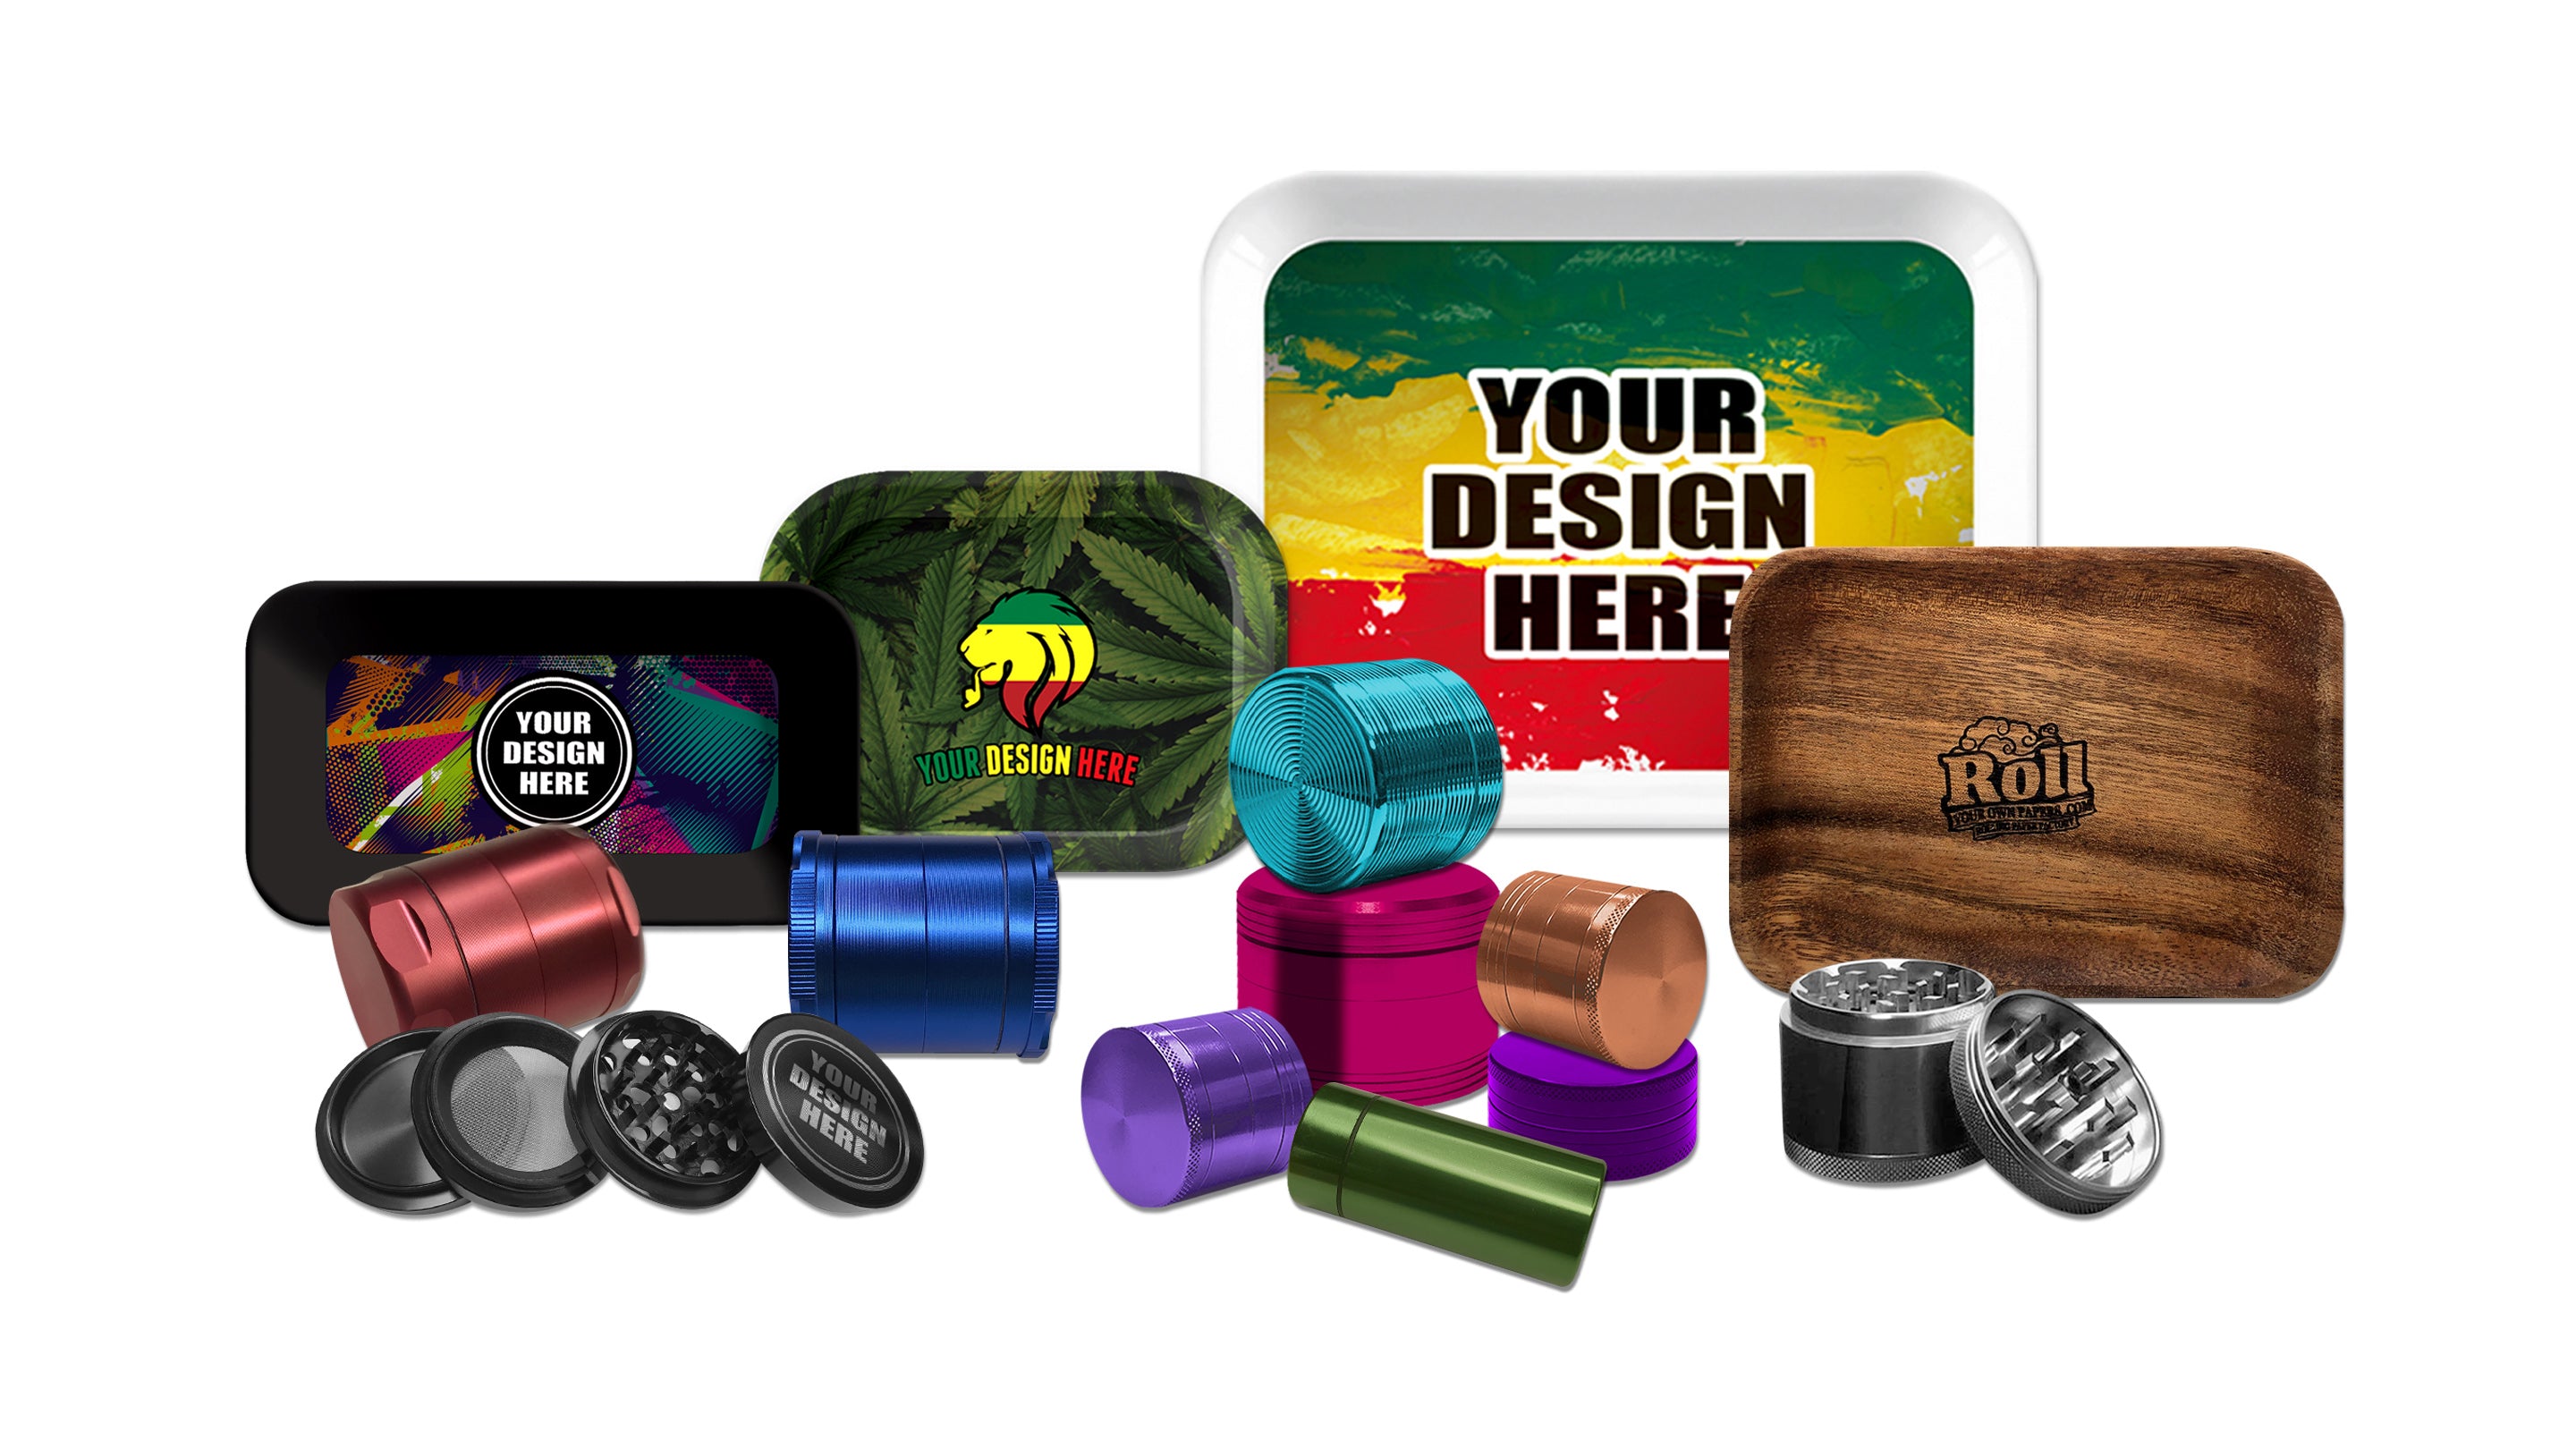
Upgrade Your Setup with Custom Rolling Trays ✨
Level up from makeshift surfaces and design a rolling tray that matches your vibe. At ROLLLYOUROWNPAPERS.COM, we make custom rolling trays with low minimums, crisp printing, and a clean finish—ready for your brand.
Shop Custom Trays❓ FAQs
1) I don't have an actual rolling tray. What can I use instead?
You can use any flat, hard surface you have around. Some of the best household substitutes are things like a plastic frisbee, a hardcover book, a magazine, a shoebox lid, or even a clean kitchen pan. Basically, if it’s flat and not fuzzy, it can work as a rolling tray in a pinch. Just make sure to choose something with a bit of an edge (or improvise one) to help keep everything contained.
2) Is it okay to roll on a book or magazine?
Yes! A hardcover book or a glossy magazine is a time-tested quick fix for rolling. The smooth cover gives you a solid surface. Just be mindful: tiny bits can get stuck in the gutter (the crease near the binding) or between pages, so stick to the cover or a single sheet. And use a book you don’t mind getting a little debris on – probably not that priceless first edition novel 😅.
3) Can I use a plate or bowl from the kitchen as a tray?
A plate can work in a pinch (especially one with a bit of a rim), but be cautious with bowls. Flat surfaces are your friends; bowls or anything curved will make your materials pile up and fall all over. If a plate is your only option, try using the largest one you have and maybe put a piece of paper on it to help you pour leftovers back easily. Avoid deep bowls since they’re awkward to maneuver in.
4) How do I prevent making a mess without a proper tray?
The key is to go slow and use makeshift edges. If you’re on a flat item like a book with no sides, roll more deliberately. You can place a clean sheet of paper underneath and fold up the edges slightly to act as a guard. Also, keep a card or folded paper to scoop fallen bits – kind of like dustpan and broom style. It’s all about being a little extra careful since you don’t have high sides to rely on.
5) Can I DIY my own rolling tray at home?
Absolutely. One easy method is the DIY Rolling Tray , DIY cardboard tray we mentioned: cut a piece of cardboard and fold/tape up the edges to create a custom tray. If you’re into crafting, you can also decorate a simple dollar-store tray or even 3D-print one if you have access to a printer. And for the artists, using epoxy resin kits to make a personalized tray is a fun project (just be sure to use food-safe resin). There are tons of ways to get creative and build a tray that’s uniquely yours.
6) What’s the ideal size for a rolling tray or substitute?
It all depends on your needs, but in general, something around 8-10 by 12-14 inches (like 20-25 by 30-35 cm) is the sweet spot for everyday rolling: it gives you room to hold your materials, papers, maybe a tool or two, without being overly bulky. If you’re traveling, even a smaller surface – say 5x7 inches – does work on the go. Essentially, anything bigger than your hand but not too unwieldy is a good rule of thumb.
7) Is a dedicated rolling tray worth it?
If you roll often, a real tray is definitely worth considering. While these household hacks do the job, a purpose-built tray has advantages: it’s designed with the perfect rim height, easy-to-clean materials, and often compartments for your tools. It makes the whole process smoother and less messy. Plus, you can find trays with cool designs or even get a custom rolling tray that represents your style. Think of it like upgrading from using random gear to having the right tool for the task – once you have one, you’ll wonder how you managed without it!
✅ Final Thoughts
When it comes down to what to use as a rolling tray, the world is your oyster (or at least your household is 😎). Almost anything flat and clean can step up to the plate: lids, books, pans, you name it. The key is to work with what you’ve got and keep things tidy. Improvise a little now, and upgrade later if you feel like it. For the ultimate personal touch, you can always design your own custom rolling trays later on. The main goal is simple – avoid the mess and enjoy the process. So next time you find yourself tray-less, you know it’s No tray, no problem! Happy rolling!

Leave a comment